Kogin is completely different than anything else we have ever done before. We love learning and exploring new-to-us techniques and styles of making all the things and kogin-zashi was ticking all the boxes. Creating these gorgeous stitch patterns with such a mindful practice is exciting for us and keeps us motivated to create and explore further. We particularly loved applying kogin to some of our own garment designs and to projects that are common fair among sewists and crafters. Kogin adds a next level of richness to these projects and adds to our understanding of textile creation and use.
Kogin-zashi is a type of darned embroidery meaning the stitches lay closely against one another to reinforce and enhance the base fabric the stitches are worked onto. Kogin is a type of counted thread work with a shared DNA evident in other forms of darned embroidery, counted threadwork, pattern darning, and needle weaving from Norway, Yugoslavia, Ukraine, Medieval Middle Eastern counted thread embroidery, and Mamluk pattern darning found in the Middle East and Egypt.
Like other forms of sashiko, kogin-zashi was created by Japanese folx living in cold climates with short growing seasons. Kogin needlework was originally done to reinforce and fortify fabric not as a leisure craft but as a necessity for survival. At the time kogin-zashi was developed (Edo Period, 1603-1867), cotton was a scarce commodity due to the short growing season and the overall cold climate of the Tsugaru region, Aomori, Japan – kogin-zashi’s area of origin. In addition to the scarcity of cotton, it was forbidden for use as a garment fabric by anyone but the ruling class in Japan. This meant folx used fibers derived from plants like ramie, hemp, and tree barks to weave their cloth. Unlike cotton fabric, such fabric does not offer optimal protection from the elements and layering did not provide the needed protection either. Being resourceful, and downright clever, they used kogin stitches made with cotton thread to fill in the gaps in the woven fabric. This created a denser fabric that provided protection and warmth while skirting the strict laws regarding cotton’s use in garment fabric. Fabrics with kogin stitching are complex and dense and contain patterns from geometric borders and lines to intricate key forms and tiled marvels of design. Kogin-zashi fabric is inherently practical but through the lens of time, this practical handwork task has become art and the craft we love today.
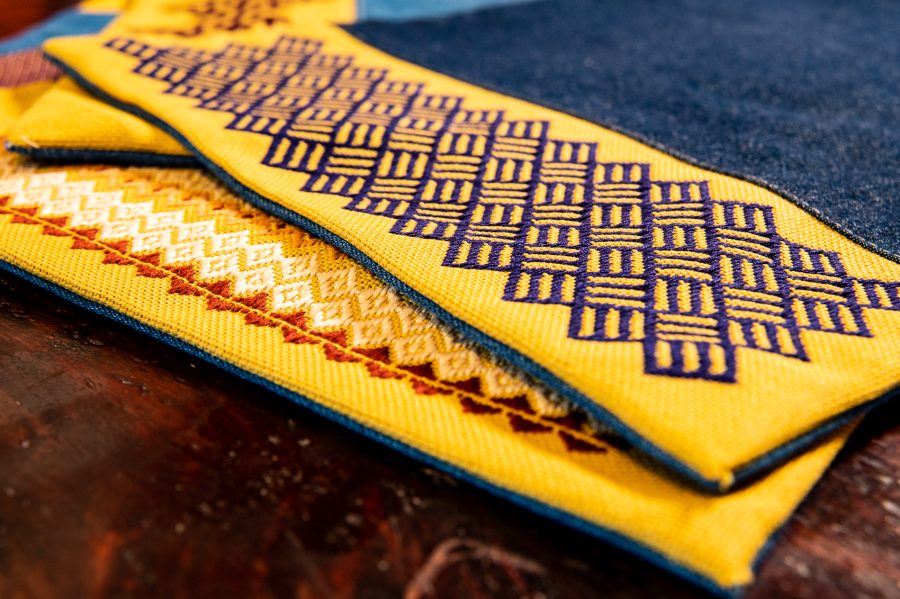
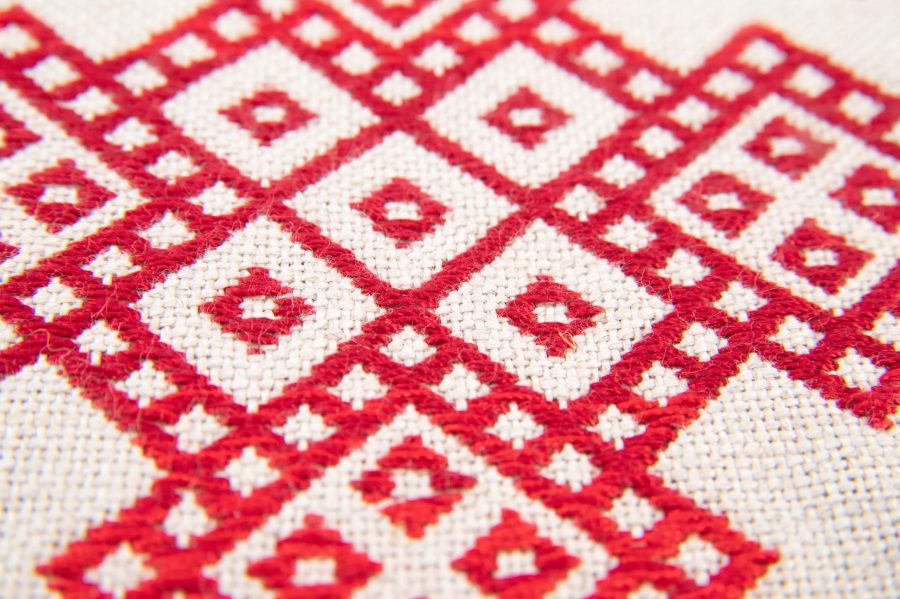
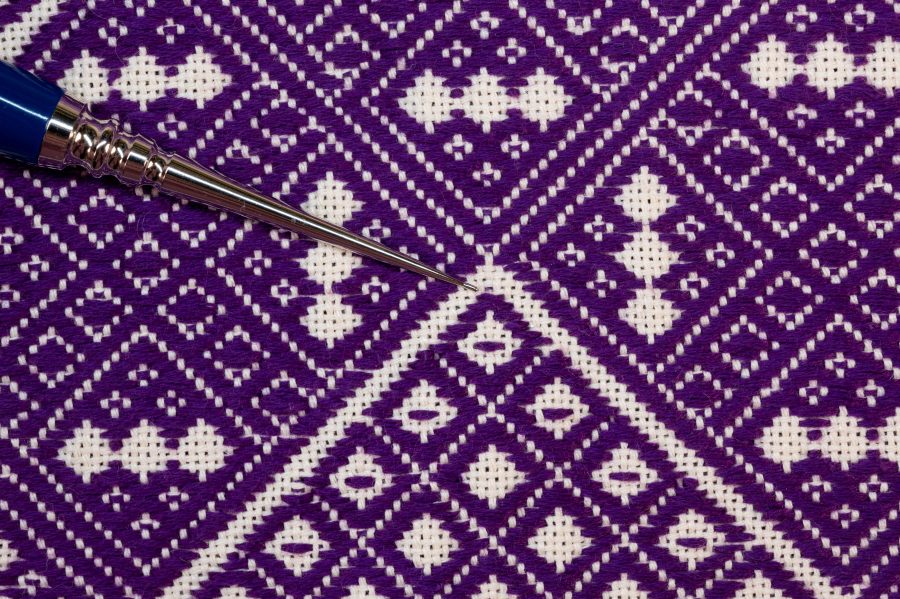
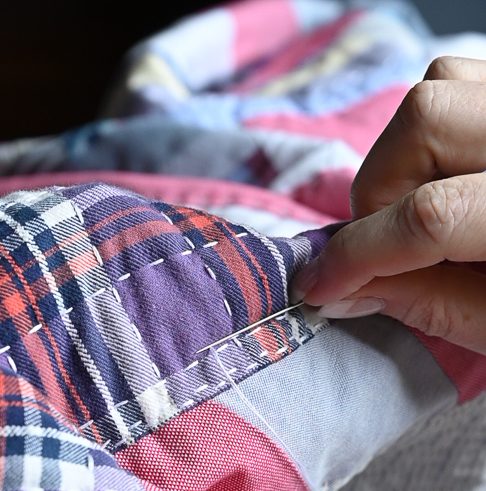
Kogin-zashi designs are created by counting the vertical threads of the base fabric and working the needle over and under those threads following the space between the horizontal threads (warp threads) of the base fabric. The stitches are worked into the spaces created by the intersection of the horizontal and vertical threads, filling in the gaps in the woven fabric.
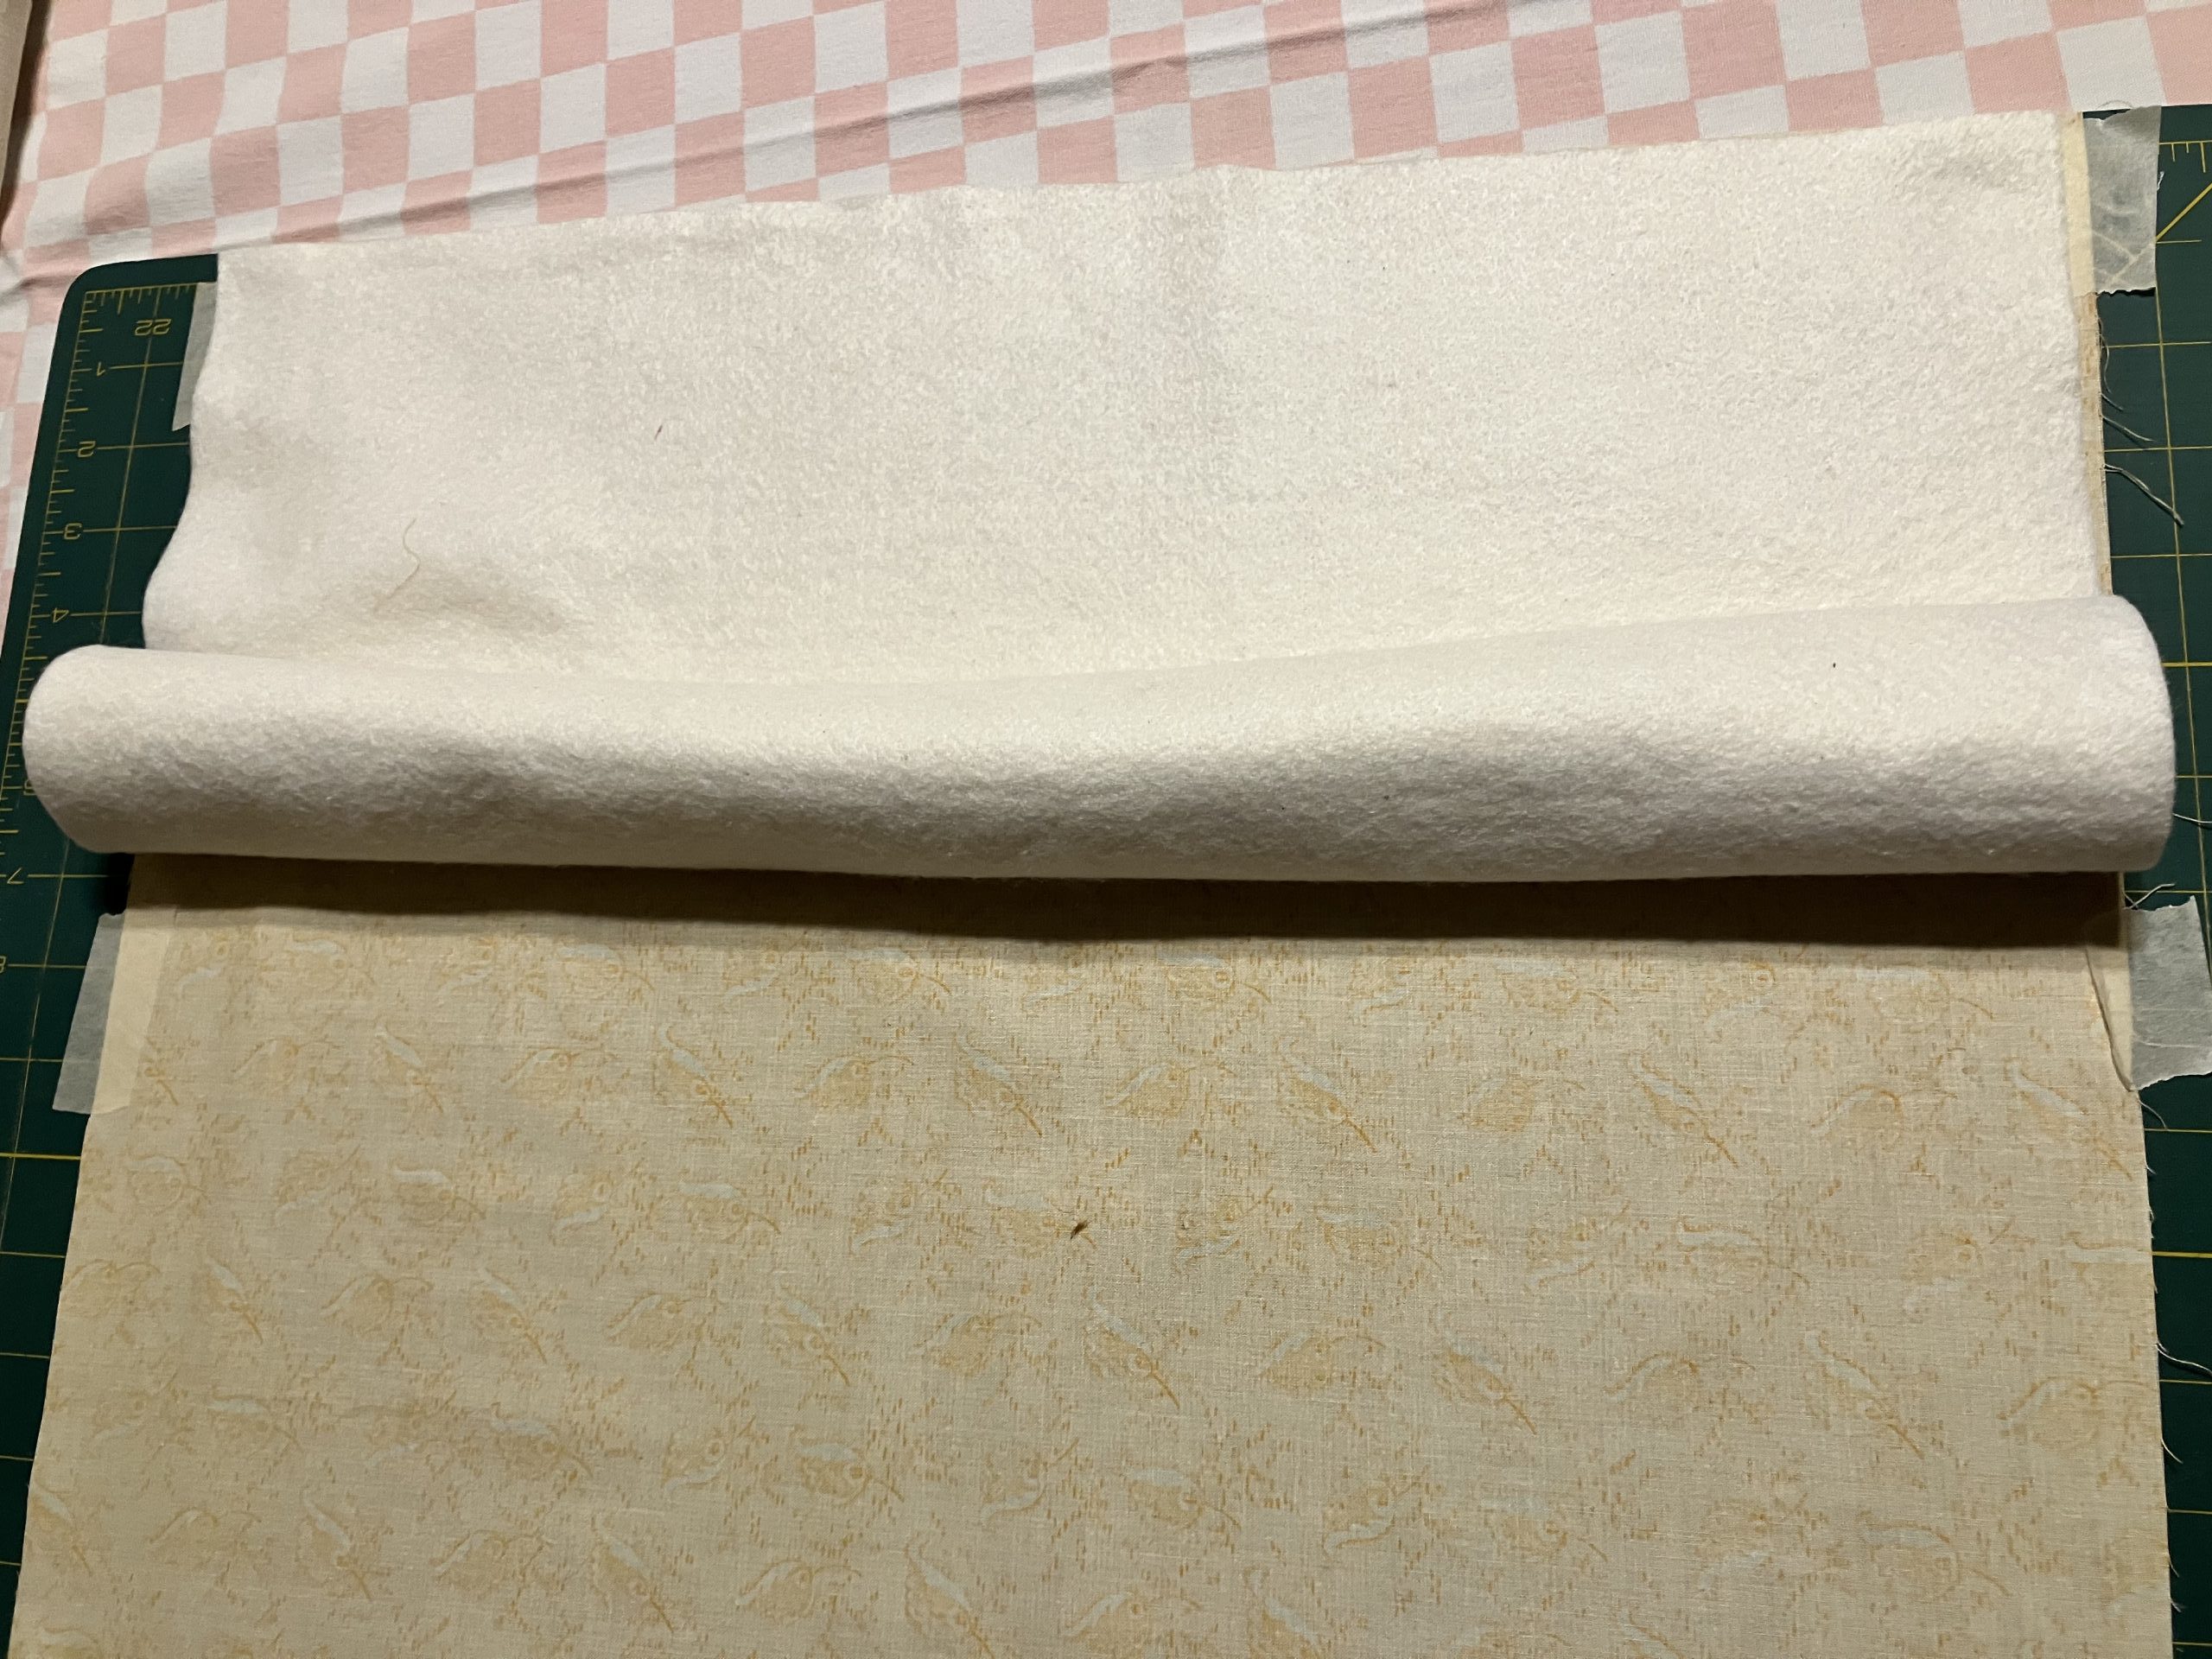
Kogin-zashi was not used to reinforce fabrics by fastening down patches or binding together multiple layers of fabric. Instead, kogin reinforces fabric by weaving thread between the vertical and horizontal threads of loosely woven fabric. The result is a denser fabric that is stronger, more durable, offers greater protection from the elements and, without a doubt, is stunning to behold. Modern kogin-zashi, uses embroidery floss, thread or even fine weight yarns with evenweave fabric such as Congress Cloth, Davosa, or Lugana to create projects.
We discovered kogin-zashi as part of our research for our book Boro & Sashiko: Harmonious Imperfection. We were most excited by the intricate designs created by easy one line at a time stitching. For us, the most exciting part of kogin is how accessible it is as a skill. Regardless of their background as makers and creators, folx can learn the introductory parts of needle handling and pattern reading, almost immediately creating complex graphic designs on fabric. It’s exciting to see the results unfold one line at a time right before your eyes and it motivates you to keep stitching so see that happen. Even if folx have never done hand needlework before, they are going to be able to pick up kogin-zashi and make something right away. The instant gratification factor is big with this craft. For folx who are familiar with handwork and needlework, this is a refreshing change from the norm and we believe they are going to find the same exhilaration and satisfaction we have from this form that is juuuuuuust different enough to be exciting but not so different that is alienating.
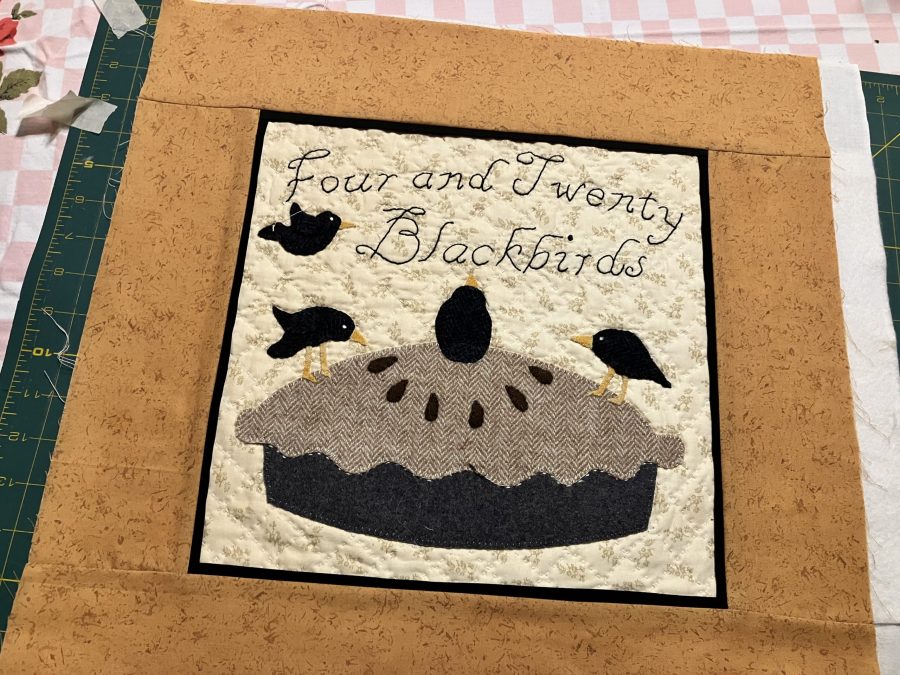
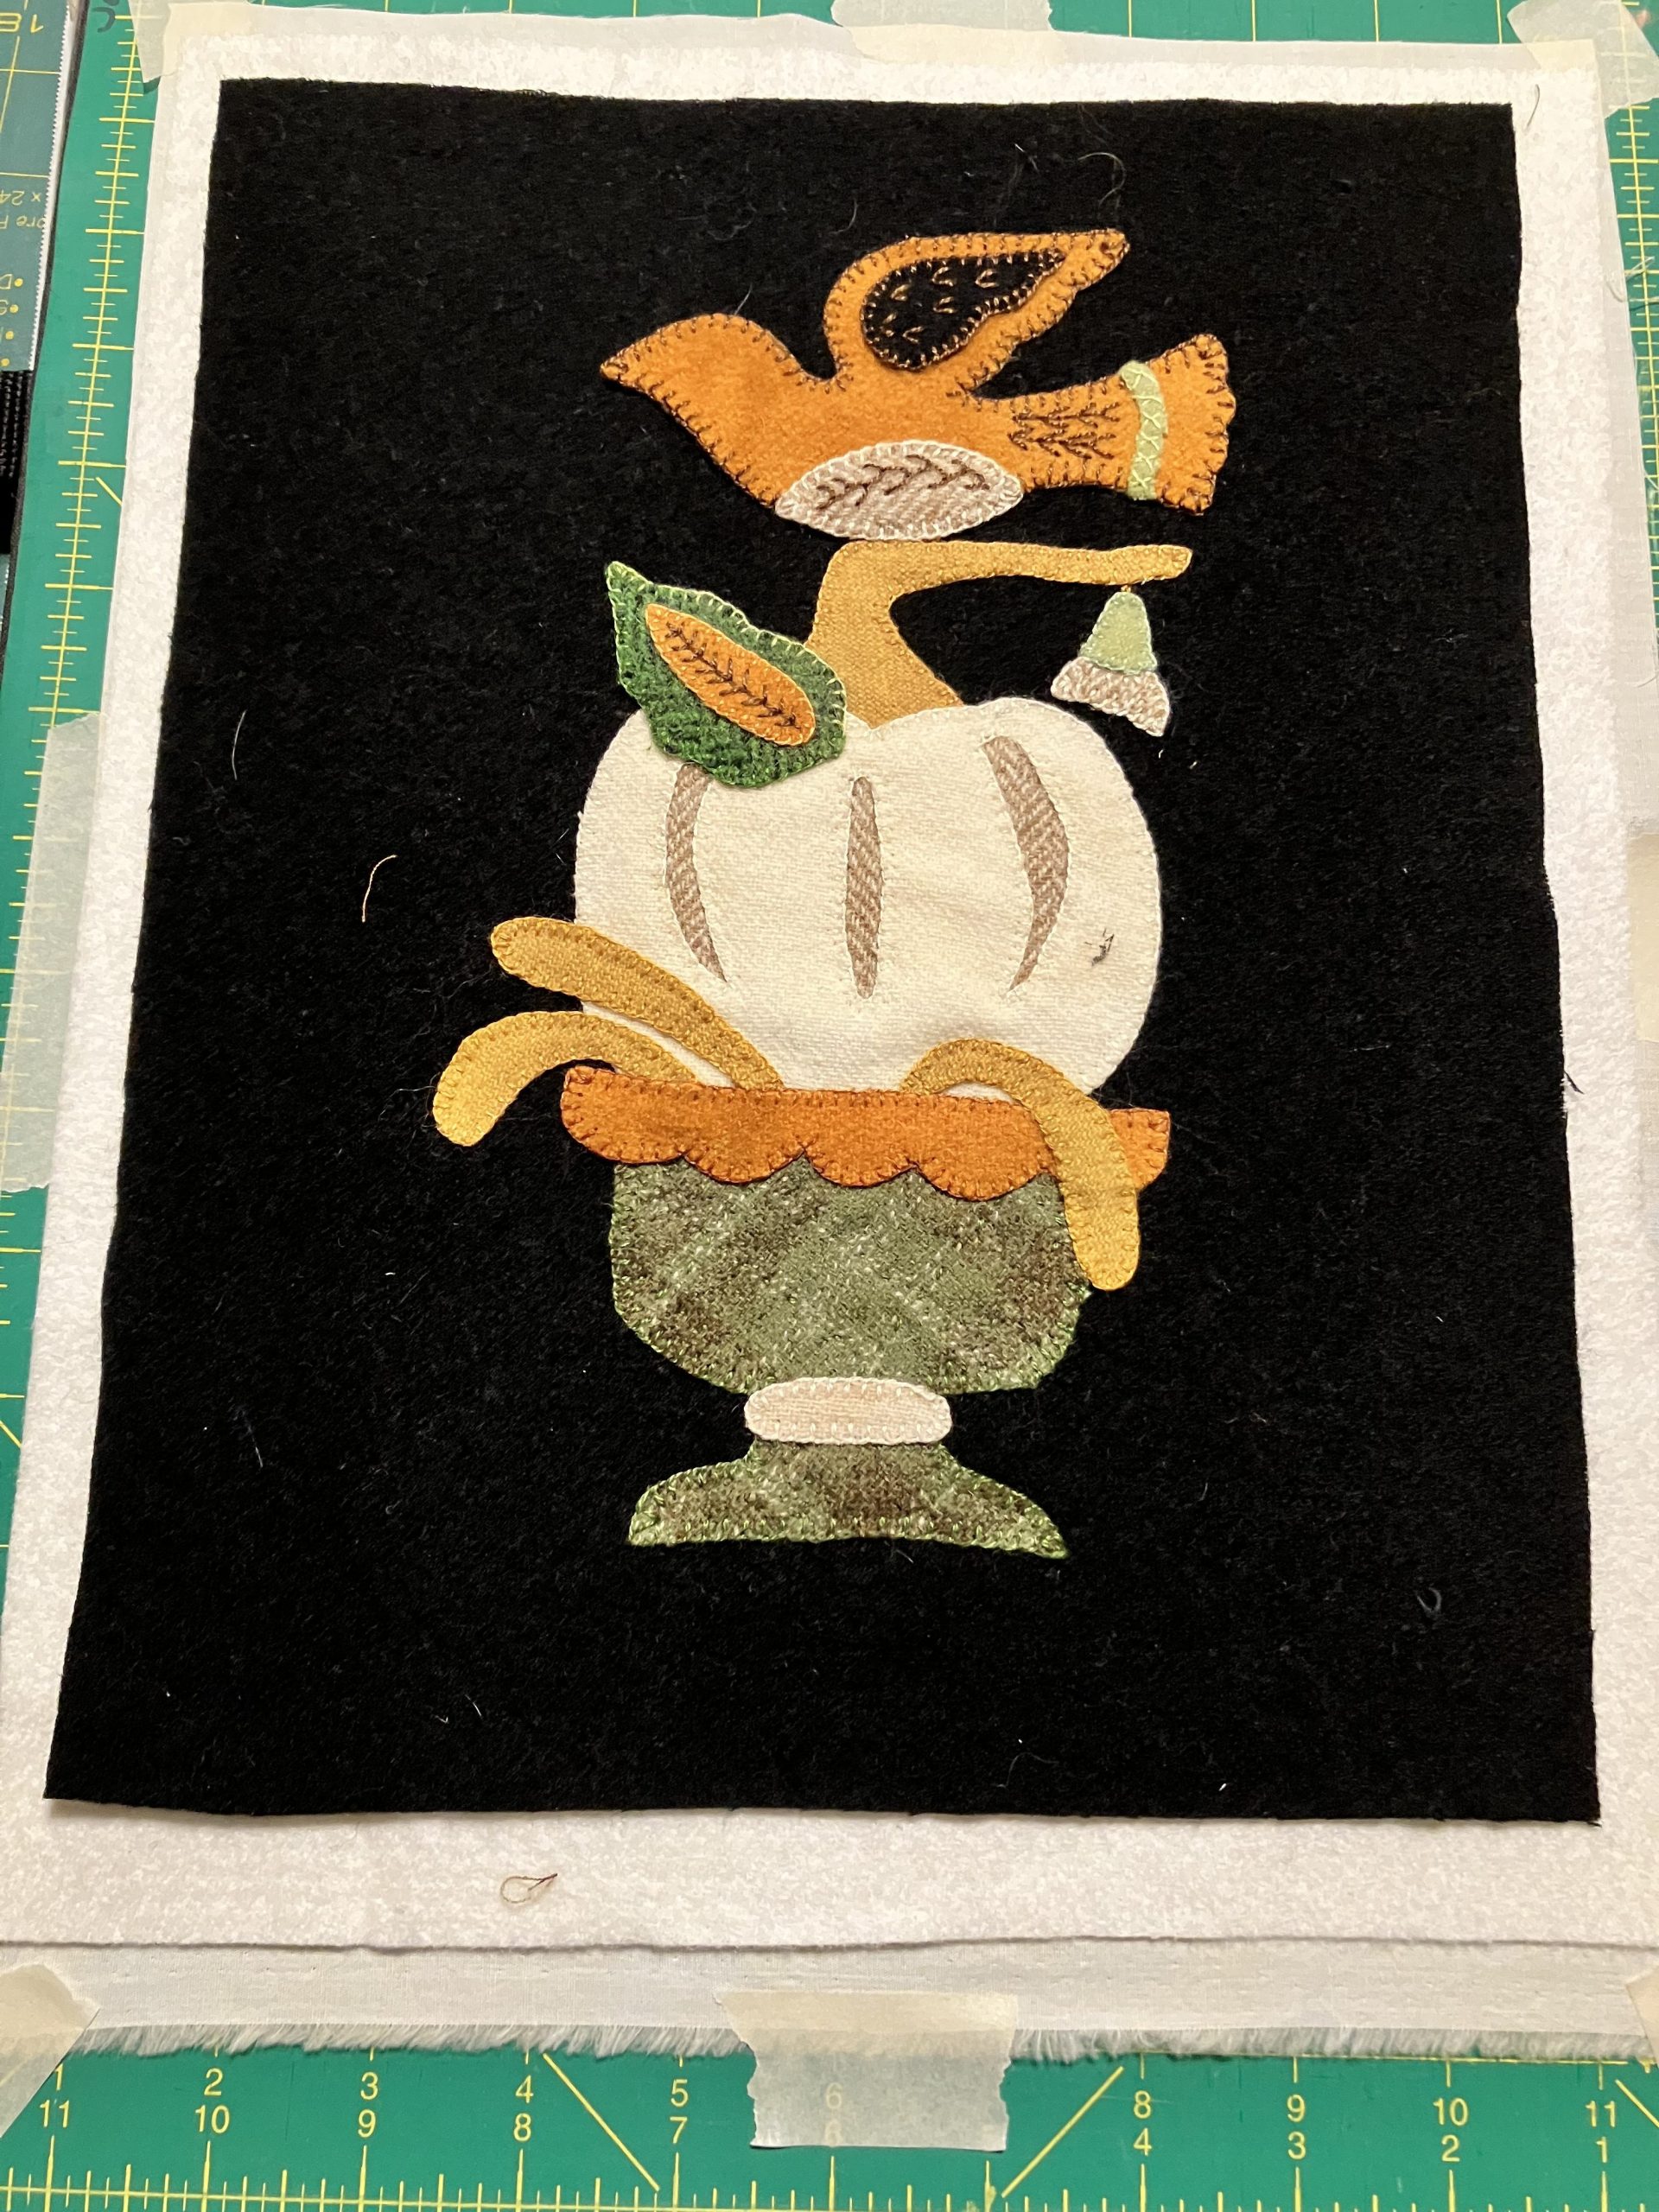
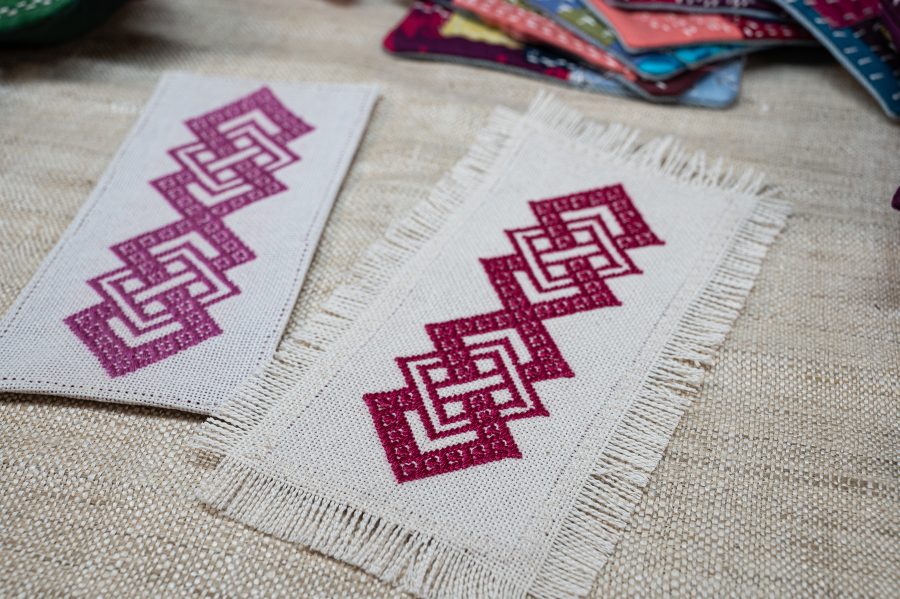
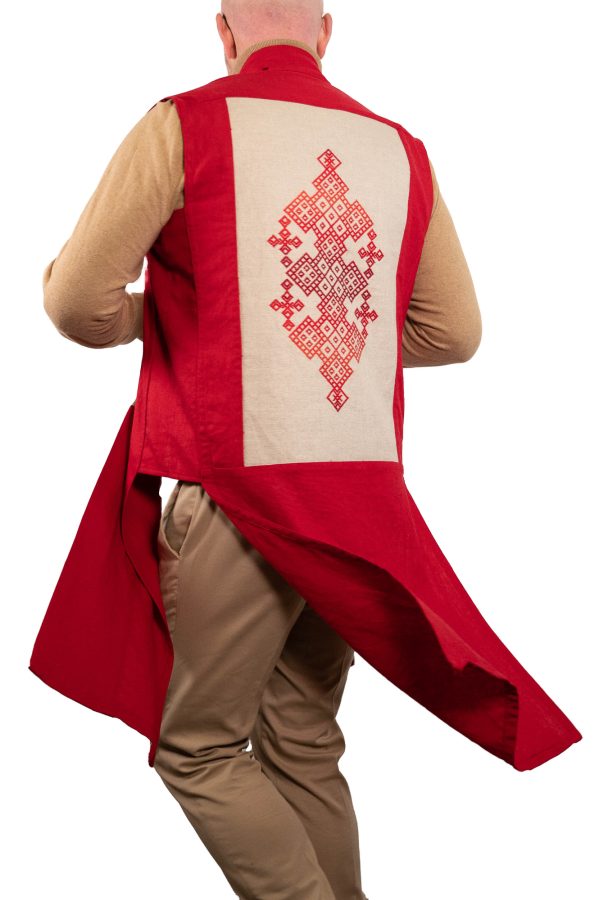
For this project, we created a woven knot motif. The pattern was originally released as part of our Maker’s Moments series of workshops on our website at shannonandjason.com. To learn more about kogin-zashi and other forms of sashiko, checkout our books Boro & Sashiko – Harmonious Imperfection and Contemporary Kogin-zashi. Both titles are available on our website at shannonandjason.com or from your favorite local bookseller.
Find the instructions here.
Find the pattern here.
As always, Stitch On!
Shannon & Jason