Hey there folx! Shannon & Jason here and this month we’re going to be completely honest with you here for a moment: When the folx at CNC told us to try these out, we thought both of these tools were gimmicks. A little scrubbing tool to “restore” cutting mats? And a reusable sponge to replace our lint roller? Yeah, sure okay. When a mat gets grooved and scarred from years of rotary cutting, utility knives, and general studio chaos, you flip it, rotate it, and eventually replace it. When fabric gets covered in thread lint, you grab whatever sticky roller is closest. That’s just how it works. Right?
Turns out, we were spectacularly wrong about both of them.
The Problem We Didn’t Know We Could Fix
Our big industrial cutting mat – the beast we bought from years ago for the main worktable – had seen some things. We use that surface for everything: fabric cutting, yes, but also scoring paper, trimming mat board for textile art pieces, cutting reclaimed plastic for our Unconventional Boro work, you name it.
The center section, the high-traffic zone where 90% of our cutting happens, had developed serious grooves. Not just surface scratches but deep channels filled with fabric fibers that made our rotary cutters skip mid-cut. You know that feeling when your blade skips a few threads or slips forward because it hit a scar in the mat? Yeah. That was happening multiple times per project. Truly maddening.
We’d already flipped and rotated the mat once and that was a task and a half that we did not look forward to repeating. The next step was replacement, which for an industrial-sized mat is not a small expense.
And then the folks at Colonial Needle said, “Just try the Mat Smoother first.” (They are always doing that kind of thing to us!)
We were skeptical. But we tried it anyway (because what did we have to lose) and, if it didn’t work… well then, we’d have to go back to the flip or replace plan. Turns out (as with the other tools the folx at Colonial Needle Co. show us)…
It worked.
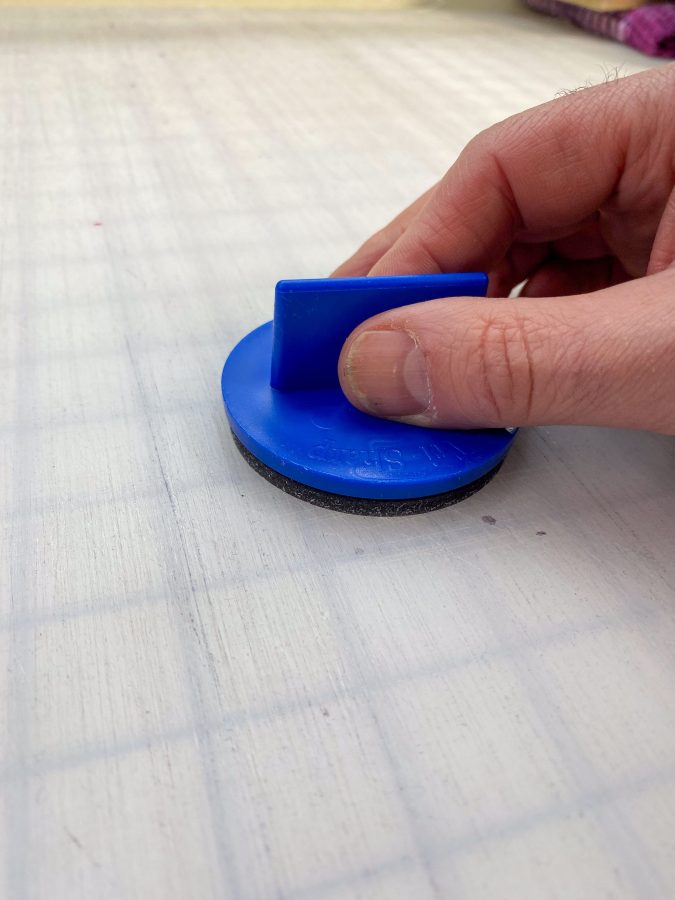
Not just “a little better” worked. Not “bought us a few more months” worked. The Mat Smoother lifted out the trapped fibers from those grooves, allowing the self-healing surface to actually close back up under the motion of the mat smoother. The skipping stopped. The blade glided smooth and true and the cuts were clear again. No skipped threads. The mat we thought was done for is still in heavy rotation a year later.
The “Unsexy” Tools That Save Money
Here’s the thing about the Mat Smoother: it’s not flashy. It doesn’t make your projects prettier or faster. It doesn’t unlock new techniques or creative possibilities.
But it saves you money. Real money.
How it works: The Mat Smoother isn’t sanding down your mat — it’s gently buffing out the fabric fibers, thread bits, and debris that get trapped in the cuts. Self-healing mats are designed to close back up after each cut, but they can’t do that if the grooves are packed with lint and fiber. The Mat Smoother massages those fibers out (always use circular motions with light pressure), and suddenly your “dead” mat is smooth again.
We use it on:
- The big industrial mat when the center section starts to feel gritty
- Our smaller side-table mat by the sewing machine (that one gets messy FAST from trimming threads and seam allowances)
- Any mat that’s starting to show visible fiber buildup
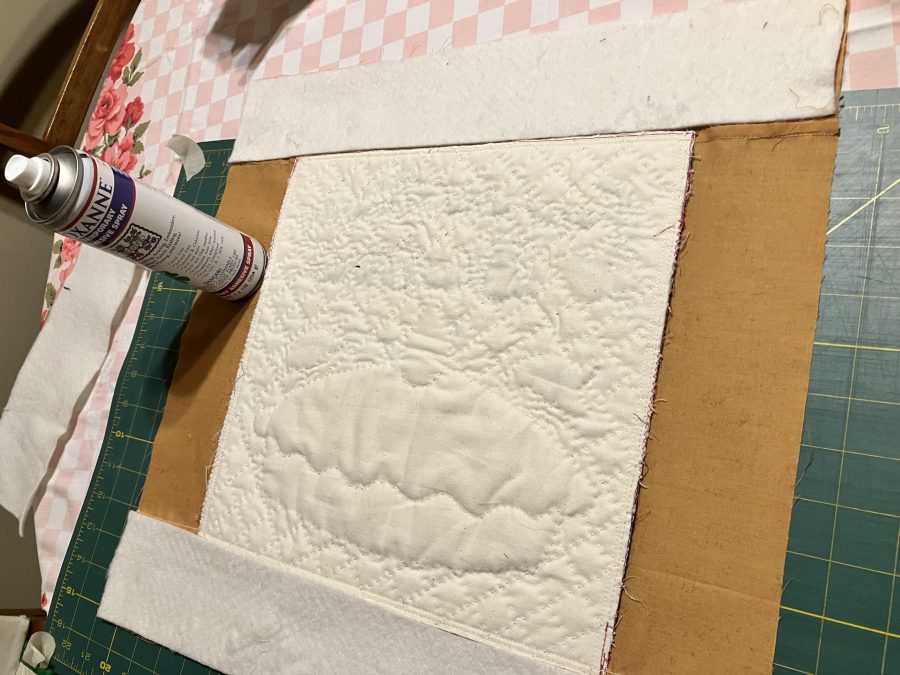
Pro tip: If you’re working on a white mat (like we do for photo and video shoots), dark fabric fibers can get embedded in the surface and cause color cross-contamination when you lay down lighter fabrics. A quick pass with the Mat Smoother before switching from dark to light fabric prevents that transfer. Once we learned that little trick, we use it every time we shoot a class or photograph a project or step-out.
The Lint Magnet: The Unsung Hero of Photo Prep
And then there’s the Lint Magnet, which we also thought we didn’t need. We had lint rollers. We had tape. We had a vacuum with a brush attachment. What more could a sponge-like thingamabob possibly offer?
Turns out: a lot.
Side Note: Yes, we’ve learned to just trust the Colonial Needle Co. folks and use the tools they recommend. We learn!
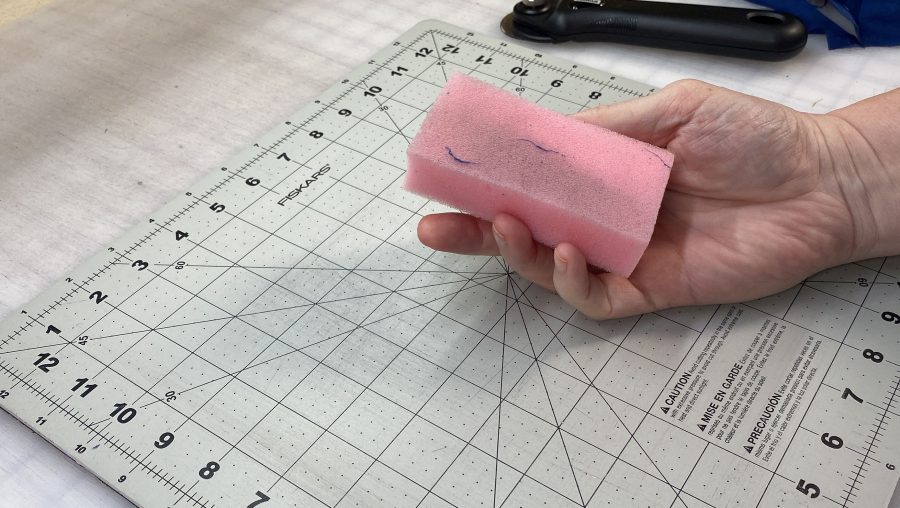
The Lint Magnet doesn’t just move lint around or pick up surface fuzz, it lifts embedded threads and fibers from fabric without leaving residue, without using sticky sheets you have to replace, and without the aggressive pull of a lint roller that can distort delicate textiles.
We use it constantly for:
- Cleaning up the big white cutting table between photo shoots (because every thread shows up on white, and we film and photograph a LOT of content)
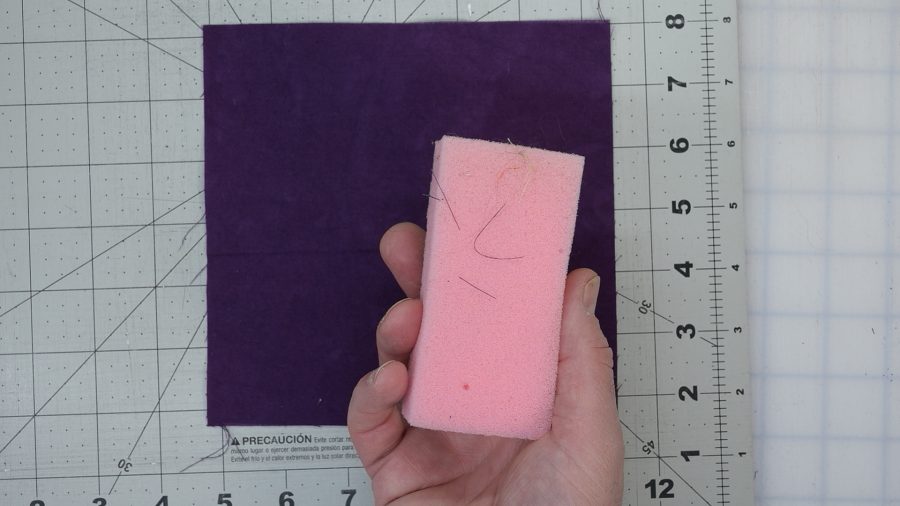
- Removing thread lint from dark sashiko fabric after stitching (white thread on indigo? Every speck is visible)
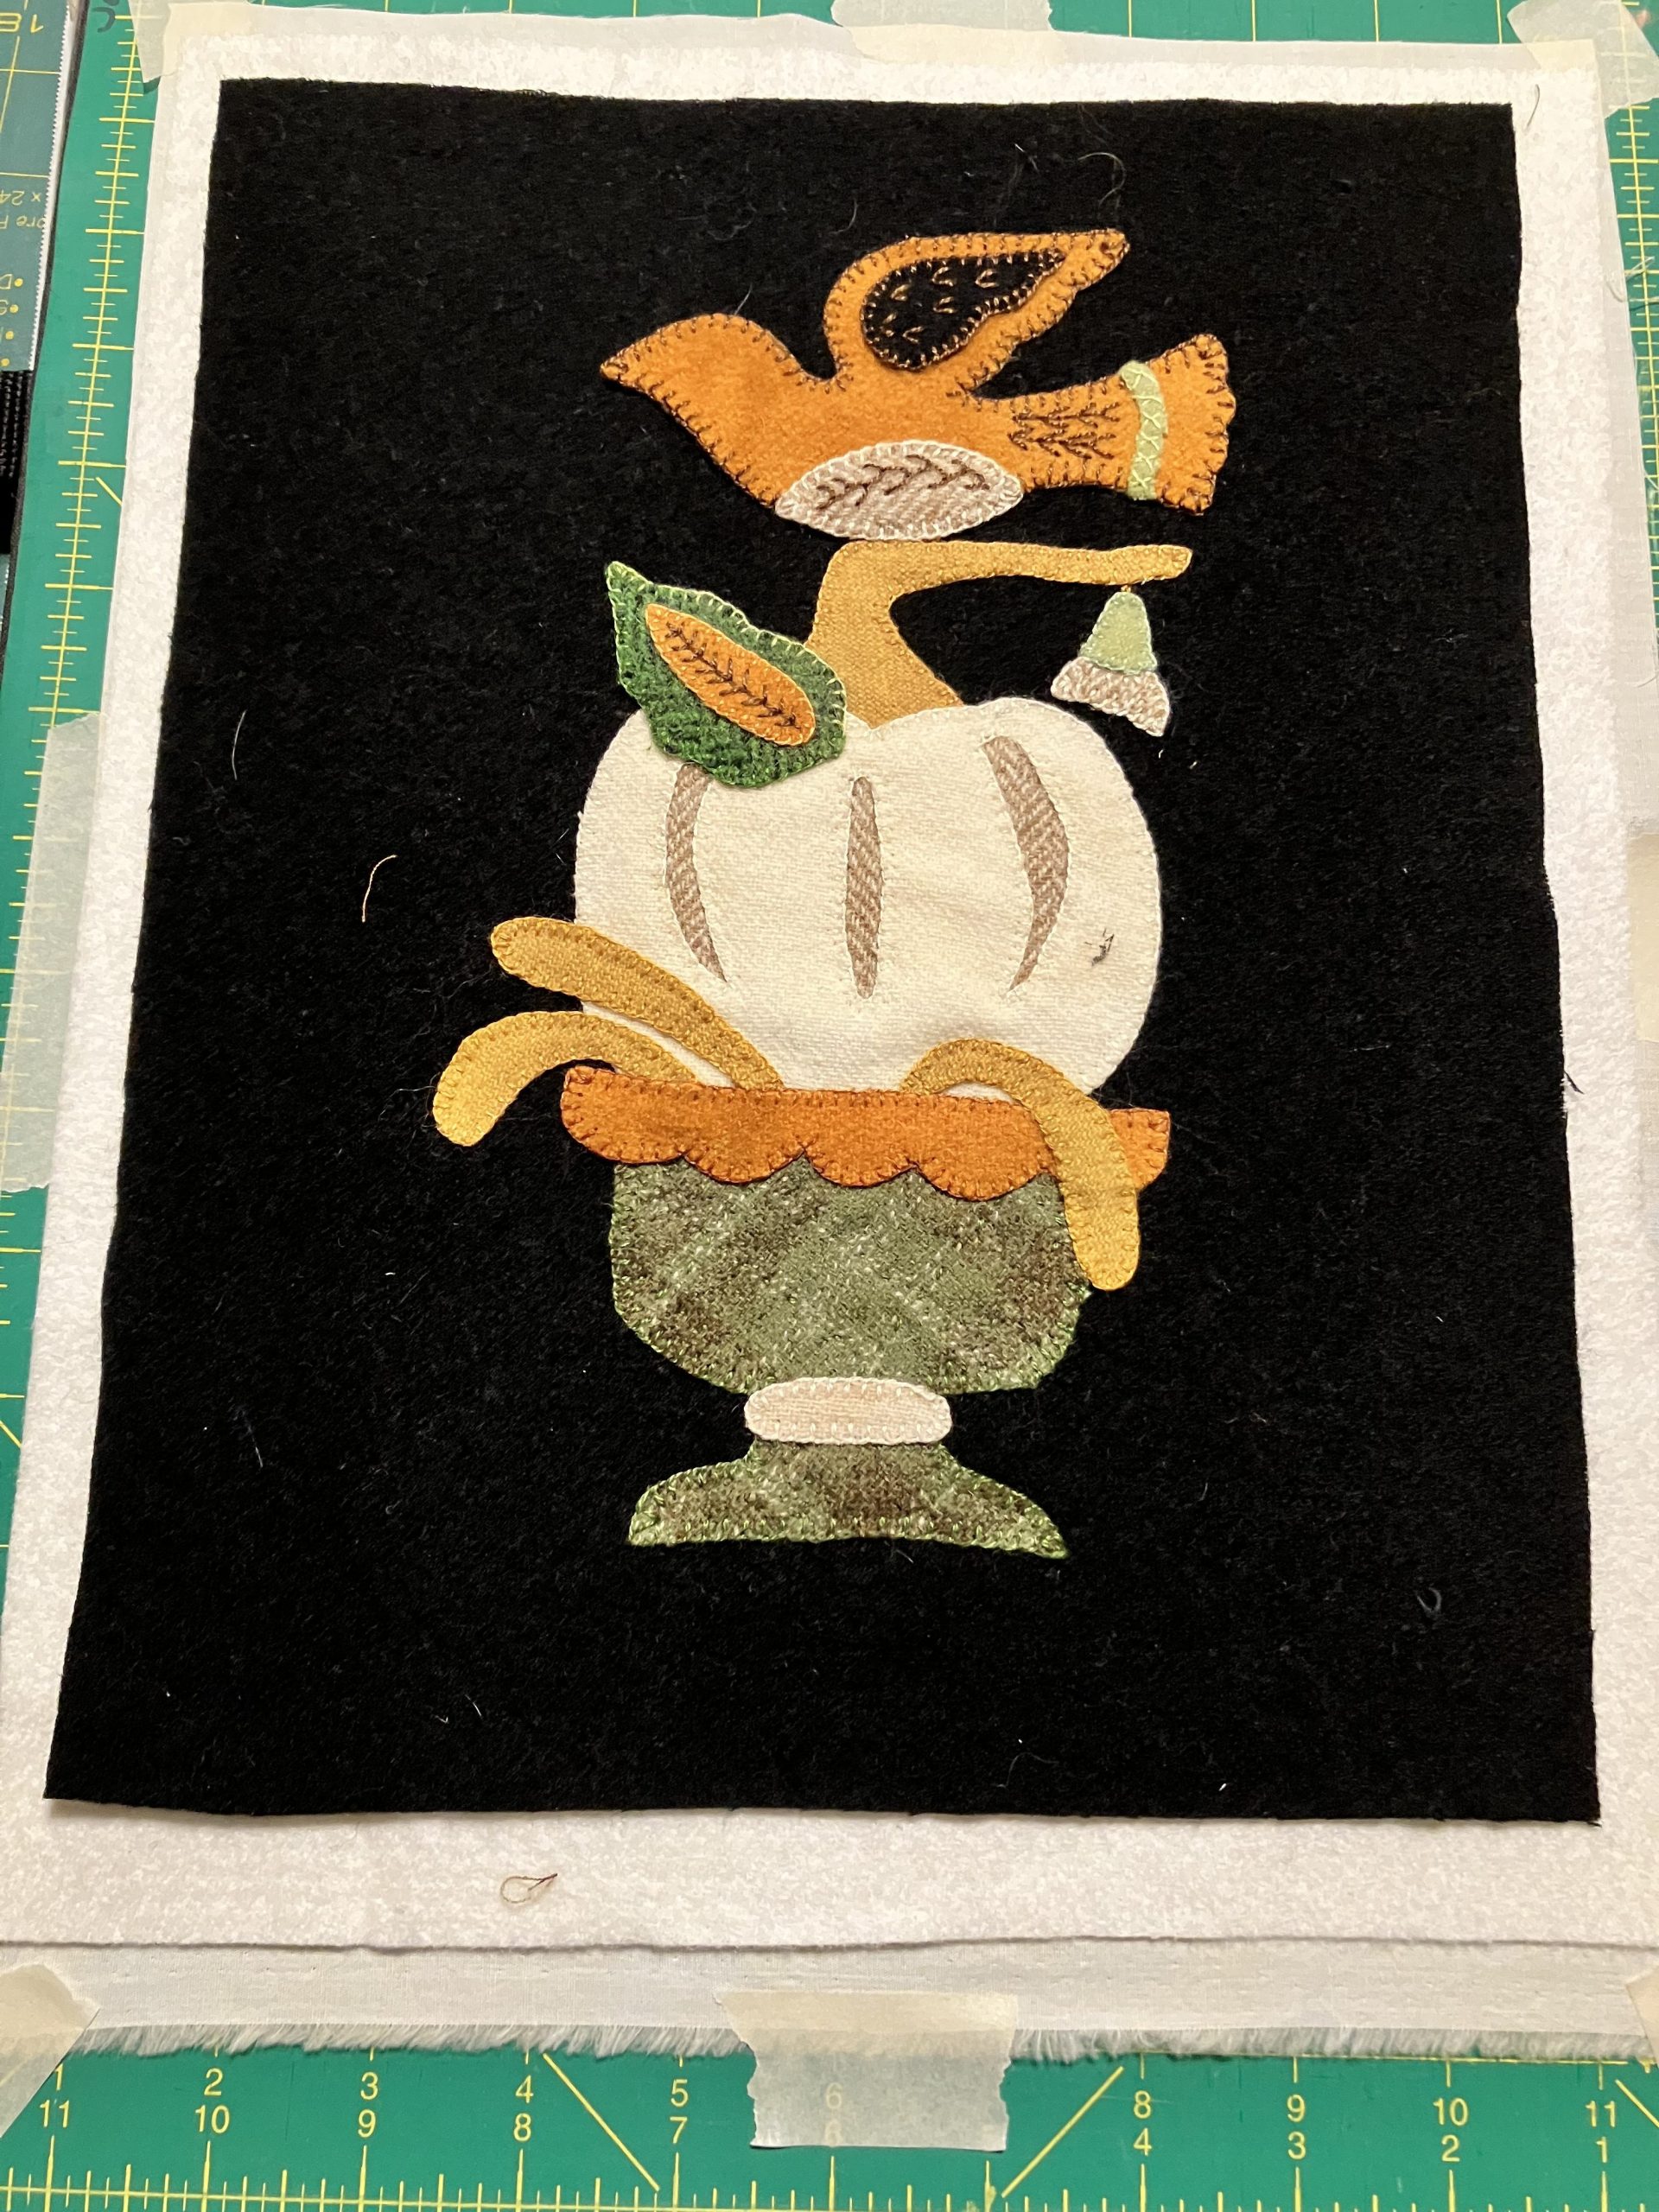
- Prepping wool and felt projects before photography
- Quick cleanup of our sewing machine’s exterior surfaces (because yes, those get fuzzy too)
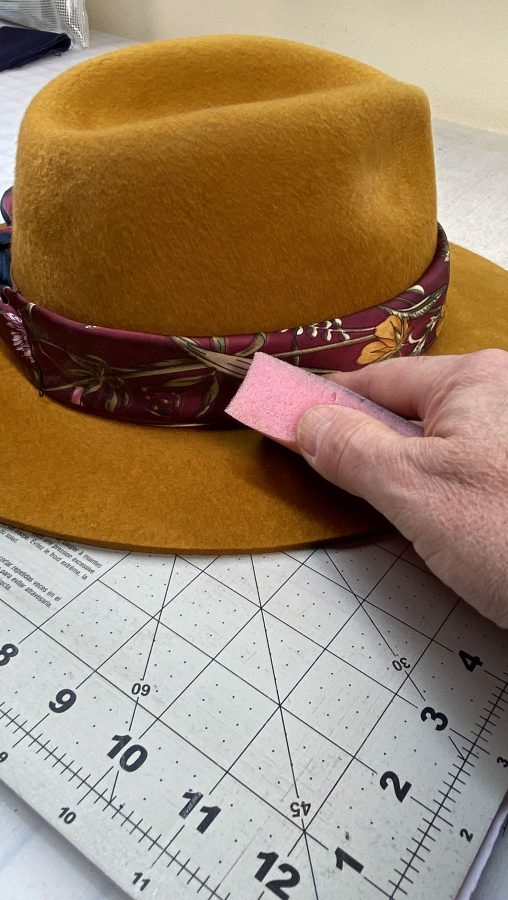
And then there’s the bonus use we stumbled onto recently that we did not see coming: felt hats. If you have a collection of felt hats — and apparently, we do — you already know they attract absolutely everything. The Lint Magnet handles them perfectly. No pulling, no distorting the felt, and no sticky residue that attracts more “stuff,” just clean hats. It’s now a permanent part of our hat care routine before we walk out the door.
The best part? It’s reusable. No disposable sticky sheets filling the trash. Just rinse it when it gets saturated, let it dry, and it’s ready to go again.
It’s one of those tools that falls squarely into our category of “things we thought we didn’t need until we tried them and now we know just how terribly wrong we were and are glad we don’t have to do without them.” It’s a long category title, but we can admit when we’re wrong.
Why Maintenance Actually Matters
Here’s what we’ve learned about studio maintenance over the years: it’s not about keeping things Instagram-perfect, it’s about protecting your investment in your craft.
Clean mats mean:
- Your rotary blades stay sharper longer (less friction = less dulling)
- Your rulers don’t slip on gritty surfaces
- Your cuts are accurate because the blade isn’t skipping over embedded fibers
- You’re not wasting money replacing mats that just needed a good cleaning
Lint-free fabric means:
- Your finished projects look professional (no white fuzz on your black wool coat)
- Your photo and video content is cleaner (trust us, every speck shows up on camera)
- You’re not fighting cross-contamination between light and dark fabrics
These aren’t glamorous tools. They won’t make your Instagram feed pop. But they’ll save you money, extend the life of your expensive surfaces, and prevent the low-key frustration of cutting on a mat that fights you every step of the way.
The Bottom Line: Maintenance Makes the Maker
A few years ago, if you’d told us we’d be writing a love letter to a mat cleaning and smoothing tool and a lint sponge, we would have laughed.
But here we are.
The Mat Smoother saved our big industrial mat from early retirement and extends the life of our cutting mats all over the studio. The Lint Magnet keeps our photo prep from turning into a 20-minute lint-picking session — and our felt hats looking sharp. Together, they’re the maintenance duo we reach for every time we reset the studio.
If your cutting mat is feeling gritty, if your rotary blade is skipping, if you’re considering replacing a mat that’s “just worn out” — try the Mat Smoother first. If you’re spending more time picking lint off dark fabric than actually stitching it, the Lint Magnet will change your life. And if you have felt hats, well. You’re welcome.
They’re not exciting. But their value is in how well they work. And sometimes, that’s exactly what you need.
Ready to restore your studio?
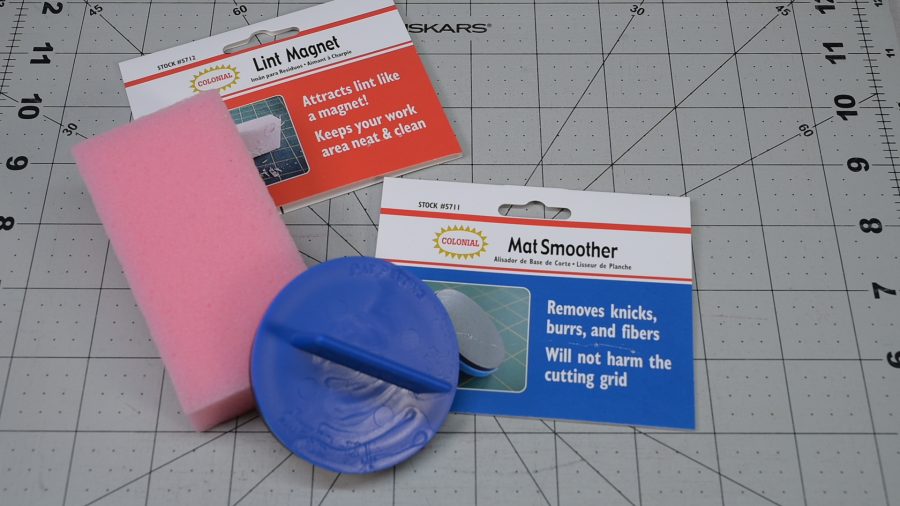
Shop the Mat Smoother here.
Shop the Lint Magnet here.
Watch the video demonstration on YouTube to see these tools in action on our battle-scarred mats and lint-covered fabrics.
What’s your studio’s “high-traffic” zone? Is your cutting mat more scarred or smooth? Share a photo and tag us — we want to see those Mat Smoothers saving the day!