As spring settles in, quilting projects often come back into focus. Whether you’re finishing a winter quilt or starting something new, hand quilting offers a rhythm that’s both productive and calming.
From traditional, fine hand quilting to the bold, modern look of big stitch quilting, the tools you choose can dramatically shape both your experience and your results.
If your stitches feel inconsistent, your needle is difficult to control, or your hands tire quickly, the issue may not be your technique—it may be your needle.
Let’s explore how the right needle supports both traditional and big stitch quilting.
The Stitching Scenario
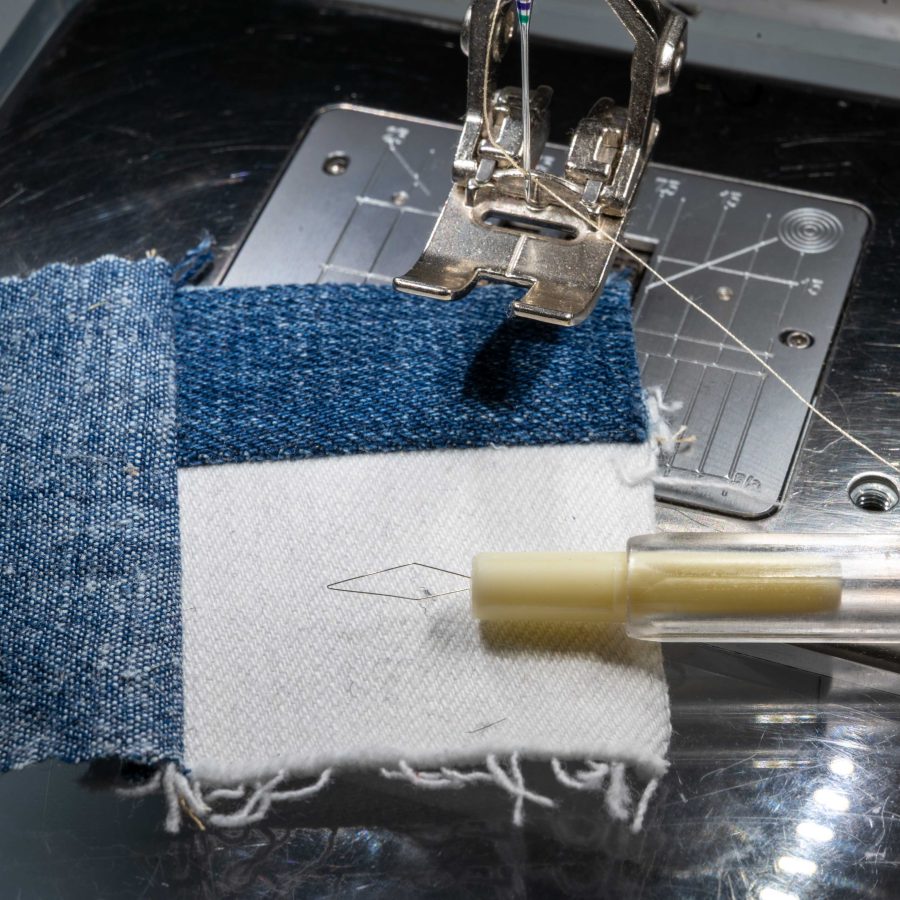
Hand quilting & big stitch quilting
This includes:
- Traditional hand quilting with small, even stitches
- Big stitch quilting using thicker thread
- Quilting through layered cotton, batting, and backing
- Finishing quilt edges or adding decorative quilting
These techniques require stitching through multiple layers, which makes needle choice especially important.
The Common Challenges
When hand quilting, stitchers often experience:
- Difficulty rocking the needle through layers
- Uneven stitch size
- Needle bending or breaking
- Hand fatigue or finger strain
- Trouble maintaining a smooth stitching rhythm
Layered fabrics and batting create resistance, so the needle must be both strong and responsive.
Why the Right Tool Matters
For quilting, a few key needle characteristics make all the difference:
- Length & Flexibility
Shorter needles are easier to rock in a quilting motion, while slightly flexible needles help create even stitches. - Shaft Strength
The needle must be strong enough to pass through multiple layers without bending. - Eye Size
A small eye works well for fine quilting thread, while a larger eye is necessary for thicker threads used in big stitch quilting. - Point Style
A sharp point helps penetrate layers cleanly, reducing strain on your hands.
Choosing the right combination allows for smoother stitching and better control.
Our Recommendation: Needles for Hand Quilting
- Betweens (Quilting Needles) – Sizes 8–10
These short, slightly stiff needles are designed specifically for traditional hand quilting. Their length makes it easier to rock the needle and create small, even stitches. - Sharps – Sizes 7–9
A versatile option for quilters who prefer a slightly longer needle or need more reach through thicker layers.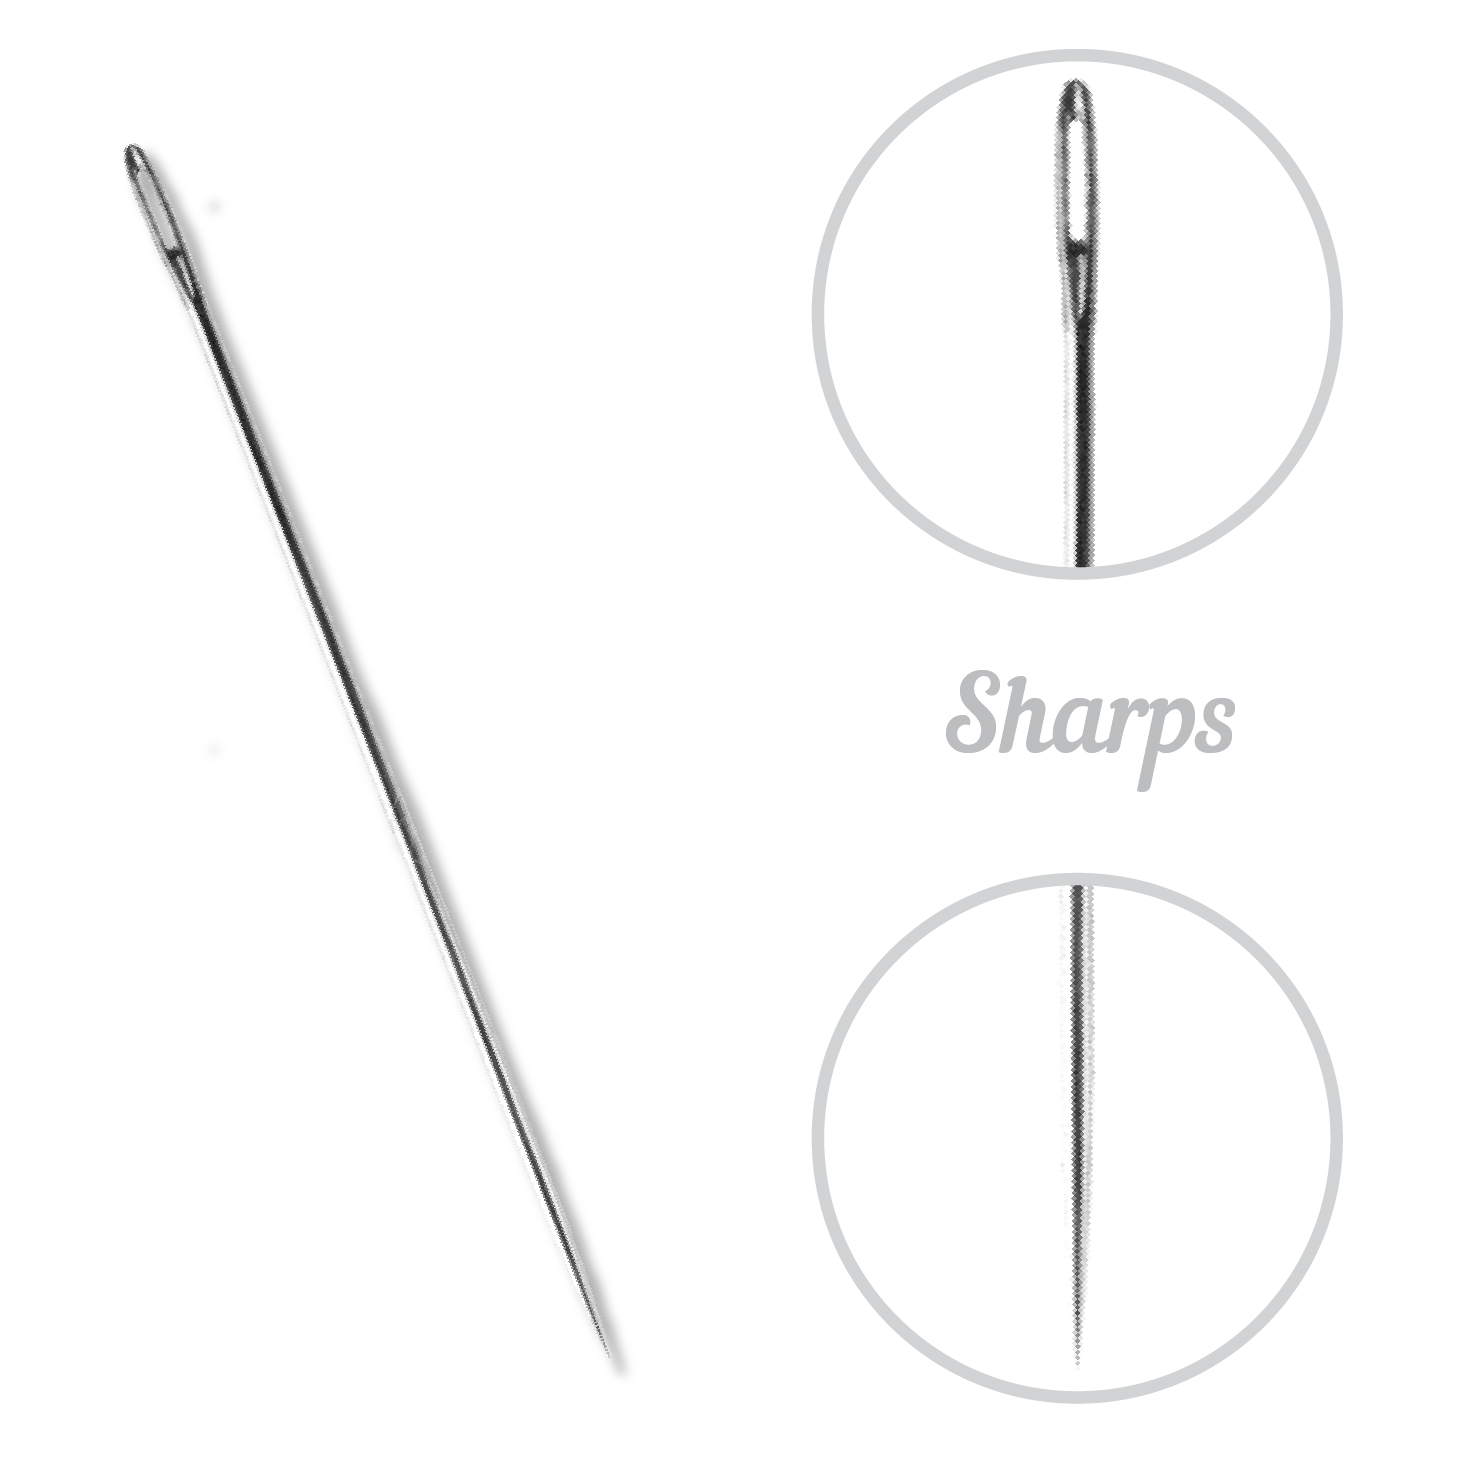
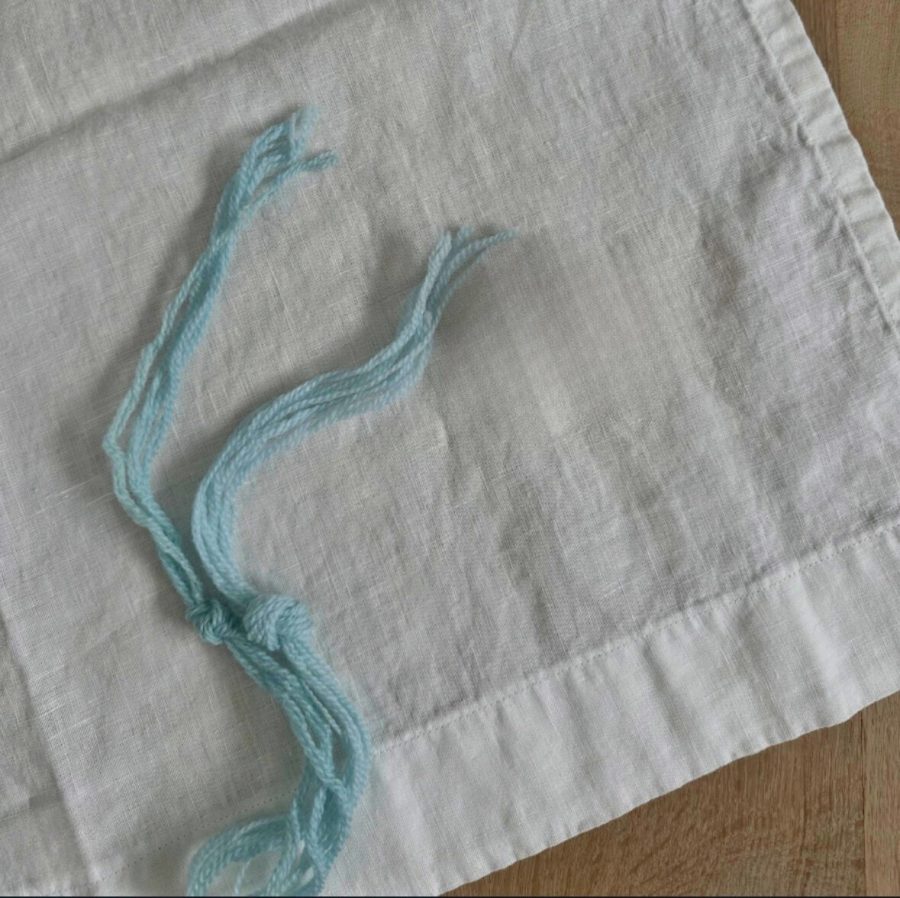
Our Recommendation: Needles for Big Stitch Quilting
- Embroidery (Crewel) Needles – Sizes 5–7
With a longer eye, these are ideal for accommodating thicker threads like perle cotton while maintaining a sharp point for easy stitching.
- Longer Sharps – Sizes 5–7
Helpful for creating longer, more visible stitches with a smooth, steady rhythm.
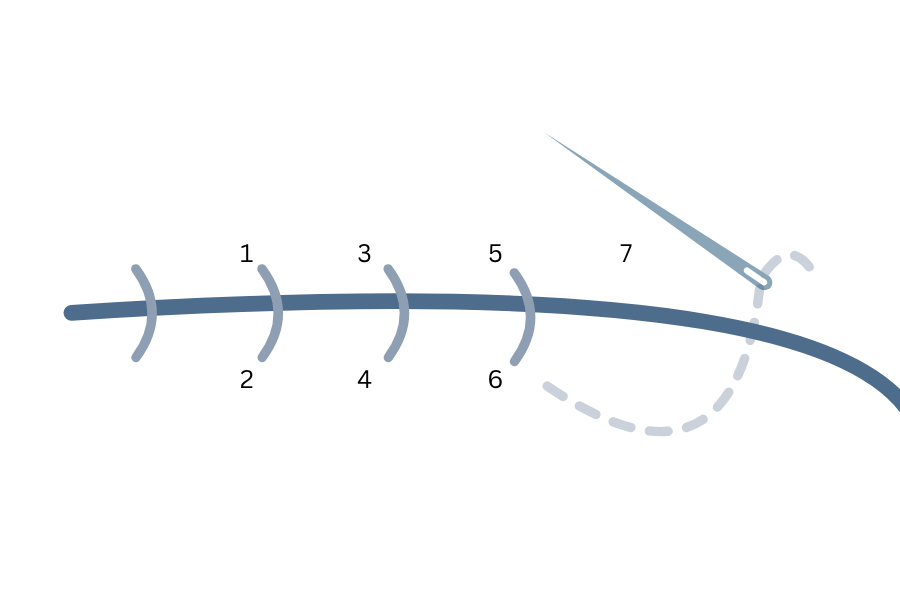
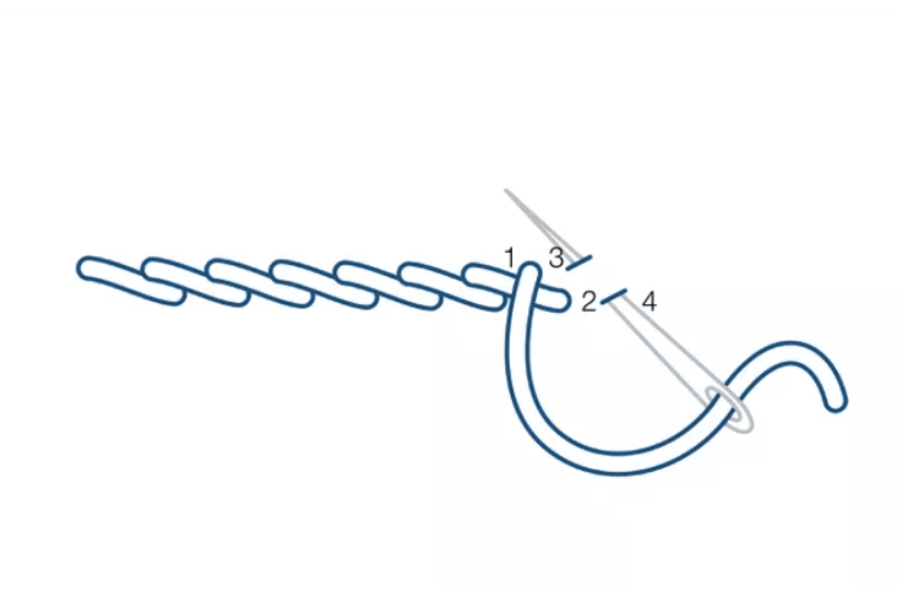
Pro Tip: Find Your Rhythm
Hand quilting is as much about rhythm as technique.
- Load several stitches onto your needle at once (the “rocking” method)
- Keep your grip relaxed
- Let the needle do the work
If stitching feels forced, try a different needle size or length—comfort and consistency go hand in hand.
Special Considerations for Batting & Layers
Different batting types affect how your needle performs:
- Cotton batting offers more resistance and may require a stronger needle
- Poly or blends are easier to pass through but still benefit from a sharp point
If you feel resistance, don’t force the needle—adjust your tool instead.
Reader Takeaway: Quick Checklist
When hand quilting:
✔ Choose short needles (betweens) for fine stitches
✔ Use longer needles for big stitch quilting
✔ Match eye size to your thread thickness
✔ Let the needle move smoothly through layers—don’t force it
The right needle helps you stitch with ease and consistency.
Looking Ahead
Next month in The Right Tool for the Stitch, we’ll explore needle choices for cross stitch on linen and evenweave—where precision and fabric awareness are key.
Until then, enjoy the rhythm of stitching and the satisfaction of bringing your quilt to life, one stitch at a time.
Happy Stitching!