Stumpwork Embroidery & Thread Painting

We are so excited to announce a guest contributor to our blog this week, Megan Zaniewski! Megan has recently authored a new book sharing her techniques, tips, and tricks for stitching 3D Nature Motifs. This book is an absolute delight and includes beautiful pictures and easy-to-follow descriptions and instructions to create your own thread masterpieces. We are truly inspired by her work and are thrilled to be able to share a digital copy of her book with one lucky winner!

*To Enter: Follow us and Megan on Instagram and be sure to like the contest post. For additional entries, tag a friend in the comments. Each tag = one additional entry so be sure to share the love!

Hi! I’m Megan Zaniewski, author of Stumpwork Embroidery & Thread Painting: Stitch 3D Nature Motifs and I’m guest writing for Colonial Needle today to discuss my favorite needles for thread painting and stumpwork embroidery techniques and share some tips for selecting the correct needle size for your project.

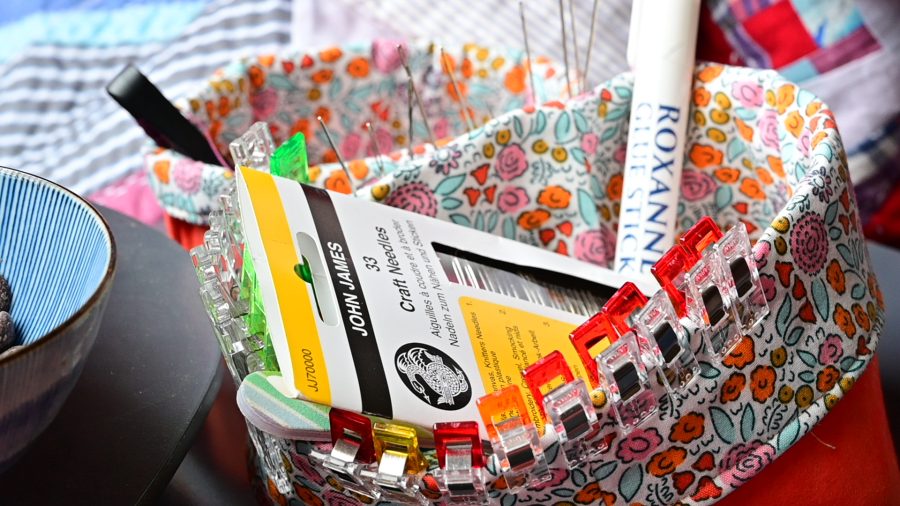
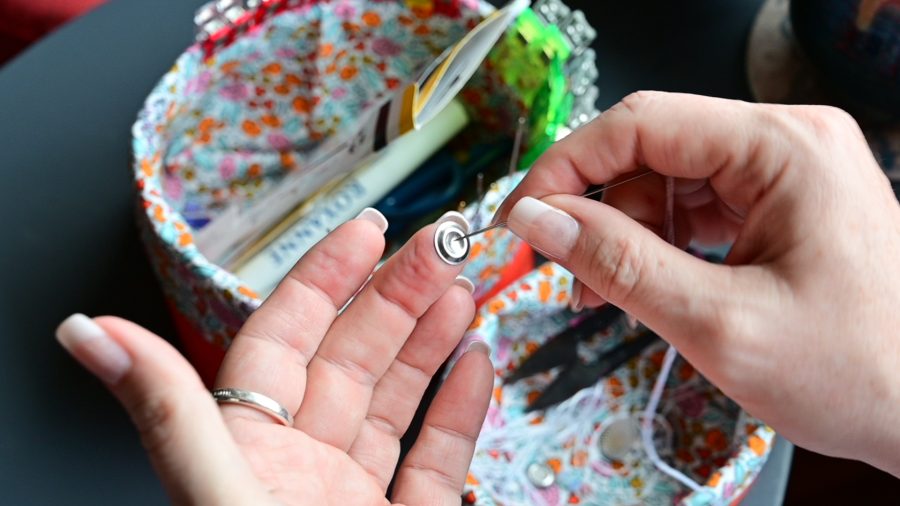
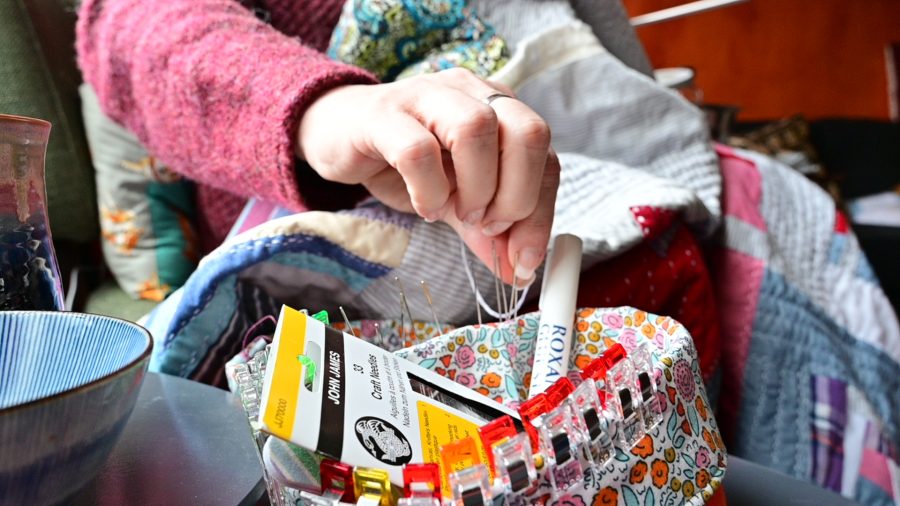
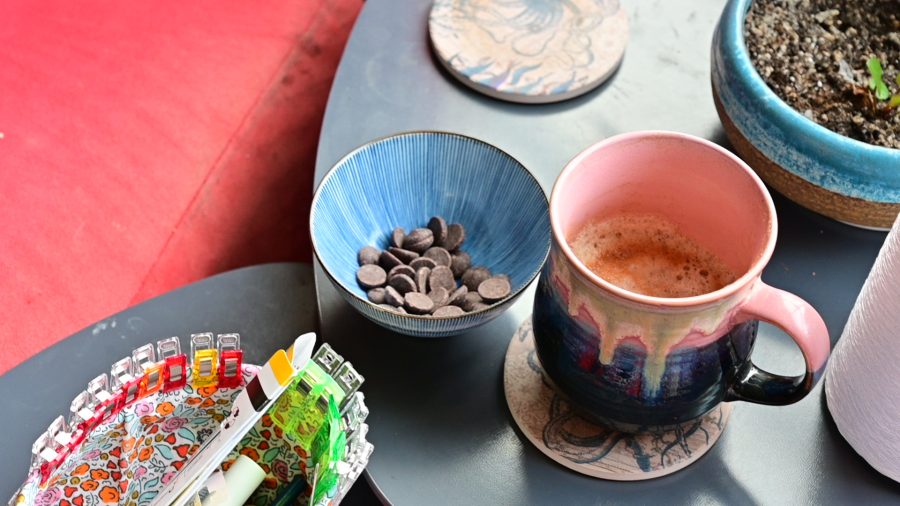
Embroidery tablescape with stitching tools

Why is needle choice important?

Even though the differences between different types of needles and their sizes may seem slight or insignificant, choosing the appropriate needle for your project can make a big difference in your stitching experience and the quality and look of your finished work. 

The type of embroidery you are doing will help determine the type of needle you select. John James Sharps and Embroidery needles are both well-suited, high-quality choices for most hand embroidery with 6-strand cotton embroidery thread, including thread painting and stumpwork techniques. 

What is thread painting?

Thread painting refers to an embroidery style where long and short stitches are used to blend threads, similar to the way a painter blends paint with brushstrokes. Thread painted designs are most often worked in stranded cotton embroidery thread or silk split down to 1 or 2 strands at a time. This blending technique allows the artist to create depth and shadows that render their subjects in realistic, precise detail. This type of detailed embroidery requires a thin needle with a sharp point profile to achieve the best amount of coverage and detail in your work. When thread painting with a single thread of stranded cotton, a size 10 John James Sharp needle is my preferred needle. For 2 strands, I use a size 9 John James Sharp needle. 

A thread painted hummingbird body.
A Hummingbird stitched using Megan Zaniewski’s thread painting technique.

What is stumpwork?

Stumpwork embroidery includes a variety of techniques that produce a 3-dimensional effect. Padded stumpwork and wire slips are two embroidery techniques I use in my work and teach in my book. The John James Sharps needles are my preferred needles for these projects as well because of their sharp point profile. Their thinness and sharpness allow you to precisely couch wireslips in place and stitch through multiple layers of padded felt with very little resistance. Again, I recommend a John James Sharps size 10 for 1-stranded work involving wireslips and padding. The dependably high-quality of these needles will also help ensure your work is clean, consistent, and precise.

A stumpwork pink and purple violet.
A flowery example of Megan’s stumpwork.

How to select needle size

The size of the needle you select in your own embroidery will depend on the number of strands you are stitching with. Follow this general guideline choosing the correct needle size Note: there is some flexibility between sizes. The brand of stranded cotton embroidery floss you are using may affect your needle selection slightly. For example: a size 9 needle can be used for 1 strand as well if you are having difficulty threading it. 

  • 1 strand – size 10
    • 2 strands – size 9
  • 3 strands – size 8
  • 4 strands – size 7
  • 5 strands – size 5
  • 6 strands – size 3

How do I know if my needle is too small?

If you’ve mixed up your needles and cannot confidently identify their size, here are some signs to look out for that might indicate the needle you are using is too small:

  • You have more-than-usual difficulty threading the needle. Smaller needles have smaller eyes to accommodate fewer threads, so if you are trying to thread multiple strands through a smaller needle, like a size 9 or 10, you will find it is very difficult, if not impossible. 
  • You experience resistance when pulling the needle through the fabric. If you have to tug or pull to get your needle and thread through the fabric, your needle is too small. 
  • You lose fabric tension and notice your fabric is denting or puckering around the needle as you pull it through the fabric. 
  • A slight popping sound when the needle pushes through the fabric is often normal and okay, but loud or abrasive sounds as you pull the thread through might indicate that your needle is too small. The hole the needle creates should be large enough to accommodate your thread so that it glides smoothly through the fabric without a lot of rubbing or abrasion.
  • Your thread is becoming fuzzy-looking, breaking, or tangling easily. This happens when the hole is too small for the thread to glide through smoothly, causing the thread to rub excessively against the fabric and wear down with each pass.
  • Sore hands. If you are having to work harder to get the thread through the fabric, the additional strain on your hands can cause them to hurt or tire easily. 

If you encounter any of these issues and suspect your needle is too small, try the next size down (ex. switch from a size 9 to a size 8). Remember, needles get larger as the size # decreases.

How do I know if my needle is too large?

Alternatively, here are some signs that might indicate the needle you are using is too large:

  • Visible holes left in the fabric around the thread are a sign that your needle is too large. The needle should create a hole wide enough for the thread to pass through comfortably without resistance, but not much larger than that. 
  • Stitches that are loose.

If you suspect your needle is too large, try the next size up (ex. switch from a size 8 to a size 9), which will be a slightly smaller needle.

I hope these tips help take some of the guesswork out of choosing the correct needle size for your hand embroidery project. Remember, stitching should be comfortable and fun above all else. If your needle is causing you hand strain or frustration, try out different sizes until you find what works best for you. 

Happy Stitching!

Book Cover: Stumpwork Embroidery & Thread Painting

Awesome Applique

By Judy Moore Pullen

What is applique?

Let’s start by answering this simple question:

To applique is to apply a piece of fabric on top of another piece of fabric background or on top of a pieced background. This can be done by hand and/or machine, using a variety of methods and techniques. An applique (n.) is the fabric stitched on top of a background, either by hand stitching or using a sewing machine. 

What I love about applique:

I love applique for so many reasons! My passion for it is in both the process and the product. I find it awesome, while some find it awful to do. At one time, I belonged to a group of like-minded hand applique stitchers. We could multi-task: sit and stitch and enjoy each other’s company at the same time. I hope to sway some readers to try applique, so this subject probably will probably require more blog posts.

The Economics of applique:

There is actually a little economics history related to applique. Years ago, those who made quilts for function only were probably the first scrap quilt makers. If you had to raise the cotton or sheep, harvest the product, spin the fiber, weave the cloth, make the garment, all while struggling to put food on the table and survive, the most efficient and economical way to make quilts for your family was to join scraps of fabric side by side of whatever was left over from worn out clothing. Over time, when funds were more available, and a quiltmaker desired to make a quilt pretty, she could arrange bits and pieces of fabric together to perhaps design flowers for embellishment and applique them on top of the scrappy pieces. Quiltmakers with even more money and time on their hands added hand applique to their quilt tops. Think crazy quilts, broderie perse.

My journey with applique:

As I enjoy the process – the doing of something (except for dusting and vacuuming), hand applique is a joy for me to do! There are so many ways to hand applique, and my favorite way is needle turn. I remember the moment I saw someone demonstrating it at a local quilt show years ago. She looked so relaxed, so confident, and her work was beautiful. I picked her brain and observed for a while, then decided to try my hand at needle turn applique at home.

In the beginning, I was somewhat self-taught, ironing a freezer paper template on the right side of my applique fabric, tracing around the cut edge with a pencil, then cutting the fabric with a scant 1/4” seam allowance. I left the freezer paper in place as I hand stitched, using thread color that matched the background and tried to conceal my stitches. I quickly learned that matching the color of the thread to the color of the applique fabric was much better. While working and playing in a quilt shop at the time, I offered to teach a hand applique class. When a student asked what kind of needle I used, I promptly replied: “Whatever I can see to thread.” Let’s fast forward from that time, since I have learned so much more about tools and techniques, often times by trial and several errors.

There are a few things that make my needle turn applique look so much better, and much more relaxing and enjoyable to do:

  • Thread size
  • Thread kind
  • Thread Color
  • Choice of Needle
  • Needle Grip-Its from Colonial Needle Co.
  • Roxanne thimbles
  • The invisible stitch
  • A lighted magnifier
  • A pillow on my lap
  • Cookies and coffee…

Let’s break those down:

1. Thread

Presencia 60 weight thread is my thread of choice for needle turn applique. It is made from the finest quality long staple Egyptian cotton, is 3-ply for strength, and virtually lint free. The bigger the number, the finer the thread, which helps make my stitches virtually invisible. I want my hand stitching to last, so 3-ply (three strands of fiber wrapped together) makes this very fine thread so strong. Whenever possible, I unwind a strand of thread and lay it across my applique fabric to check for the best color. Sometimes I audition several colors. My first glance is my best clue to the color that will become one with my applique.

2. Choosing your needle

John James’ Signature Collection Needles are my needles of choice. They are made of the very finest precision engineered steel, making them so strong. With their proprietary finish, these needles glide easily through fabric rather than prodding it out of place. They are available in 4 different kinds: Embroidery – sizes 7, 8, 9; Milliners – sizes 9, 10, 11; Quilting – sizes 7, 8, 9, 10, 11; and Sharps – sizes 7, 8, 9, 10. As with thread sizes, the bigger the number, the finer the hand sewing needle. Machine sewing needles are the opposite.

My needle of choice with my knobby fingers, is a Milliners size 10. It is longer and allows me to sweep the seam allowance under as I go, concealing the drawn line of my applique. I now remove the freezer paper prior to stitching.

*TIP: in tight places like an acute “innie” point, I have a Quilting needle size 7 already threaded. I park my Milliners needle in the background, and make tiny stab stitches with my threaded Quilting needle to invisibly secure those tricky little “innie” points.

You may prefer to begin with a different John James Signature Collection needle or one of the many others offered by Colonial Needle Company. Just as some shoes are comfier than others, see what is the best fit for you and your hands.

3. Needle Grip-Its

Prior to stitching, I secure two little adhesive clear circles of Needle Grip-Its to my needle-holding hand on my forefinger and thumb where I will be gripping the needle. Faithfully using these little magic circles, I have no pain in my hands, and can stitch to my heart’s delight! These tiny adhesive circles stay securely in place during the repetitive motion of gripping and pulling a needle.

4. Roxanne Thimbles

I was happily gifted with a Roxanne Thimble several years ago, and it is the gift that keeps on giving, helping me to painlessly push the needle through fabric, regardless of what kind of hand stitching I am doing. The sideways motion of using Roxanne’s Thimble is better for one’s hands. Getting a correct fit is also important, and quilt shops who carry them are so helpful. Colonial Needle also has a handy info sheet on their website which can be found here.

*TIP: add a Roxanne's Thimble to your gift list, as well as matching Roxanne's Thimble earrings! They are so cute and readily identify you as a hand stitcher.

5. Lighted Magnifier

The lighted magnifier allows me to place light right over my work and more easily see where I am stitching, especially the tip of my needle as I insert it into the background fabric then upward through the underside of the fold.

6. Lap Pillow

The pillow on my lap helps bring my work to a more comfortable position so I can rest my arms and be at ease.

7. And last but not least…

The cookies and coffee, inspire me to take breaks to get up and stretch, walk into the kitchen, and let my little dogs out for a break for them, too.

In Conclusion:

Each of these tools will help your hand applique stitch become nearly invisible, strong, and secure. I think of the fold of the seam allowance of an applique as a cliff, and I am standing on the edge of the cliff. I bring my needle up from the inside of the applique to the back side of the fold, then “jump off the cliff” straight down with my needle into the background. Then travel with the point of my needle under the background a very few threads and come up with the needle just under the fold, the edge of the cliff. If you jump off the cliff/fold to the left or the right with your needle, your thread will show.

*TIP: Instead of scrunching the excess background fabric in my left hand while stitching with my right hand, I roll the excess fabric so that it fits neatly into the palm of my left hand. This keeps my fabric smoother, reduces stress on my hand, and helps prevent me from stitching my background to the wrong places as in my pillow or my clothing. I have learned a lot from my many mistakes.

Oh, the joy of needle turn applique! I feel like an artist, a sculptor, and I can “make the applique my own” by changing a shape as I go. Hand applique helps slow me down, listen to music or a recorded book, watch TV, talk with friends, or just sit quietly, breathe, and put a little love into every stitch. I can take a project with me on a walk along the river, sit down on a bench and stitch whenever and wherever I choose. I enjoy sitting outside in the cool mornings with my little girls, being serenaded by the birds’ songs and stitching by hand.

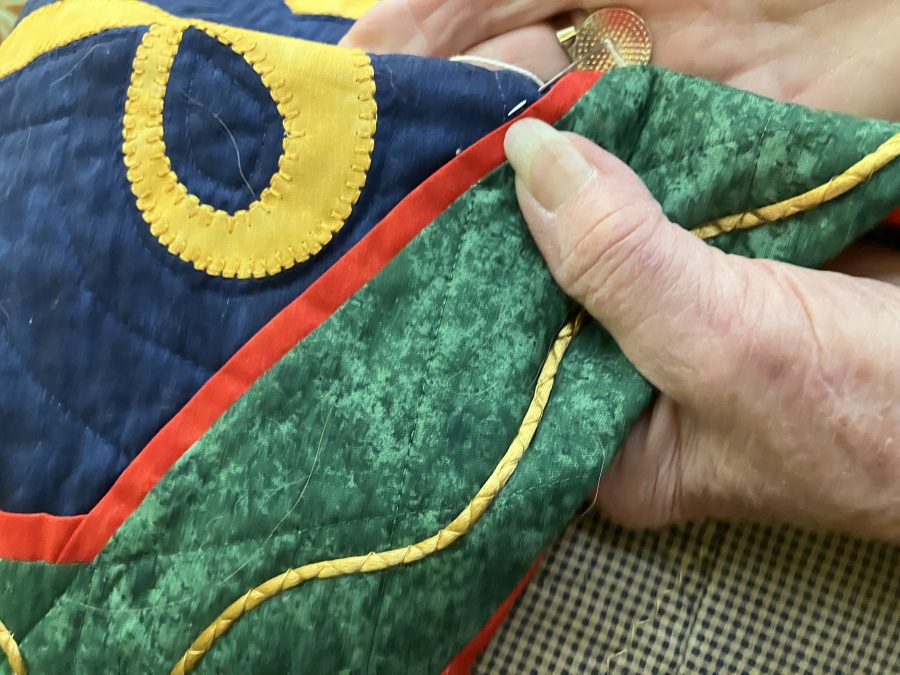
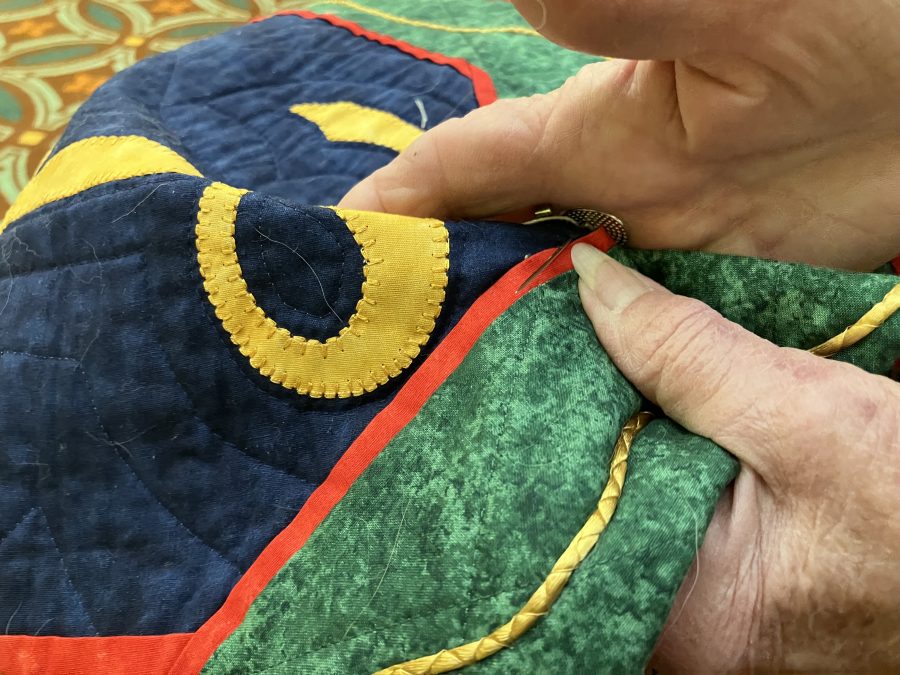
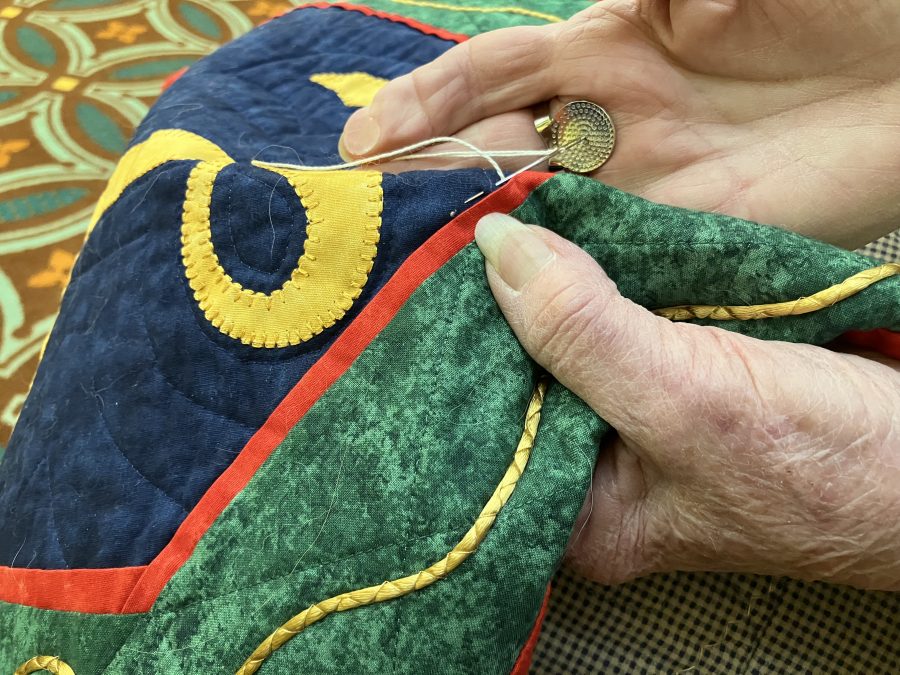
Applique Flowers on Quilt

There are several ways to applique, and I look forward to sharing them with you as well. There is beauty in hand work, a human quality that is beneficial for the hand stitcher as well as for the person who admires or receives the work of one’s hands and heart. Be kind to yourself and savor every stitch. Just as my dad had a box full of hand tools that helped him with his work and play, there are tools that are helpful to those who enjoy hand applique and think of it as Awesome. There is joy and grace in simple things.

Happy stitching,

Judy

Preparation for Needleturn Applique: Tools & Tips

By Judy Moore Pullen

Applique is an awesome, not awful, word to me. I feel like a sculptor as I swoop and turn under that scant 1/4” seam allowance; traveling down straight folded edges of applique fabric, then creating curves, dipping into innie points and playing with my newest trick for pointy outie points. There are several things I suggest doing in preparation for my joy of sculpting fabric, AKA: hand applique.

Thing 1: Gather your tools. Tools as in fabric cutting scissors: sharp to the point and rather short for better control of where you clip and how far you clip into the seam allowance. And use just those sharp points of your scissors to clip and trim. I learned that the hard way several years ago while hand quilting on a frame on my mother’s quilt. I opened large scissors all the way and clipped the thread as well as the quilt top. That was a good, life-long lesson I learned that day. Sometimes I also use pinking shears to carefully trim the cut edges of the applique, taking tiny bites out of the fabric for ease in turning under the seam allowance and reducing bulk beneath the applique. Practice first with those pinking shears. You can always trim away more, but it is most frustrating to try to turn under a seam allowance that is too narrow and ultimately frays.

Thing 2: One of my favorite tools for hand applique that I gather is a thimble. I especially love using Roxanne Thimbles. A correct fitting is required (Colonial Needle has put some tips together here). When I owned a quilt shop several years ago, I suggested to my customers who were interested in a Roxanne Thimble that they bring some handwork, and spend a little time trying out several sizes by sittin’ and stitchin’ for a little while — somewhat like walking around in a new pair of shoes to make sure they fit prior to purchase. In addition to being very comfortable with a proper fit, Roxanne’s  Thimble  is ergonomically better for your hands. The side-push of the needle with your finger is better for your hands than pushing the needle with the tip of your finger. Using this thimble allows me the joy of continuing to hand stitch for many years to come. Roxanne’s Thimble also makes a lovely gift for that special friend or family member with a choice of gold plated, silver plated, or sterling. Every time I use mine, I am reminded of a dear friend who gifted me with one- a gift that keeps giving.   

Thing 3: Another very small but also very helpful tool are Needle Grip-Its. Press your thumb and fore- finger together where you grip a needle. Then peel a little circle from a sheet in the package and apply the sticky side to the tip of your thumb on your dominant hand. Repeat for your forefinger on your dominant hand. The repetitive motion of gripping, pushing, and pulling a needle can cause pain and swelling in one’s hands. These little unobtrusive circles stick well to your finger and thumb, and help to more easily grip and direct the needle exactly where you desire into the fabric. This also helps with that invisible applique stitch. Needle Grip-Its come packaged in sheets of 70 adhesive dots to easily carry in your sewing basket. They can also be cut into pairs to include in customers’ kits for classes, offering a great opportunity to try before you buy. 

Some of my favorite tools to do one of my favorite things: hand applique!

Thing 4: The quality of Presencia Thread for my hand applique assures me that the time and effort I spend making my stitches as invisible as possible is well worth it. Presencia begins with the finest 100% Egyptian Cotton, virtually lint-free, strong, and durable. As I acquire more candles on my birthday cake and my number becomes bigger, I am reminded that the bigger the number, the finer the thread (and hand sewing needles – sewing machine needles are the opposite.) For those nearly invisible hand applique stitches, there are four things that are especially helpful: applique thread size, applique thread color, the needle, and the stitch.  I recommend sewing with sizes 50 weight or 60 weight for hand applique. Both sizes 50 and 60 are 3-ply (three fibers plied, twisted  into one fine thread) therefore also very strong. For thread color, if possible, unwind a few inches of Presencia Thread from the spool and lay it across your applique fabric. We used to just lay a spool of thread across the fabric to audition thread color, but another lesson learned, thread color on the spool is different from a strand of thread.  My personal favorite thread size is 60 weight since it is smaller in diameter than 50 weight.

Thing 5: I love so many needles that Colonial Needle Company has to offer. Over the years, I have also learned that fitting the needle to the thread and the project is most important. I used to sew with whatever needle I could see to thread, with whatever thread was available. With time comes wisdom! I really enjoy using the John James Signature Collection Needles, especially their Milliners and Quilting Needles for needleturn applique. The Milliners are long, very fine, strong, and help to easily pierce the folded edge of my applique as well as the background fabric. Because the needle is so sharp and made in England of the finest quality steel, I can easily pierce the fabric rather than push and distort where I want the applique. The length of the Milliners Needle helps me to turn under the seam allowance then hold the fold with the thumbnail of my other hand. With needleturn applique, I can spend my time and effort stitching, rather than preparing the appliques, although I must admit that friends who do prepared hand applique do beautiful work. The process of needleturn is what I love so much! Sometimes I enjoy a change, and use the John James Signature Collection Quilting Needle. It gives my hands a break, kind of like changing from tennis shoes to slip-on shoes mid-day. John James Signature Collection Needles also are available in Embroidery and Sharps Needles. They are packaged in the USA  in crystal clear tubes of 25 needles, enough to keep you supplied for quite a while and to share with friends.

Thing 6: Just to mention a few other things I keep handy in preparation for hand applique: I highly recommend a good light source directly over your work. My light source is also magnified, helpful due to all those birthday candles…I also stitch with a pillow on my lap which helps to bring my sewing up to a level that is comfortable for me, and helps me rest my hands as well as more accurately position my needle and scissors. A pincushion for fine straight pins is a better option than the arm of my “nest” chair where I sit and stitch. A needle threader is helpful, and I will have a suggestion on tips for threading a needle in blogs to come. I enjoy hand sewing so much that I neglect getting up and moving around, so setting a timer is a good reminder for me if I am listening to an audio book or the serene sound of silence while I sew. If watching TV, I challenge myself to stand and stretch during commercials. 

I try to keep several containers, baskets and boxes prepared with a collection of tools and WIPS (Works in Progress) for grabbing and going out the door, or putting in my car the evening prior to an appointment or meeting. One never knows when one will need to savor just sittin’ and stitchin’. Most of us can multi-task anyway- listen and stitch. Needleturn applique helps me to be somewhat less annoying while listening to a speaker, while waiting for a delayed appointment, or for taking to the park when I have some time to spare between appointments. It also offers me the opportunity to meet new people, share interests, and perhaps even acquire converts to hand sewing. It’s all good, and gets better with the best and right tools and tips.

Happy sewing,

Judy Moore Pullen

Stitching Memories

By Judy Moore Pullen

Do you remember when you took your first hand-sewing stitches? Was there someone who had taken you under her wings to help you learn the ins and outs of hand stitching? Do you have a story to share about learning to sew that might inspire someone else?

I have several stories to share about the wonderful people who took me under their wings and taught me to sew. And, even though I am not clear about what I wore yesterday, I well remember my very first attempt at hand sewing. I was about three years old and my parents, my best furry 4-legged friend Doodie (an English shepherd), and I lived on a farm in Ohio. After putting me down for a nap, my mother slipped out of the house to work in the garden. At the age of three, I would rather have been outside playing fetch with Doodie than stuck inside napping. Today, a nap is a welcome break and has become a daily habit 😊

Back to my story…upon waking from my nap, I discovered a tiny hole in my brown corduroy bibbed overalls. (Check out the photo to see why I still “remember” the color of those pants.) And just what does a little girl do with a hole in her pants when she is ready to get out and go play but Mama is not there? This little girl fiddled with the hole until it became bigger, and bigger, and bigger. I had watched my mother make those pants. So when I realized that I just might be in trouble, I climbed out of bed, found my mother’s sewing box, and started stitching up that hole with my stubby, chubby little fingers.

When Mama returned from the garden to check on me, was she upset that I had begun demolition on my overalls and tried to fix them? Not at all! She laughed and could hardly wait to show my daddy when he got home from work. I still have that pair of pants, with the textured corduroy worn smooth at the knees, and the hems a darker color since Mama let out the hems as I grew taller.

How I treasure that story, for many reasons. Reflecting on that first attempt at sewing, I think it is one of the many things that helped give me direction over the years. A year later, when we moved to a small town, a dear sweet granny took me under her wings and taught me the ins and outs of needle and thread hand embroidery on a dishtowel. I can still picture Grandma Morehead sitting next to me on her sofa (she was a very proper lady) arms wrapped around me, helping me hold an embroidery hoop and guiding my hands to make stitches in one of her dishtowels.

Years later, dear Mrs. Crawford, Home Economics teacher in my high school in a little town in Ohio that still does not have a stop light, patiently taught me to hem a lined red wool suit with nearly invisible stitches. I still have the pinking shears that I won with that red wool suit!

There are many more stories that I treasure remembering now that I spend more time reflecting on wonderful people who have guided me, taken me under their wings and taught me skills that have enabled me to do what I love and love what I do. Good people continue to help me.

And then there are the wonderful folks at Colonial Needle Company who have become like family to me, allowing me to teach techniques, test some of their products, and share my tips for stitching and my thoughts. One of their newest products is John James Signature Collection Needles, that are, as the old saying goes, better than sliced bread and twice as sharp as the knife that sliced that bread!

John James newest Signature Collection Needles come in 4 types: Betweens, Sharps, Milliners, and Embroidery. Manufactured in England and packaged by Colonial Needle Company in the USA, these excellent needles are precision engineered of premium steel, with a proprietary finish so that they smoothly and easily glide through fabric. Hand stitching is strain free. The points on these needles are so sharp that they easily pierce the fabric rather than push it, resulting in greater accuracy, especially important in hand applique, and make hand stitching even more enjoyable.

John James Signature Collection

Betweens, also known as Quilting Needles, come in sizes 7-11. Keep in mind that the bigger the number the finer the hand sewing needle. The opposite is true for machine needles. (I like to think that the bigger my number/age, the finer I am getting, too. Therefore, I remember age 3 but not what I wore yesterday…) John James Signature Collections Sharps Needles come in sizes 7-10; Milliners sizes 10, 11; Embroidery Needles sizes 7,8,9. They are packaged in crystal clear tubes of 25 needles, so that you do not quickly run out, and have plenty to share with your like-minded friends.

More about these wonderful needles and samples, tips, and techniques in blogs to come.

So, as you sew, think about your first hand-sewing experience. When? Where? How? What? Who helped? Perhaps if Mama had gotten upset with me and my attempts to repair the pants in which I enlarged the small hole, I might not have continued on my journey with needles and threads, and what a joyous journey it has been and continues to be. I encourage you to think about and share your sewing memories.

Happy sewing and happy thoughts,
Judy Moore Pullen

April Tricks and Tips

By Judy Moore Pullen

It seems that the origin of April Fools’ Day is somewhat a mystery, although many of us especially enjoy celebrating and having fun with others on that day. I would like to share some tricks and tips with you today that might help take some of the mystery out of sewing as well as make it more enjoyable…except for mending and hemming blue jeans…that is another story.

Trick one:

I love hand sewing, and have a passion for needleturn applique! Before I begin any hand sewing, I prepare by adhering Needle Grip-Its to the tips of my forefinger on my needle-holding hand. The repetitive motion of gripping and pulling a needle causes pain in my hands, and these non-intrusive little dots grip the needle without leaving sticky reside on the needle throughout an entire movie on TV, including commercials!

Tip two:

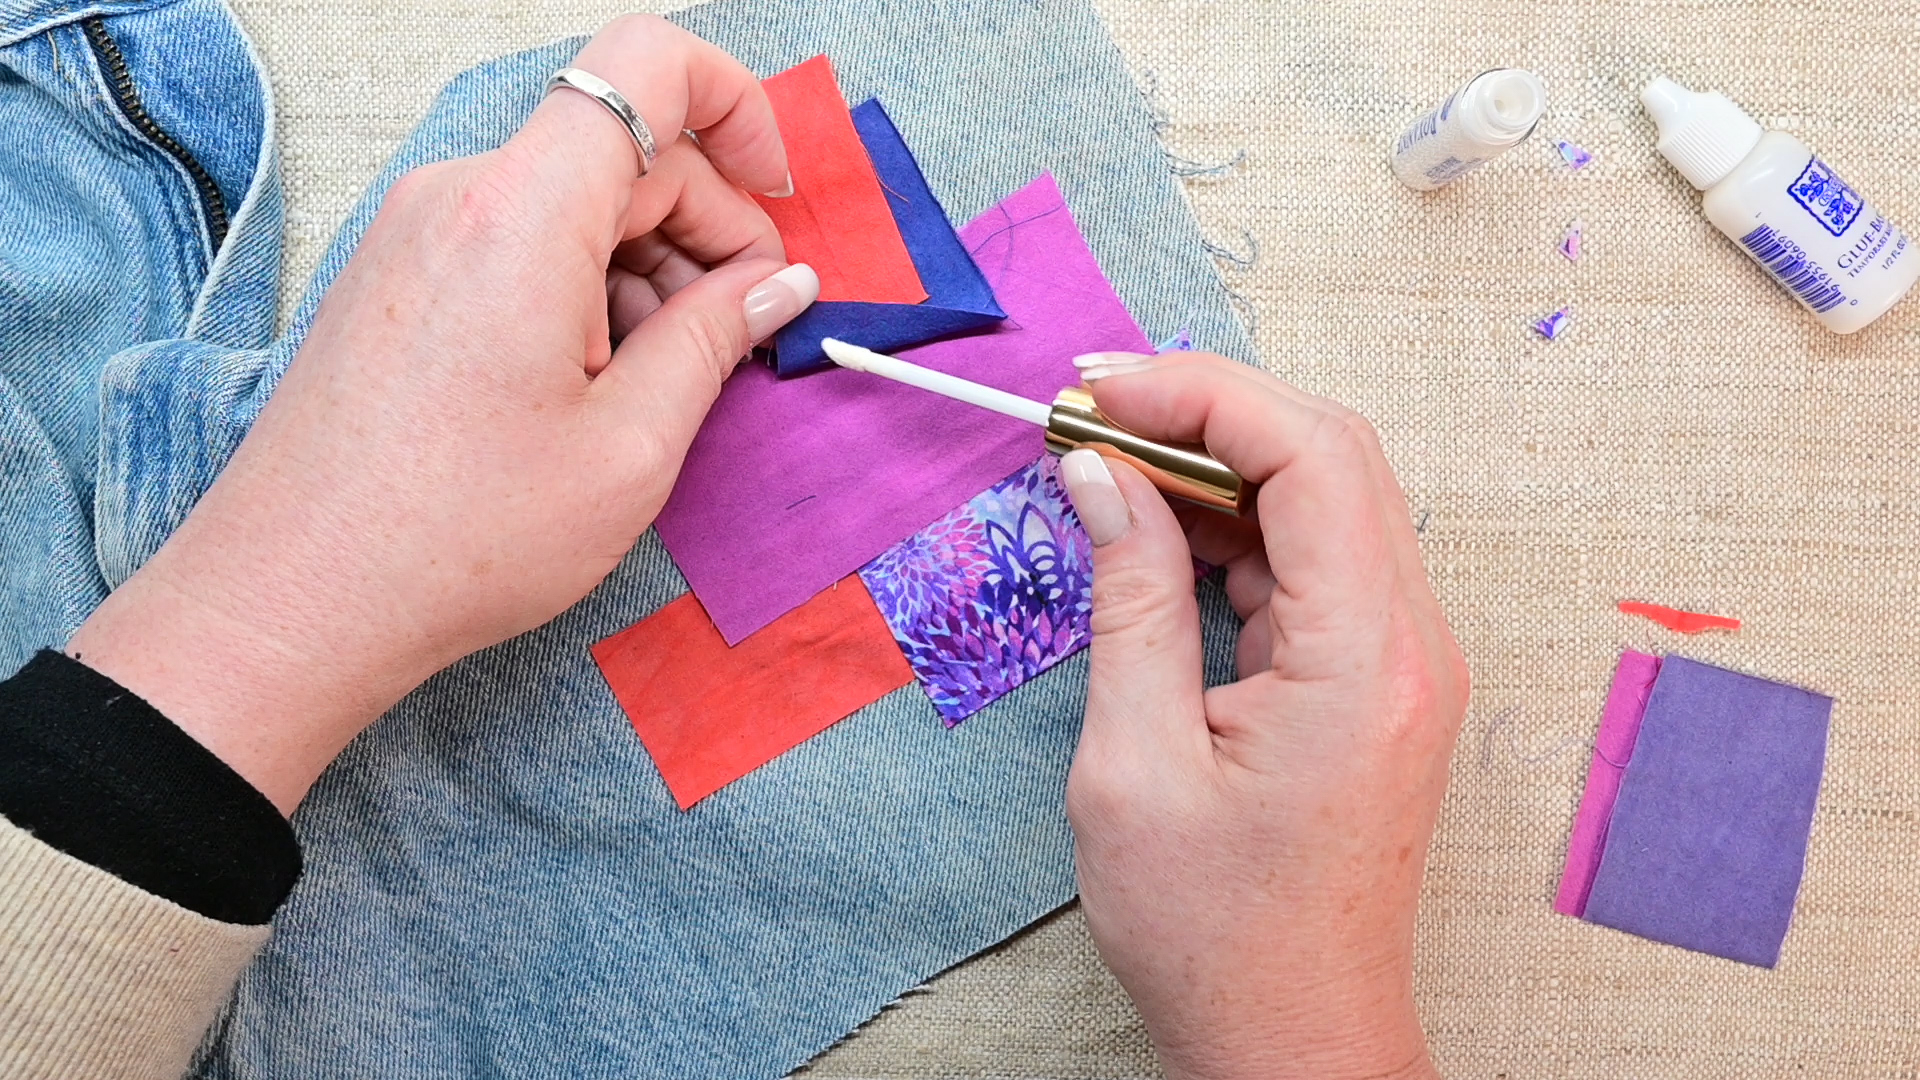
As I settle in my favorite comfy chair for an evening of hand sewing, I place a pillow behind my back, and plop a smaller pillow on my lap. On the small pillow, I have safety-pinned a rectangle of white wool, although any white fabric will help me see the eye of the needle as I stand it needle upright in the white fabric and into the pillow. Once the needle is threaded, I turn the pillow over and use it as a support for my hands while sewing.  This pillow is one of the “tools” that helps steady my hands and place the tip of the needle exactly where I want it while making needleturn stitches nearly invisible. I can also position my project on the pillow, place applique pieces, and insert straight pins vertically. Then, I can lift edges of the applique and apply Roxanne’s Glue Stick down the center of the wrong side of the applique fabric. The pillow on my lap also provides a place where I can rest my hands and arms.

Trick three:

Colonial Needle Dual Threader is also so helpful in threading that needle standing upright in my pillow on a piece of white fabric. This single needle threader offers one end for standard needle threading, and on the other extra-large end, a threader for threading Presencia Perle Cotton sizes 12 and 16, or several strands of solid or variegated long staple 100% cotton Presencia Embroidery Floss. If you are adventurous, try threading one strand of floss and a strand of perle cotton, of a different color, together. This long handle needle threader also aids in threading sewing machine needles.

Tip four:

One tip for making hand sewing stitches as invisible as possible, is to stitch with Presencia 60 weight thread. If you are hand stitching on items that will receive lots of wear, use 40 weight. For medium wear, try 50 weight. Remember: the bigger the number, the finer the thread and hand sewing needles. Consider sewing buttons on garments with Presencia Perle Cotton, size 12 or 16.  

Trick five:

Another trick for making those stitches nearly invisible is to audition the thread color. Unwind about 12 inches of thread and lay it on top of the fabric. Thread color should match the color of the applique fabric, not the background for those invisible stitches. If hand stitching a hem, dribble the thread from the spool on the right side of the garment. Thread color looks different on the spool than when one strand is placed on top of fabric.

Trick six:

I highly recommend John James new Signature Collection needles for hand sewing. These ultra-sharp, strong, fine needles are available in Betweens, Sharps, Embroidery, and Milliners, and are packaged 25 to a tube. As with thread sizes, the bigger the number, the finer the needle. So, if you prefer to relax and enjoy doing hand embroidery with several strands of lovely solid or variegated Presencia floss, select a size 7 needle. The fewer strands of floss that you use, the larger the size number of the needle. If needleturn hand applique is a favorite way to relax and stitch for you, try a size 11 Milliners or Sharps and Presencia 60 weight thread. The points of these needles is so sharp that they easily pierce the fabric rather than push it out of place.

Colonial Needle Company has so many excellent products and tools to assist in helping those of us who need a daily dose of working and playing with fabric, needles and threads. Select products and use tips and tricks that make working on your projects fun, easy, and result in the best finished product you can do.

Happy sewing,

Judy Pullen  

Let’s Get to the Point (about hand sewing needles)

By Judy Moore Pullen

Yes, there is a difference in hand sewing needles, just like there is a difference between driving a 5-speed standard transmission car or an automatic. When I was younger and my vision was better, my hands steadier, I used whatever needle was easy to thread. Over the years, and after dabbling in many different kinds of sewing projects, I have learned several things about hand sewing needles.

I find that for needle turn applique, I prefer Mary Arden or John James applique needles, size 10. I can thread these needles with Presencia 50 or 60 weight cotton, sometimes needing to use a threader. These needles are so sharp that they pierce, rather than push the fabric, making my applique more accurate, my stitches smaller and more consistent. They also glide easily through the fabric, rather than distorting it. The shafts of these needles are smooth and strong. They do not bend and help prevent my hands and fingers from cramping. 

A friend who does beautiful hand applique prefers using betweens, generally thought of as hand quilting needles. These work well for her. For me and my chubby fingers, I need a longer needle, hence applique needles. Another good choice for hand applique is milliners needles, which are longer still. Sometimes I switch to a milliners needle after extended sessions of hand stitching. This is somewhat like changing your shoes to a different heel height during the day – it gives you a rest. 

Another passion of mine is wool applique by hand. My needles of choice are John James chenille and tapestry needles. They come in sizes 18-26. The bigger the number, the finer, smaller the needle. Somewhat like us – the bigger our number/age, the finer we are, right? That is my story, and it helps me remember. This applies to hand sewing needles and thread sizes. John James chenille needles are sharp and easily pierce wool. The eye is elongated for ease of threading perle cotton or several strands of floss. The larger shaft opens the fibers of wool, allowing the thread to be drawn through, then the opening closes around the thread. 

If you tap, tap, tapped a chenille needle on a hard surface, over time, the tip would become dull, and this helps me remember that a tapestry needle serves well for needlepoint and wrap embroidery stitches when you do want a blunt needle, and do not want to separate fibers of your background or embroidery threads. I can easily thread a John James tapestry needle with contrasting colors of Presencia Perle Cotton or Floss and create fun and unique designs by wrapping previously stitched threads. 

I must also add a note about Needle Grip-its. These tiny adhesive circles have enabled me to stitch for hours without hand pain. The repetitive motion of gripping and pulling a needle can cause hand and finger pain. You do not notice it right away, but over time, it can become a problem. I want to continue happily hand stitching, and these little sticky dots are inexpensive, unobtrusive, and what I consider a necessary “tool”.

Happy Stitching!

Judy