Needle Know-How from Colonial Needle
There’s something special about giving a handmade gift.
Whether it’s a little stitched ornament, a fabric bookmark, a decorative pouch, or a small piece of embroidery, a handmade gift carries something you can’t buy off a shelf: the time and care someone put into making it.
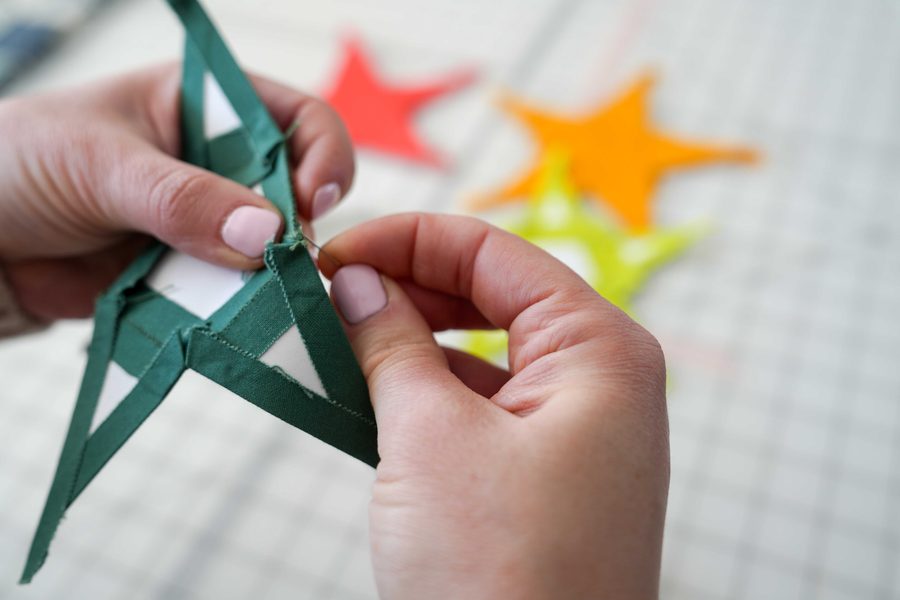
And while the holidays are a wonderful reason to make something for the people we love, they’re also a time when our project lists can get a little ambitious!
If you’re planning several handmade gifts this season, choosing the right tools can help make the process more enjoyable—and the finished results even better.
This month, we’re looking at a few simple ways needle and notion choices can make a difference when creating small, thoughtful gifts.
The Stitching Scenario
Small handmade gifts can take many forms:
- Embroidered ornaments
- Fabric bookmarks
- Needle books and pincushions
- Small zippered pouches
- Decorative sachets
- Personalized fabric accessories
- Mini needlepoint ornaments
- Hand-stitched gift tags
- Small quilted accessories
These projects may be smaller in size, but they often involve several different tasks: construction, embellishment, finishing, and sometimes attaching trims or other details.
That means one needle may not be the best choice for every step.
The Common Challenges
When making small gifts, stitchers often encounter a few familiar frustrations:
- Difficulty stitching neatly in tight spaces
- Thread that tangles or frays
- Bulky seams that are difficult to finish
- Visible stitches where you’d prefer an invisible finish
- Decorative threads that don’t fit comfortably through the needle eye
- Difficulty attaching embellishments securely
- Rushing through the finishing steps to complete several projects
The good news? A few thoughtful tool choices can make these tasks much easier.
Start with the Right Needle for the Job
One of the simplest ways to improve your handmade projects is to match the needle to the task rather than using the same needle from beginning to end.
Sharps: For Everyday Hand Sewing
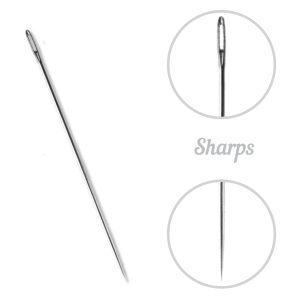
Sharps are versatile hand-sewing needles that work well for many construction and finishing tasks.
Their sharp points allow them to pierce woven fabrics, making them useful for small seams, attaching fabric pieces, and general hand sewing.
When working on small projects, choose a size that feels comfortable to control without creating unnecessarily large holes in the fabric.
Embroidery/Crewel Needles: For Decorative Details
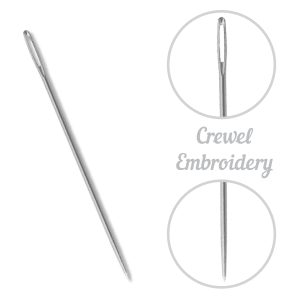
A little embroidery can turn a simple gift into something personal.
Initials, small motifs, decorative borders, or a few colorful stitches can make even a basic project feel special.
Embroidery/crewel needles combine sharp points with elongated eyes, making them useful for stitching with embroidery floss.
Choose an eye that accommodates your thread comfortably, and a needle size suited to the fabric.
Chenille Needles: For Heavier Decorative Threads
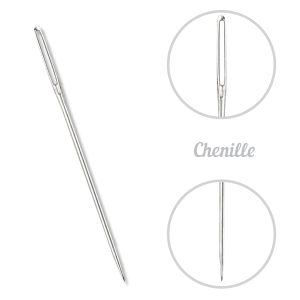
If you’re embellishing a gift with perlé cotton or another heavier decorative thread, a chenille needle may be a good choice.
Its sharp point can pierce woven fabric, while its larger eye accommodates thicker threads.
This combination is particularly useful for decorative stitches such as blanket stitch, where the thread becomes part of the design.
Tapestry Needles: For Needlepoint and Counted Projects
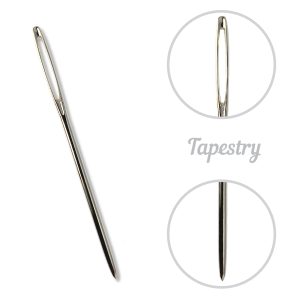
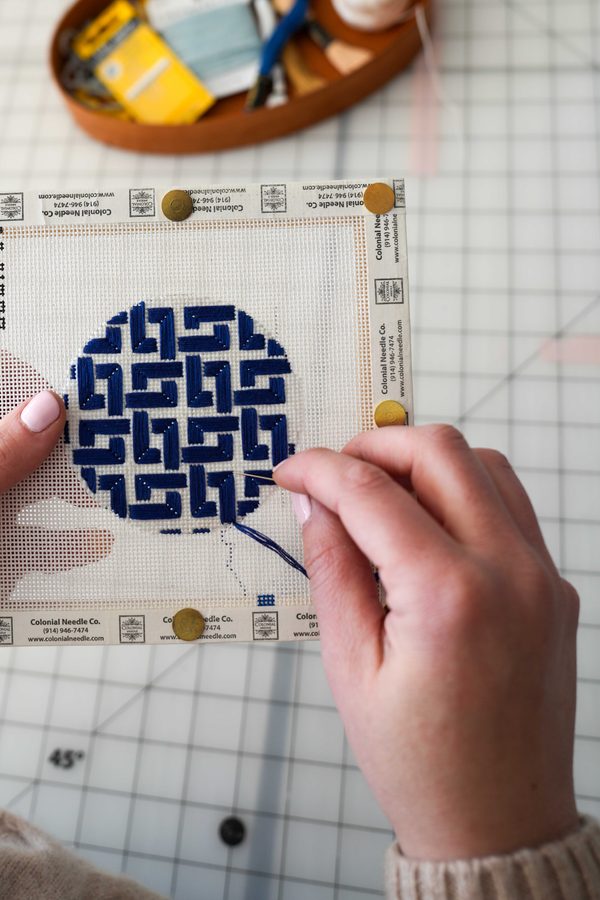
If your handmade gift involves needlepoint canvas or counted stitching, a blunt tapestry needle is often the better choice.
Its rounded point helps the needle pass through existing openings rather than piercing the surrounding fibers.
The appropriate size depends on the canvas or fabric count and the thread you’re using.
Don’t Overlook the Finishing Tools
When you’re making gifts, finishing deserves just as much attention as the stitching itself.
A few small tools can make the final steps easier.
A Good Thimble
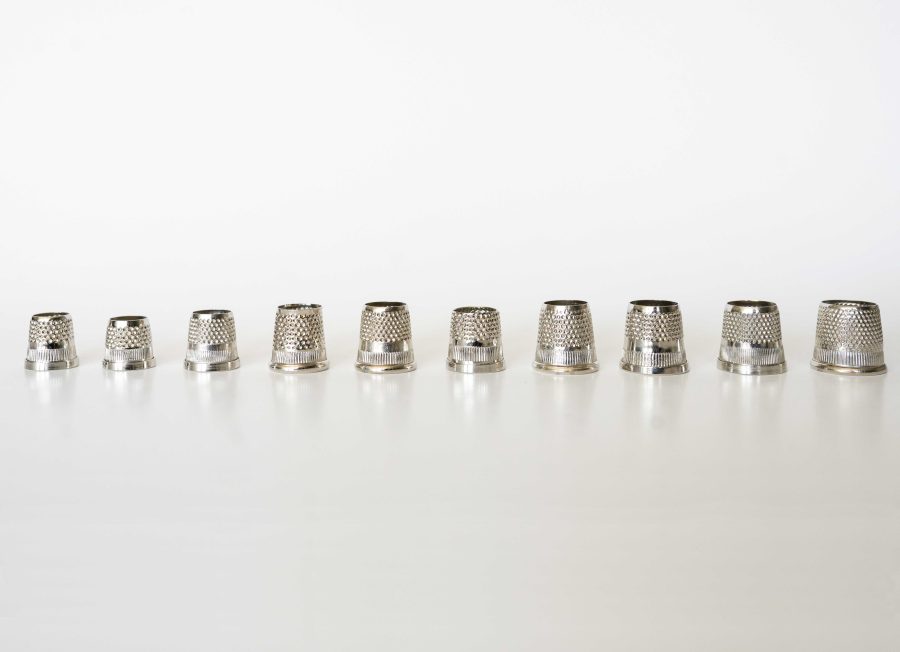
Small projects sometimes involve stitching through folded edges, seam allowances, or several layers of fabric.
A comfortable thimble can help you push the needle through these areas while protecting your finger. You can shop thimbles here.
A Needle Threader
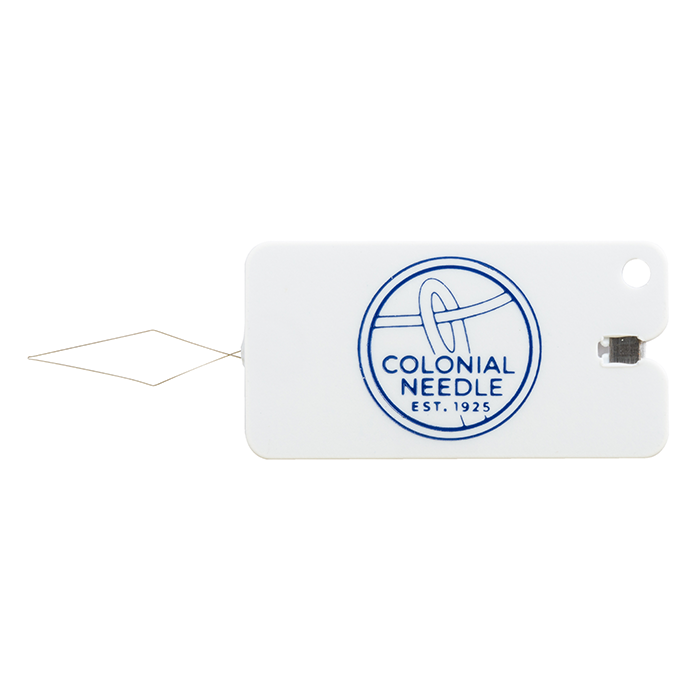
If you’re switching between thread types or making several gifts in one sitting, a needle threader can save time and frustration.
Choose a threader suited to the size of the needle eye and thread you’re using. Our favorites are here.
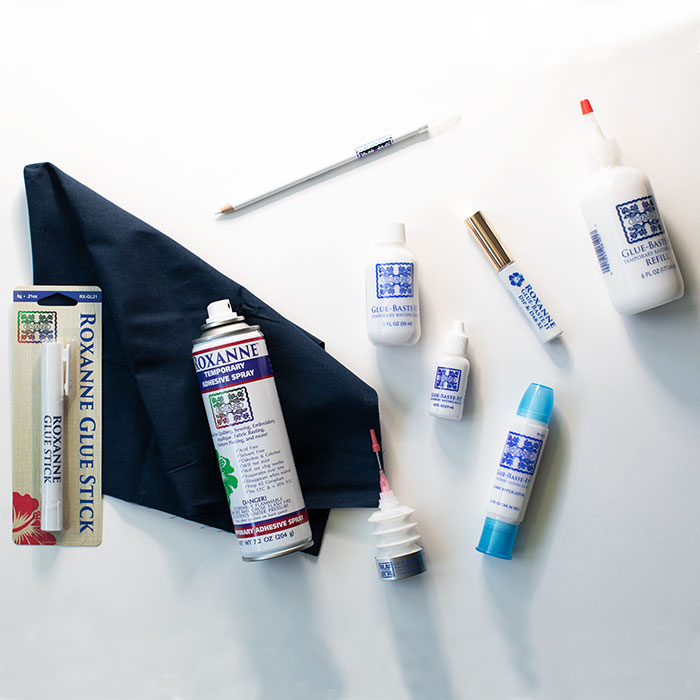
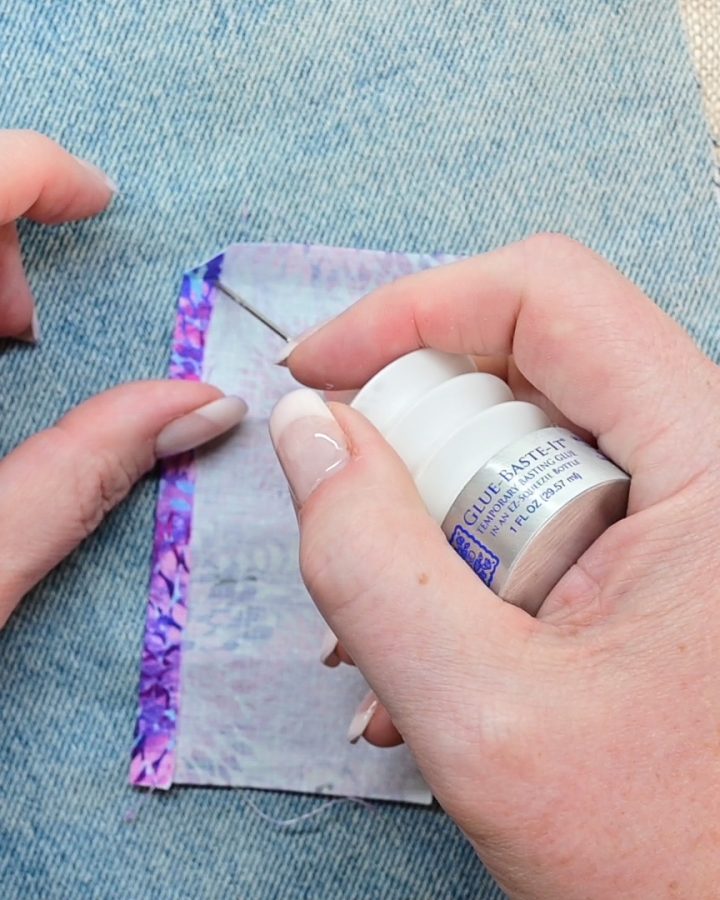
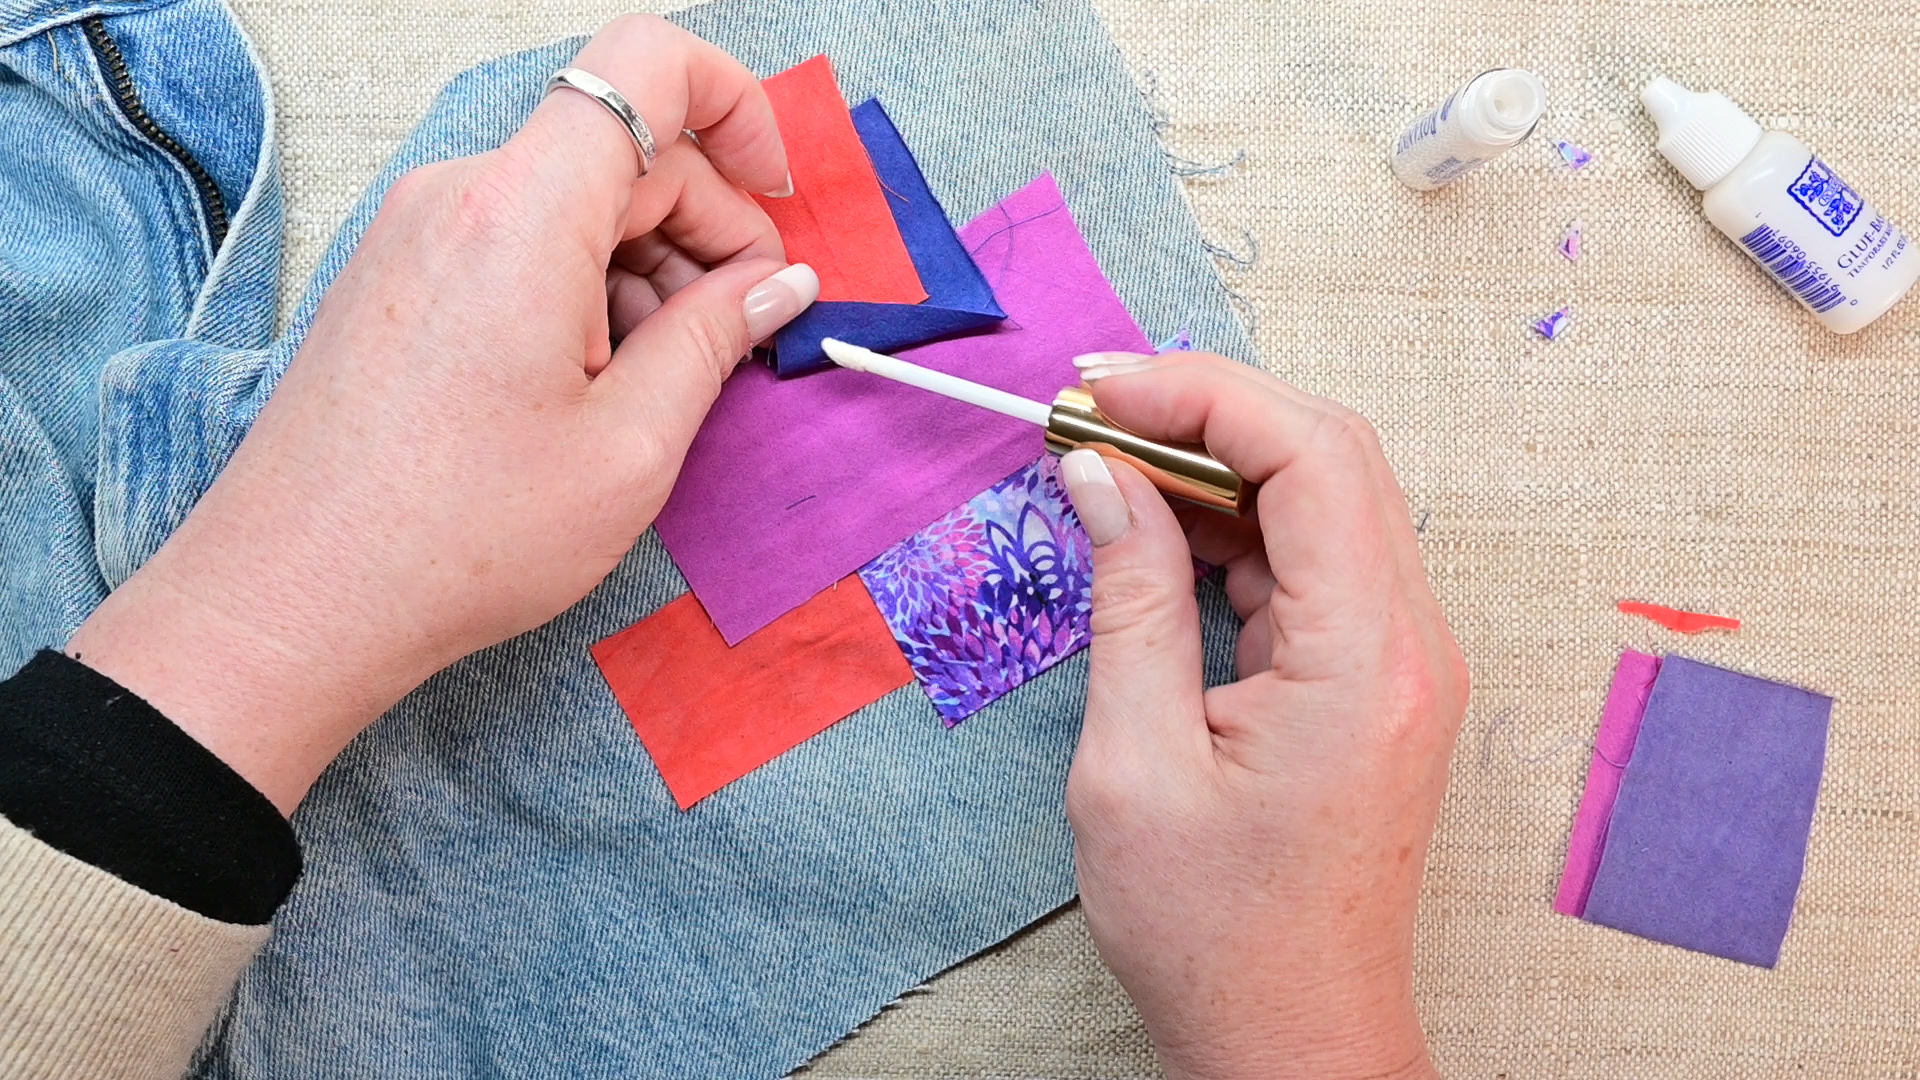
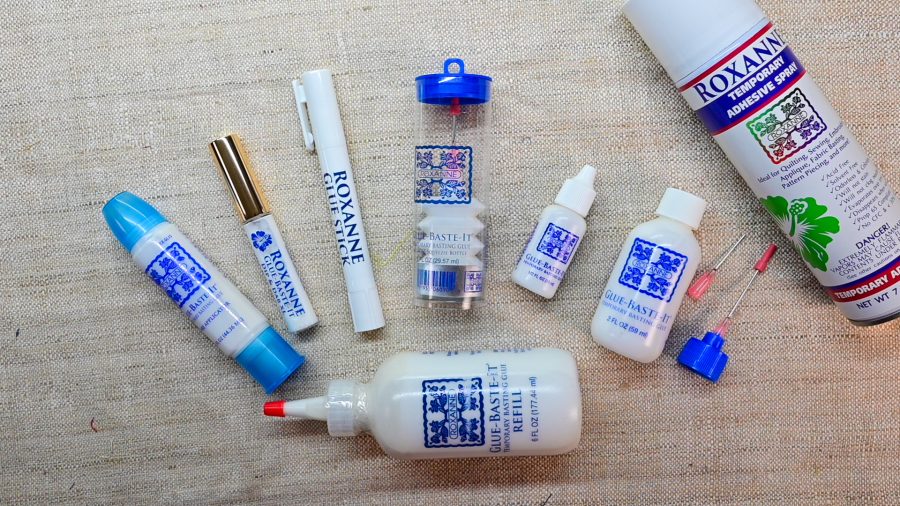
Temporary Fabric Adhesive
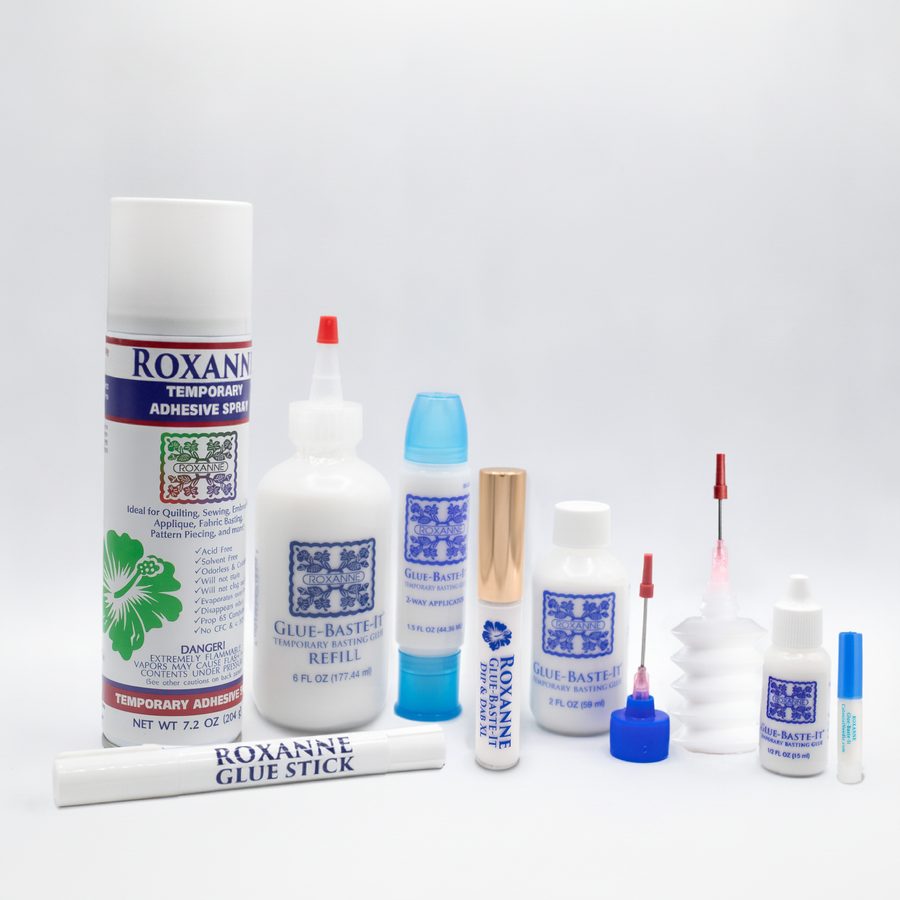
For certain fabric projects, a temporary adhesive or glue stick designed for sewing can help hold small pieces in position before stitching.
This can be particularly useful when working with appliqué pieces or preparing fabric edges.
Always follow the product instructions and test the adhesive on a scrap of your project fabric first.
Adhesive is a positioning aid—not a substitute for secure stitching when the finished item needs to withstand handling or washing. Shop Roxanne Glue Baste-It here.
Pro Tip: Make One Complete Sample First
If you’re planning to make several of the same handmade gift, finish one completely before cutting or preparing the rest.
This gives you a chance to:
- Test your needle and thread choices
- Work through any tricky construction steps
- See how the finishing method looks
- Make adjustments to the pattern
- Estimate how much time each gift will take
You may discover that a different needle, thread length, or finishing technique makes the process much smoother.
And it’s much easier to make those adjustments after one project than after you’ve prepared ten!
Finishing Is Part of the Gift
When we’re excited about a project, it’s tempting to consider it finished as soon as the decorative stitching is complete.
But those last few steps deserve attention.
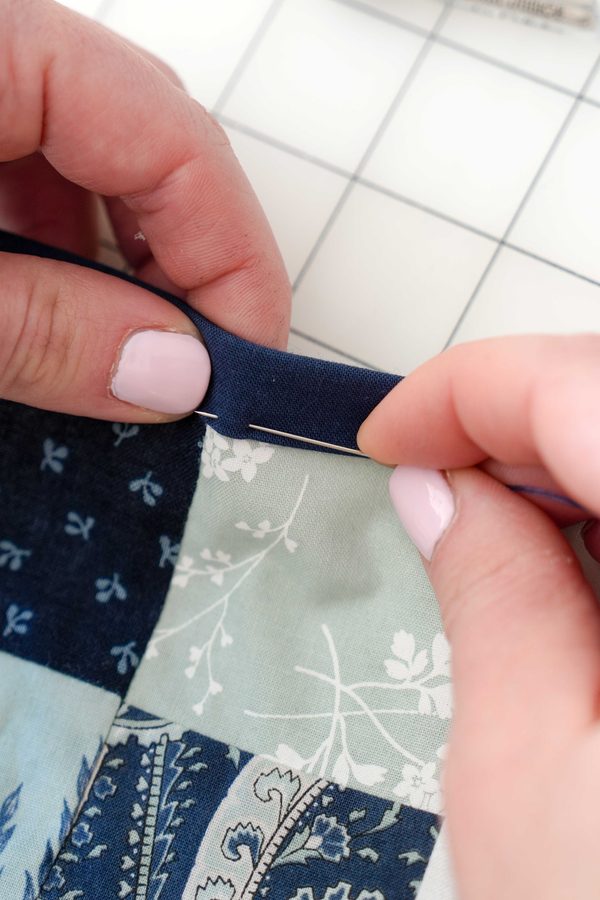
Take a moment to check:
- Are the thread ends secured?
- Are the edges neatly finished?
- Are any embellishments firmly attached?
- Are there visible marks that should be removed?
- Does the project need pressing