We almost left a needle permanently inside a quilt. No, it was not as a design choice for some strange mixed media piece. A side-threading easy needle had snagged on the batting inside the quilt layers during the tail-burying process, and no amount of gentle coaxing, creative angling, or colorful language was going to free it. We were this close to declaring it a permanent resident of that quilt and moving on with our lives. In addition, over the course of that one quilt, we broke six needles out of a pack of side-threading needles. It turns out that molding that swirl into the side of a needle results in a thin piece of metal that will, indeed, snap off without too much effort.
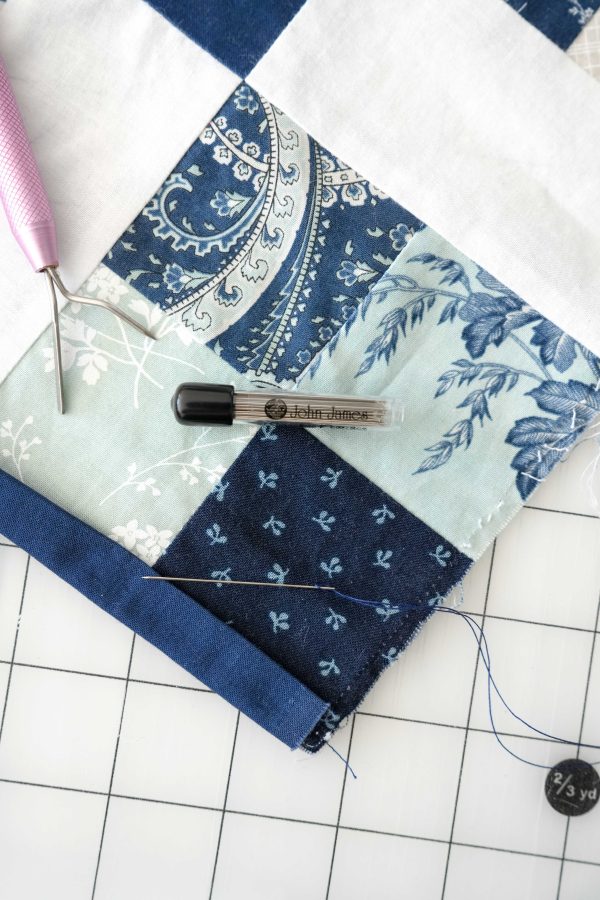
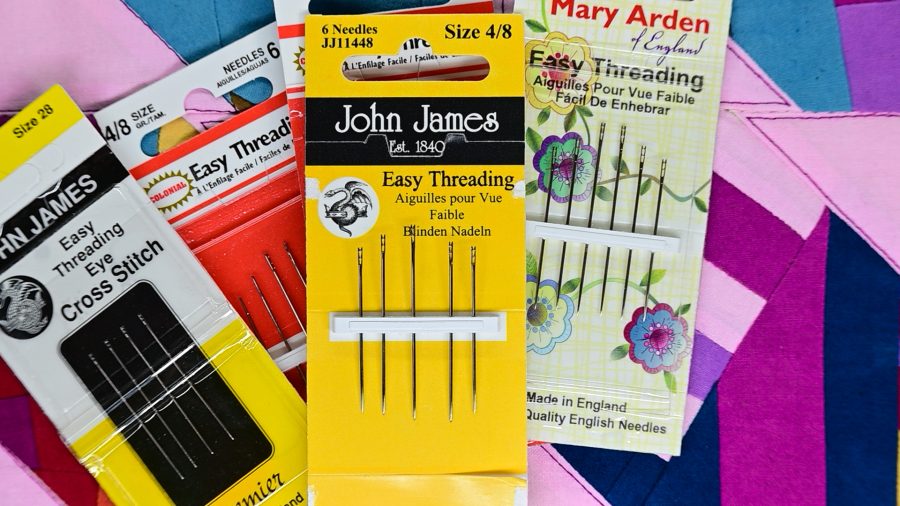
Jason had been researching top-loading easy thread needles in the background—because of course he had—and that was the moment we stopped debating and started acting. We called our local fabric store to make sure they had them in stock, jumped in the car, drove down the hill, and came home with a pack of John James top-loading easy thread needles.
That was during the making of our book Scrappy Wonky Quilt Block Extravaganza. This many years later, they are the only easy thread needles in our studio. We now work with Colonial Needle Company and can speak with absolute authority: these needles are the real deal.
The Problem With Side-Threading Needles
If you’ve tried easy threading needles before and given up on them, we’d bet good money you were using side-loading versions.
Side-threading needles have a slot on the side of the needle shaft. The thread snaps in from the side rather than being passed through a traditional eye. In theory: brilliant. In practice: the open slot catches on fabric fibers as you pull the needle through, creating snags, pulls, and—if you’re working through quilt layers—a needle that grabs the batting like velcro and refuses to let go. And just forget using the shaft of your needle to tie a knot… We know this from experience. Painful, frustrating, knotted thread, nearly-left-a-needle-in-a-quilt experience.
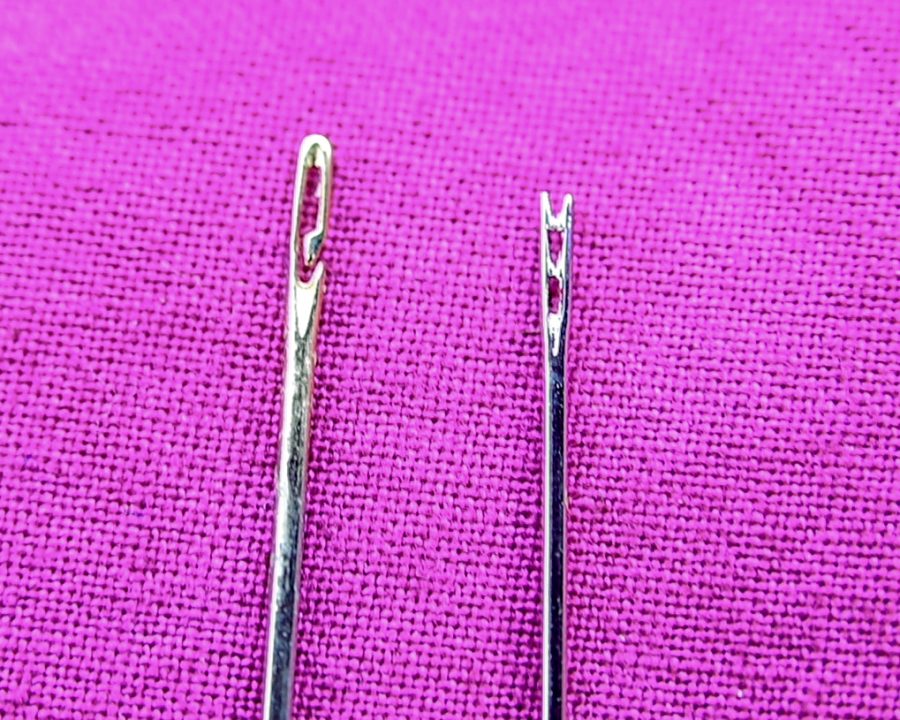
Why Top-Loading Changes Everything
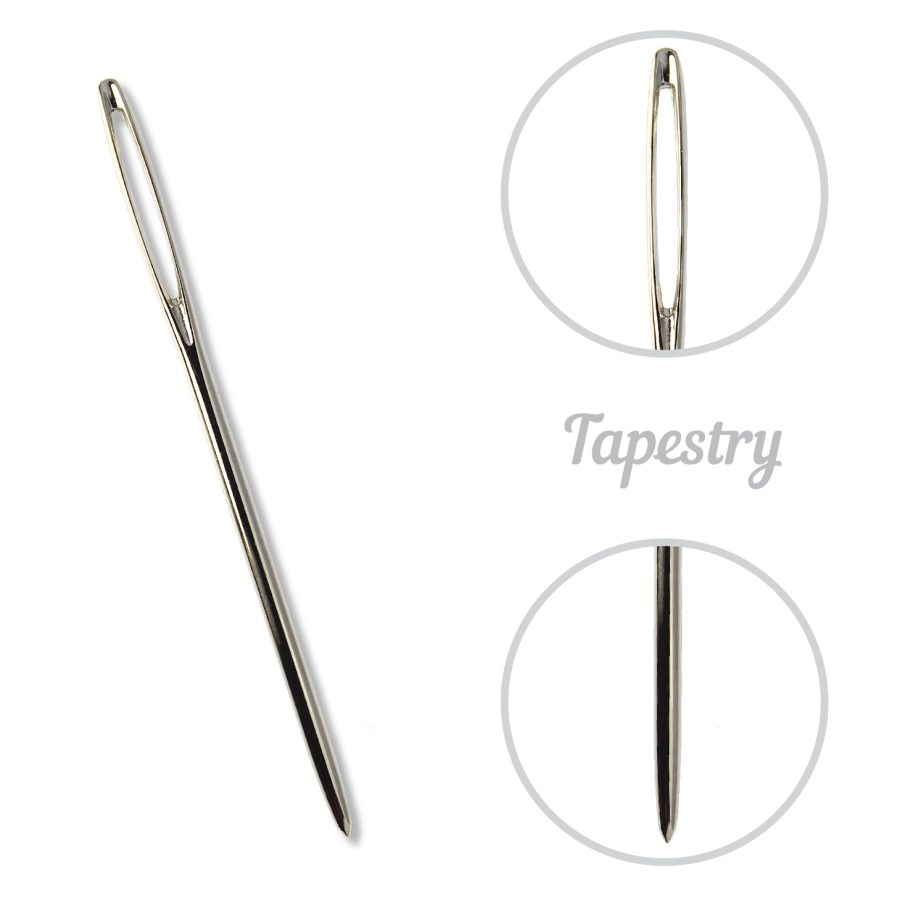
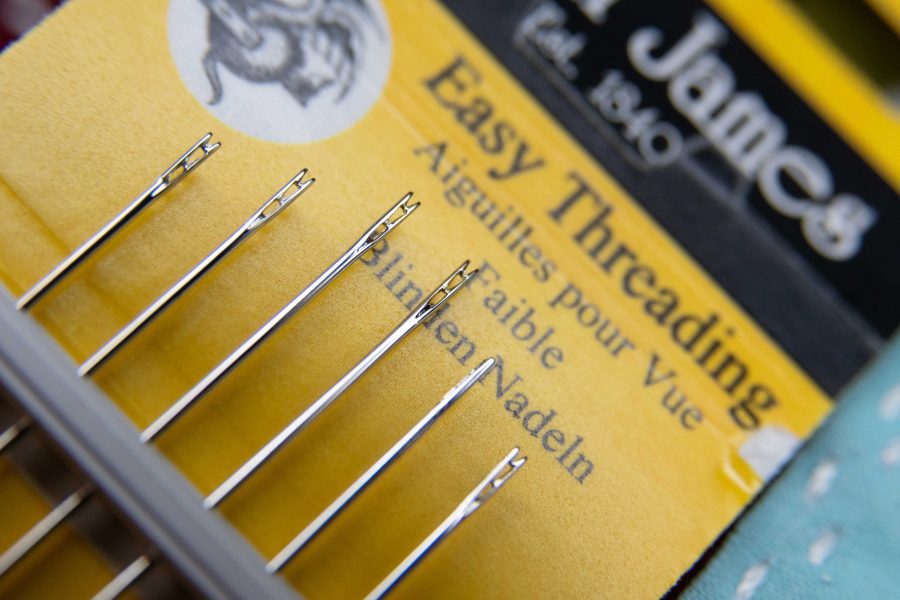
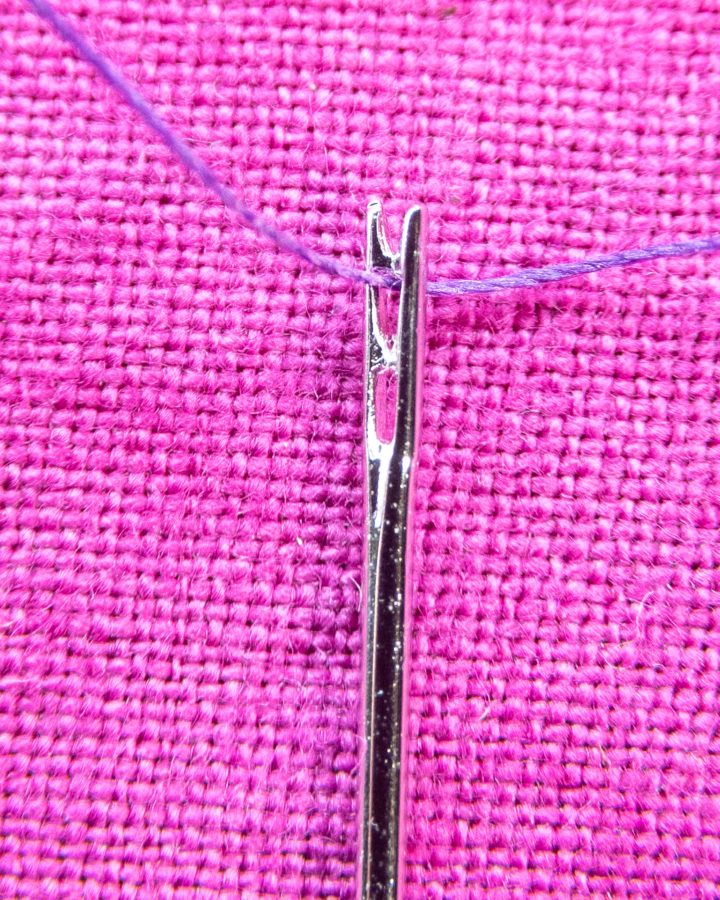
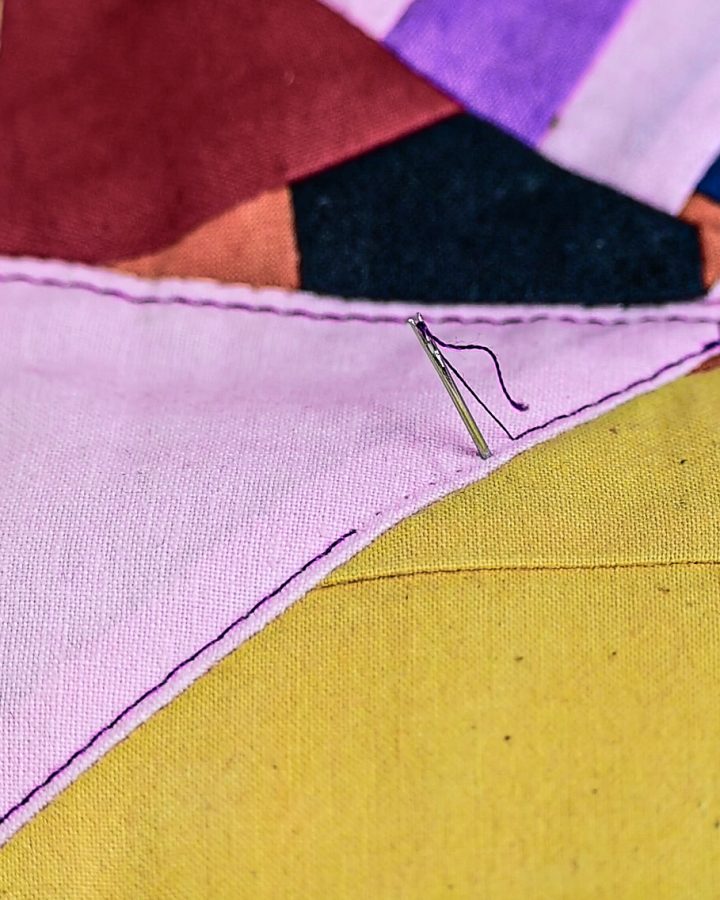
The John James top-loading easy thread needle has a channel at the top of the needle rather than a slot on the side. You press the thread down into the channel from above, and the needle is threaded. No more squinting at a tiny eye. No more licking the thread end and hoping for the best.
But here’s the crucial difference: the channel is enclosed as the needle passes through fabric. There’s nothing exposed to catch on fibers, snag delicate fabric, or grab batting mid-burial. The needle moves through your layers cleanly, exactly the way it should.
The Real Hero Feature: Burying Thread Tails
Let’s talk about what these needles were actually born to do, because this is where they earn their place as the only easy thread needle in our studio.
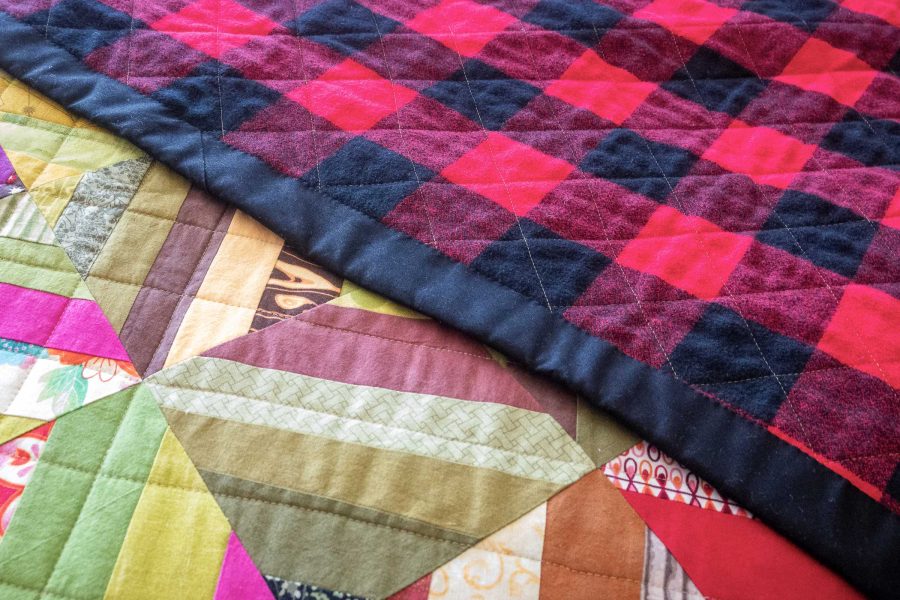
Finishing a quilt means burying thread tails. All of them. Every single starting and stopping point from every line of quilting stitching gets a tail, and every one of those tails needs to be buried between the quilt layers so it disappears completely into the finished piece.
On a complex quilt? We’re easily talking hundreds of tails; possibly more.
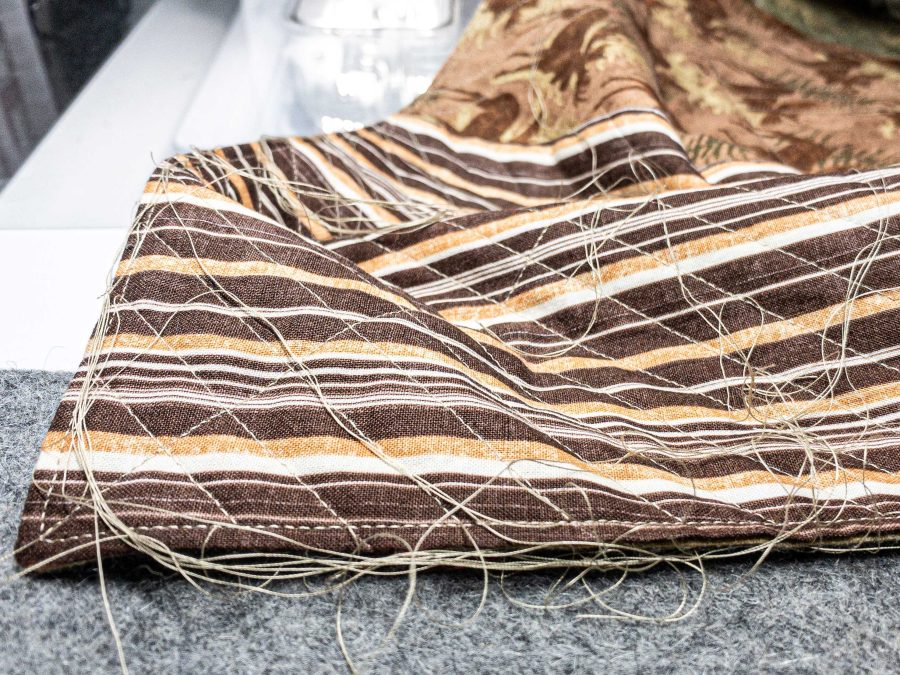
Threading each of those tails through a traditional needle is maddening. It’s the part of finishing a quilt that can genuinely dampen your enthusiasm for a project you’ve spent months loving. Your eyes are tired. The threads are short. The needle is small. And you have approximately four hundred more to go.
Top-loading easy thread needles make this process not just bearable—they make it actually enjoyable. Pop the tail into the channel, bury it between the layers, pull it through, trim.
Pop, bury, pull, trim. You develop a rhythm. The stack of buried tails grows. The project gets closer to finished.
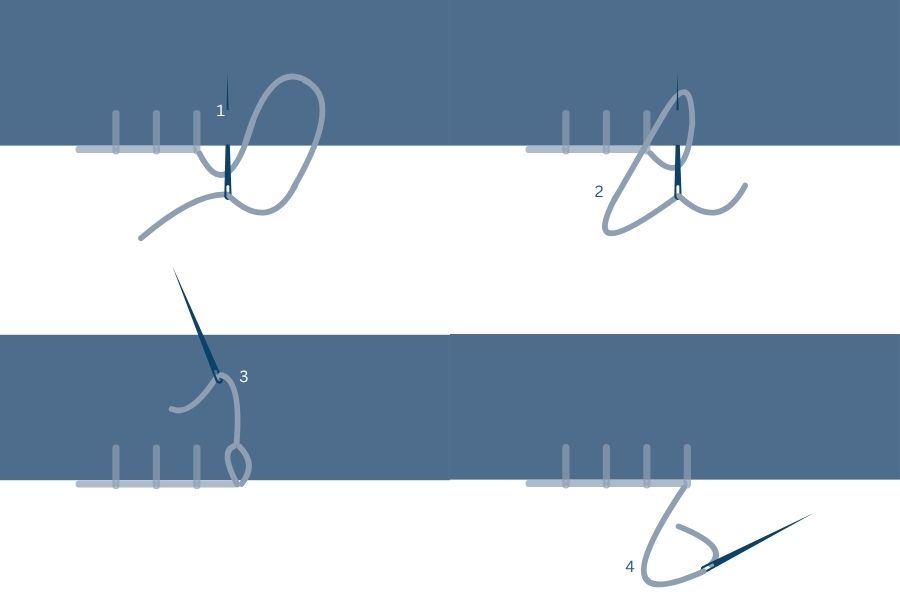
How to Bury a Thread Tail With an Easy Thread Needle
Here’s the basic process. For the full step-by-step tutorial, watch the YouTube video linked below.
What you need:
- John James top-loading easy thread needle
- Your quilt with thread tails to bury
- Small scissors
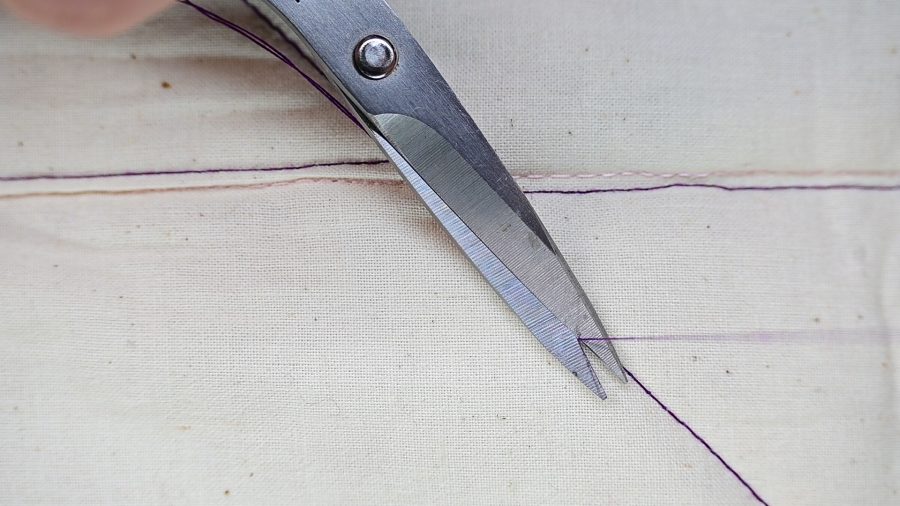
The process:
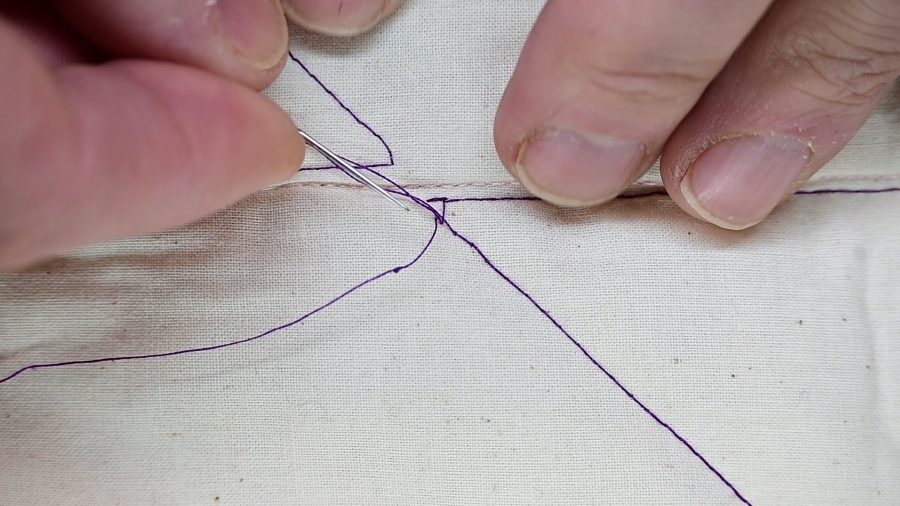
- Guide the thread tail into the top-loading channel to thread the needle
- Bring the top thread to the back of the quilt.
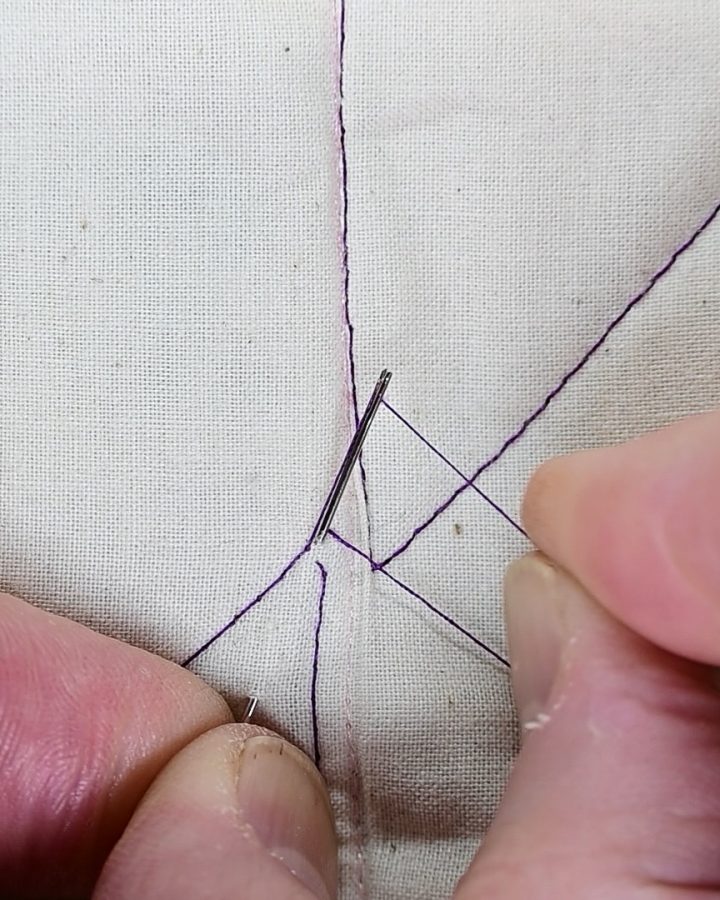
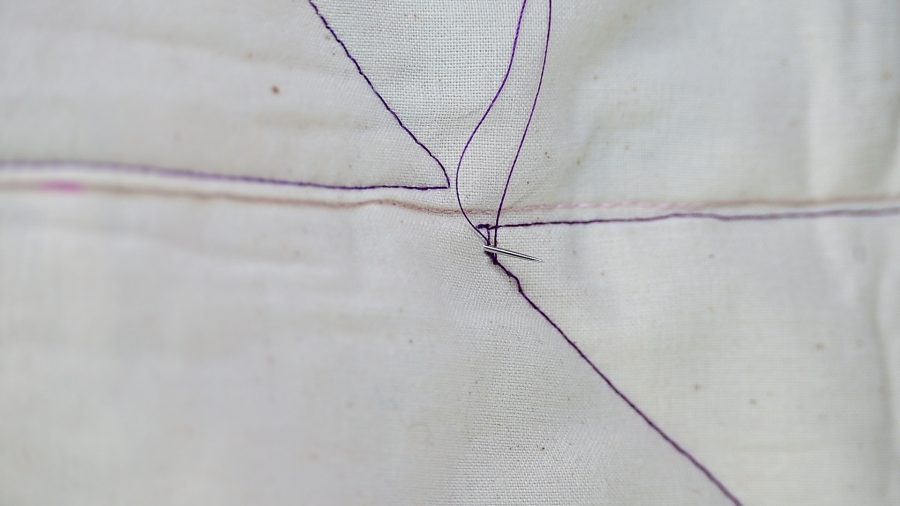
- Make the knot of your choice about ¼” from the base then insert the needle tip into the quilt layers at the point where the tail exits the fabric
- Run the needle between the fabric layers and back out again about an inch or two away from there you inserted it.
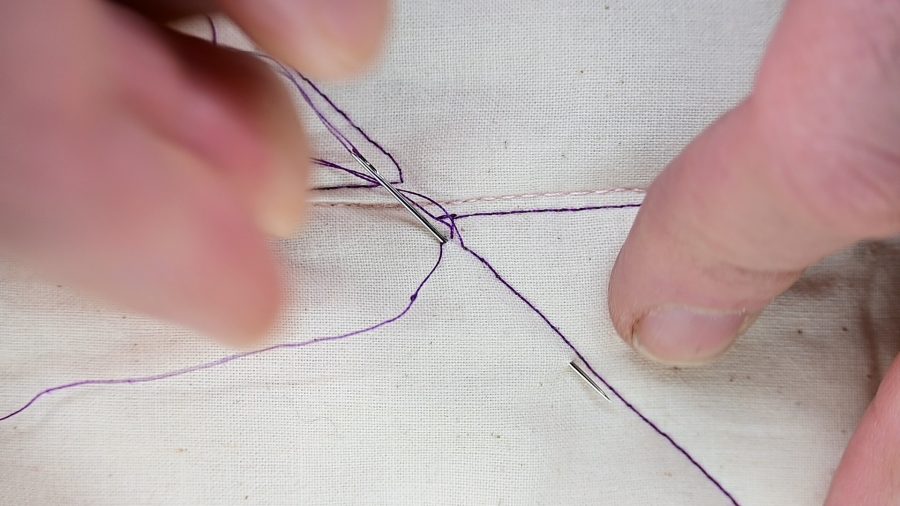
- Gently pull the needle and thread tail through being sure to pull the knot to the inside of the layers.
- Pull the needle and thread a little more and trim the tail close to the fabric surface.
- Smooth the fabric and the tail disappears into the layers
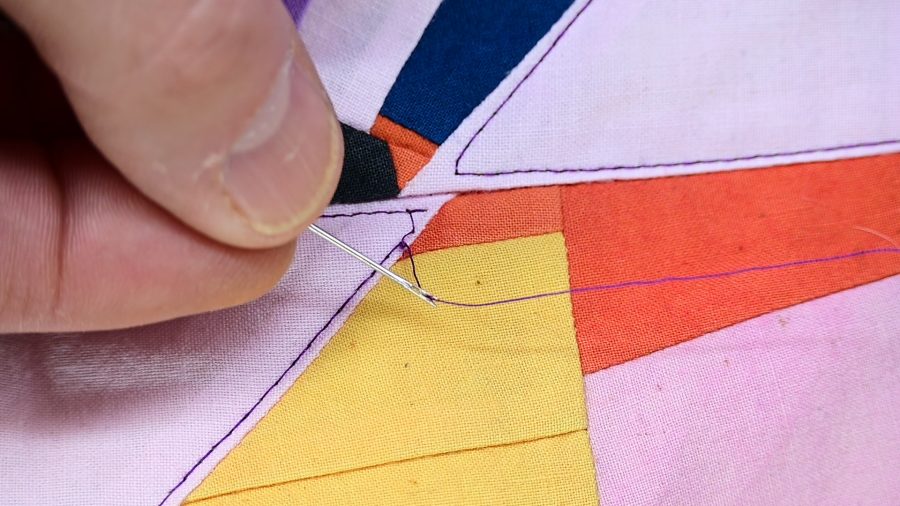
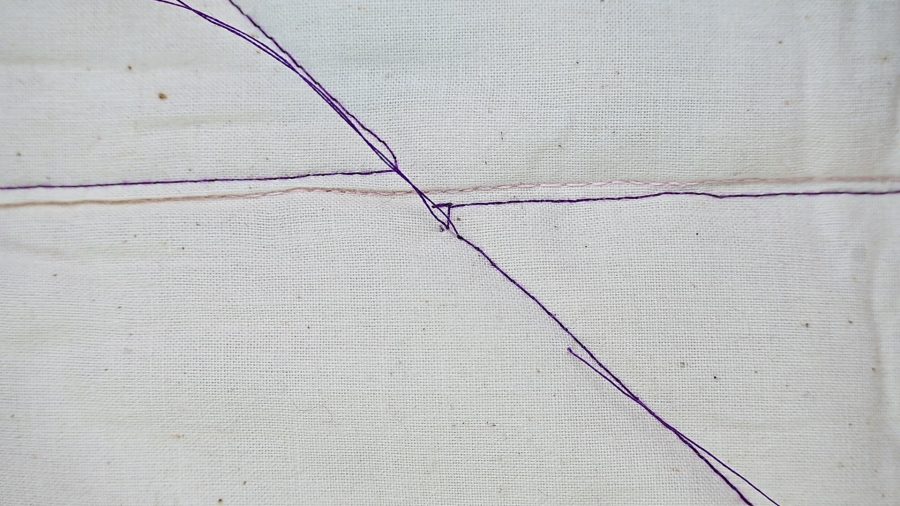
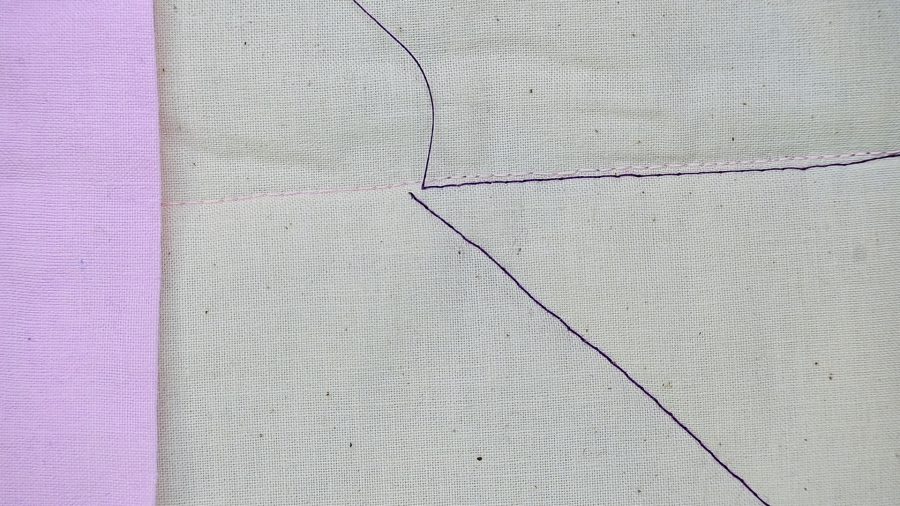
The thread tail vanishes. No knot on the back. No visible evidence it was ever there. Just a clean, professional finish.
The “Also Starring” Features
Winning at Thread Chicken
Thread chicken: the act of absolutely believing—with your whole heart—that you can squeeze just a few more stitches out of that rapidly shortening thread length if you simply believe hard enough.
Wishcraft is wonderful. Tinker Bell told us so. But clapping your hands and believing is not going to make that thread reach the end of the line.
When thread chicken claims another victim and you end up with a tail so short it’s practically a suggestion, the top-loading channel is your secret weapon. Easy thread needles need just enough tail to catch in the top-loading channel, bury, and disappear.
The Broken Thread Mid-Quilt
We have all experienced the heartbreak of a mid-line thread break. Whether the thread tension was off and the break happens in the middle of quilting or the quilting thread on a well-loved quilt gives way and snaps, sometimes it just happens. Mid-project, mid-layer, mid-everything, and suddenly you have a short tail that needs to be dealt with. Normally, we would have to take out enough stitches to have a thread tail that could be pulled through the eye of a regular needle. But, with easy thread needles, all we need to do is take out enough stitches to catch in the top-thread channel. To use the least amount of thread possible, partially insert the needle into the fabric first to shorten the distance from the quilt surface to the thread, guide the short tail into the channel, and pull it through to bury it. Repeat on the other side of the break and then you can machine or hand stitch the gap in the line of stitching so it looks like nothing ever happened. Problem solved without drama.
Threading in Low Light (Or When Your Bifocals Aren’t Cooperating)
We’re just going to say it: threading a traditional needle when your eyes are tired, the light is low, or your bifocals just aren’t focal-ing as well as they used to is an exercise in frustration that nobody needs.
Top-loading easy thread needles require zero precision threading. Guide the thread into the channel until you feel that “pop” that tells you the thread is secured. Done. Your eyes will thank you.
The Bottom Line
We went from nearly leaving a needle permanently inside a quilt to genuinely enjoying the tail-burying process. That’s not a small thing. Finishing a quilt should feel like a celebration, not a chore.
John James top-loading easy thread needles are the only easy thread needles in our studio now. They thread fast, move cleanly through fabric and batting, and make the most tedious part of quilt finishing actually satisfying.
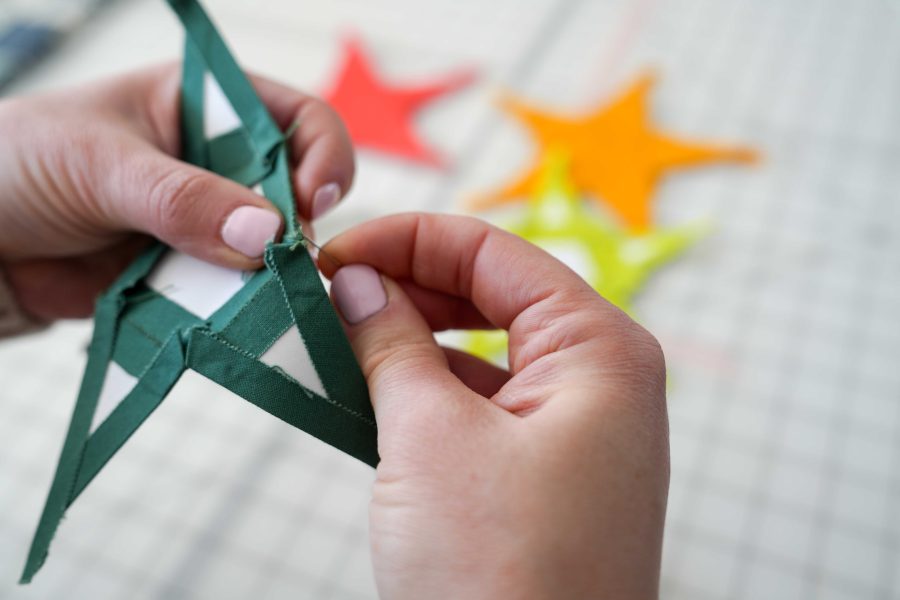
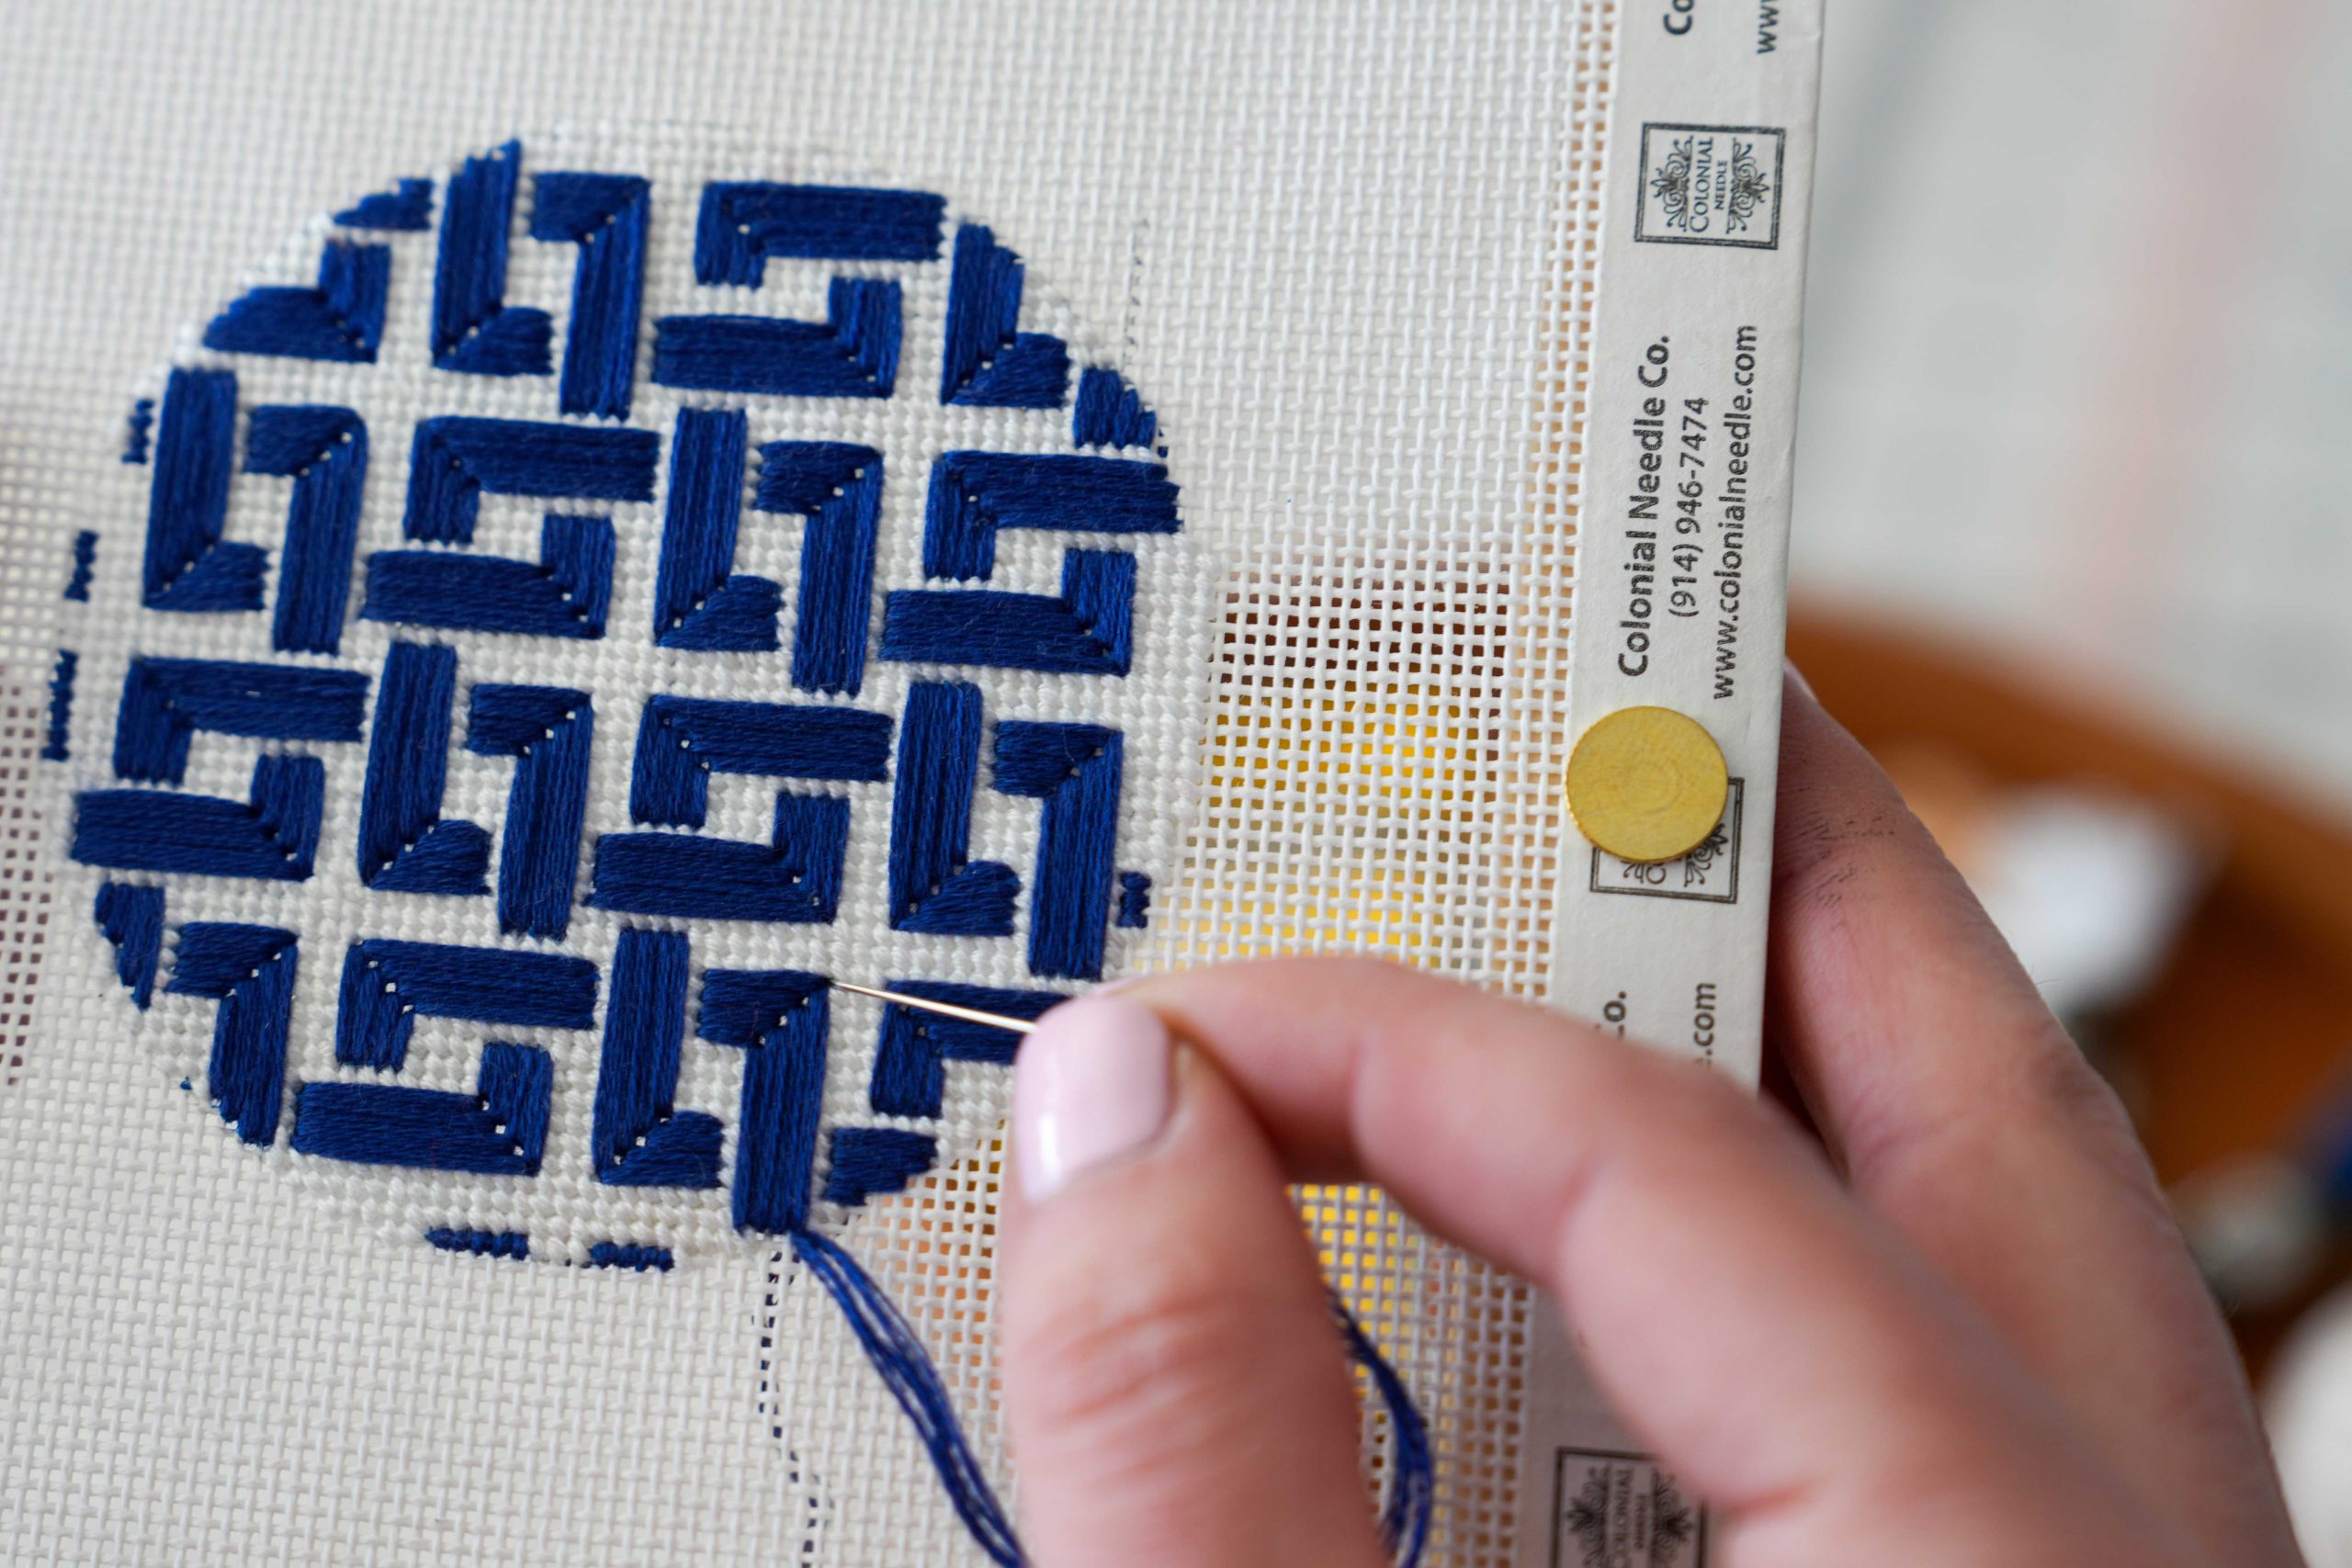
Bonus: Our easy thread needles origin story revolved around quilting but Colonial Needle Company has easy thread needles in a variety of sizes from cross-stitch to sharps. From cross-stitch to fine detail embroidery, hand sewing to quilting, we’ve been able to find an easy thread needle that does the job beautifully.
If you’ve given up on easy thread needles before, we understand. Try the top-loading version. It’s different. It’s better. And it won’t get stuck in your batting and you can keep stitching for longer even when your bifocals aren’t cooperating.
Shop John James Easy Thread Needles here.
Watch the full tail-burying tutorial on YouTube for the complete step-by-step demonstration.
Are you a thread chicken survivor? Tell us your most dramatic close call in the comments— we want to hear them all.