The Right Tool for the Stitch: Working with Texture & Layers

Needle Know-How from Colonial Needle

Texture is one of the things that makes handwork interesting.

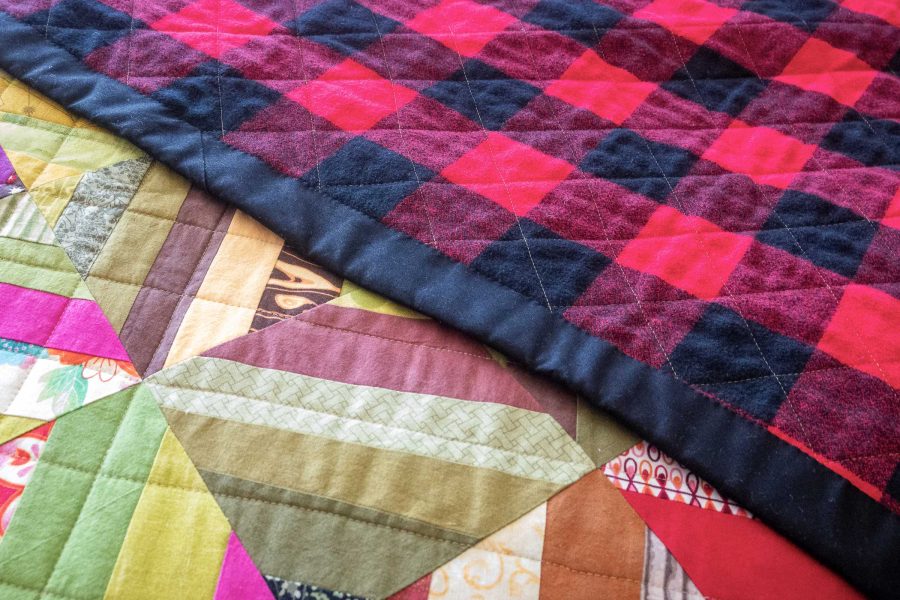
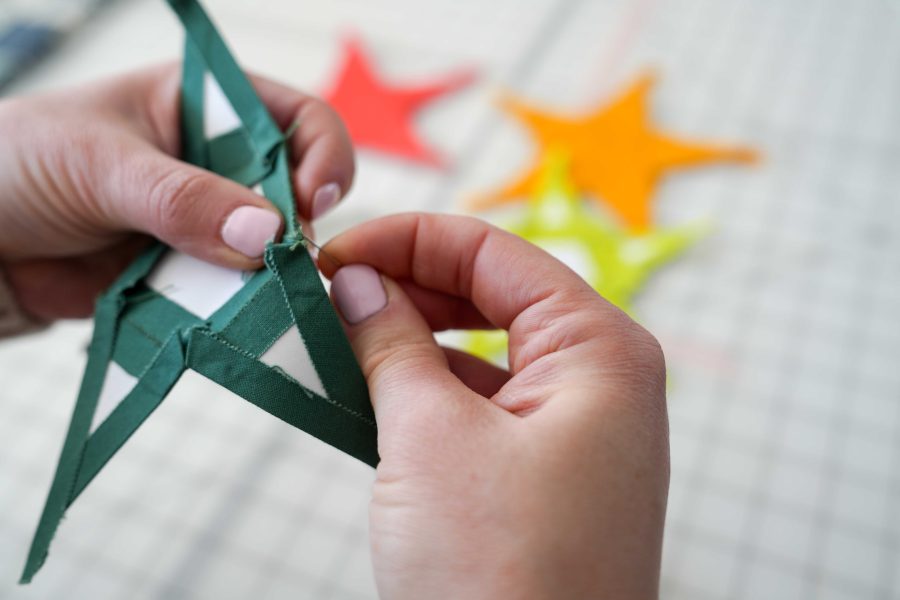
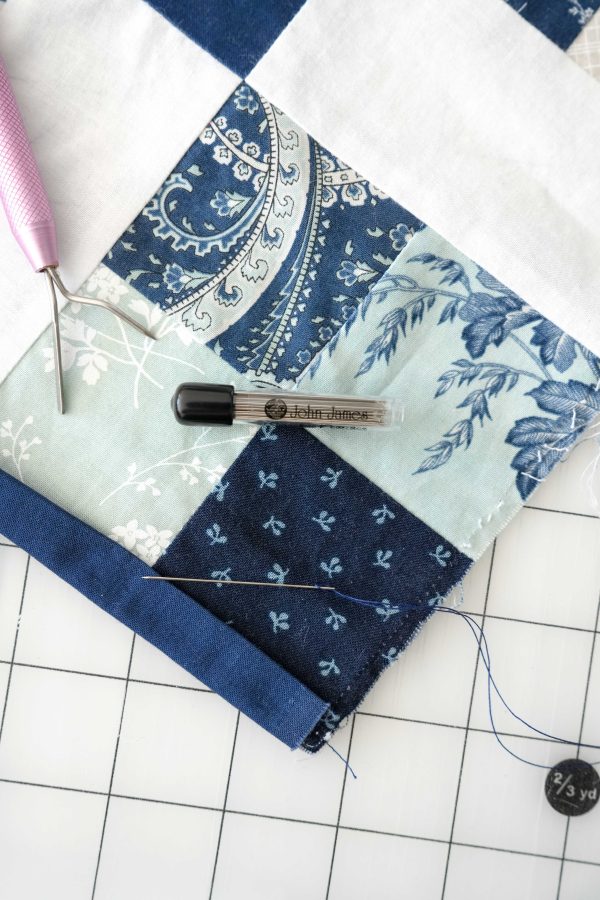
A smooth line of embroidery can sit beside a dimensional stitch. A quilt can combine cotton, linen, denim, batting, and decorative thread. Needlepoint can build texture through different fibers and stitches. Visible mending may ask a needle to travel through the original fabric, a patch, and several rows of previous stitching.

As our projects become more dimensional, however, something else changes: what we’re asking our needles to do.

The needle that glides beautifully through a single layer of cotton may not be the tool you want when you’re working through several layers or carrying a heavier decorative thread.

So this month, we’re looking at how to choose a needle when texture, thickness, and layers enter the picture.
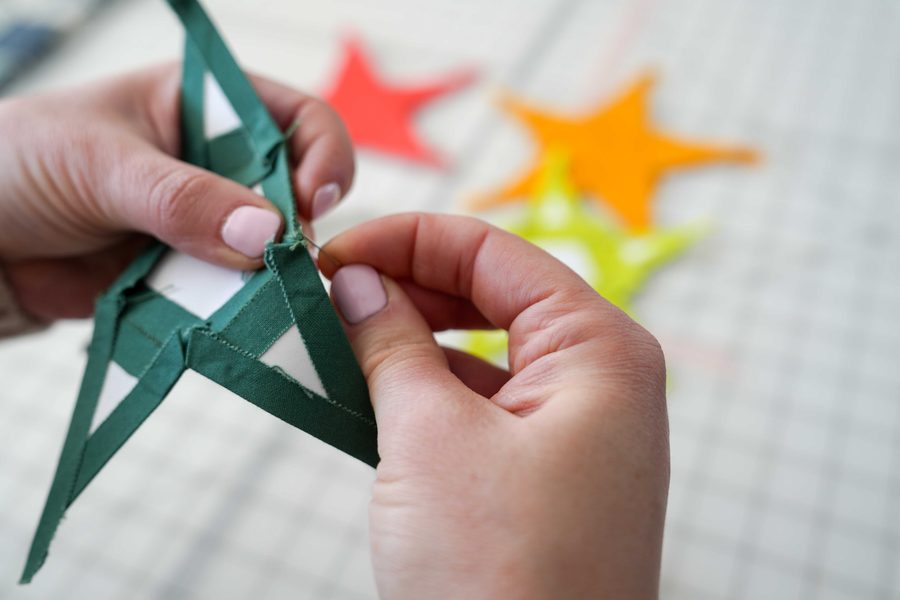
The Stitching Scenario

“Texture & layers” can describe a surprising number of projects:

  • Layered quilting
  • Visible mending and patching
  • Needlepoint
  • Embroidery with dimensional stitches
  • Wool appliqué
  • Sashiko and layered textiles
  • Mixed-fiber projects
  • Decorative stitching with heavier threads
  • Projects combining fabrics of different weights

These projects don’t necessarily call for the same needle.

Instead of starting with the technique, sometimes it helps to look at what is physically happening where you’re stitching.

How many layers does the needle need to travel through?

How dense is the material?

How heavy is the thread?

Should the needle pierce the material—or move through an existing opening?

Those questions can point you toward the right tool.
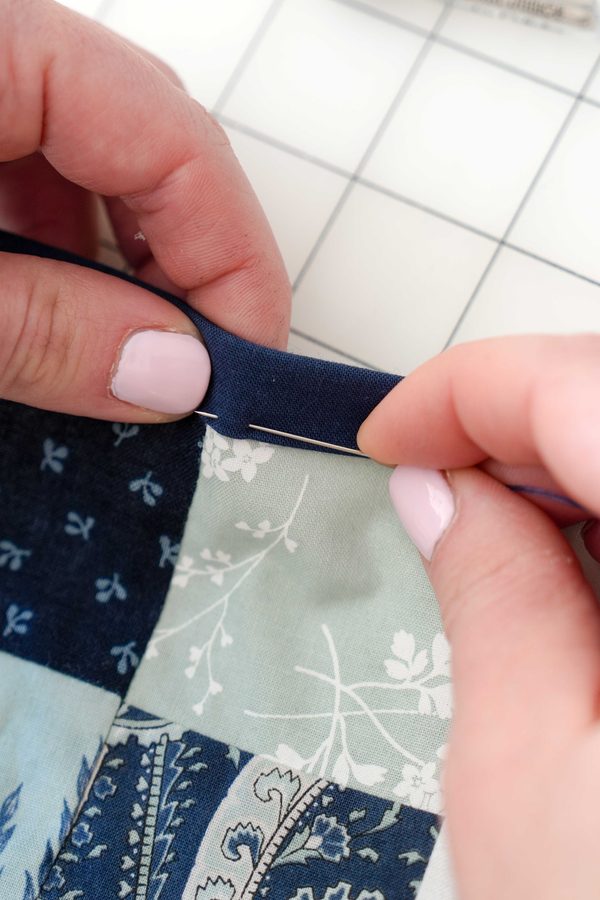
The Common Challenges

When needle, thread, and material aren’t well matched, you may notice:

  • The needle is difficult to pull through
  • Thread frays near the eye
  • The needle bends or feels too flexible
  • Fabric puckers
  • Holes appear larger than you’d like
  • Your hand becomes tired from forcing the needle
  • Thick thread is difficult to thread
  • Previous stitches make an area harder to penetrate
  • The needle catches fibers you wanted it to pass around

Those little frustrations are useful clues.

Before blaming your technique, take another look at your needle.

Think About the Point

One of the first choices to make is whether you need a sharp or blunt point.

When You Need to Pierce

If the needle must create its own path through fabric or several layers, a sharp point is usually important.

Sharps, embroidery/crewel needles, chenille needles, and other pointed hand-sewing needles each offer different combinations of length, eye size, and shaft thickness.

For example, if you’re working with a thicker decorative thread but still need to pierce the fabric, a chenille needle’s sharp point and larger eye may be helpful.

When You Need to Pass Through

Needlepoint presents a different situation.

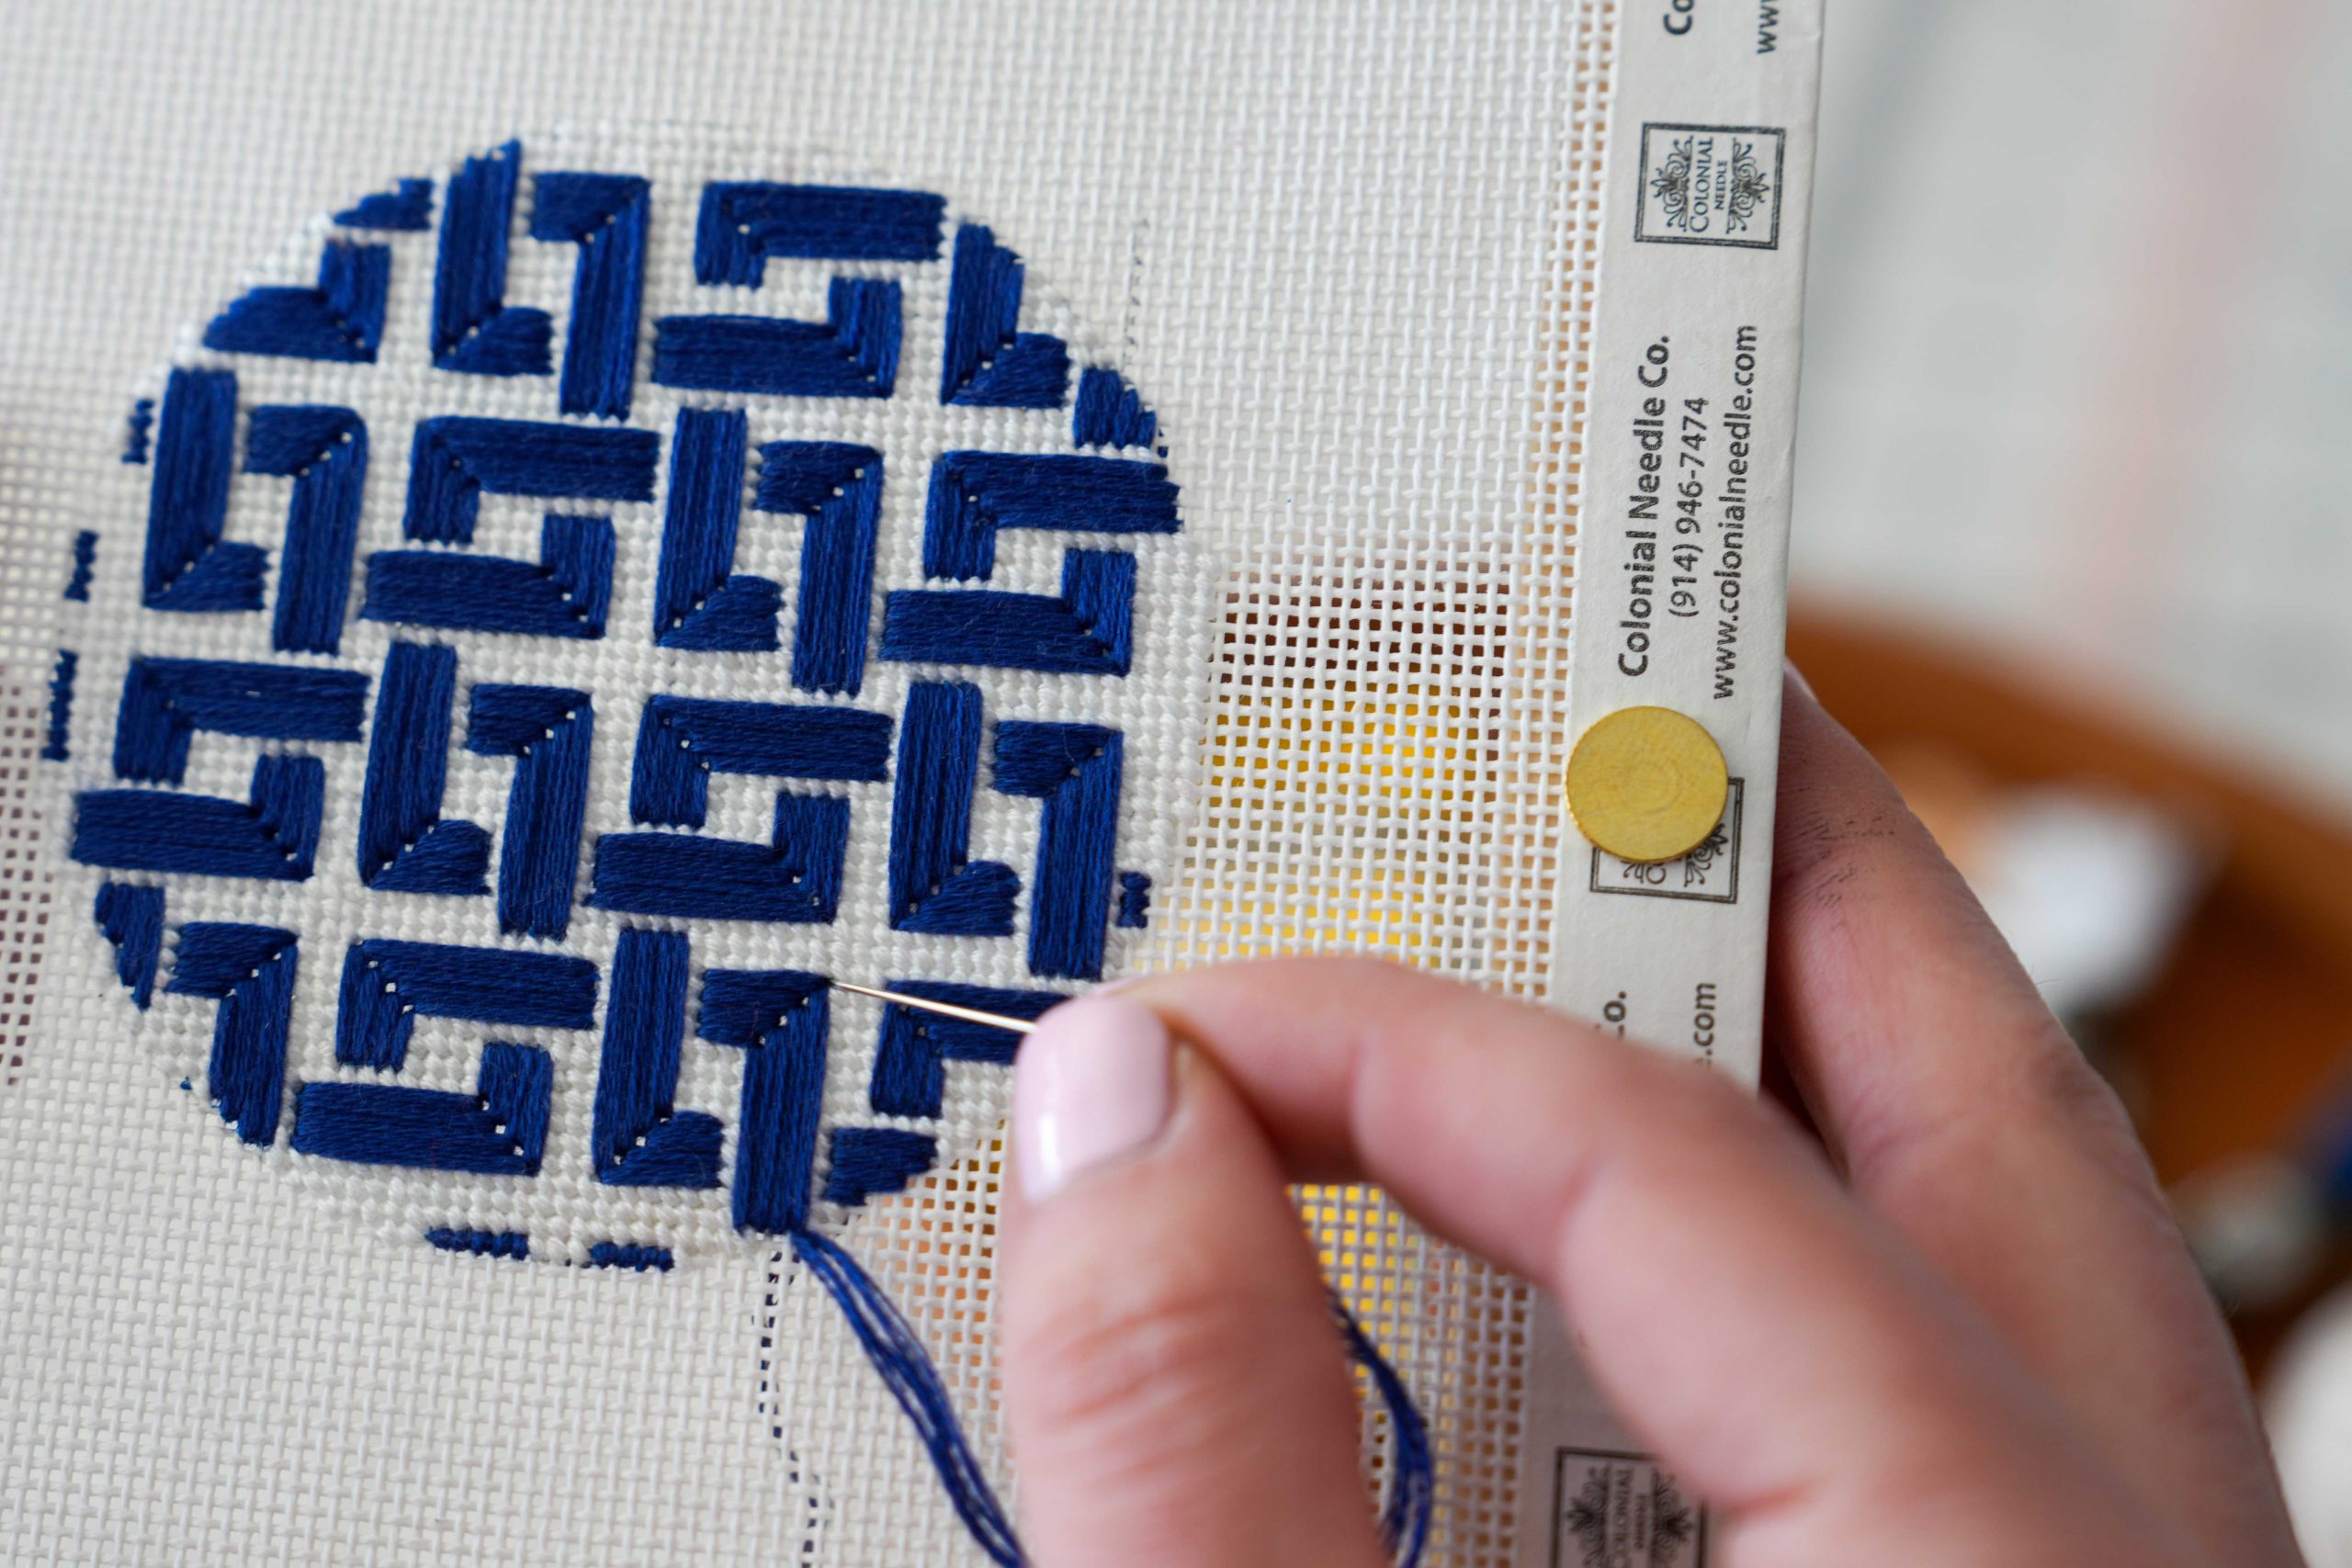
Rather than piercing tightly woven fabric, you’re generally passing the needle through openings in the canvas. A blunt tapestry needle helps move between the canvas threads rather than splitting or piercing them unnecessarily.

That’s why “heavier project” doesn’t automatically mean “sharper needle.”

The structure of the material matters.
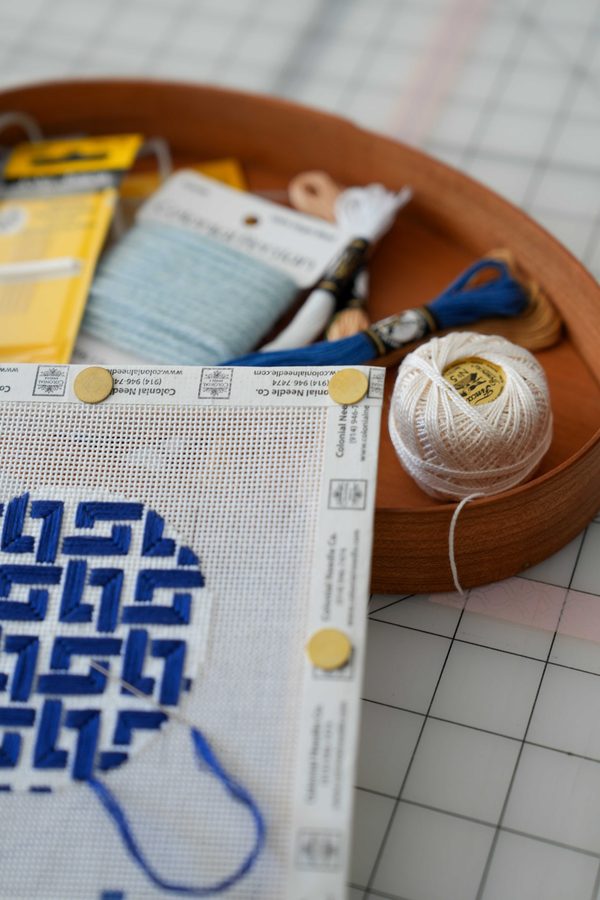
Think About the Eye

Adding texture often means experimenting with thread.

Perlé cotton, yarn, ribbon, multiple strands of floss, and other decorative fibers all take up more room than ordinary sewing thread.

Your needle eye needs to accommodate that thread comfortably.

If you’re struggling to pull the thread through the eye—or noticing that the thread repeatedly frays near the needle—try moving to a needle with a more accommodating eye.

The goal is enough room for the thread without choosing a needle so large that it creates an unnecessarily large hole in the fabric.

Think About the Shaft

The body of the needle matters, too.

A very fine needle may flex more than you’d like when moving through several layers. A needle that’s too heavy, on the other hand, can leave visible holes or distort the material.

You’re looking for balance:

Strong enough for the job. Fine enough for the material.

That balance may change even within the same project.

One Project Doesn’t Always Mean One Needle

This is one of our favorite lessons to teach.

You don’t have to finish an entire project with the needle you started with.
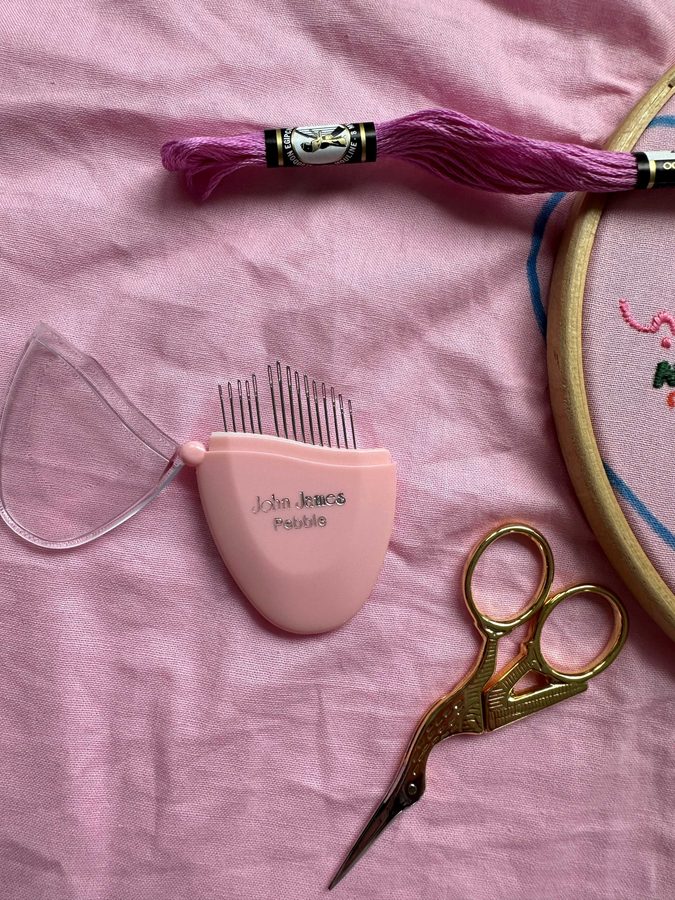
Imagine a layered textile project that combines:

  • Piecing
  • Patching
  • Decorative embroidery
  • Heavier perlé cotton
  • Areas of dense stitching

The best needle for construction may not be the best needle for the decorative stitching.

Likewise, a needlepoint project might incorporate several thread weights or specialty fibers. Changing the thread may mean reconsidering your tapestry needle size as well.

Your needle is a tool—not a rule.

Change it when the job changes.

Our Recommendation: Build a Texture Toolkit

If you enjoy projects with lots of texture, consider keeping several needle types nearby rather than relying on one favorite.

Sharps

These are a versatile choice for general hand sewing and for piercing woven fabrics.
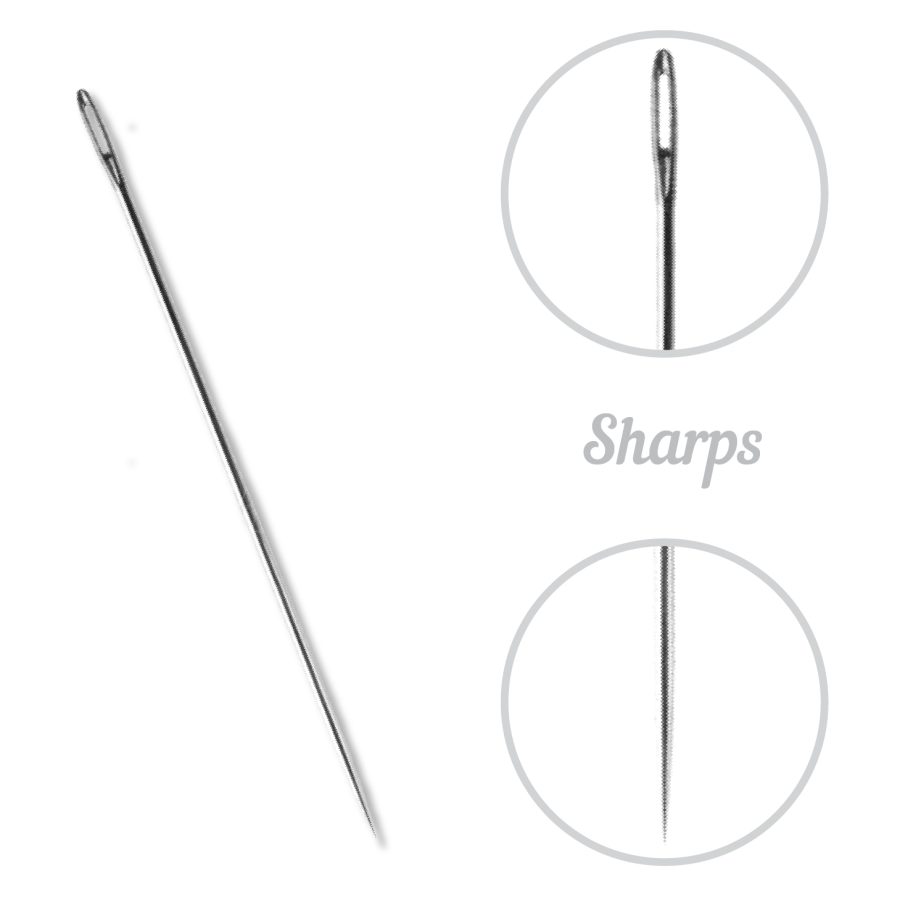
sharps needles

Embroidery/Crewel Needles

Sharp points paired with elongated eyes make these useful for many decorative stitches worked with embroidery threads.
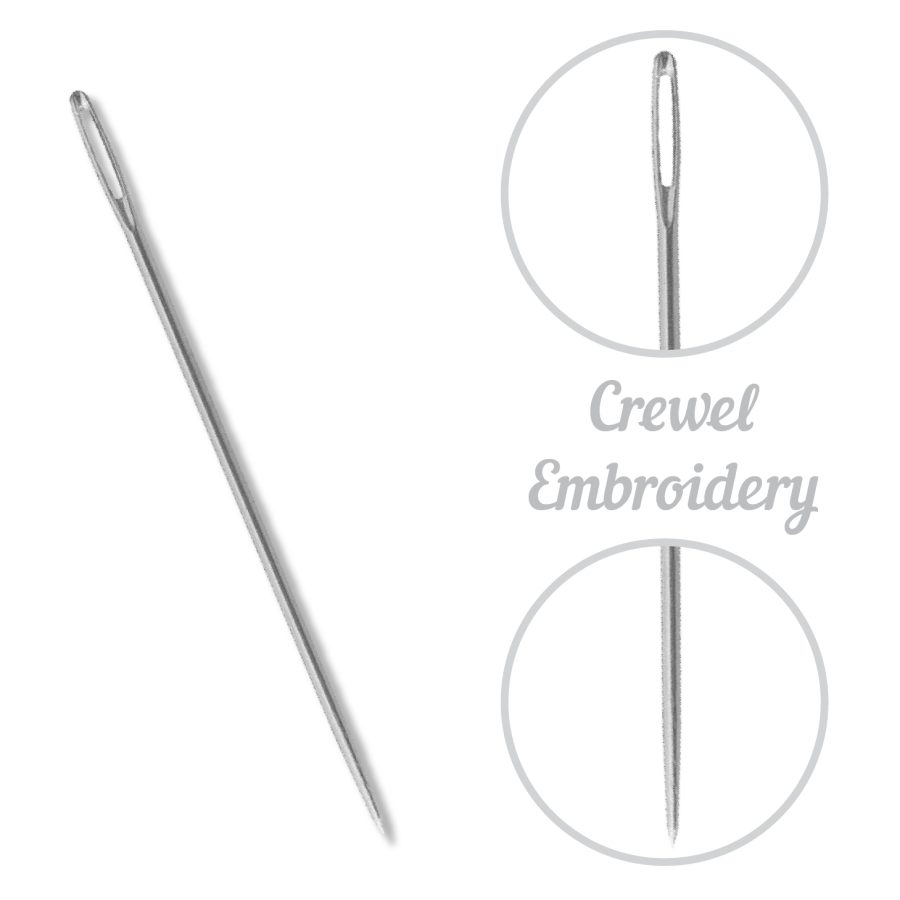
crewel embroidery

Chenille Needles

A sharp point combined with a large eye makes chenille needles especially useful when you need to pierce fabric while carrying a heavier thread.
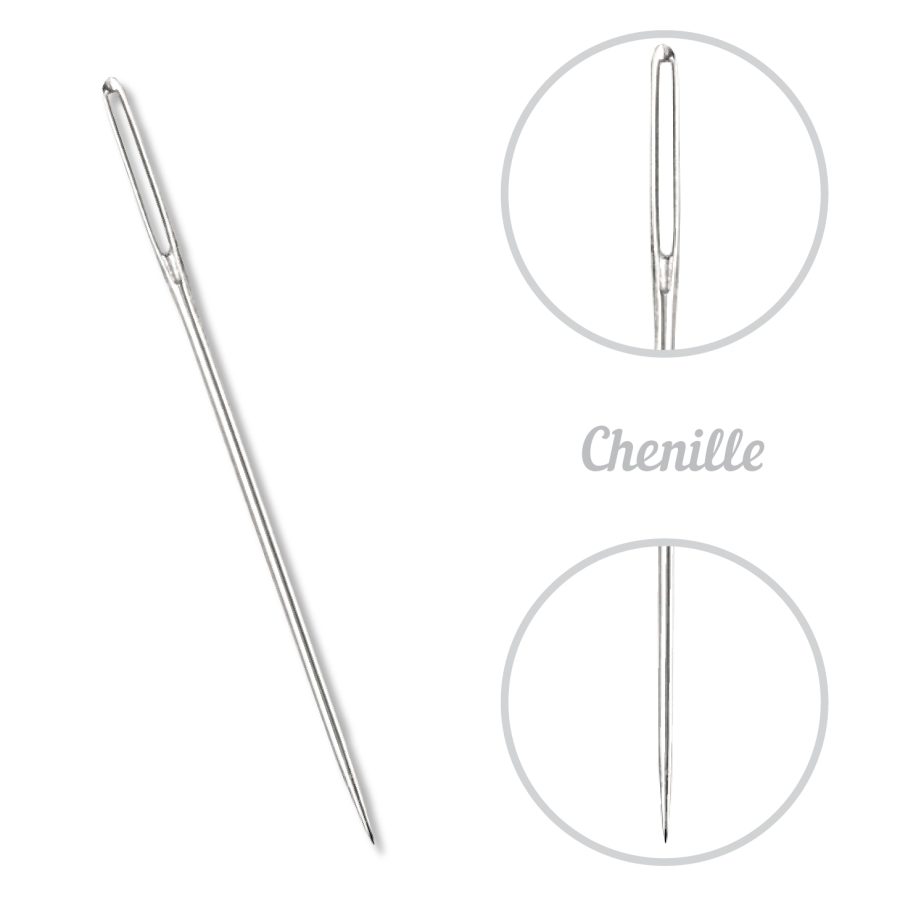
chenille needles

Tapestry Needles

Blunt tips and generous eyes make tapestry needles well suited to needlepoint, counted work, and other situations where the needle should travel through existing spaces rather than pierce the material.
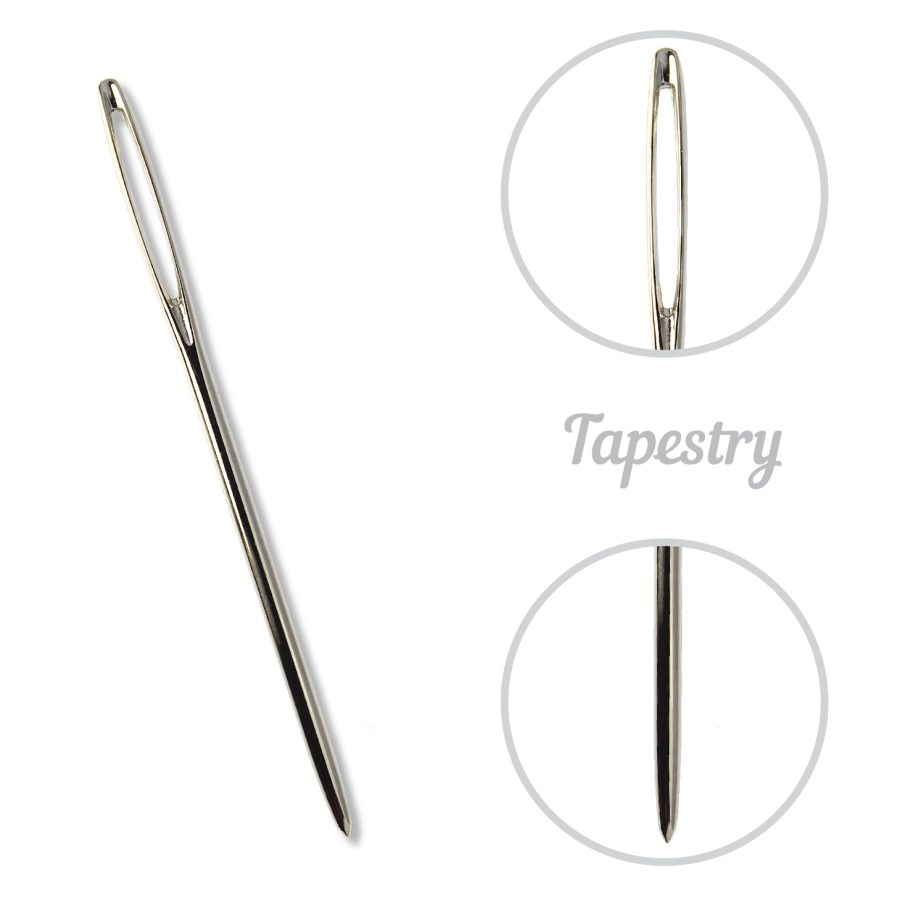
tapestry needles

Having several options nearby allows you to respond to what the project is actually asking of you.

Pro Tip: Listen to the Resistance

Your hands can tell you quite a bit about whether you’ve chosen the right tool.

A little resistance is normal. Constant fighting isn’t.

If you repeatedly have to force the needle through, stop.

Ask yourself:

  • Is my needle too fine for these layers?
  • Does my thread need a larger eye?
  • Would a different point style work better?
  • Am I stitching through an especially dense area?
  • Has the project changed enough that I should change needles?

Don’t assume that struggling harder is the solution.

Sometimes changing one small tool makes the entire stitching experience better.

Texture Without the Tangle

As projects become more dimensional, thread management matters as well.

Longer lengths of thread may seem convenient, but they have more opportunity to twist, abrade, and tangle—especially when repeatedly traveling through dense fabric or layered areas.

Try a manageable thread length and allow the needle to hang occasionally so accumulated twist can relax.

And when you’re working with specialty or unfamiliar fibers, test your combination of needle + thread + material on a scrap before committing to the project.

That small experiment can save a surprising amount of frustration.

Reader Takeaway: Let the Project Choose the Needle

When you’re stitching through texture and layers:

✔ Ask whether you need to pierce the material or pass through it
✔ Choose an eye that comfortably accommodates your thread
✔ Look for enough needle strength to handle the layers without unnecessarily enlarging the holes
✔ Expect your needle needs to change when your thread or technique changes
✔ Pay attention when the needle suddenly becomes difficult to pull through
✔ Test unfamiliar combinations before starting the finished piece

And most importantly:
Don’t be afraid to change needles mid-project.

The “right tool” isn’t necessarily one needle for the entire project. It’s the needle that makes sense for the stitch you’re making right now.

Looking Ahead

Next month in The Right Tool for the Stitch, we’ll continue exploring how materials influence our needle choices as we look at stitching through heavier fabrics.

Until then, experiment with texture, build those layers, and let your hands tell you when it’s time to reach for a different tool.
The Needle That Saved Our Quilt (And Our Sanity)

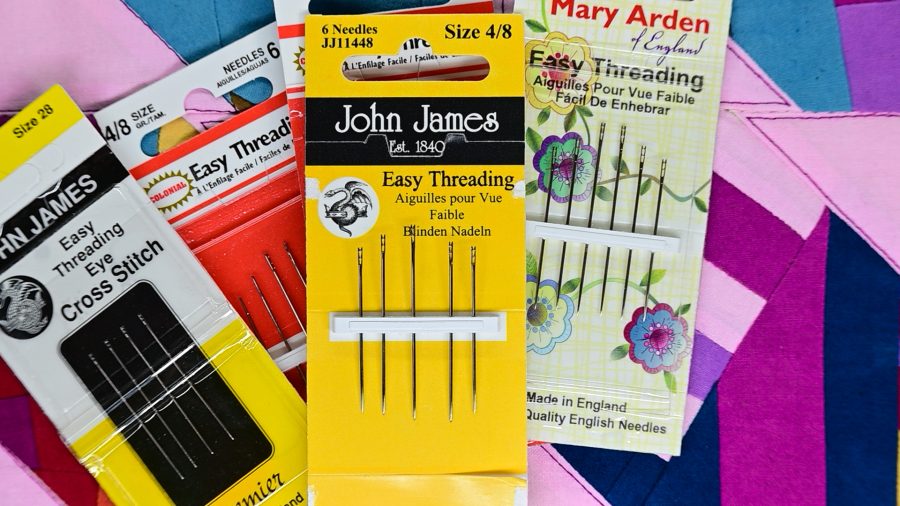
We almost left a needle permanently inside a quilt. No, it was not as a design choice for some strange mixed media piece. A side-threading easy needle had snagged on the batting inside the quilt layers during the tail-burying process, and no amount of gentle coaxing, creative angling, or colorful language was going to free it. We were this close to declaring it a permanent resident of that quilt and moving on with our lives. In addition, over the course of that one quilt, we broke six needles out of a pack of side-threading needles. It turns out that molding that swirl into the side of a needle results in a thin piece of metal that will, indeed, snap off without too much effort.

Jason had been researching top-loading easy thread needles in the background—because of course he had—and that was the moment we stopped debating and started acting. We called our local fabric store to make sure they had them in stock, jumped in the car, drove down the hill, and came home with a pack of John James top-loading easy thread needles.

That was during the making of our book Scrappy Wonky Quilt Block Extravaganza. This many years later, they are the only easy thread needles in our studio. We now work with Colonial Needle Company and can speak with absolute authority: these needles are the real deal.

The Problem With Side-Threading Needles

If you’ve tried easy threading needles before and given up on them, we’d bet good money you were using side-loading versions.

Side-threading needles have a slot on the side of the needle shaft. The thread snaps in from the side rather than being passed through a traditional eye. In theory: brilliant. In practice: the open slot catches on fabric fibers as you pull the needle through, creating snags, pulls, and—if you’re working through quilt layers—a needle that grabs the batting like velcro and refuses to let go. And just forget using the shaft of your needle to tie a knot… We know this from experience. Painful, frustrating, knotted thread, nearly-left-a-needle-in-a-quilt experience.

Why Top-Loading Changes Everything

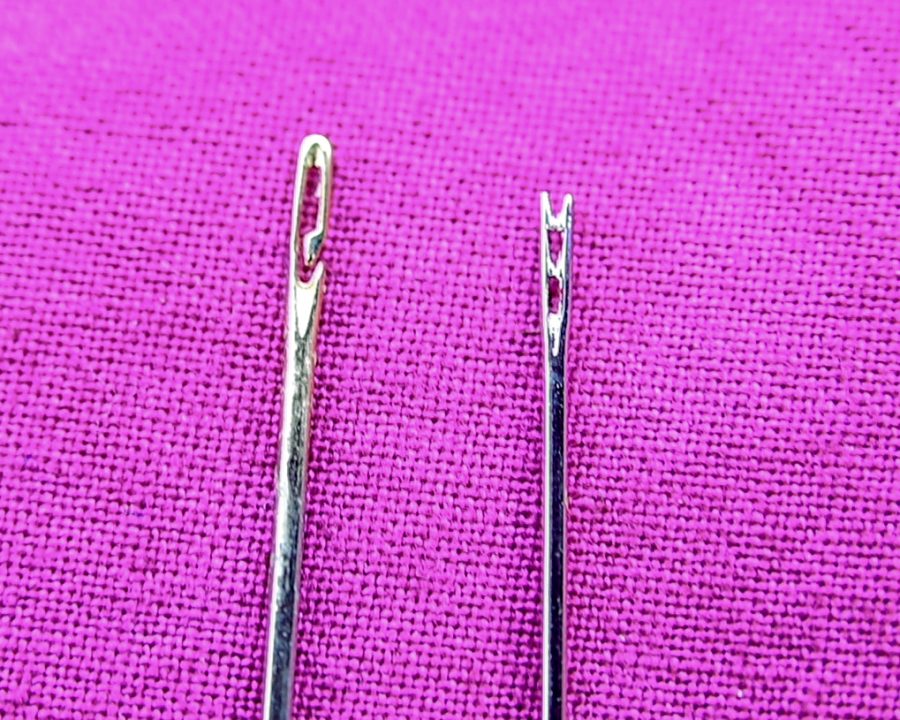
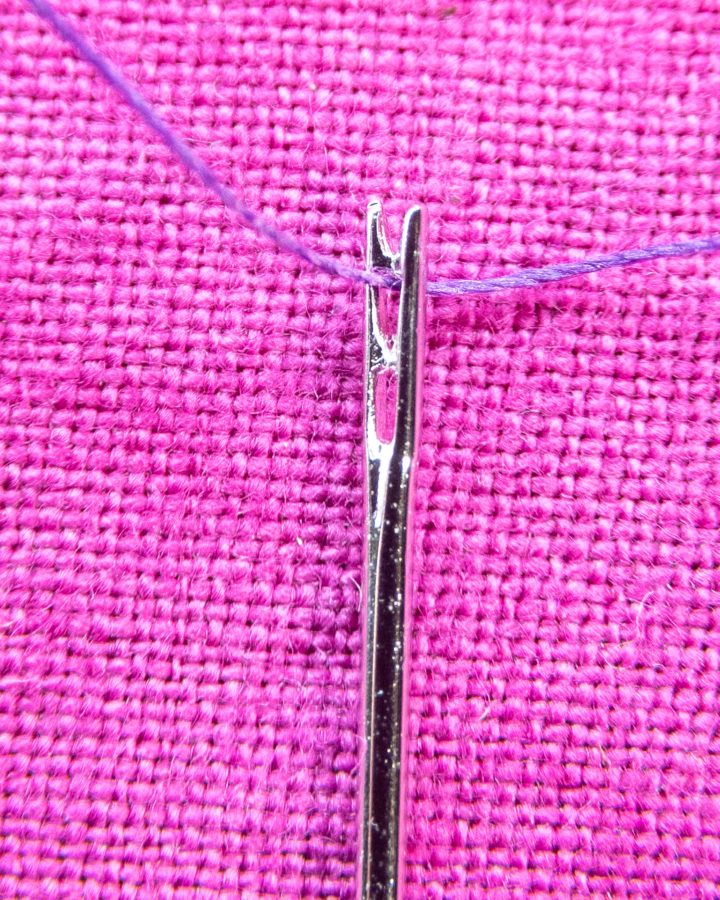
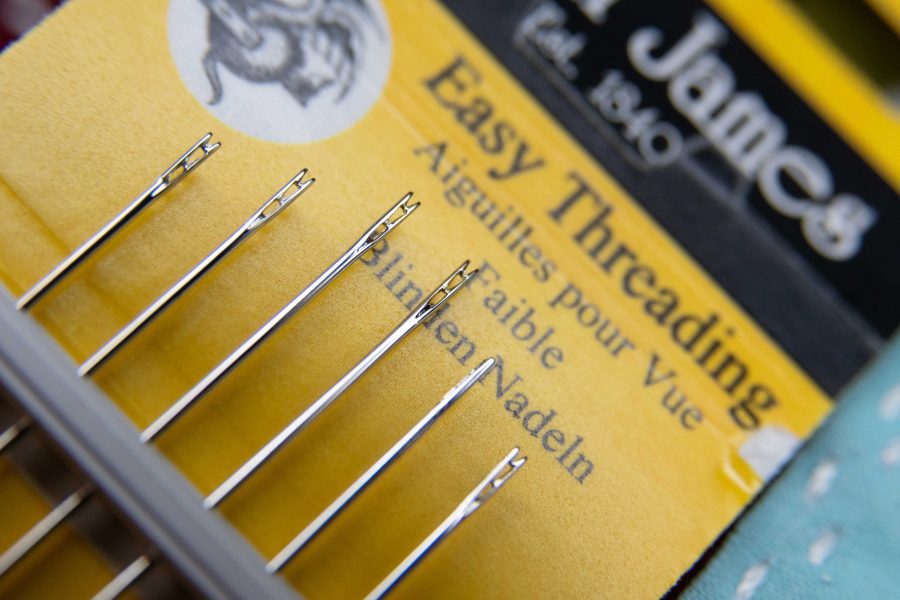
The John James top-loading easy thread needle has a channel at the top of the needle rather than a slot on the side. You press the thread down into the channel from above, and the needle is threaded. No more squinting at a tiny eye. No more licking the thread end and hoping for the best.

But here’s the crucial difference: the channel is enclosed as the needle passes through fabric. There’s nothing exposed to catch on fibers, snag delicate fabric, or grab batting mid-burial. The needle moves through your layers cleanly, exactly the way it should.

The Real Hero Feature: Burying Thread Tails

Let’s talk about what these needles were actually born to do, because this is where they earn their place as the only easy thread needle in our studio.

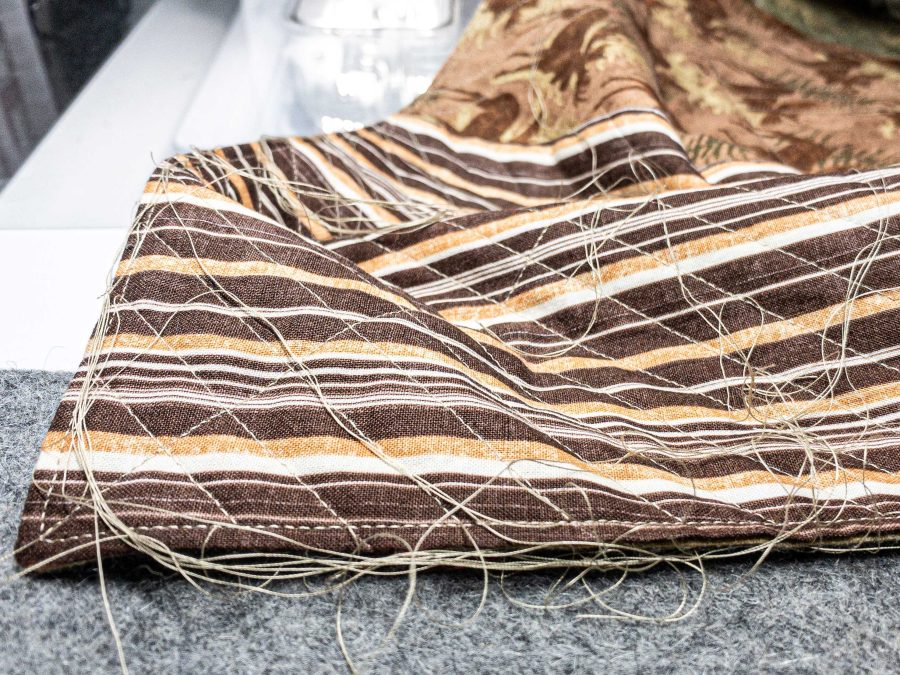
Finishing a quilt means burying thread tails. All of them. Every single starting and stopping point from every line of quilting stitching gets a tail, and every one of those tails needs to be buried between the quilt layers so it disappears completely into the finished piece.

On a complex quilt? We’re easily talking hundreds of tails; possibly more.

Threading each of those tails through a traditional needle is maddening. It’s the part of finishing a quilt that can genuinely dampen your enthusiasm for a project you’ve spent months loving. Your eyes are tired. The threads are short. The needle is small. And you have approximately four hundred more to go.

Top-loading easy thread needles make this process not just bearable—they make it actually enjoyable. Pop the tail into the channel, bury it between the layers, pull it through, trim.

Pop, bury, pull, trim. You develop a rhythm. The stack of buried tails grows. The project gets closer to finished.

How to Bury a Thread Tail With an Easy Thread Needle

Here’s the basic process. For the full step-by-step tutorial, watch the YouTube video linked below.

What you need:

  • John James top-loading easy thread needle
  • Your quilt with thread tails to bury
  • Small scissors

The process:

  1. Guide the thread tail into the top-loading channel to thread the needle
  2. Bring the top thread to the back of the quilt.
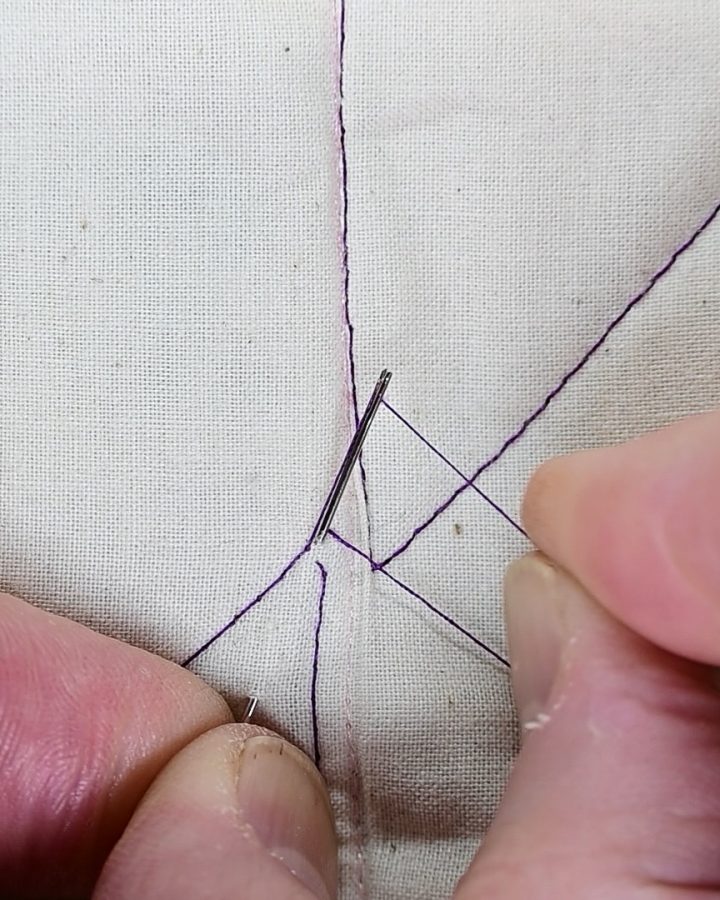
  3. Make the knot of your choice about ¼” from the base then insert the needle tip into the quilt layers at the point where the tail exits the fabric
  4. Run the needle between the fabric layers and back out again about an inch or two away from  there you inserted it.
  5. Gently pull the needle and thread tail through being sure to pull the knot to the inside of the layers.
  6. Pull the needle and thread a little more and trim the tail close to the fabric surface.
  7. Smooth the fabric and the tail disappears into the layers

The thread tail vanishes. No knot on the back. No visible evidence it was ever there. Just a clean, professional finish.

The “Also Starring” Features

Winning at Thread Chicken

Thread chicken: the act of absolutely believing—with your whole heart—that you can squeeze just a few more stitches out of that rapidly shortening thread length if you simply believe hard enough.

Wishcraft is wonderful. Tinker Bell told us so. But clapping your hands and believing is not going to make that thread reach the end of the line.

When thread chicken claims another victim and you end up with a tail so short it’s practically a suggestion, the top-loading channel is your secret weapon. Easy thread needles need just enough tail to catch in the top-loading channel, bury, and disappear.

The Broken Thread Mid-Quilt

We have all experienced the heartbreak of a mid-line thread break. Whether the thread tension was off and the break happens in the middle of quilting or the quilting thread on a well-loved quilt gives way and snaps, sometimes it just happens. Mid-project, mid-layer, mid-everything, and suddenly you have a short tail that needs to be dealt with. Normally, we would have to take out enough stitches to have a thread tail that could be pulled through the eye of a regular needle. But, with easy thread needles, all we need to do is take out enough stitches to catch in the top-thread channel. To use the least amount of thread possible, partially insert the needle into the fabric first to shorten the distance from the quilt surface to the thread, guide the short tail into the channel, and pull it through to bury it. Repeat on the other side of the break and then you can machine or hand stitch the gap in the line of stitching so it looks like nothing ever happened. Problem solved without drama.

Threading in Low Light (Or When Your Bifocals Aren’t Cooperating)

We’re just going to say it: threading a traditional needle when your eyes are tired, the light is low, or your bifocals just aren’t focal-ing as well as they used to is an exercise in frustration that nobody needs.

Top-loading easy thread needles require zero precision threading. Guide the thread into the channel until you feel that “pop” that tells you the thread is secured. Done. Your eyes will thank you.

The Bottom Line

We went from nearly leaving a needle permanently inside a quilt to genuinely enjoying the tail-burying process. That’s not a small thing. Finishing a quilt should feel like a celebration, not a chore.

John James top-loading easy thread needles are the only easy thread needles in our studio now. They thread fast, move cleanly through fabric and batting, and make the most tedious part of quilt finishing actually satisfying.

Bonus: Our easy thread needles origin story revolved around quilting but Colonial Needle Company has easy thread needles in a variety of sizes from cross-stitch to sharps. From cross-stitch to fine detail embroidery, hand sewing to quilting, we’ve been able to find an easy thread needle that does the job beautifully.

If you’ve given up on easy thread needles before, we understand. Try the top-loading version. It’s different. It’s better. And it won’t get stuck in your batting and you can keep stitching for longer even when your bifocals aren’t cooperating.

 Shop John James Easy Thread Needles here.

Watch the full tail-burying tutorial on YouTube for the complete step-by-step demonstration.

Are you a thread chicken survivor? Tell us your most dramatic close call in the comments— we want to hear them all.

The Right Tool for the Stitch: Portable Projects & On-the-Go Stitching

Summer is the perfect season to take your stitching beyond the sewing room. Whether you’re relaxing on the porch, traveling to a retreat, waiting at the airport, or enjoying a quiet afternoon by the lake, portable projects make it easy to fit creativity into life’s little moments.

But stitching away from home comes with its own challenges. Limited space, changing lighting, and carrying only the essentials mean that every tool in your project bag needs to earn its place.

The good news? A thoughtfully packed stitching kit—and the right needles—can help you stitch comfortably wherever your summer takes you.


The Stitching Scenario

Portable hand stitching

Portable projects often include:

  • English Paper Piecing (EPP)
  • Cross stitch
  • Needlepoint
  • Embroidery
  • Wool appliqué
  • Hand quilting
  • Slow stitching
  • Small mending projects

These projects are ideal for travel because they’re compact, relaxing, and easy to pick up whenever you have a few spare minutes.


The Common Challenges

When stitching on the go, you may encounter:

  • Forgetting the needle you need
  • Carrying too many supplies
  • Lost or damaged needles
  • Poor lighting
  • Limited workspace
  • Thread tangles inside your project bag

A little planning can make stitching away from home just as enjoyable as stitching in your favorite chair.


Why the Right Tool Matters

When you’re packing light, versatility becomes just as important as performance.

Instead of carrying every needle you own, consider choosing a small assortment that covers the projects you’ll actually be working on.

Think about:

Needle Type

Will your project call for a tapestry, chenille, embroidery (crewel), or sharps needle?

Needle Size

Packing a few sizes gives you flexibility if you switch projects or thread weights.

Storage

Keeping needles organized protects both your supplies and your fingers.

A compact needle case makes it easy to find exactly what you need—without digging through your project bag.


Our Recommendation: Building a Travel Needle Kit

Rather than packing dozens of needles, consider carrying a small assortment that handles most portable projects.

A well-rounded travel kit might include:

Tapestry Needles found here
Perfect for:

  • Cross stitch
  • Needlepoint
  • Counted embroidery
tapestry needles

Chenille Needles like these.
Ideal for:

  • Linen cross stitch
  • Evenweave
  • Ribbon embroidery
  • Specialty stitches
chenille needles

Embroidery (Crewel) Needles linked here.
A versatile choice for:

  • Surface embroidery
  • Wool appliqué
  • Decorative stitching
crewel embroidery

Sharps – a staple – found here.
Excellent for:

  • Hand sewing
  • Mending
  • English Paper Piecing
  • General repairs

Having a small variety means you’re ready for nearly any stitching opportunity that comes your way.


Pro Tip: Pack for the Project You Might Stitch

Many stitchers pack for the project they’re working on today—but vacations and retreats often inspire us to start something new.

Including one or two extra needle types takes very little space and gives you the flexibility to switch techniques if inspiration strikes.


Special Considerations for Travel

Whether you’re flying across the country or spending the afternoon at your local park, organization makes all the difference.

A few travel-friendly habits:

✔ Store needles securely in a compact case
✔ Bring pre-cut thread lengths
✔ Include a needle threader if needed
✔ Keep a small magnetic holder nearby to prevent lost needles

The less time spent searching for supplies, the more time you can spend stitching.


Reader Takeaway

For your next portable stitching project:

✔ Pack only the needles you’ll realistically use
✔ Include a variety of needle types
✔ Keep them organized in a protective case
✔ Plan for flexibility—not perfection

Sometimes the best stitching happens in the unexpected moments.


Looking Ahead

Next month in The Right Tool for the Stitch, we’ll explore the long, elegant needles designed specifically for Sashiko and Japanese running stitch—and why they create such beautiful rhythm.

Until then, safe travels, happy stitching, and don’t forget to tag us when you pack supplies for your favorite project!

The Right Tool for the Stitch: Hand Sewing & Mending

January is the season of fresh starts—and in the sewing room, that often means returning to the basics. Whether you’re mending a favorite garment, repairing household linens, or trying visible mending for the first time, hand sewing is where many stitchers reconnect with the simple satisfaction of needle and thread.

Yet even the simplest stitch can feel frustrating if the tool in your hand isn’t quite right. Choosing the right needle for hand sewing and mending can make stitches smoother, neater, and more enjoyable—and can even extend the life of the fabric you’re repairing.

Let’s take a closer look at how the right needle supports better hand sewing and mending.


The Stitching Scenario

Everyday hand sewing & mending

This category includes:

  • Closing seams or hems
  • Repairing small tears or worn spots
  • Attaching buttons
  • Darning socks or sweaters
  • Visible mending on garments or textiles

These projects often involve a mix of fabrics and threads, which means flexibility matters.

The Common Challenges

Many stitchers struggle with:

  • Thread fraying or knotting while stitching
  • Difficulty pulling the needle through fabric
  • Uneven or bulky stitches
  • Hand fatigue during longer mending sessions

These issues are often blamed on technique—but just as often, the needle itself is the culprit.

Why the Right Needle Matters

A hand sewing needle may look simple, but small differences make a big impact:

  • Eye size: Too small, and your thread frays or won’t pass through smoothly. Too large, and stitches can look sloppy.
  • Shaft thickness: A needle that’s too thick can damage fabric fibers; too thin, and it may bend or break.
  • Point style: The point determines how the needle enters fabric—cleanly or with resistance.
  • Length: Longer needles are helpful for basting or running stitches, while shorter needles offer more control for fine repairs.

Matching these qualities to your project improves both stitch quality and comfort.

Our Recommendation: Needles for Hand Sewing & Mending

For most general hand sewing and mending, look for:

Sharps (Sizes 7–9)
These are the workhorses of hand sewing. They have:

  • A sharp point for easy fabric penetration
  • A medium eye suitable for most sewing threads
  • Enough strength for woven fabrics and light repairs
  • Sharps are ideal for hems, seam repairs, and general garment mending.

Betweens or Quilting Needles (Sizes 8–10)
Shorter and slightly stiffer, these offer excellent control for:

  • Small, precise stitches
  • Reinforcing worn areas
  • Fine, nearly invisible mending

Darners (Sizes 5–7)
Helpful for:

  • Running stitches
  • Basting repairs before machine sewing
  • Visible mending designs

A small assortment allows you to adapt easily as projects change.


Pro Tip: Let the Fabric Lead

When in doubt, test your needle on a scrap of the fabric you’re repairing. If the needle glides smoothly without resistance—and the thread passes through without fraying—you’ve found a good match. If you hear fabric “popping” or feel drag, try a finer needle.

Special Considerations for Visible Mending

Visible mending is as much about expression as repair, and needle choice supports that creativity.

  • Use a larger eye when working with thicker threads or embroidery floss
  • Choose a slightly longer needle for rhythmic, even stitches
  • Avoid forcing thick threads through tiny eyes—it weakens both thread and fabric

The goal is durability and beauty.

Reader Takeaway: A Simple Needle Checklist

If you’re hand sewing or mending:

  • ✔ Match needle size to fabric weight
  • ✔ Match eye size to thread thickness
  • ✔ Keep a small assortment on hand
  • ✔ Replace needles that feel rough or bent

A fresh needle truly makes a difference.

Looking Ahead

Hand sewing and mending are foundational skills—and mastering them sets you up for more advanced techniques throughout the year. In our next installment of The Right Tool for the Stitch, we’ll explore needle choices for embroidery on linen and other specialty fabrics.

Until then, may your stitches be smooth, your repairs satisfying, and your sewing basket well-stocked.

Preparation for Needleturn Applique: Tools & Tips

By Judy Moore Pullen

Applique is an awesome, not awful, word to me. I feel like a sculptor as I swoop and turn under that scant 1/4” seam allowance; traveling down straight folded edges of applique fabric, then creating curves, dipping into innie points and playing with my newest trick for pointy outie points. There are several things I suggest doing in preparation for my joy of sculpting fabric, AKA: hand applique.

Thing 1: Gather your tools. Tools as in fabric cutting scissors: sharp to the point and rather short for better control of where you clip and how far you clip into the seam allowance. And use just those sharp points of your scissors to clip and trim. I learned that the hard way several years ago while hand quilting on a frame on my mother’s quilt. I opened large scissors all the way and clipped the thread as well as the quilt top. That was a good, life-long lesson I learned that day. Sometimes I also use pinking shears to carefully trim the cut edges of the applique, taking tiny bites out of the fabric for ease in turning under the seam allowance and reducing bulk beneath the applique. Practice first with those pinking shears. You can always trim away more, but it is most frustrating to try to turn under a seam allowance that is too narrow and ultimately frays.

Thing 2: One of my favorite tools for hand applique that I gather is a thimble. I especially love using Roxanne Thimbles. A correct fitting is required (Colonial Needle has put some tips together here). When I owned a quilt shop several years ago, I suggested to my customers who were interested in a Roxanne Thimble that they bring some handwork, and spend a little time trying out several sizes by sittin’ and stitchin’ for a little while — somewhat like walking around in a new pair of shoes to make sure they fit prior to purchase. In addition to being very comfortable with a proper fit, Roxanne’s  Thimble  is ergonomically better for your hands. The side-push of the needle with your finger is better for your hands than pushing the needle with the tip of your finger. Using this thimble allows me the joy of continuing to hand stitch for many years to come. Roxanne’s Thimble also makes a lovely gift for that special friend or family member with a choice of gold plated, silver plated, or sterling. Every time I use mine, I am reminded of a dear friend who gifted me with one- a gift that keeps giving.   

Thing 3: Another very small but also very helpful tool are Needle Grip-Its. Press your thumb and fore- finger together where you grip a needle. Then peel a little circle from a sheet in the package and apply the sticky side to the tip of your thumb on your dominant hand. Repeat for your forefinger on your dominant hand. The repetitive motion of gripping, pushing, and pulling a needle can cause pain and swelling in one’s hands. These little unobtrusive circles stick well to your finger and thumb, and help to more easily grip and direct the needle exactly where you desire into the fabric. This also helps with that invisible applique stitch. Needle Grip-Its come packaged in sheets of 70 adhesive dots to easily carry in your sewing basket. They can also be cut into pairs to include in customers’ kits for classes, offering a great opportunity to try before you buy. 

Some of my favorite tools to do one of my favorite things: hand applique!

Thing 4: The quality of Presencia Thread for my hand applique assures me that the time and effort I spend making my stitches as invisible as possible is well worth it. Presencia begins with the finest 100% Egyptian Cotton, virtually lint-free, strong, and durable. As I acquire more candles on my birthday cake and my number becomes bigger, I am reminded that the bigger the number, the finer the thread (and hand sewing needles – sewing machine needles are the opposite.) For those nearly invisible hand applique stitches, there are four things that are especially helpful: applique thread size, applique thread color, the needle, and the stitch.  I recommend sewing with sizes 50 weight or 60 weight for hand applique. Both sizes 50 and 60 are 3-ply (three fibers plied, twisted  into one fine thread) therefore also very strong. For thread color, if possible, unwind a few inches of Presencia Thread from the spool and lay it across your applique fabric. We used to just lay a spool of thread across the fabric to audition thread color, but another lesson learned, thread color on the spool is different from a strand of thread.  My personal favorite thread size is 60 weight since it is smaller in diameter than 50 weight.

Thing 5: I love so many needles that Colonial Needle Company has to offer. Over the years, I have also learned that fitting the needle to the thread and the project is most important. I used to sew with whatever needle I could see to thread, with whatever thread was available. With time comes wisdom! I really enjoy using the John James Signature Collection Needles, especially their Milliners and Quilting Needles for needleturn applique. The Milliners are long, very fine, strong, and help to easily pierce the folded edge of my applique as well as the background fabric. Because the needle is so sharp and made in England of the finest quality steel, I can easily pierce the fabric rather than push and distort where I want the applique. The length of the Milliners Needle helps me to turn under the seam allowance then hold the fold with the thumbnail of my other hand. With needleturn applique, I can spend my time and effort stitching, rather than preparing the appliques, although I must admit that friends who do prepared hand applique do beautiful work. The process of needleturn is what I love so much! Sometimes I enjoy a change, and use the John James Signature Collection Quilting Needle. It gives my hands a break, kind of like changing from tennis shoes to slip-on shoes mid-day. John James Signature Collection Needles also are available in Embroidery and Sharps Needles. They are packaged in the USA  in crystal clear tubes of 25 needles, enough to keep you supplied for quite a while and to share with friends.

Thing 6: Just to mention a few other things I keep handy in preparation for hand applique: I highly recommend a good light source directly over your work. My light source is also magnified, helpful due to all those birthday candles…I also stitch with a pillow on my lap which helps to bring my sewing up to a level that is comfortable for me, and helps me rest my hands as well as more accurately position my needle and scissors. A pincushion for fine straight pins is a better option than the arm of my “nest” chair where I sit and stitch. A needle threader is helpful, and I will have a suggestion on tips for threading a needle in blogs to come. I enjoy hand sewing so much that I neglect getting up and moving around, so setting a timer is a good reminder for me if I am listening to an audio book or the serene sound of silence while I sew. If watching TV, I challenge myself to stand and stretch during commercials. 

I try to keep several containers, baskets and boxes prepared with a collection of tools and WIPS (Works in Progress) for grabbing and going out the door, or putting in my car the evening prior to an appointment or meeting. One never knows when one will need to savor just sittin’ and stitchin’. Most of us can multi-task anyway- listen and stitch. Needleturn applique helps me to be somewhat less annoying while listening to a speaker, while waiting for a delayed appointment, or for taking to the park when I have some time to spare between appointments. It also offers me the opportunity to meet new people, share interests, and perhaps even acquire converts to hand sewing. It’s all good, and gets better with the best and right tools and tips.

Happy sewing,

Judy Moore Pullen

April Tricks and Tips

By Judy Moore Pullen

It seems that the origin of April Fools’ Day is somewhat a mystery, although many of us especially enjoy celebrating and having fun with others on that day. I would like to share some tricks and tips with you today that might help take some of the mystery out of sewing as well as make it more enjoyable…except for mending and hemming blue jeans…that is another story.

Trick one:

I love hand sewing, and have a passion for needleturn applique! Before I begin any hand sewing, I prepare by adhering Needle Grip-Its to the tips of my forefinger on my needle-holding hand. The repetitive motion of gripping and pulling a needle causes pain in my hands, and these non-intrusive little dots grip the needle without leaving sticky reside on the needle throughout an entire movie on TV, including commercials!

Tip two:

As I settle in my favorite comfy chair for an evening of hand sewing, I place a pillow behind my back, and plop a smaller pillow on my lap. On the small pillow, I have safety-pinned a rectangle of white wool, although any white fabric will help me see the eye of the needle as I stand it needle upright in the white fabric and into the pillow. Once the needle is threaded, I turn the pillow over and use it as a support for my hands while sewing.  This pillow is one of the “tools” that helps steady my hands and place the tip of the needle exactly where I want it while making needleturn stitches nearly invisible. I can also position my project on the pillow, place applique pieces, and insert straight pins vertically. Then, I can lift edges of the applique and apply Roxanne’s Glue Stick down the center of the wrong side of the applique fabric. The pillow on my lap also provides a place where I can rest my hands and arms.

Trick three:

Colonial Needle Dual Threader is also so helpful in threading that needle standing upright in my pillow on a piece of white fabric. This single needle threader offers one end for standard needle threading, and on the other extra-large end, a threader for threading Presencia Perle Cotton sizes 12 and 16, or several strands of solid or variegated long staple 100% cotton Presencia Embroidery Floss. If you are adventurous, try threading one strand of floss and a strand of perle cotton, of a different color, together. This long handle needle threader also aids in threading sewing machine needles.

Tip four:

One tip for making hand sewing stitches as invisible as possible, is to stitch with Presencia 60 weight thread. If you are hand stitching on items that will receive lots of wear, use 40 weight. For medium wear, try 50 weight. Remember: the bigger the number, the finer the thread and hand sewing needles. Consider sewing buttons on garments with Presencia Perle Cotton, size 12 or 16.  

Trick five:

Another trick for making those stitches nearly invisible is to audition the thread color. Unwind about 12 inches of thread and lay it on top of the fabric. Thread color should match the color of the applique fabric, not the background for those invisible stitches. If hand stitching a hem, dribble the thread from the spool on the right side of the garment. Thread color looks different on the spool than when one strand is placed on top of fabric.

Trick six:

I highly recommend John James new Signature Collection needles for hand sewing. These ultra-sharp, strong, fine needles are available in Betweens, Sharps, Embroidery, and Milliners, and are packaged 25 to a tube. As with thread sizes, the bigger the number, the finer the needle. So, if you prefer to relax and enjoy doing hand embroidery with several strands of lovely solid or variegated Presencia floss, select a size 7 needle. The fewer strands of floss that you use, the larger the size number of the needle. If needleturn hand applique is a favorite way to relax and stitch for you, try a size 11 Milliners or Sharps and Presencia 60 weight thread. The points of these needles is so sharp that they easily pierce the fabric rather than push it out of place.

Colonial Needle Company has so many excellent products and tools to assist in helping those of us who need a daily dose of working and playing with fabric, needles and threads. Select products and use tips and tricks that make working on your projects fun, easy, and result in the best finished product you can do.

Happy sewing,

Judy Pullen