Summer is the perfect season to take your stitching beyond the sewing room. Whether you’re relaxing on the porch, traveling to a retreat, waiting at the airport, or enjoying a quiet afternoon by the lake, portable projects make it easy to fit creativity into life’s little moments.
But stitching away from home comes with its own challenges. Limited space, changing lighting, and carrying only the essentials mean that every tool in your project bag needs to earn its place.
The good news? A thoughtfully packed stitching kit—and the right needles—can help you stitch comfortably wherever your summer takes you.
The Stitching Scenario
Portable hand stitching
Portable projects often include:
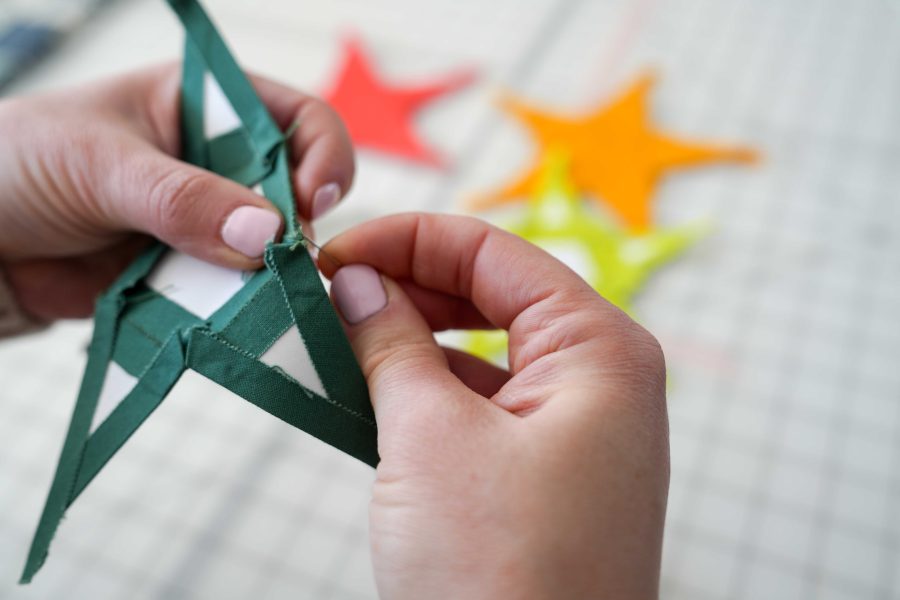
- English Paper Piecing (EPP)
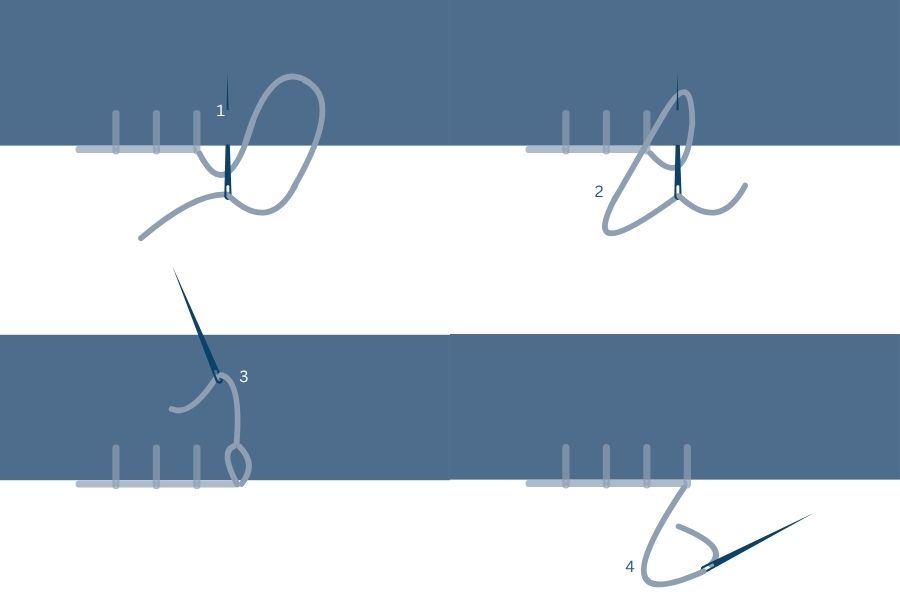
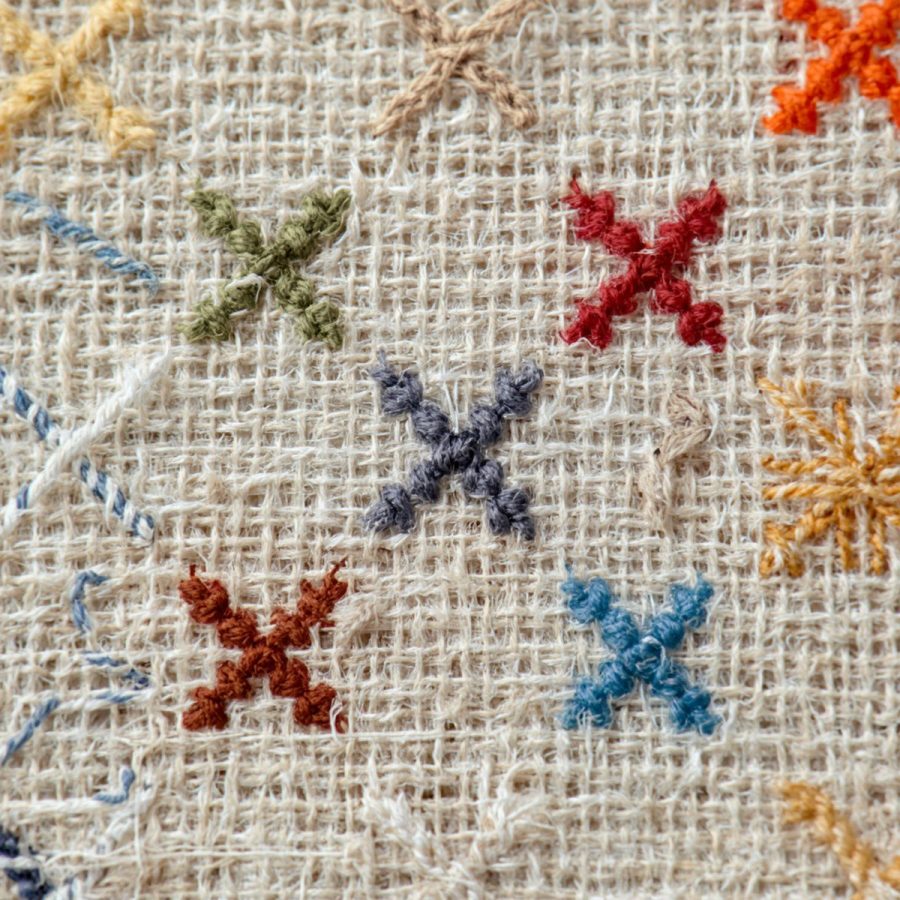
- Cross stitch
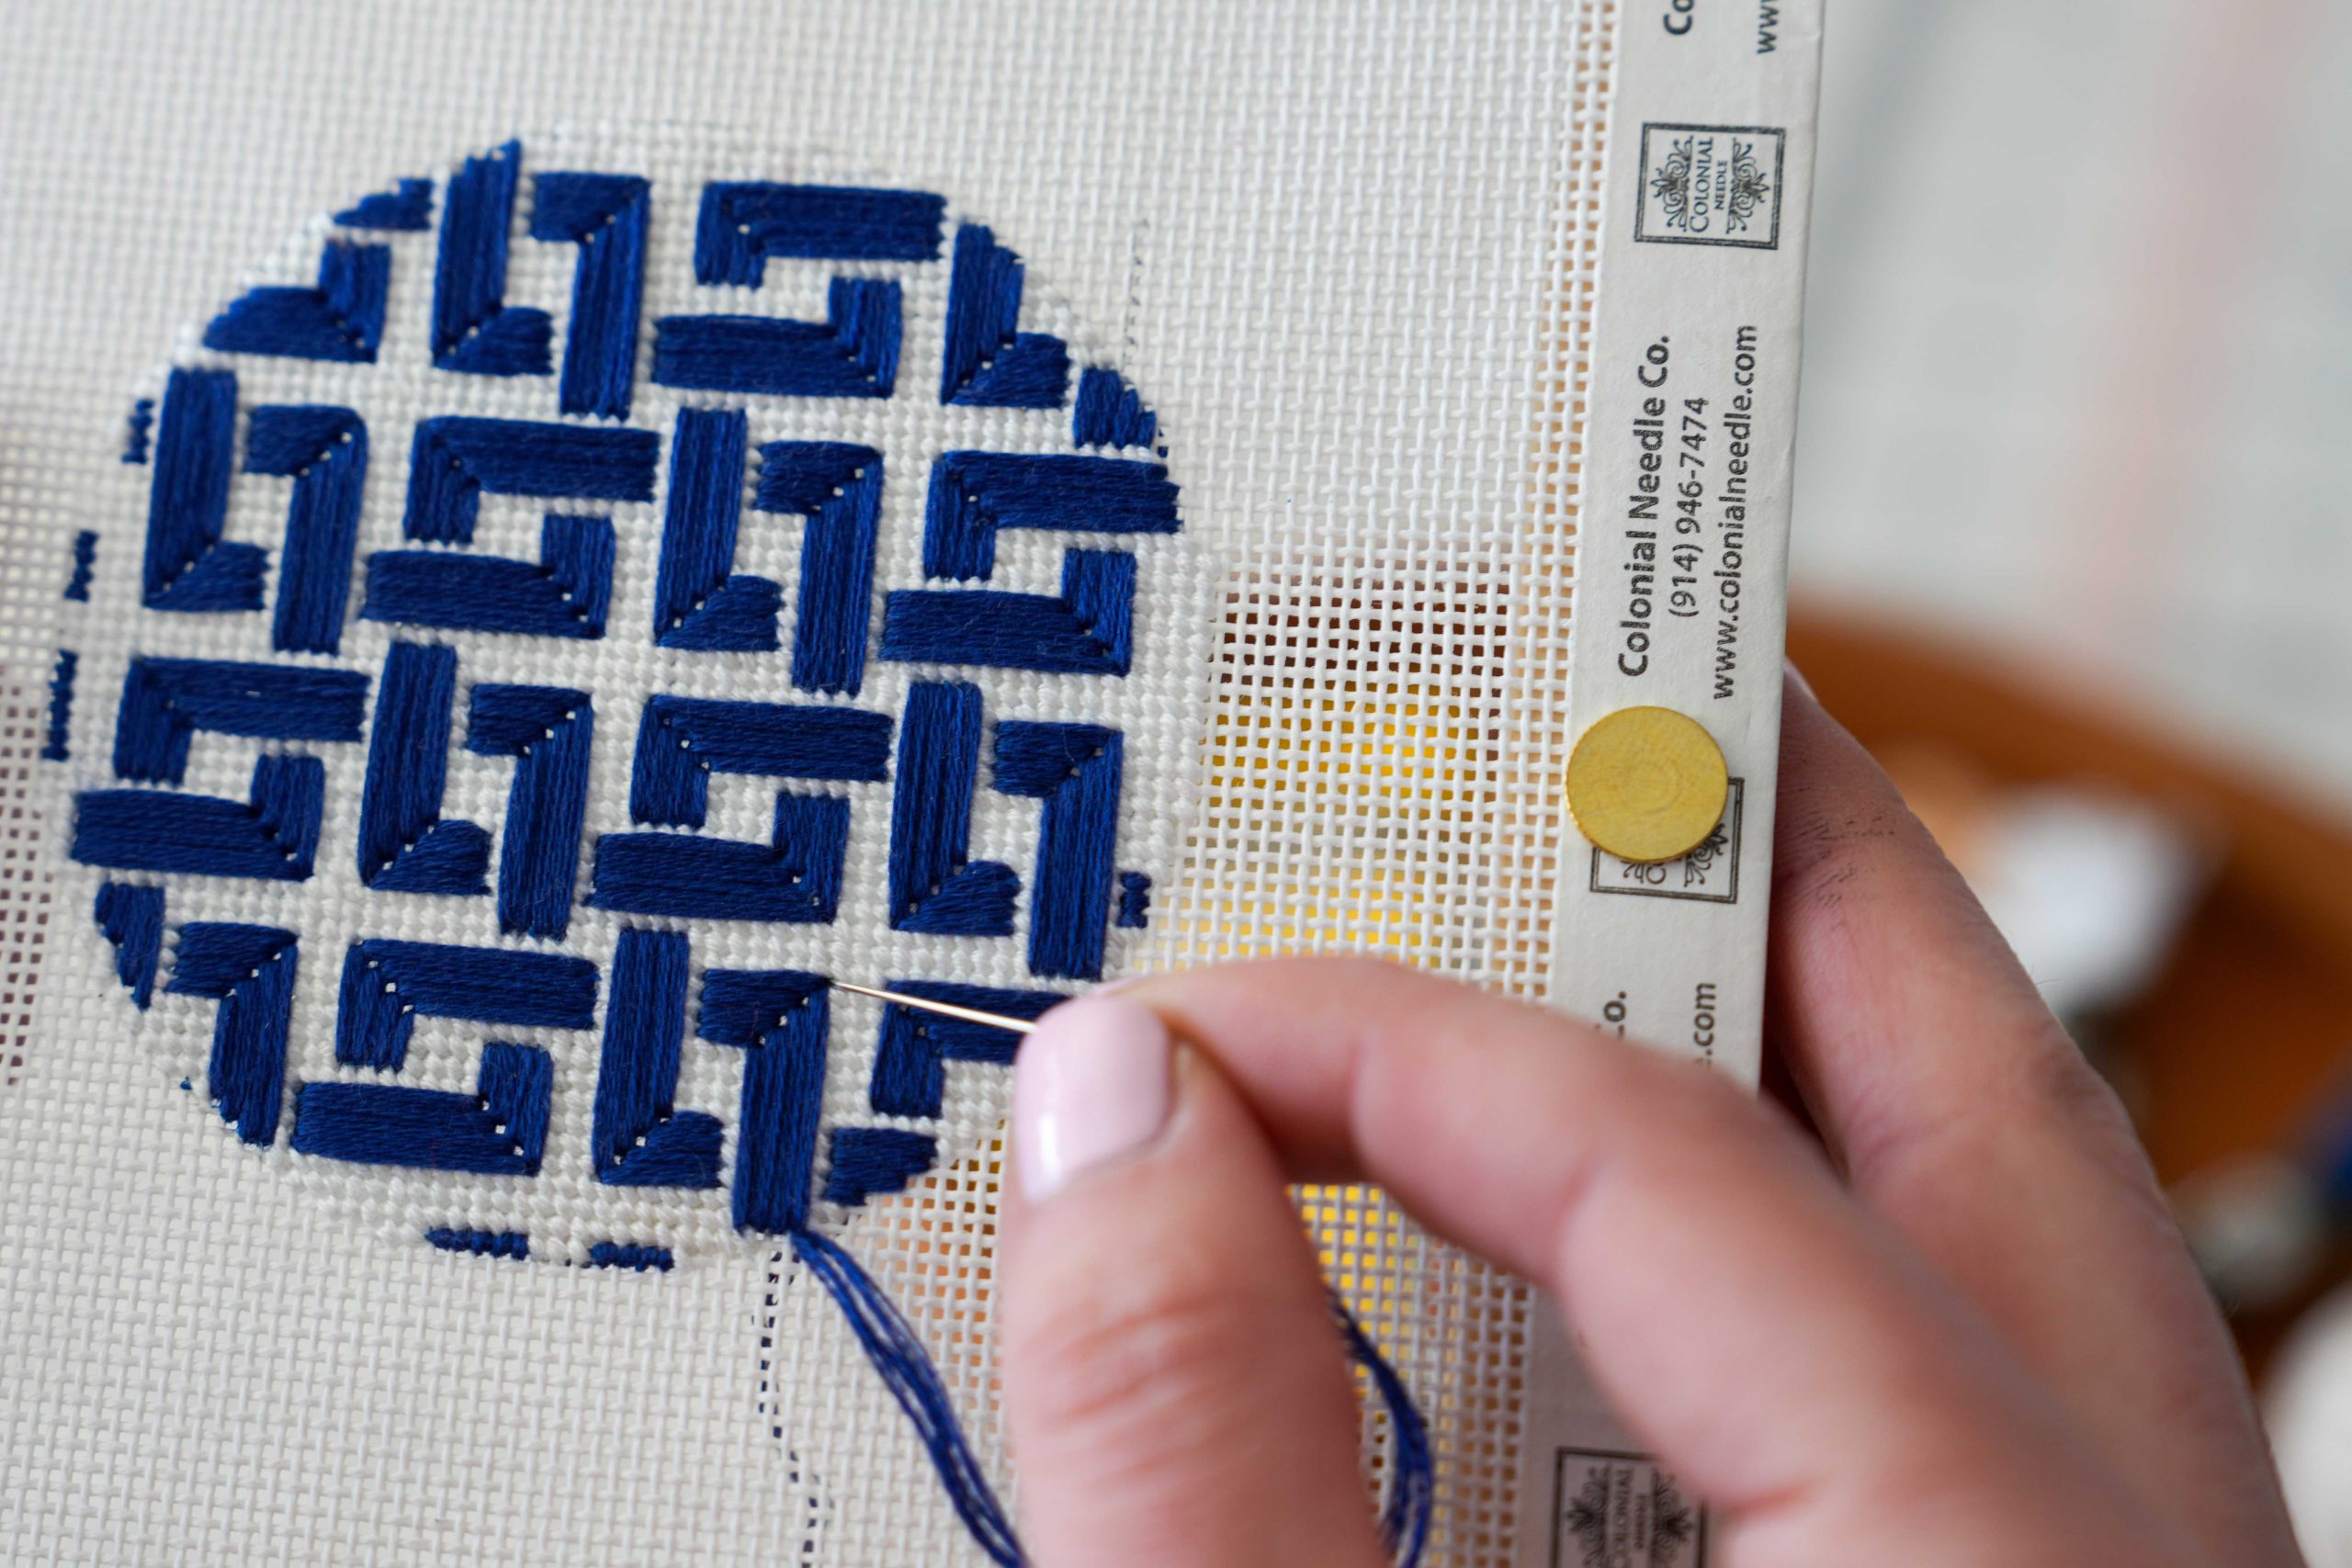
- Needlepoint
- Embroidery
- Wool appliqué
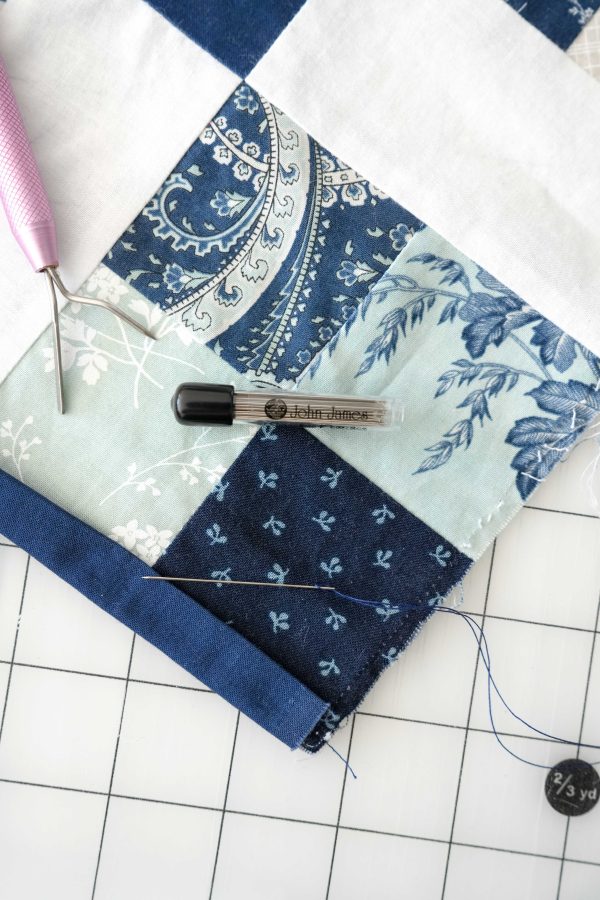
- Hand quilting
- Slow stitching
- Small mending projects
These projects are ideal for travel because they’re compact, relaxing, and easy to pick up whenever you have a few spare minutes.
The Common Challenges
When stitching on the go, you may encounter:
- Forgetting the needle you need
- Carrying too many supplies
- Lost or damaged needles
- Poor lighting
- Limited workspace
- Thread tangles inside your project bag
A little planning can make stitching away from home just as enjoyable as stitching in your favorite chair.
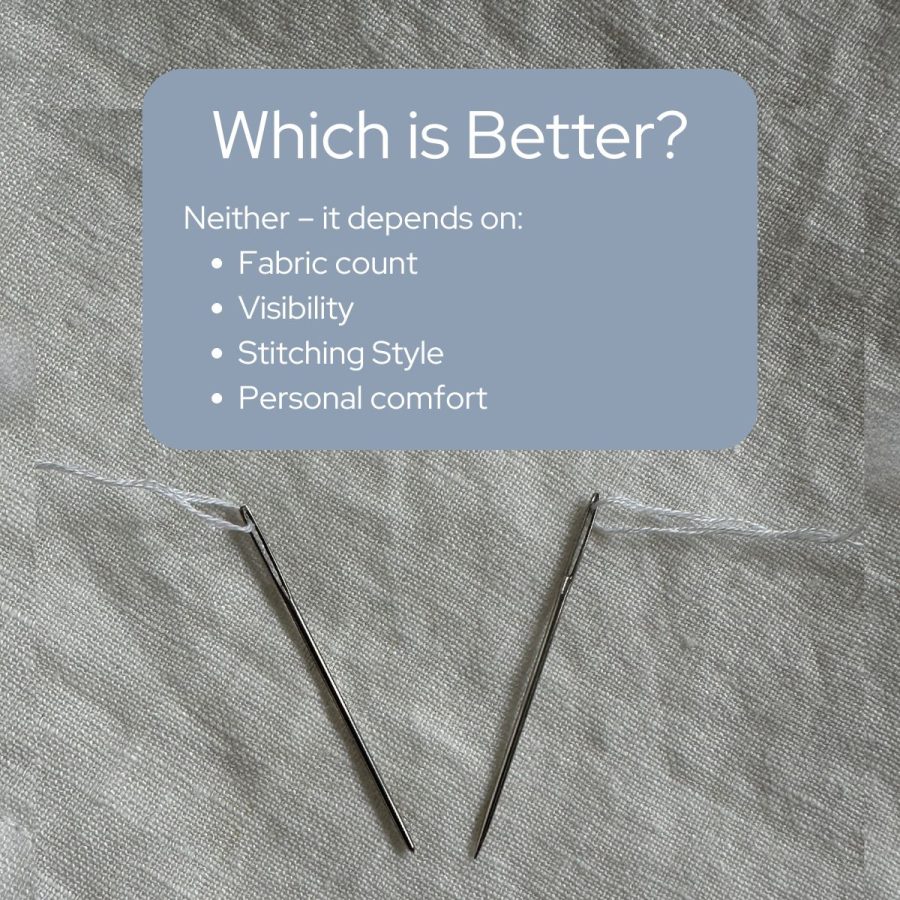
Why the Right Tool Matters
When you’re packing light, versatility becomes just as important as performance.
Instead of carrying every needle you own, consider choosing a small assortment that covers the projects you’ll actually be working on.
Think about:
Needle Type
Will your project call for a tapestry, chenille, embroidery (crewel), or sharps needle?
Needle Size
Packing a few sizes gives you flexibility if you switch projects or thread weights.
Storage
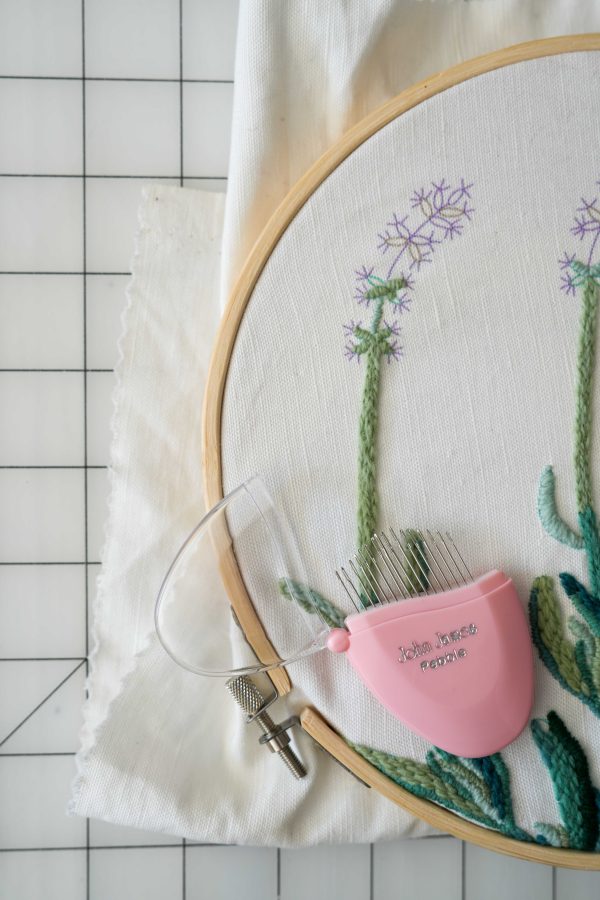
Keeping needles organized protects both your supplies and your fingers.
A compact needle case makes it easy to find exactly what you need—without digging through your project bag.
Our Recommendation: Building a Travel Needle Kit
Rather than packing dozens of needles, consider carrying a small assortment that handles most portable projects.
A well-rounded travel kit might include:
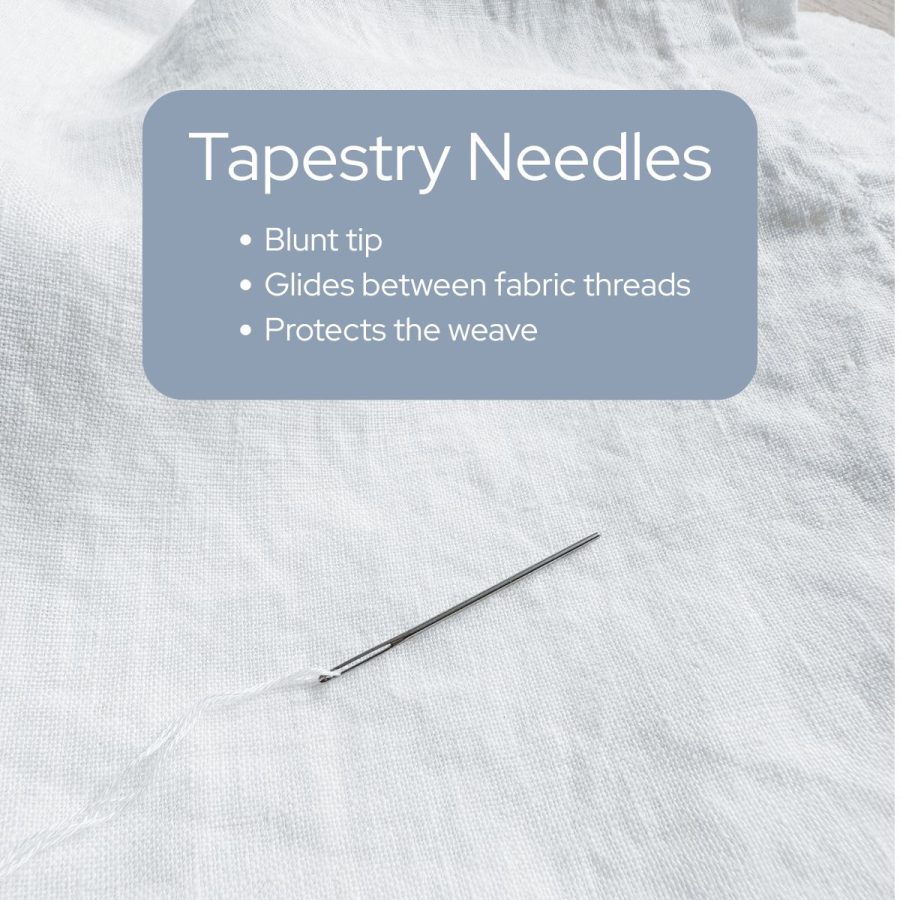
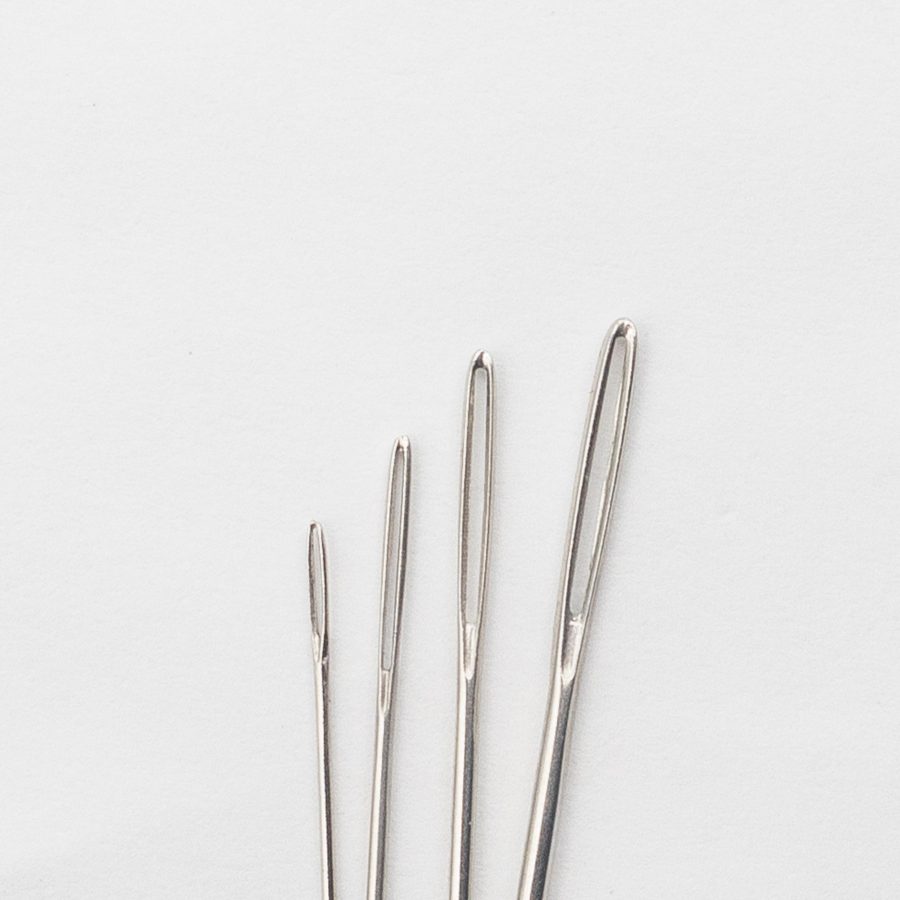
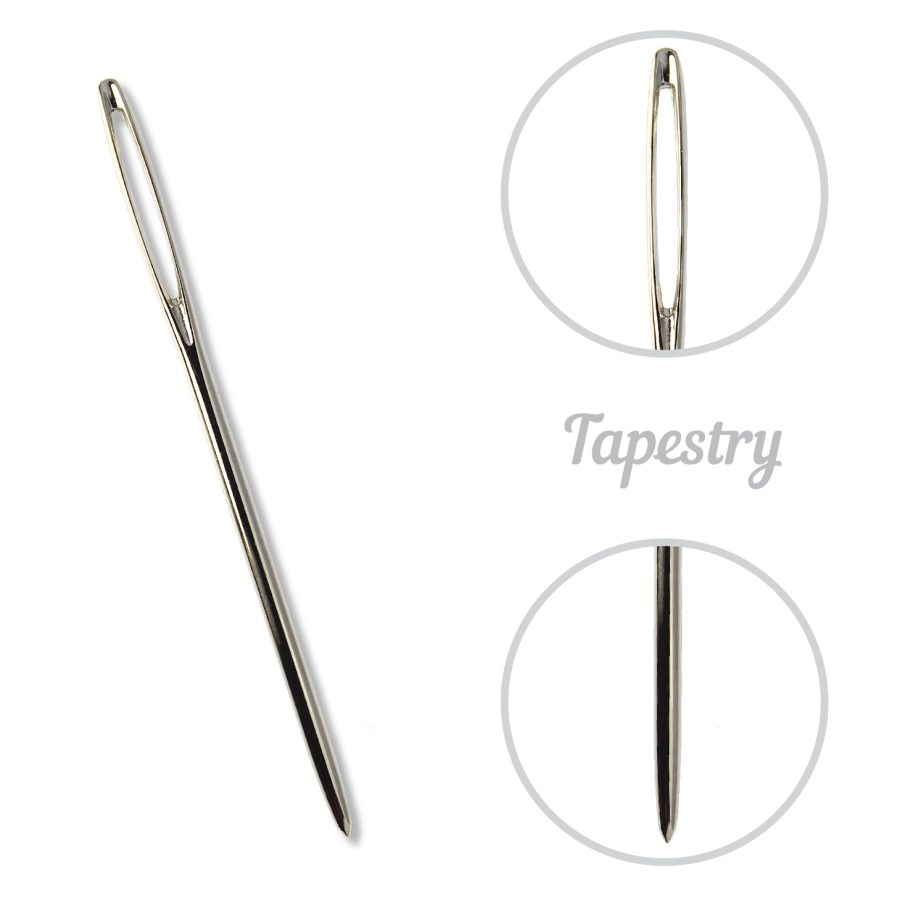
Tapestry Needles found here
Perfect for:
- Cross stitch
- Needlepoint
- Counted embroidery
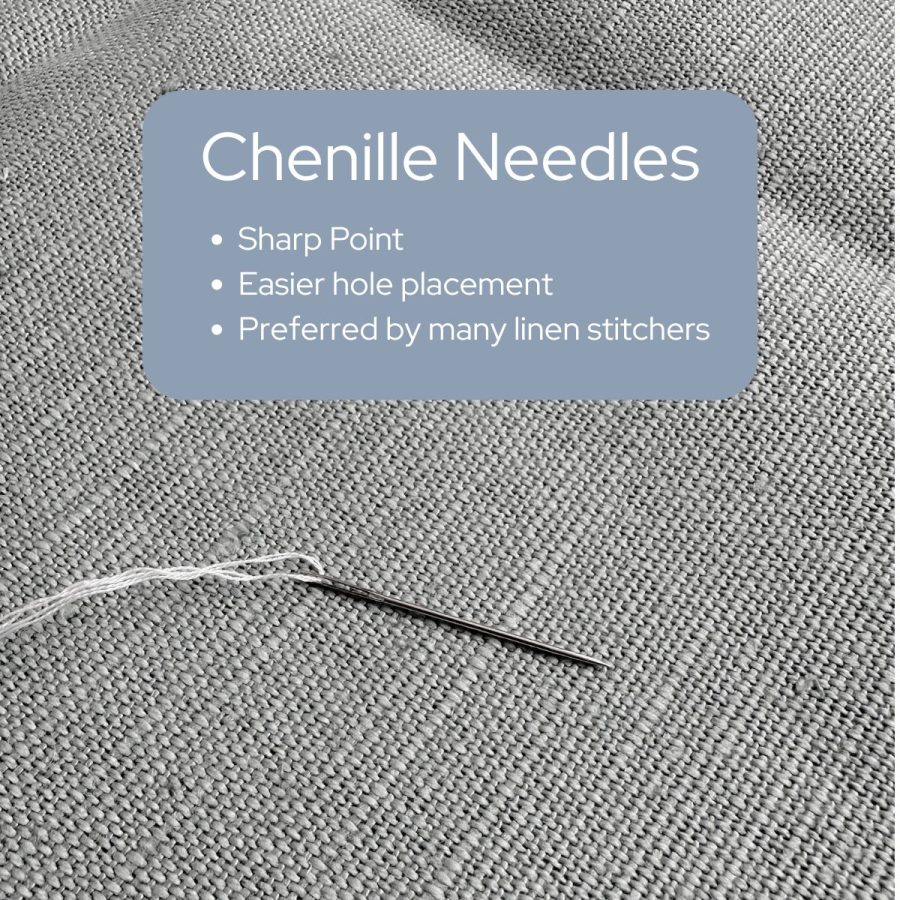
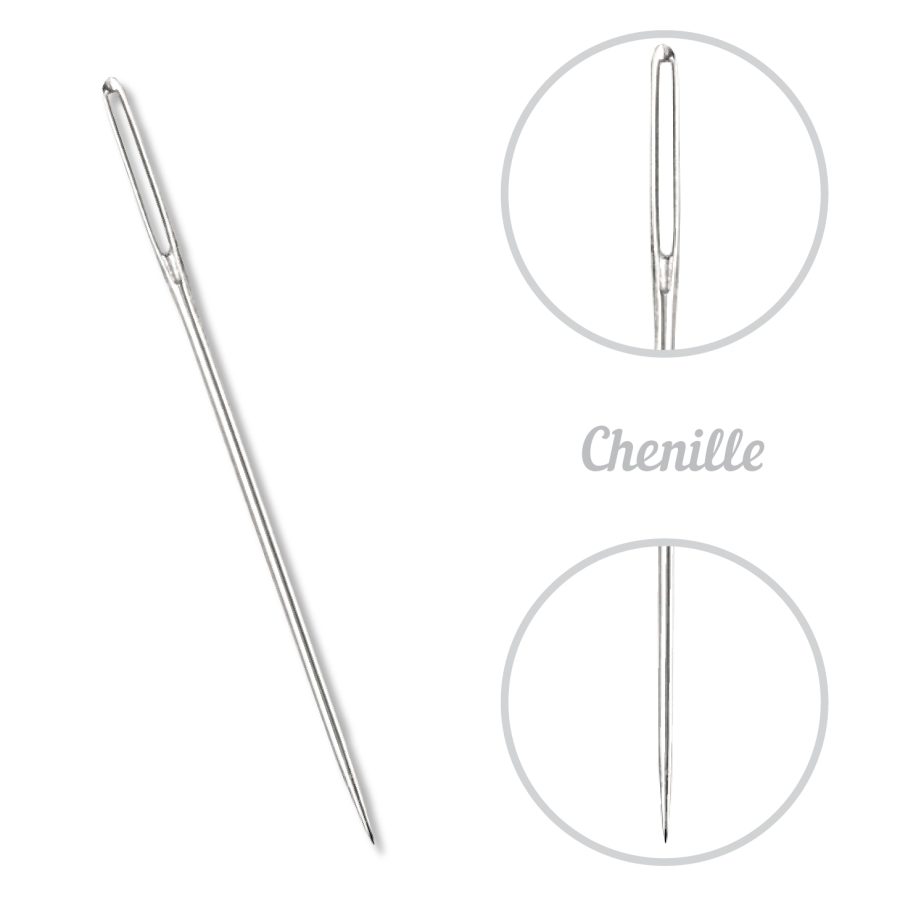
Chenille Needles like these.
Ideal for:
- Linen cross stitch
- Evenweave
- Ribbon embroidery
- Specialty stitches
Embroidery (Crewel) Needles linked here.
A versatile choice for:
- Surface embroidery
- Wool appliqué
- Decorative stitching

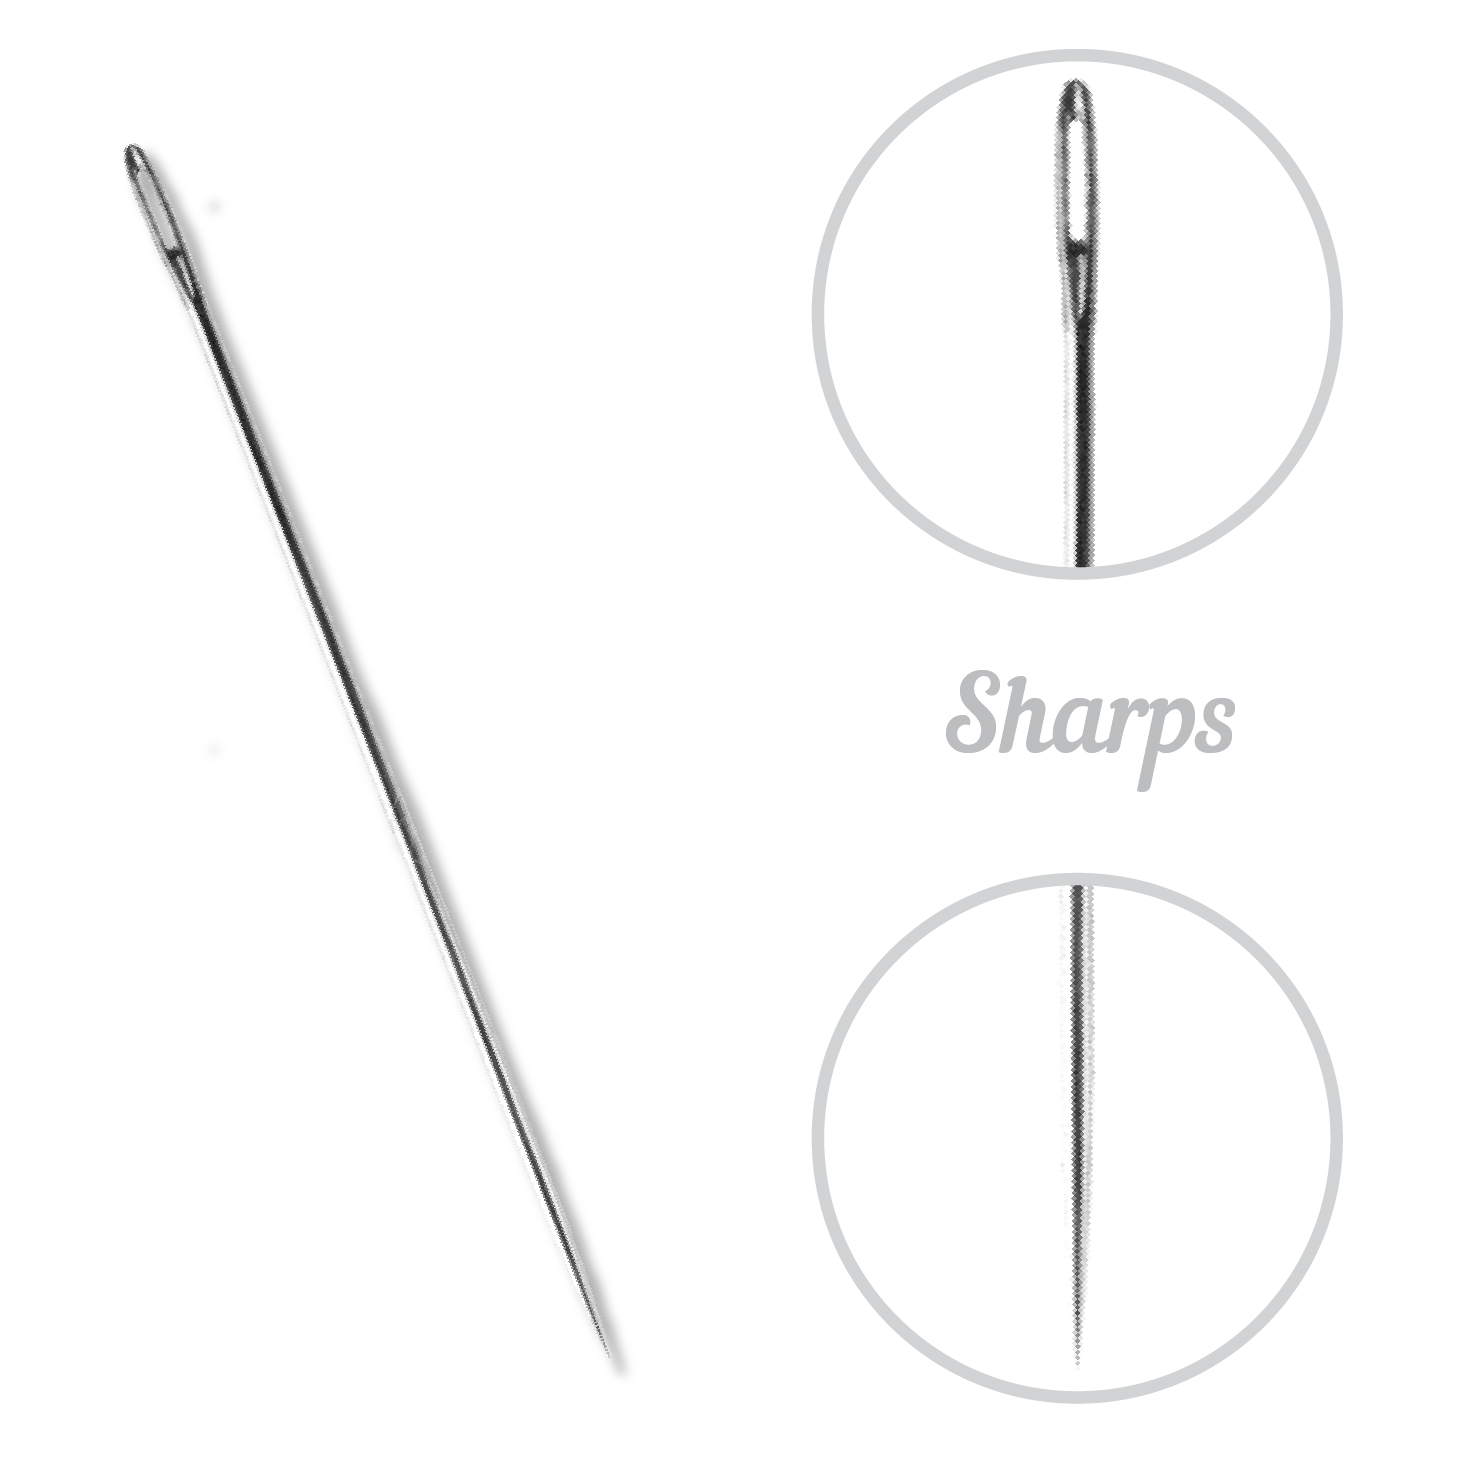
Sharps – a staple – found here.
Excellent for:
- Hand sewing
- Mending
- English Paper Piecing
- General repairs
Having a small variety means you’re ready for nearly any stitching opportunity that comes your way.
Pro Tip: Pack for the Project You Might Stitch
Many stitchers pack for the project they’re working on today—but vacations and retreats often inspire us to start something new.
Including one or two extra needle types takes very little space and gives you the flexibility to switch techniques if inspiration strikes.
Special Considerations for Travel
Whether you’re flying across the country or spending the afternoon at your local park, organization makes all the difference.
A few travel-friendly habits:
✔ Store needles securely in a compact case
✔ Bring pre-cut thread lengths
✔ Include a needle threader if needed
✔ Keep a small magnetic holder nearby to prevent lost needles
The less time spent searching for supplies, the more time you can spend stitching.
Reader Takeaway
For your next portable stitching project:
✔ Pack only the needles you’ll realistically use
✔ Include a variety of needle types
✔ Keep them organized in a protective case
✔ Plan for flexibility—not perfection
Sometimes the best stitching happens in the unexpected moments.
Looking Ahead
Next month in The Right Tool for the Stitch, we’ll explore the long, elegant needles designed specifically for Sashiko and Japanese running stitch—and why they create such beautiful rhythm.
Until then, safe travels, happy stitching, and don’t forget to tag us when you pack supplies for your favorite project!