Fifty-Cent Glue vs. the Good Stuff: When Cheap Is Fine and When Your Fabric Deserves Better

A Colonial Needle Company feature with Shannon & Jason

Let’s get the obvious elephant out of the studio first. A purple school glue stick costs about fifty cents, fits in a pencil pouch, and lives at every drugstore, big box store, and back-to-school endcap on the planet. So when someone at a show tells us they would just grab the cheap stick instead of a Roxanne, we get it. We really do. We use school glue sticks too.

Here’s the part nobody says out loud, though: we use different glues for different work. Not because one is good and the rest are garbage, but because a studio full of textile projects is a lot like a studio full of any other kind of art. You reach for what the job actually needs. Sometimes that’s the fifty-cent tube. Sometimes it very much is not.
Think Like an Artist Buying Supplies

Walk into any art store and nobody blinks when a painter keeps student-grade paper for warming up and saves the good cotton rag for the piece that’s headed to a frame. Pencils, pens, sketchbooks, paints, fabric… they all come in student, artist, and professional grades, and every maker learns to match the material to the moment. Practice needs low-stakes supplies so we don’t freeze up worrying about wasting the fancy stuff. That fear of ruining something precious? It’s a creativity killer, and we refuse to let it win. But the work meant to last for generations needs materials that will actually last for generations.

For some reason, the fiber and textile arts haven’t always insisted on that same distinction. We’ll happily spend real money on gorgeous hand-dyed cotton, precision cutters, and a needle for every occasion… and then reach for an adhesive formulated for third-grade construction paper. So let us walk you through how we actually sort it out on our own worktable.

Three Glues, Three Jobs

School glue sticks

These are our accessibility-and-play tier. They’re what we hand out in beginner-friendly workshops where cost matters and everyone’s just there to learn a technique, and they’re what we grab in the studio when we’re testing a layout or goofing around with an idea. Cheap, washable, everywhere. Perfect for low-stakes, temporary, get-out-of-your-own-head basting.

Permanent glue sticks

These (the UHU-style ones) are our middle tier. When we’re teaching art-forward classes, building mixed media pieces, or doing certain visible mending where we want a bond that stays put, this is the reach. More commitment than school glue, different job than Roxanne.

Roxanne Baste-It

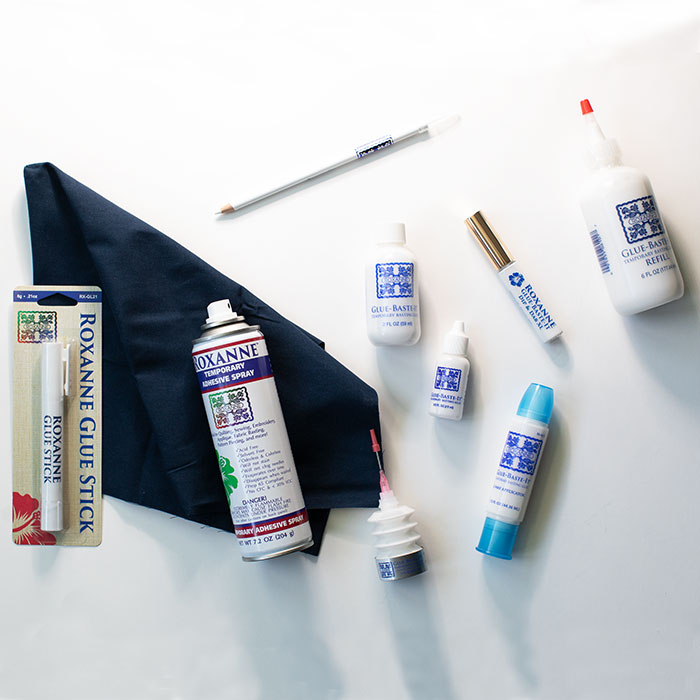
This is what we reach for on almost every textile piece that matters here in the studio. Gallery work. Commissions. Heirloom-bound quilts. The pieces we want someone to still be holding in fifty years. It’s the one glue we trust not to gum up our hand stitching or our machine work, it dries flexible instead of crunchy, and it washes out completely and cleanly.

None of that is a knock on the cheaper tubes. It’s just knowing which tool got invited to which party.

What Roxanne Actually Does on Cloth
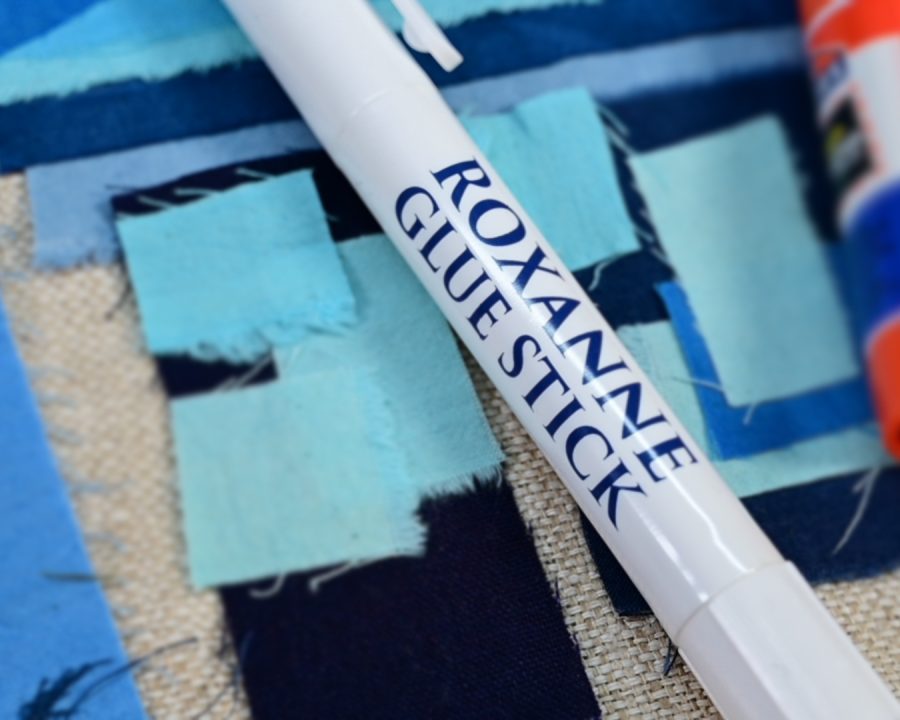
Sticking two things together is easy. Getting fabric to stay put without wrecking its drape, its hand, or its color is the hard part, and that’s where a glue built for textiles instead of paper starts earning its keep.

  • Smooth, light application. It doesn’t drag on delicate weaves or leave thick, gummy clumps. For our English paper piecing, we can lay down the finest skiff of it on the template and the fabric, just enough to hold, with none of that sticky mess. On the fine garment fabrics in our upcoming visible mending workshops, that light hand is exactly why it beats a school glue stick, which drags and gums up the very fabrics we’re trying to save (more on the gumming in a minute).
  • Fast-drying and water-soluble. It sets quickly so you can keep moving, then washes out completely once the stitching is doing the structural work.
  • Made for the actual jobs. Appliqué, bindings, hems, EPP… it holds edges crisp under the genuine physical stress of textile work without turning your piece stiff as a board.

School glue can hold two pieces of cloth together, sure. But Roxanne is the one that was clearly invited to the fabric party.

The Studio View: Saving Your Needles, Your Thread, and Your Sanity

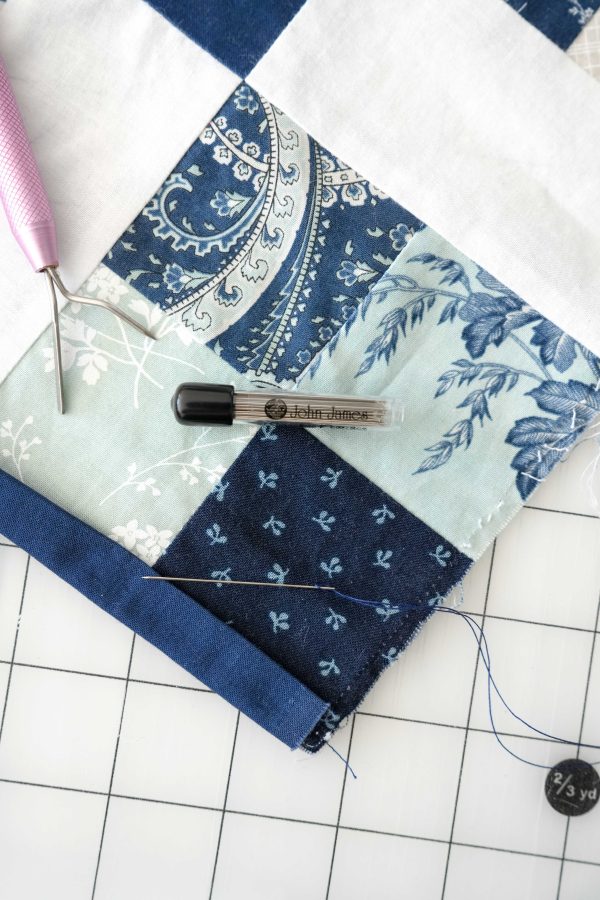
This is the one we feel in our hands, so bear with us while we get specific, because it’s the difference nobody warns you about until you’re living it. When we’re doing the stitching-heavy work we love most, sashiko, visible mending, EPP, appliqué, the wrong glue turns into a genuine problem. The heavier, gummier sticks do hold the fabric in place, we’ll give them that. But they dry stiff; stitching through stiff, gummy fabric is a fight. Worse, the glue transfers onto the needle. By hand, that means a rubbery drag that makes your thimble slide and your hand ache, and it means we’re stopping to wipe our needles down with alcohol to keep them moving smoothly. That’s not a workflow. That’s a chore we invented for ourselves by grabbing the wrong tube.
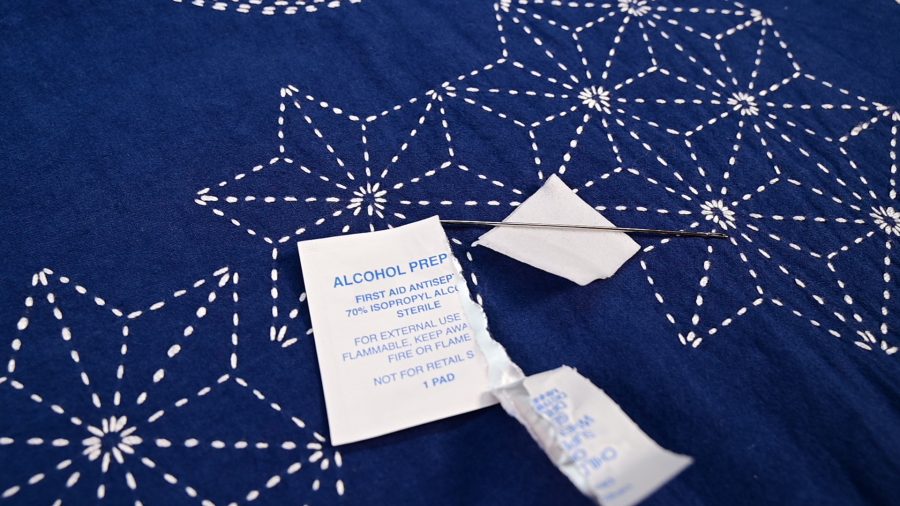
On the machine it gets worse, and here’s the chain of events we’ve watched happen more than once. The glue gets onto the needle and, with the friction and heat of stitching, melts onto it a bit. Now the needle is tacky, so it grabs at the fabric and pulls it instead of piercing cleanly, and that drag throws off your stitches, sometimes skipping them outright. Then comes the part that really stings: the same gummed-up needle tugging on the thread until the thread itself breaks. We’ve traced more than one snapped length of good thread back to exactly that. None of this is a lab-certified white paper, and we won’t dress it up as one. It’s our studio experience, learned the annoying way. But it’s consistent enough that we trust it.

Roxanne dries down light and flexible, so whether the needle’s driven by your hand or your motor, it slips through the basted zone instead of collecting adhesive and dragging it into the works. No alcohol wipes, no melting, no mystery thread breaks. Just smooth, rhythmic stitching, which is the whole reason we sat down to sew in the first place.

The Preservation Angle: Why Old Quilts Go Brown

Here’s the one that keeps us honest, because we’ve handled a lot of vintage textiles and old quilts, and we’ve seen the damage up close. You know those brown and yellow stains that bloom on antique pieces over the years? Most of us recognize them on sight. Fewer of us stop to ask what actually causes them.

A big part of the answer is the adhesives. Many old glues were acidic to begin with, or turned acidic as they aged and broke down, and that acid migrates straight into the fibers. Acid is what makes natural fabric yellow, weaken, and eventually fall apart, the same reason conservators fuss over acid-free mat board and archival tissue. Some adhesives off-gas as they degrade too, which doesn’t help. The through-line is simple: put an acidic, breaking-down glue against cloth and give it enough time, and the cloth pays for it.
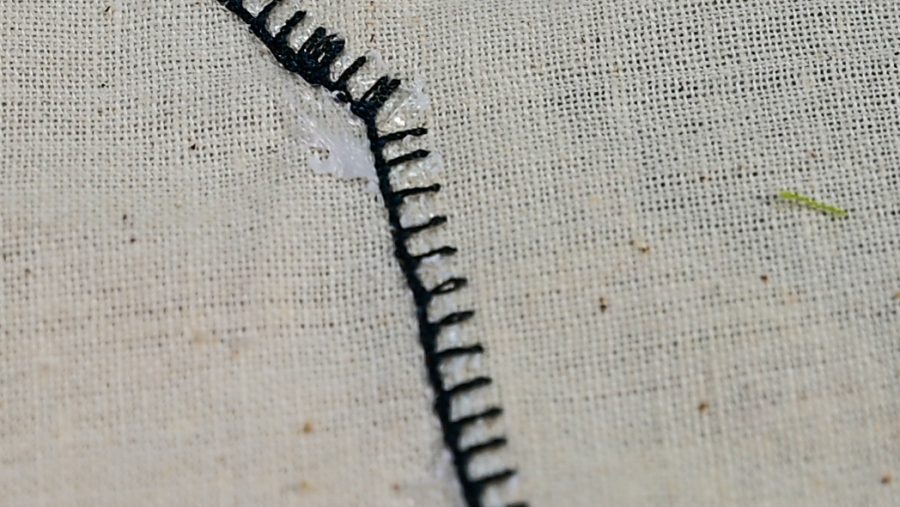
Which is exactly why acid-free and pH-neutral aren’t just label decoration. An acid-free adhesive isn’t leaving a slow decay bomb tucked inside your quilt sandwich or your garment seams. Roxanne is acid-free and pH-neutral, and that’s the language we’re comfortable standing behind. You’ll hear folx toss around archival too, but in textile conservation that word carries the weight of decades of standardized testing, so we’d rather keep our claims clean and true: acid-free, pH-neutral, and a safe, stable choice when you want today’s work to still be here for the folx who come after you.

Use the Right Tool for the Job

Cheap glue sticks have their place, and we mean that. Mockups, rough drafts, kid projects, quick low-stakes fixes, and every I’m-just-playing moment where the whole point is not to feel precious about it. Keep that fifty-cent tube. Use it with joy.

But when you move past practice and into the work that matters, your tools should match your effort. Not every project deserves the fancy glue. But when the fabric matters, the fancy glue isn’t actually fancy. It’s just the better tool. Roxanne is the one we reach for when we want fabric to behave: smooth application, a lighter hand, easier stitching, and zero drama at the needle. That’s the whole philosophy, really. There’s a right tool and a right material for every project, and the trick is just knowing which is which.

Stitch on,

Shannon & Jason

🧵 Shop Roxanne Baste-It Glue and the full Roxanne glue lineup here.

📌 Explore Colonial Needle’s needles, thimbles, and notions for your next textile project here.

▶️ Catch more Colonial Needle tips and tutorials on YouTube here.
The Right Tool for the Stitch: Classroom & Workshop Projects

Needle Know-How from Colonial Needle

There’s something special about teaching someone to stitch.

Whether you’re leading a workshop, teaching a guild program, introducing a child or grandchild to hand sewing, or simply showing a friend how to thread a needle, you’re doing more than completing a project together. You’re helping someone build skills they may carry with them for years.

And when someone is learning, the tools we give them matter.

A needle that’s difficult to thread, a project that takes too long to finish, or supplies that aren’t well matched can turn an exciting first experience into a frustrating one. The right combination of project, needle, thread, and instruction helps new stitchers focus on learning—not fighting with their materials.

The Stitching Scenario

Classes, workshops & learn-to-stitch projects

This might include:

  • Beginning hand-sewing classes
  • Embroidery workshops
  • Quilting or appliqué classes
  • Visible-mending sessions
  • Guild programs
  • Kids’ or teen sewing activities
  • Make-and-take projects
  • Informal lessons with friends or family

These settings present a different challenge from stitching at home: the same supplies may need to work comfortably for people with very different levels of experience.

For teachers, that means thinking beyond simply asking, “Which needle is technically correct?”

A better question may be:

Which needle will help my students succeed?

The Common Challenges

Beginning stitchers often struggle with things experienced makers barely think about anymore:

  • Threading the needle
  • Holding and controlling a very fine needle
  • Pulling thick thread through a small eye
  • Knowing where to insert the needle
  • Keeping thread from tangling
  • Managing tension
  • Understanding unfamiliar terminology
  • Staying motivated through a project that takes too long

When you’re planning a class, removing even one or two of those obstacles can make learning considerably more enjoyable.

Why the Right Tool Matters

Eye Size

For a beginner, an eye that’s slightly easier to see and thread can be far more valuable than choosing the finest possible needle for the finished stitch.

The thread should pass comfortably through the eye without being forced.

Needle Length

Very short needles can offer wonderful control to an experienced stitcher but may feel awkward in unfamiliar hands.

A moderately sized needle is often easier for beginners to grip, maneuver, and see.

Point Style

The project determines whether you need a sharp or blunt point.

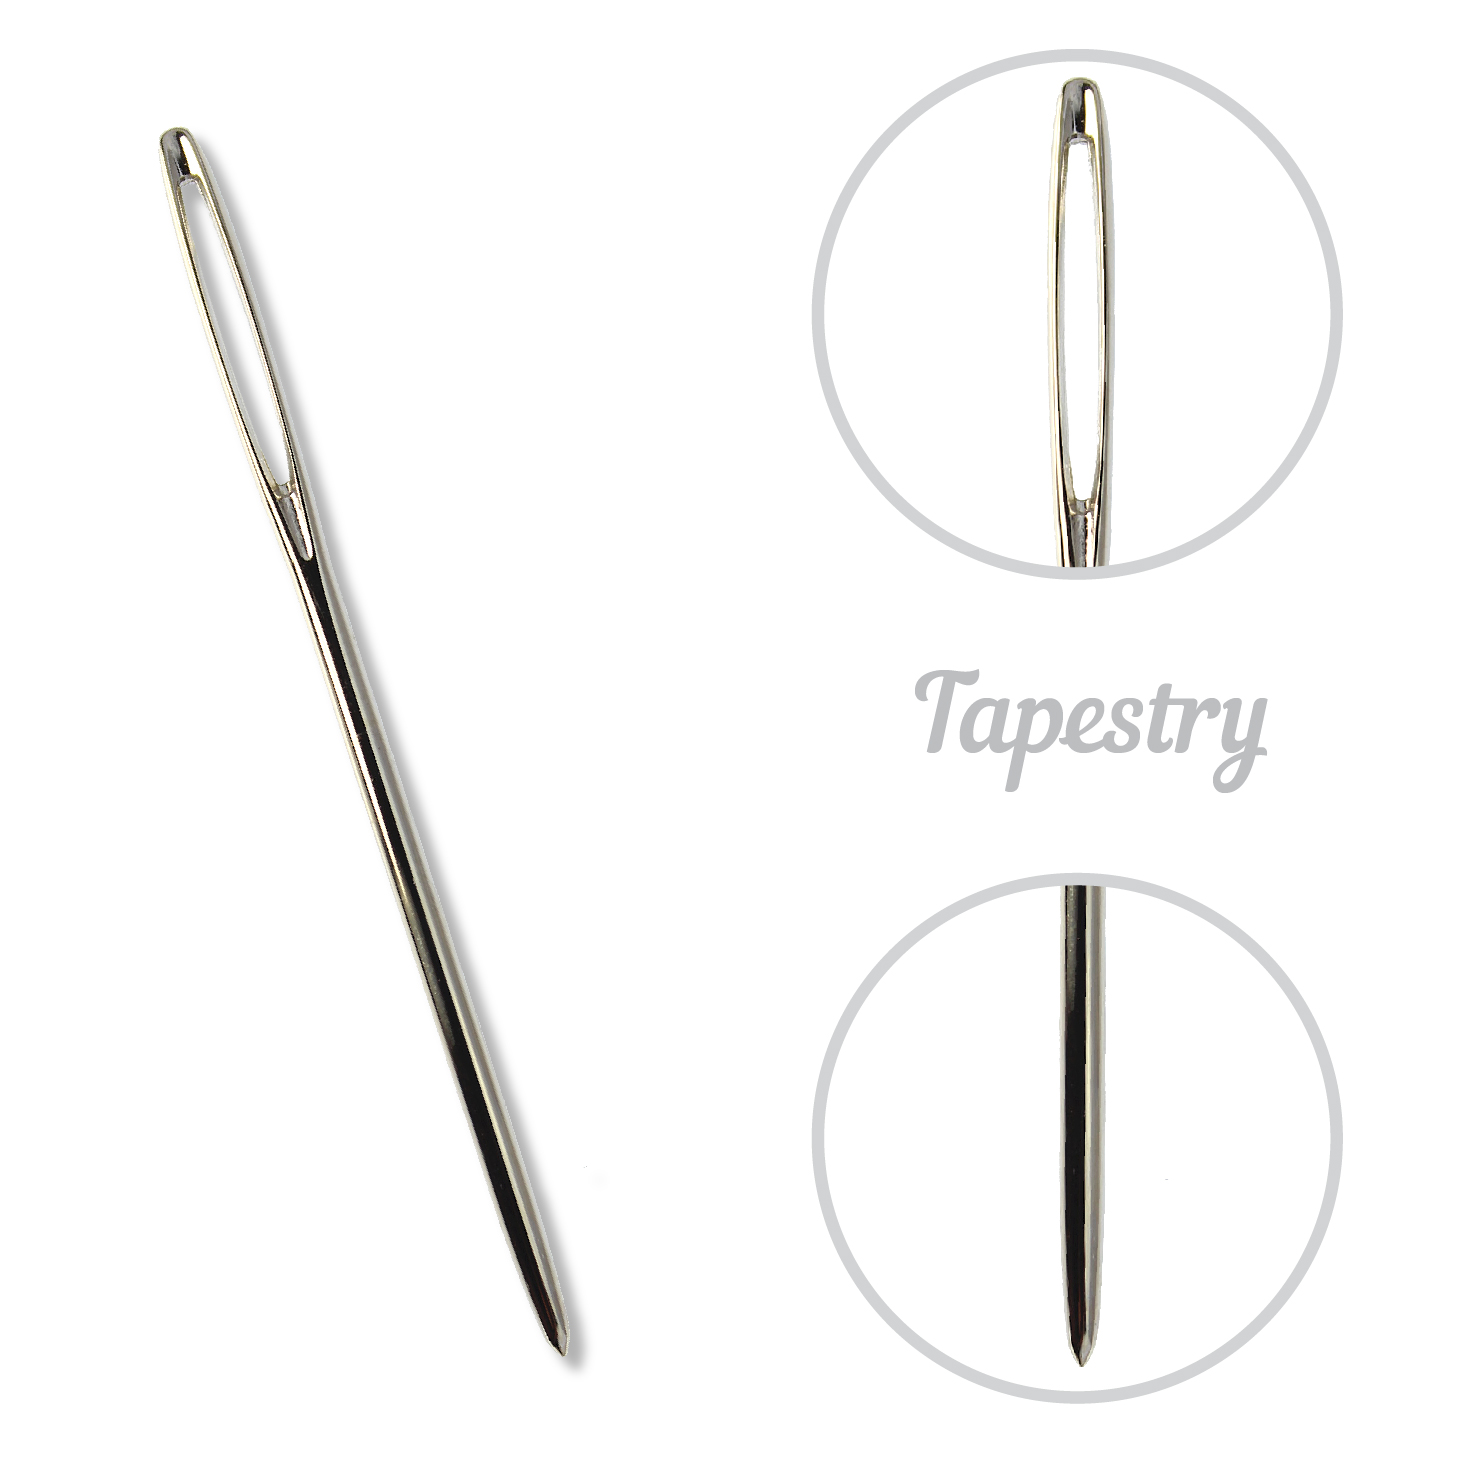
A sharp needle is appropriate when the stitch needs to pierce the fabric. A blunt tapestry needle can be useful for counted techniques or projects where the needle should pass between fabric threads instead.

This is a great opportunity to teach students why the needles are different rather than simply handing them one.

Needle Size

One of the most useful lessons we can give a new stitcher is that needle size isn’t arbitrary.

Show students how the needle relates to:

  • Fabric weight and weave
  • Thread thickness
  • Stitch type
  • The desired finished effect

Understanding that relationship builds a skill they can use long after the class ends.

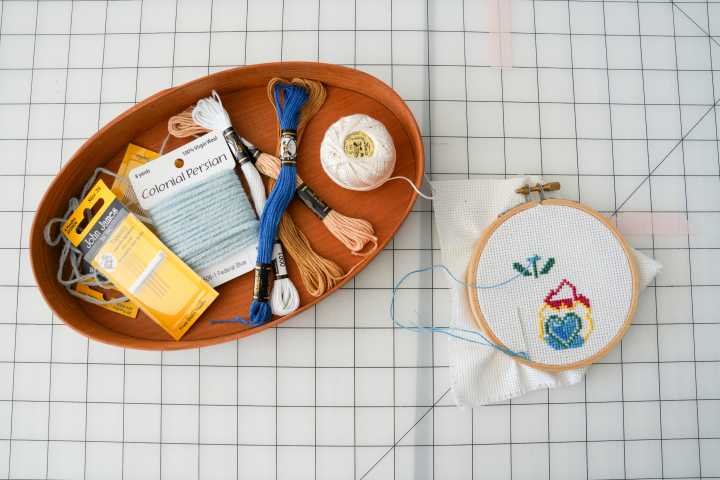
Our Recommendation: Build a Small Teaching Kit

Instead of trying to provide every possible needle, create a small assortment suited to the project you’re teaching.

Depending on the class, that might include:

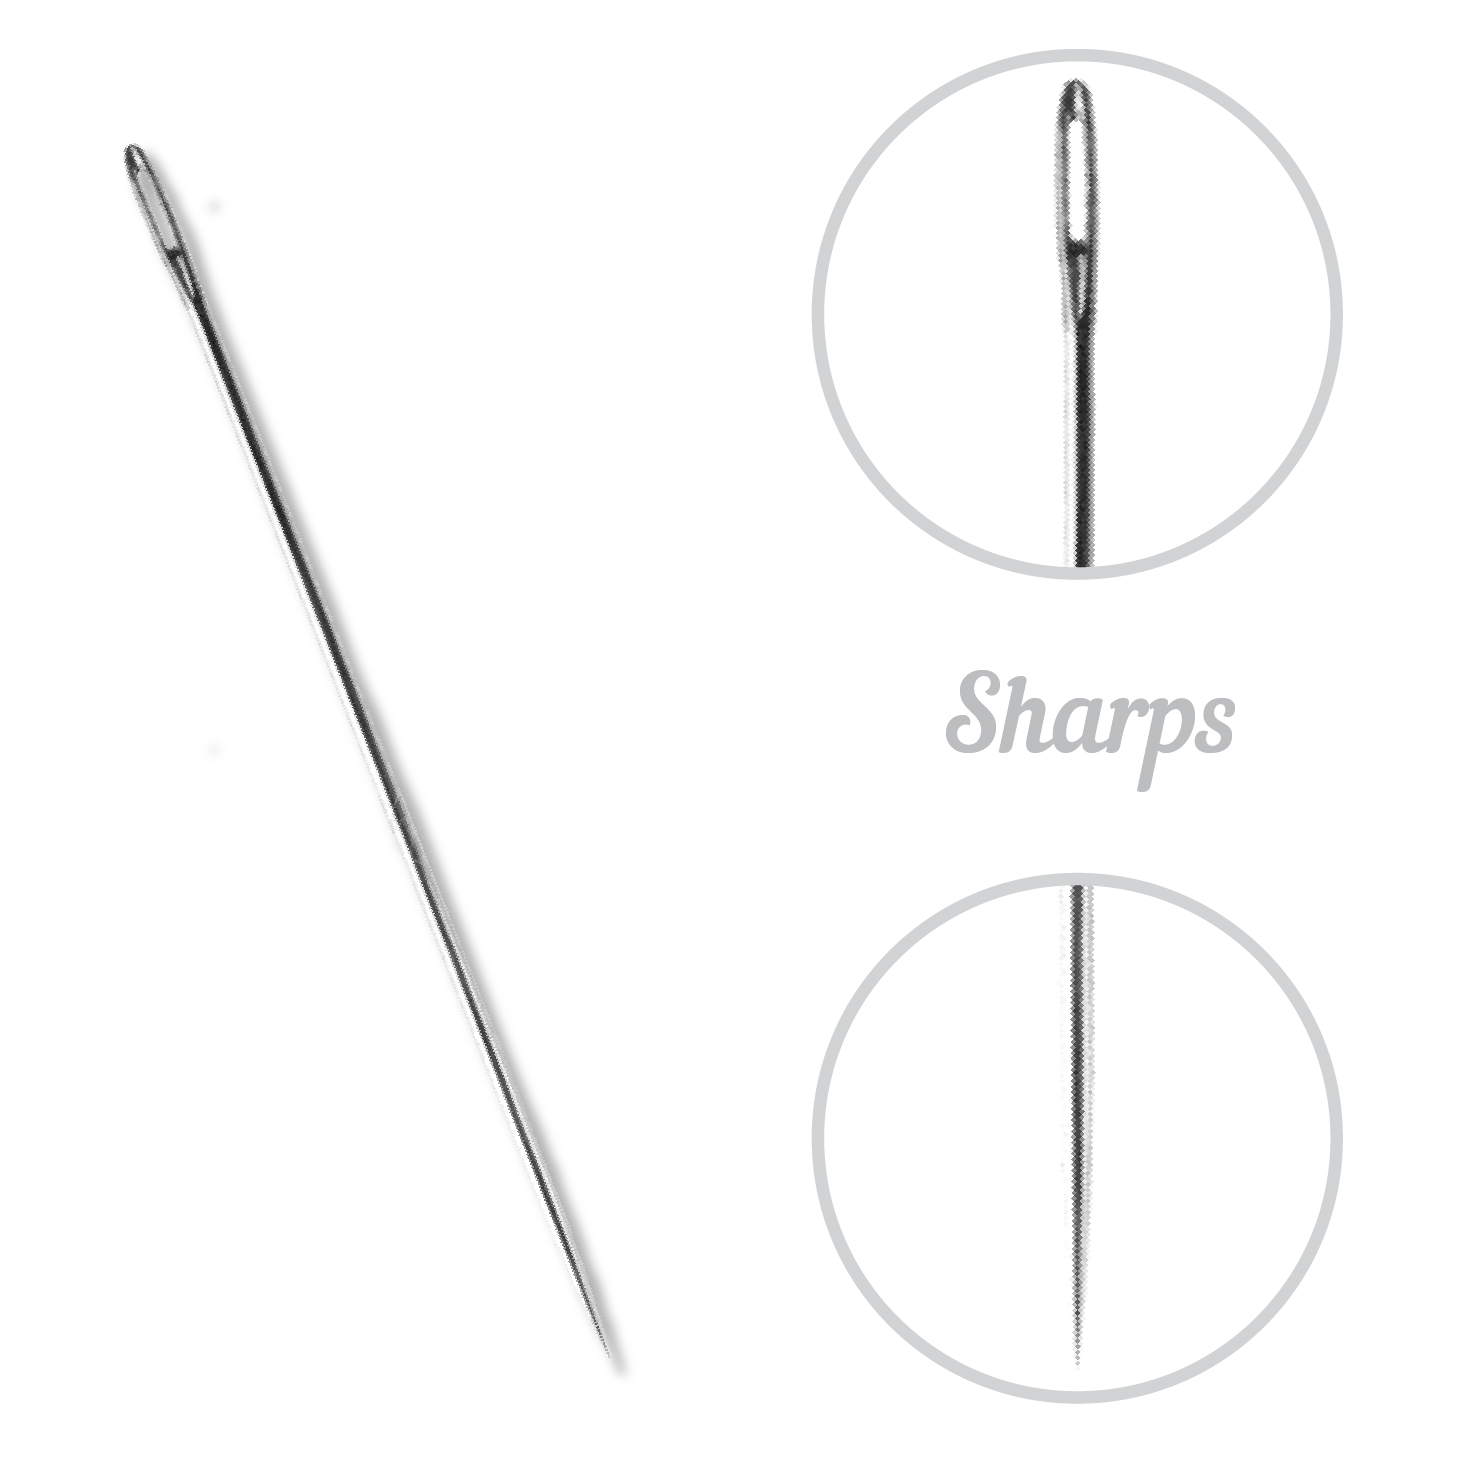
Sharps
A versatile starting point for general hand sewing, mending, and many construction projects.sharps needles

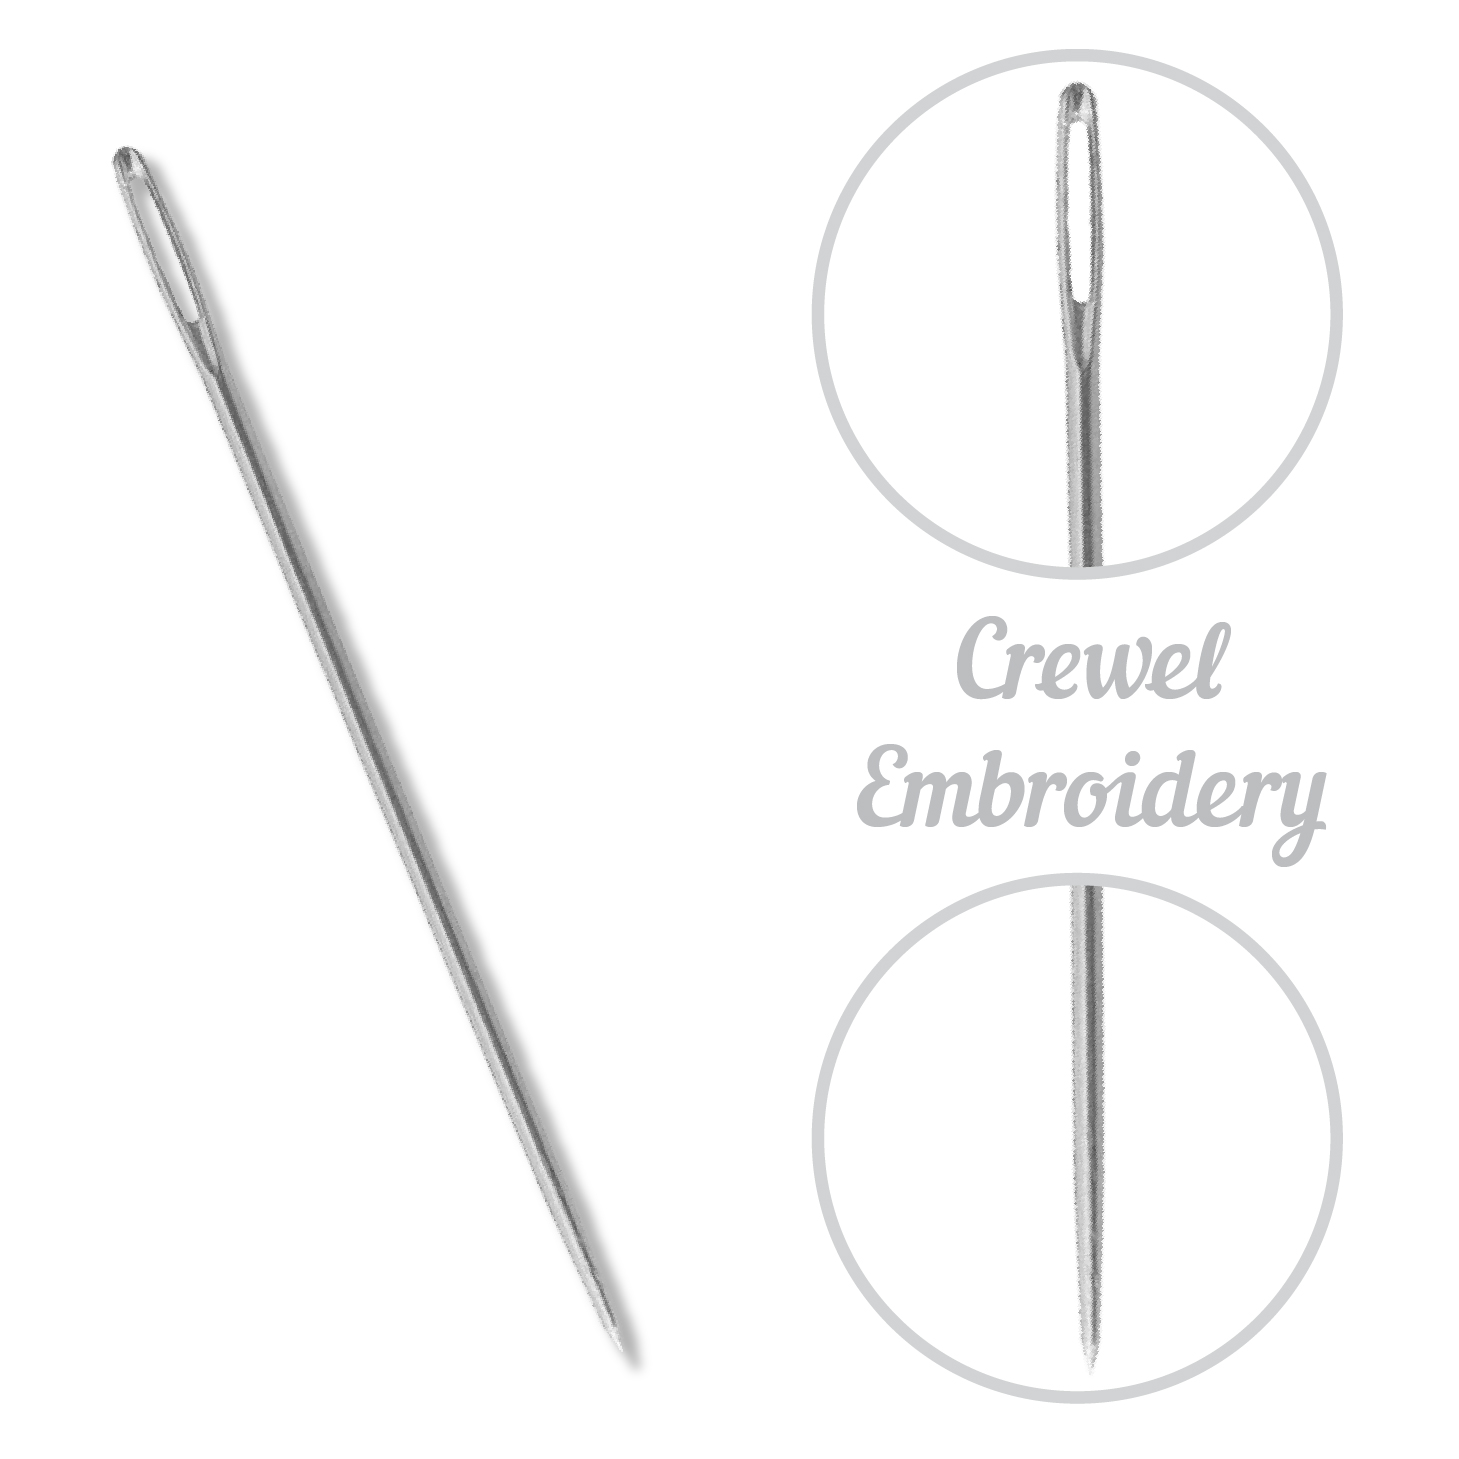
Embroidery/Crewel Needles
Useful when working with embroidery floss or decorative threads because of their elongated eyes and sharp points

.crewel embroidery

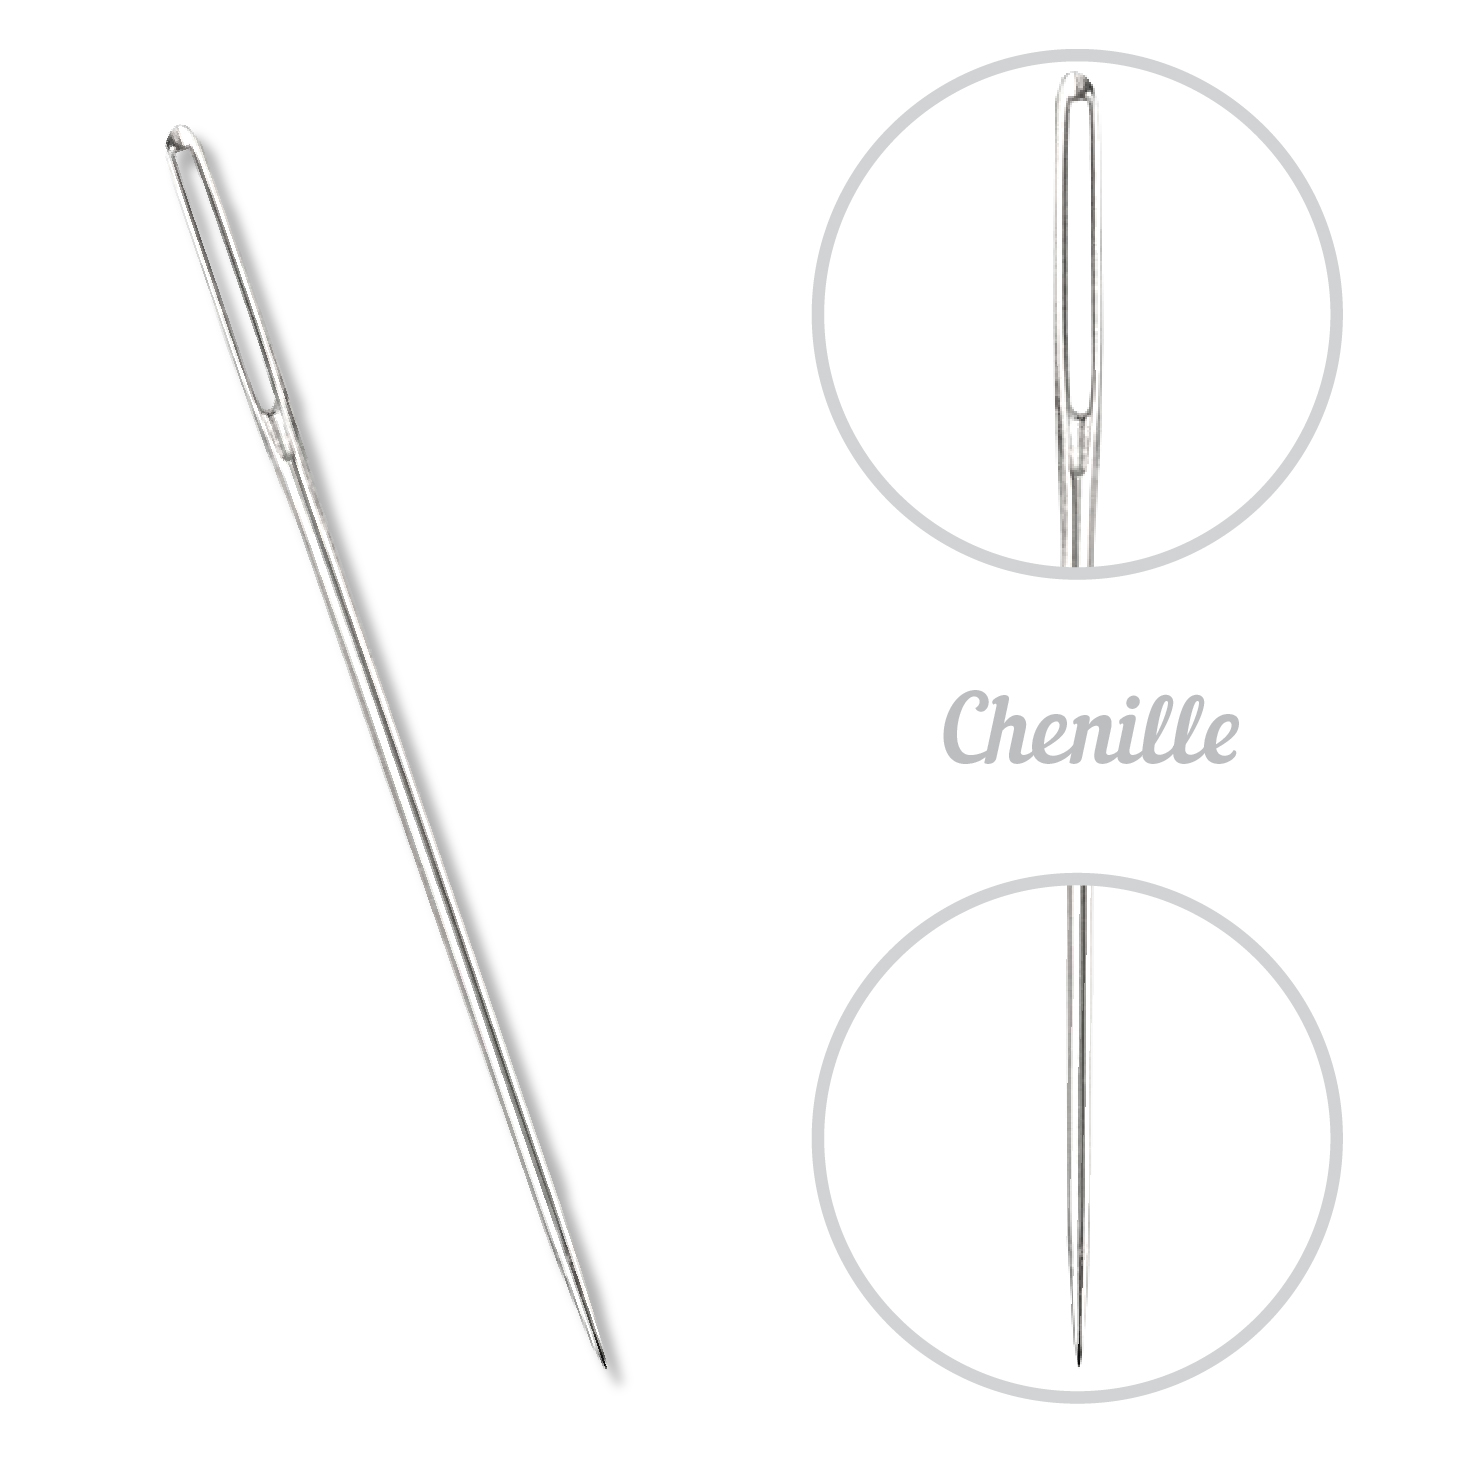
Chenille Needles
A good choice when students need both a larger eye and a sharp point, particularly with heavier decorative threads.

chenille needles

Tapestry Needles
Ideal for counted work and techniques where a blunt point should pass between fabric threads rather than pierce them.

tapestry needles

The goal isn’t to teach every needle in one sitting. It’s to help students understand why this needle works for this project.

Pro Tip: Teach the “Why”

If you’re teaching a workshop, take two minutes at the beginning to talk about the needle.

Show students the eye.

Show them the point.

Let them compare it with another needle type.

Explain why you chose it for the fabric and thread they’ll be using.

That tiny lesson turns a supply into knowledge.

And the next time they start a project at home, they’ll be better equipped to choose for themselves.

Start With a Project They Can Finish

Tool choice is only part of a successful learning experience.

The project matters, too.

For beginners and short workshops, look for something that:

  • Teaches one or two core skills
  • Doesn’t require a large supply list
  • Can be completed—or substantially completed—in one session
  • Gives the student something useful or attractive to take home
  • Leaves room for personalization

A small finished project creates a sense of accomplishment that can be incredibly motivating for a new stitcher.


Need a Project? Start With Our Free Pattern Library

If you’re planning a class, workshop, stitch-along, or afternoon of teaching someone new, you don’t necessarily have to develop a project from scratch.

Colonial Needle’s Free Patterns library includes complimentary projects and tutorials for quilting, embroidery, Sashiko, visible mending, and hand stitching, with printable resources, written instructions, and video tutorials available for many projects.

For a beginner class, something as simple as a fabric Corner Bookmark can introduce basic construction without requiring a major time commitment. A Sashiko Denim Bookmark can provide an approachable introduction to hand stitching and using a palm thimble. Or, for a sewing workshop, our DIY Project Pouch creates something students can continue using to organize future projects.

The goal isn’t simply to finish the project.

It’s to give students an approachable place to begin.


Reader Takeaway: A Better Beginner Experience

When you’re teaching someone to stitch:

✔ Choose a needle that’s comfortable to hold and easy to thread
✔ Match the needle to both the thread and the fabric
✔ Explain why you’ve chosen that particular tool
✔ Keep the first project manageable
✔ Limit the number of new skills introduced at once
✔ Give students something they can finish and feel proud of
✔ Send them home with resources that encourage them to keep learning

The best teaching tools don’t just help someone complete their first project.

They help them feel confident enough to start the second one.

Looking Ahead

Next month in The Right Tool for the Stitch, we’ll explore needle choices for needlepoint on canvas—including how canvas mesh, thread weight, and needle size work together.

Until then, share what you know. Sometimes one needle, one project, and one patient teacher are all it takes to create a lifelong stitcher.

Pad Stitch: The Hidden Technique That Gives Handmade Garments Their Shape

Some of the most important stitches in sewing are the ones you’ll never see.

The pad stitch is one of those hidden heroes. Used primarily in tailoring, this hand-sewing technique adds structure, support, and shape to collars, lapels, facings, and other garment details. While it isn’t decorative like a French knot or practical like a buttonhole stitch, it plays an essential role in creating garments that look polished and professional.

If you’ve ever admired a beautifully tailored blazer or coat, chances are the pad stitch was working behind the scenes.


What Is a Pad Stitch?

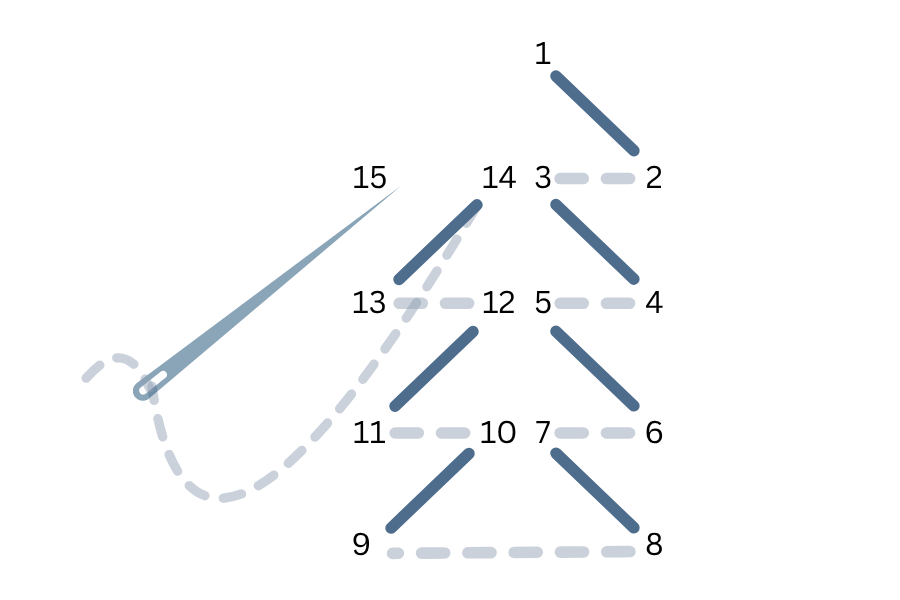
A pad stitch is a series of small diagonal stitches used to join two layers of fabric—typically an outer fabric and an interfacing. Rather than simply holding the layers together, the stitches help shape the fabric, allowing collars and lapels to naturally roll and hold their form.

The stitches are worked in offset rows, creating flexibility while securely anchoring the layers.

When & How It’s Used

Pad stitch is most commonly used in garment construction and tailoring. It is ideal for:

  • Jacket and blazer lapels
  • Coat collars
  • Shirt collars
  • Tailored facings
  • Structured hats
  • Couture sewing techniques

While most home sewists won’t use pad stitch every day, it’s an invaluable technique to learn if you’re interested in garment making or improving the quality of handmade clothing.


What You’ll Need

  • Sharp hand-sewing needle (milliners or sharps work well)
  • Fine hand-sewing thread, like Presencia 60 weight
  • Wool, cotton, or hair canvas interfacing
  • Fashion fabric
  • Tailor’s ham (optional)
  • Fabric clips or pins
  • Scissors

Pro Tip: Fine, sharp needles allow you to catch just a few fibers of the outer fabric, keeping the stitches virtually invisible from the front.


How to Sew a Pad Stitch

  1. Step 1: Layer Your Fabrics – Place the interfacing against the wrong side of your fabric and pin or baste in place.
  2. Step 2: Pick Up a Few Fibers – Bring the needle through the interfacing and catch only a tiny amount of the fashion fabric. The stitch should barely show on the right side.
  3. Step 3: Stitch Diagonally – Make a small diagonal stitch through the interfacing and repeat, working in evenly spaced rows.
  4. Step 4: Shape as You Sew – As you work, gently curve the fabric over your hand or a tailor’s ham. The pad stitches will help “train” the fabric to hold that shape.
  5. Step 5: Continue Across the Area – Repeat until the entire collar or lapel is stitched, maintaining even spacing and tension.

Tips for Successful Pad Stitching

  • Catch only a few fibers of the outer fabric.
  • Keep stitches evenly spaced.
  • Maintain gentle, even tension.
  • Work over a curved surface when shaping collars and lapels.
  • Practice on scrap fabric before working on a finished garment.

Common Projects Using Pad Stitch

Pad stitch is commonly found in:

  • Tailored jackets
  • Wool coats
  • Dress collars
  • Suit lapels
  • Couture garments
  • Structured costume pieces

Although hidden inside the garment, pad stitch is one of the techniques that separates handmade clothing from professionally tailored pieces.


Next Month: We’ll revisit the Split Stitch, a classic embroidery stitch perfect for smooth outlines, lettering, and delicate detail work.