Needle Know-How from Colonial Needle
There’s something special about teaching someone to stitch.
Whether you’re leading a workshop, teaching a guild program, introducing a child or grandchild to hand sewing, or simply showing a friend how to thread a needle, you’re doing more than completing a project together. You’re helping someone build skills they may carry with them for years.
And when someone is learning, the tools we give them matter.
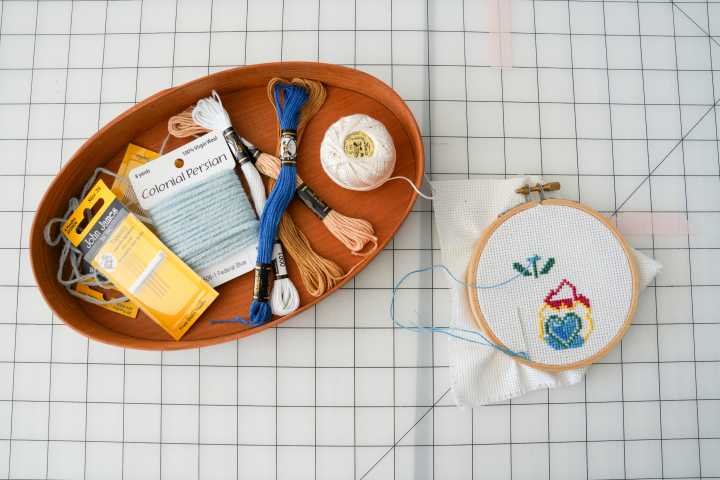
A needle that’s difficult to thread, a project that takes too long to finish, or supplies that aren’t well matched can turn an exciting first experience into a frustrating one. The right combination of project, needle, thread, and instruction helps new stitchers focus on learning—not fighting with their materials.
The Stitching Scenario
Classes, workshops & learn-to-stitch projects
This might include:
- Beginning hand-sewing classes
- Embroidery workshops
- Quilting or appliqué classes
- Visible-mending sessions
- Guild programs
- Kids’ or teen sewing activities
- Make-and-take projects
- Informal lessons with friends or family
These settings present a different challenge from stitching at home: the same supplies may need to work comfortably for people with very different levels of experience.
For teachers, that means thinking beyond simply asking, “Which needle is technically correct?”
A better question may be:
Which needle will help my students succeed?
The Common Challenges
Beginning stitchers often struggle with things experienced makers barely think about anymore:
- Threading the needle
- Holding and controlling a very fine needle
- Pulling thick thread through a small eye
- Knowing where to insert the needle
- Keeping thread from tangling
- Managing tension
- Understanding unfamiliar terminology
- Staying motivated through a project that takes too long
When you’re planning a class, removing even one or two of those obstacles can make learning considerably more enjoyable.
Why the Right Tool Matters
Eye Size
For a beginner, an eye that’s slightly easier to see and thread can be far more valuable than choosing the finest possible needle for the finished stitch.
The thread should pass comfortably through the eye without being forced.
Needle Length
Very short needles can offer wonderful control to an experienced stitcher but may feel awkward in unfamiliar hands.
A moderately sized needle is often easier for beginners to grip, maneuver, and see.
Point Style
The project determines whether you need a sharp or blunt point.
A sharp needle is appropriate when the stitch needs to pierce the fabric. A blunt tapestry needle can be useful for counted techniques or projects where the needle should pass between fabric threads instead.
This is a great opportunity to teach students why the needles are different rather than simply handing them one.
Needle Size
One of the most useful lessons we can give a new stitcher is that needle size isn’t arbitrary.
Show students how the needle relates to:
- Fabric weight and weave
- Thread thickness
- Stitch type
- The desired finished effect
Understanding that relationship builds a skill they can use long after the class ends.
Our Recommendation: Build a Small Teaching Kit
Instead of trying to provide every possible needle, create a small assortment suited to the project you’re teaching.
Depending on the class, that might include:
Sharps
A versatile starting point for general hand sewing, mending, and many construction projects.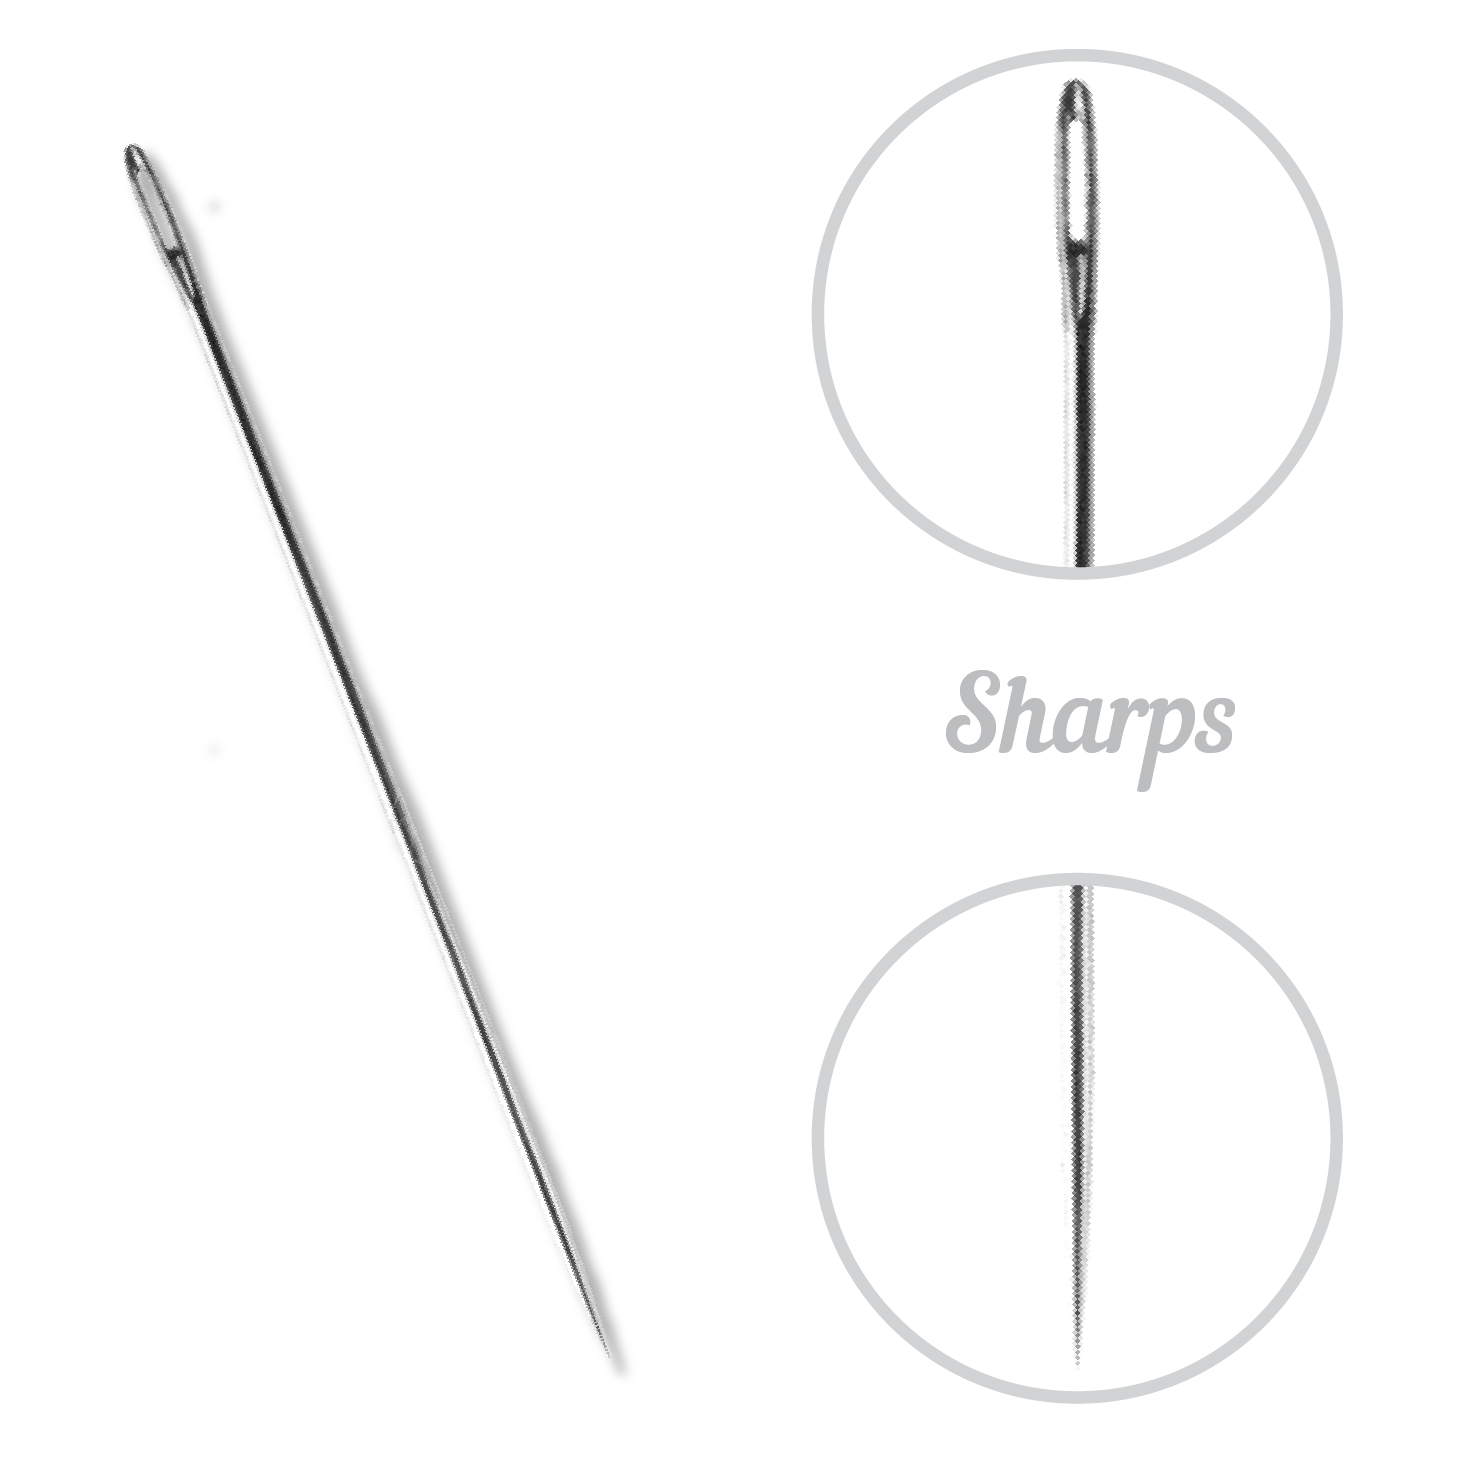
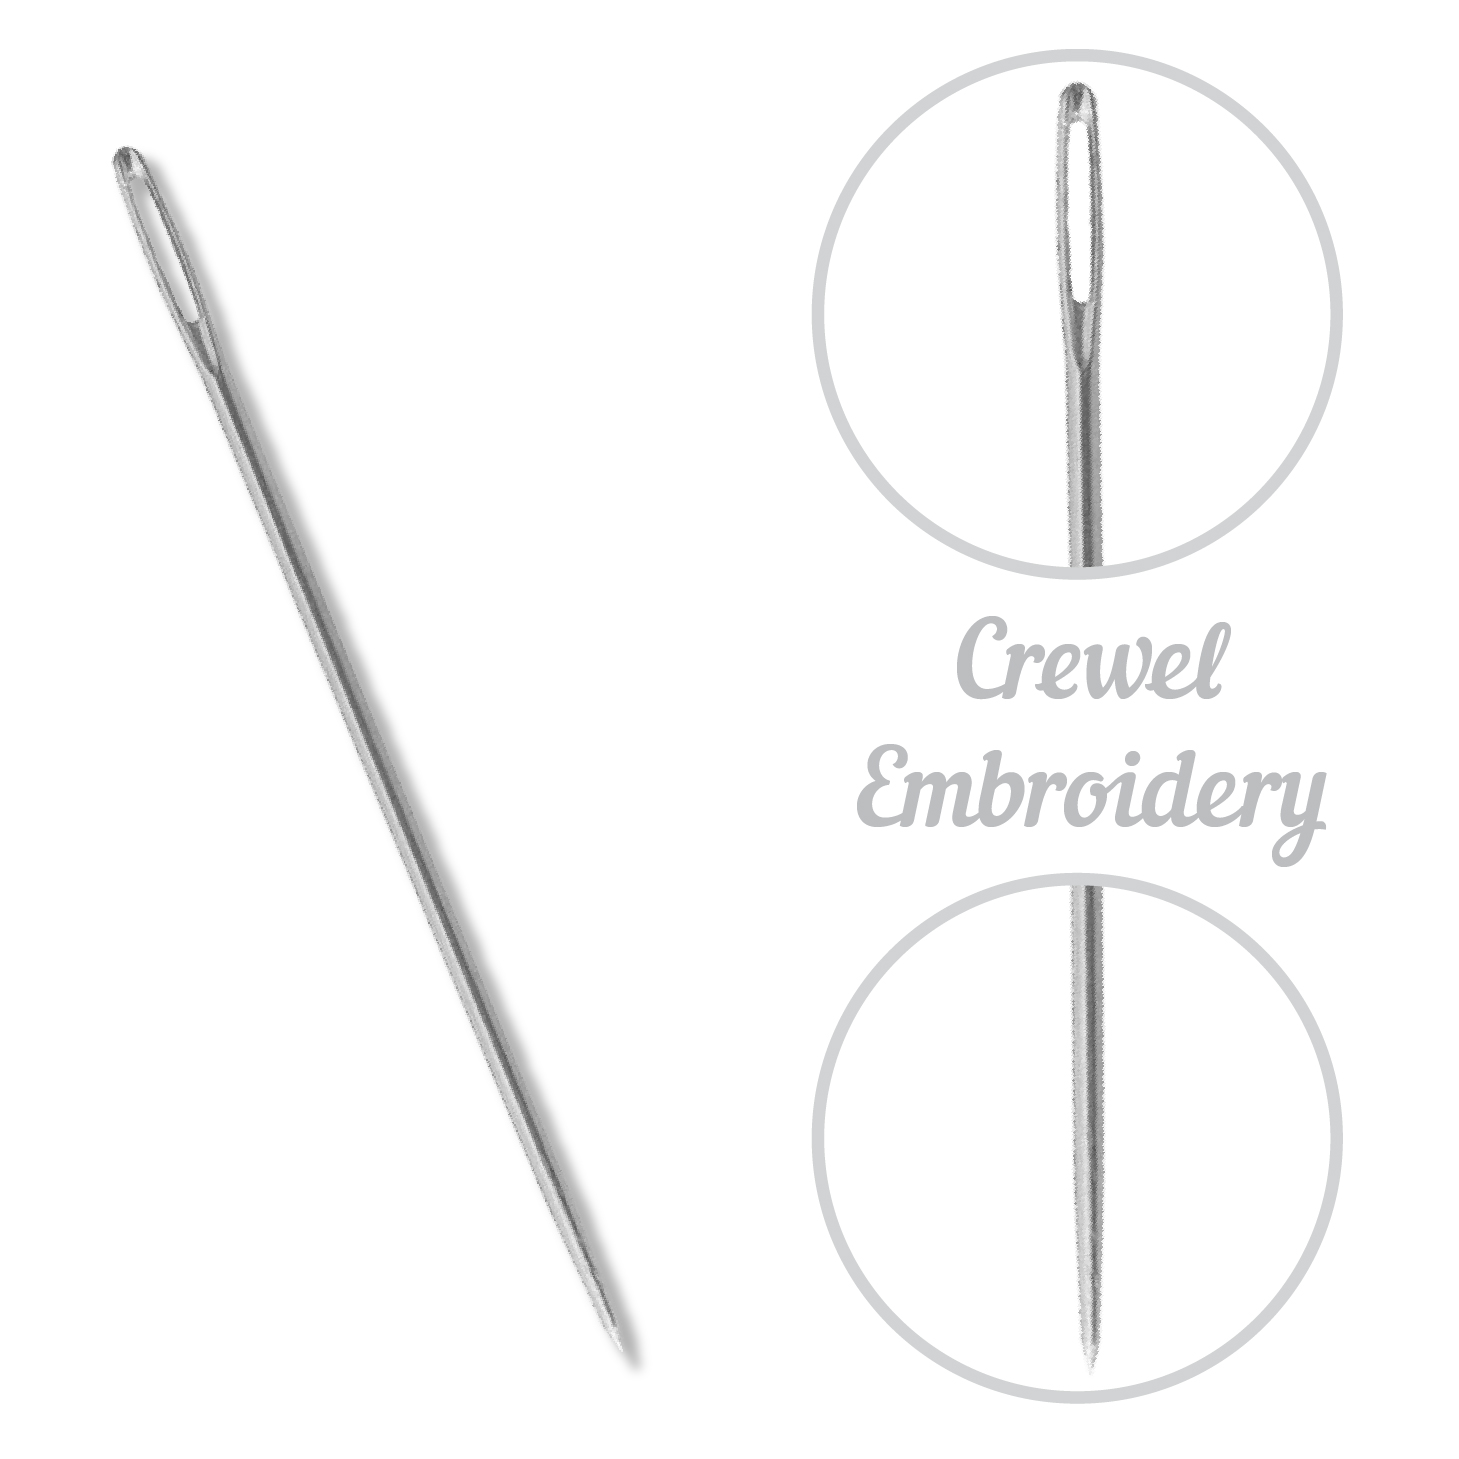
Embroidery/Crewel Needles
Useful when working with embroidery floss or decorative threads because of their elongated eyes and sharp points
.
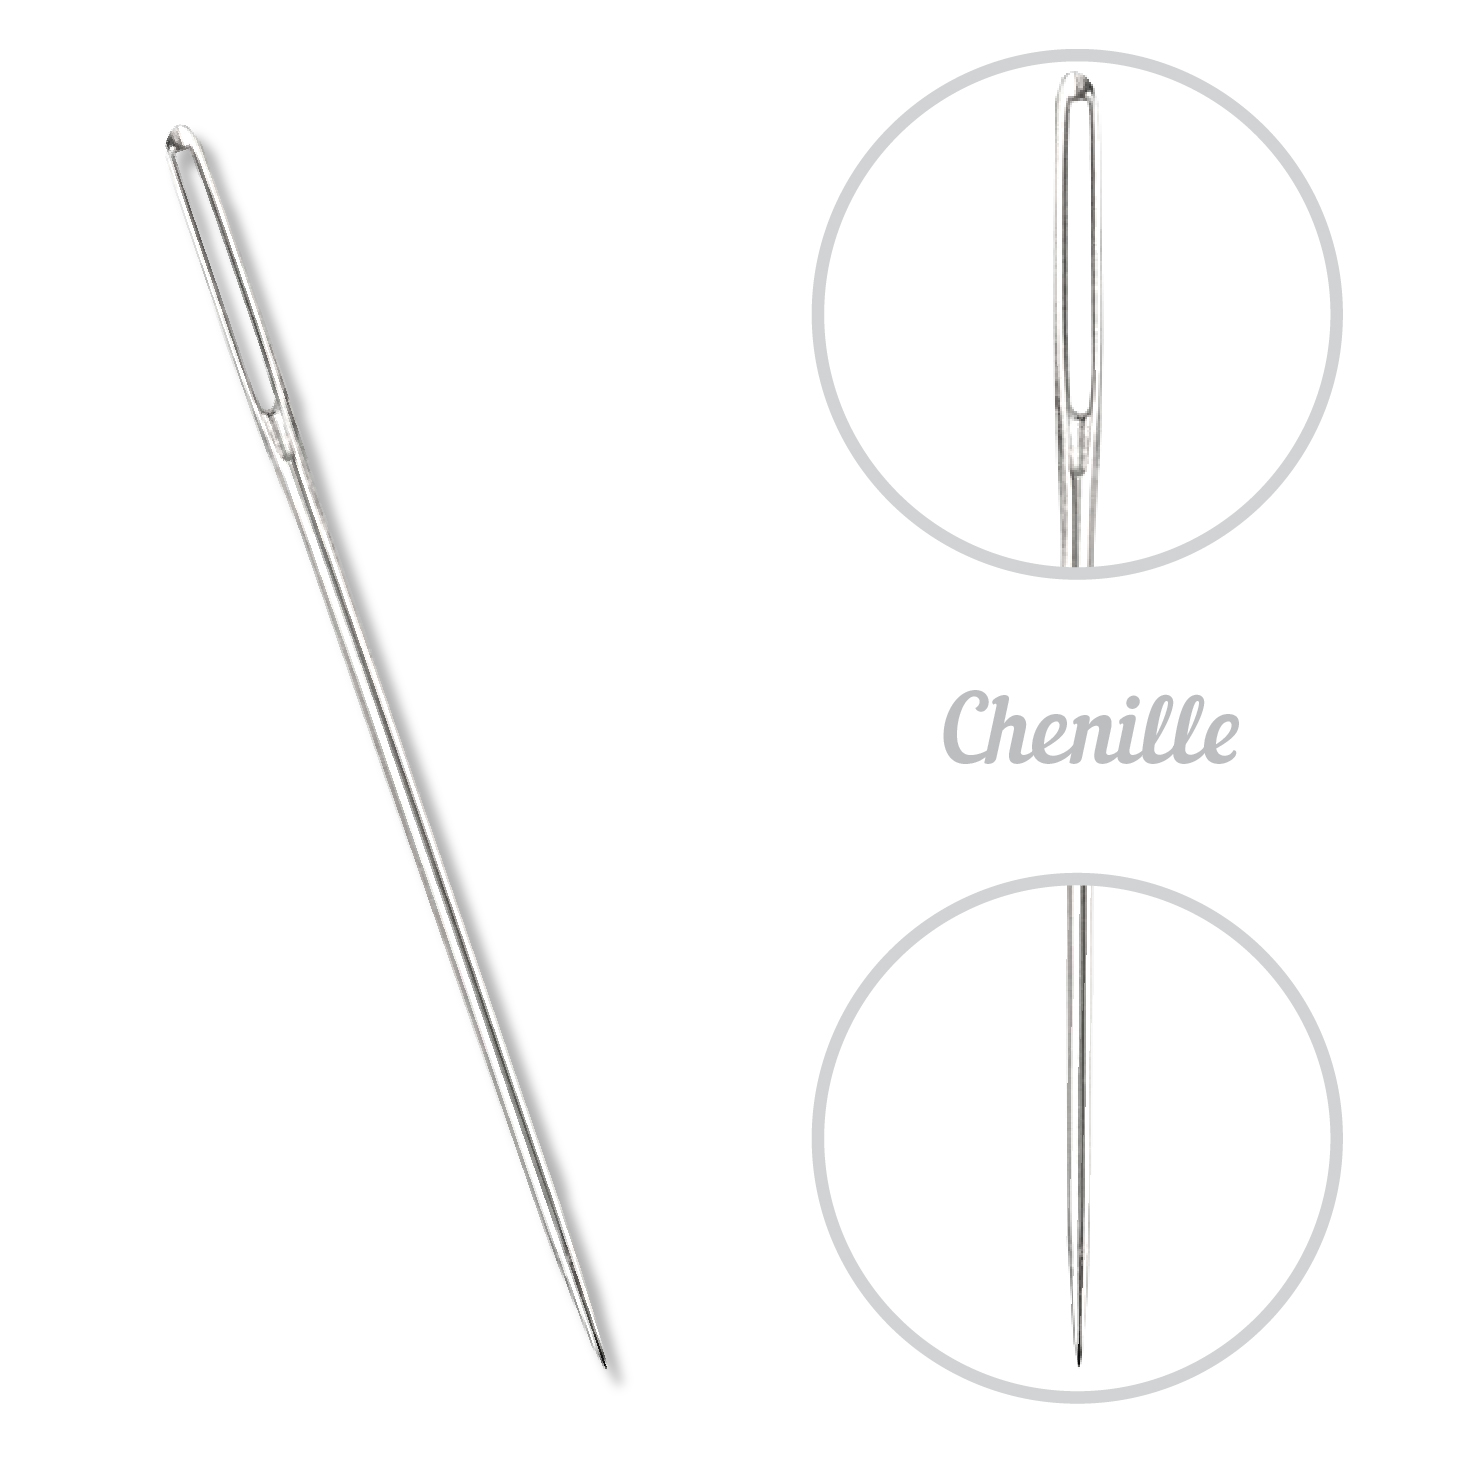
Chenille Needles
A good choice when students need both a larger eye and a sharp point, particularly with heavier decorative threads.
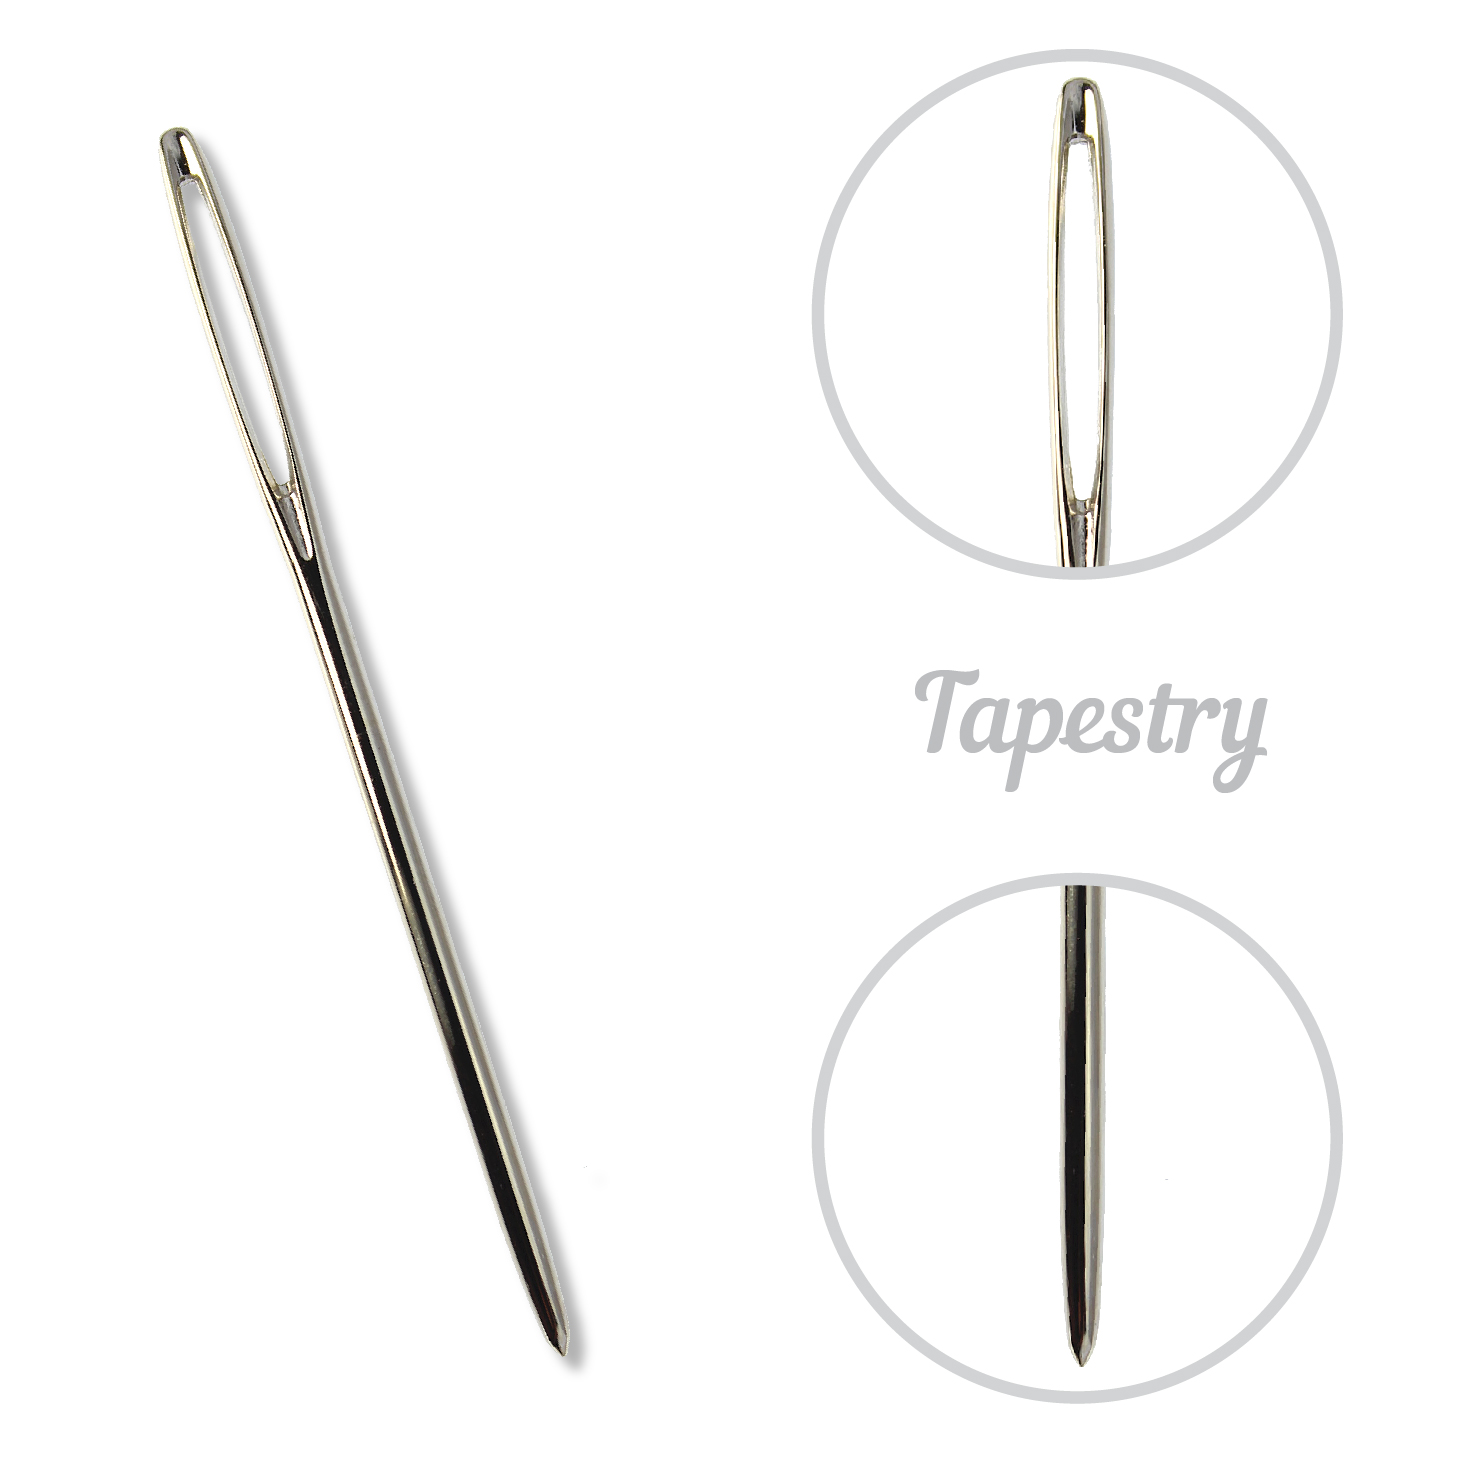
Tapestry Needles
Ideal for counted work and techniques where a blunt point should pass between fabric threads rather than pierce them.
The goal isn’t to teach every needle in one sitting. It’s to help students understand why this needle works for this project.
Pro Tip: Teach the “Why”
If you’re teaching a workshop, take two minutes at the beginning to talk about the needle.
Show students the eye.
Show them the point.
Let them compare it with another needle type.
Explain why you chose it for the fabric and thread they’ll be using.
That tiny lesson turns a supply into knowledge.
And the next time they start a project at home, they’ll be better equipped to choose for themselves.
Start With a Project They Can Finish
Tool choice is only part of a successful learning experience.
The project matters, too.
For beginners and short workshops, look for something that:
- Teaches one or two core skills
- Doesn’t require a large supply list
- Can be completed—or substantially completed—in one session
- Gives the student something useful or attractive to take home
- Leaves room for personalization
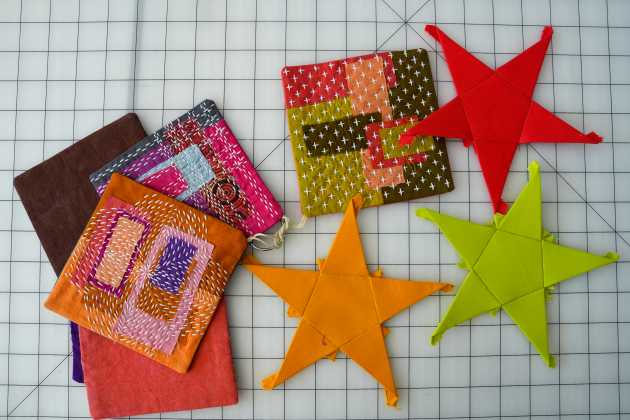
A small finished project creates a sense of accomplishment that can be incredibly motivating for a new stitcher.
Need a Project? Start With Our Free Pattern Library
If you’re planning a class, workshop, stitch-along, or afternoon of teaching someone new, you don’t necessarily have to develop a project from scratch.
Colonial Needle’s Free Patterns library includes complimentary projects and tutorials for quilting, embroidery, Sashiko, visible mending, and hand stitching, with printable resources, written instructions, and video tutorials available for many projects.
For a beginner class, something as simple as a fabric Corner Bookmark can introduce basic construction without requiring a major time commitment. A Sashiko Denim Bookmark can provide an approachable introduction to hand stitching and using a palm thimble. Or, for a sewing workshop, our DIY Project Pouch creates something students can continue using to organize future projects.
The goal isn’t simply to finish the project.
It’s to give students an approachable place to begin.
Reader Takeaway: A Better Beginner Experience
When you’re teaching someone to stitch:
✔ Choose a needle that’s comfortable to hold and easy to thread
✔ Match the needle to both the thread and the fabric
✔ Explain why you’ve chosen that particular tool
✔ Keep the first project manageable
✔ Limit the number of new skills introduced at once
✔ Give students something they can finish and feel proud of
✔ Send them home with resources that encourage them to keep learning
The best teaching tools don’t just help someone complete their first project.
They help them feel confident enough to start the second one.
Looking Ahead
Next month in The Right Tool for the Stitch, we’ll explore needle choices for needlepoint on canvas—including how canvas mesh, thread weight, and needle size work together.
Until then, share what you know. Sometimes one needle, one project, and one patient teacher are all it takes to create a lifelong stitcher.