By Judy Moore Pullen
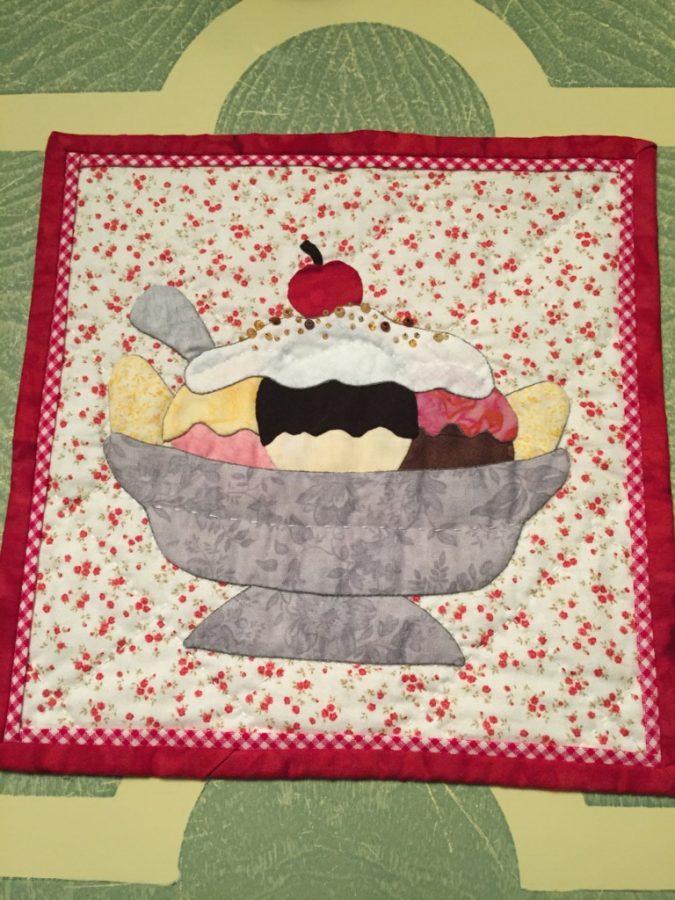
I have a passion for hand applique, so when I discovered Presencia thread a number of years ago, it was like a banana split on top of a devil’s food cake with chocolate frosting and sprinkles!
Something that helps me remember the thread sizes is this: As I am getting older, my number is getting bigger and I consider myself as getting “finer.” The same thing is true of needles and thread; the bigger the number, the finer the thread and hand sewing needles. Machine sewing needle are the opposite. The bigger the number, the bigger the needle.
There are several reasons why I believe that Presencia is simply the best for both hand and machine sewing.
THING 1: Presencia thread begins with the very finest 100% long staple Egyptian cotton. When you begin with a superior fiber, the result is an outstanding finished product. A long-staple fiber means that the thread is virtually lint-free, a plus for you and your sewing machine. Do your own testing: clean out the bobbin race of your machine. Fill a bobbin and thread the top of the machine with Presencia. Sew to your heart’s content. When your bobbin is empty, judge for yourself how clean the bobbin case and area around the needle are.
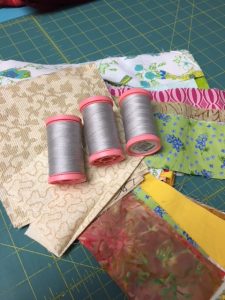
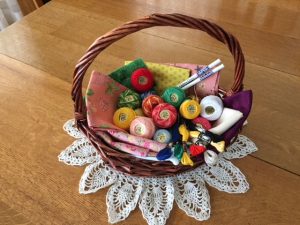
THING 2: All three weights of Presencia hand and machine sewing thread (40, 50, and 60 weight) are 3-ply. Plying, twisting three individual fibers together, makes the thread stronger. As a hand and machine sewing enthusiast, strong thread is important to me for the process of sewing as well as for the construction of the finished product. Not all 50 and 60 weight brand X threads are 3-ply.
THING 3: Presencia 40 weight thread is strong, comes in many colors, and works well for hand and machine quilting, including long-arm machine quilting. I recommend using a John James size 90 machine quilting needle. For hand quilting, I use John James Gold ‘n Glide Big Eye size 10. These needles easily pierce the three layers of a quilt sandwich. The size of the Big Eye makes threading much easier for my AARP-age eyes.
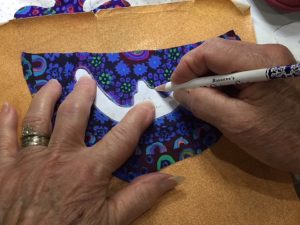
THING 4: Presencia 50 weight thread, also 3-ply, is smaller in diameter than 40 weight. It is great for general hand and machine sewing, and is beautiful for machine applique. I generally recommend it for beginning hand applique students, since it is slightly larger than 60 weight and easier to see hand stitches. A Mary Arden Applique size 10 needle is recommended. This needle is sharp, pierces rather than pushes the fabric, and stays strong and straight. I also use 50 weight for top stitching because of its larger diameter and the large number of colors available.
THING 5: I had great difficulty with machine piecing accuracy when I first began quilt making. I had sewn and made garments for years, but quilt making is somewhat different. My first quilt, a baby log cabin, had ruffles…Machine piecing was so stressful, and the completed quilt was not a pretty sight. When I discovered Presencia 60 weight thread, my accuracy improved and my frustration disappeared! Because 60 weight is so fine and 3-ply strong, it does not take up the extra threads when machine piecing. I also prefer it for hand applique. It also comes in so many colors, and virtually disappears when doing hand applique. I use a Mary Arden Appliquers needle, size 10 for hand applique, and John James size 70 or 80 for machine sewing with 60 weight thread.
Stitching with Presencia threads makes hand and machine sewing most satisfying for me. Using the best products results in a satisfying experience as well as a quality product. I highly recommend Presencia threads as well as John James and Mary Arden needles. Now to the refrigerator to make that super-duper banana split, then sit and sew to my heart’s delight.