
Designing & Playing with Wool
By Judy Moore Pullen
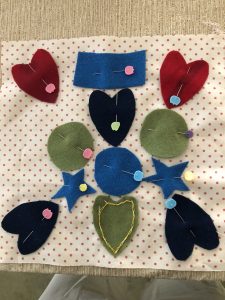
If one plays around with fabric and threads, one can discover her own inner creative child, which is what gracious members of the Wimberley Quilt Guild in Wimberley, Texas, did last week. I had been invited to do a lecture and trunk show featuring wool applique, followed by an afternoon workshop. I passed around samples of hand applique using felted wool from the bolt and re-cycled wool. We also cooked/over-dyed wool in crock pots using onion skins, Kool-Aid, and a color transfer technique.
In the afternoon, after a discussion of becoming aware of designs all around us, guild members began thinking and talking about how they could transform several pieces of wool and a bag full of wool scraps into their own personal designs. I just love the process part of a project, and the easy-going interaction of the ladies was an important part of that process. They were encouraged to do “walk-abouts”, and see what others were doing, offer suggestions and comments. Some wanted their design ideas complete before beginning to stitch, while others jumped right in and took needle and thread to fabric.
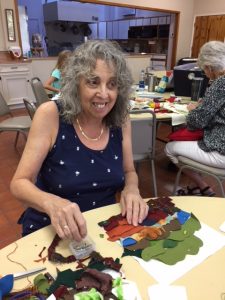
Prepping!
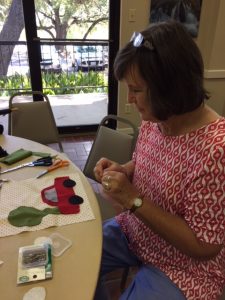
We also discussed tools: John James and Mary Arden Chenille Needles for wool applique and Tapestry Needles for wrap stitching. Chenille needles work so well with wool. They are strong, have a sharp point, and the shaft opens the fibers of wool so that the thread glides easily through. The elongated eye makes threading easy with Presencia’s Perle Cotton and Embroidery Floss. Tapestry needles are blunt, therefore make sliding the needle under stitches and not penetrating the fabric much easier. Wrapping stitches with contrasting colors of thread with a tapestry needle is part of the fun.
The ladies also played and experimented with Colonial Needle Felting Needles and Box Wool Roving. Needle felting and roving opens up the door to so many design possibilities.
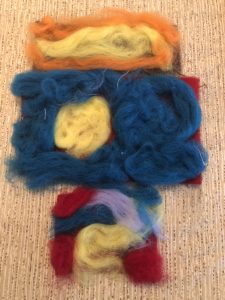
Coloinal’s Paint Box Wool
One of the secrets of using roving is to separate the roving into little see-through wisps. Place a piece of wool on a 2”-3” thick block of foam rubber. Layer of wisp of roving on top. Hold the felting needle straight up and down and punch the roving gently into the wool. Add more wisps of different colors to create texture. Gently sweep the tip of the needle against the wisps to make shapes. Couch with Presencia Perle Cotton or Embroidery Floss in a variegated or solid color if you desire.
Eleanor, who is going into the second grade this fall, created a one-of-a-kind piece of over-dyed wool by layering 3 colors of 100% wool and brown onion skins.
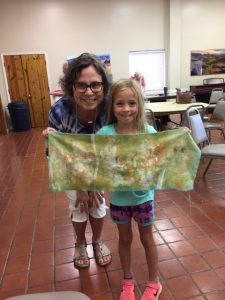
Eleanor showing off her dyed wool
She rolled up the layers and tied the bundle with strips of wool, then cooked the bundle in a crock pot. She also had great fun cutting her own shapes of wool and stitching with Perle Cotton. Eleanor took to needle felting and hand applique like a proverbial duck to water.
“Just Play and have fun!”
Just play and have fun! If it is not perfect and you are, call it a one-of-a-kind piece of folk art. You will improve with practice and play. In my opinion, there is great value in work done by the human hand and not “perfect”. I was so inspired by Eleanor and all of the gracious members of the Wimberley Quilt Guild. They are great teachers, eager to learn, and demonstrate great community spirit and creativity.