We Have Five Rolls of Handy Tape in Our Studio. Here’s Why:
You know a tool has become indispensable when you stop putting it back in the drawer because you might need it close at hand at any given moment. We have Handy Tape everywhere. One roll lives on the peg board over the cutting table, another lives in the top drawer of the sewing machine cabinet, and there’s one in the studio “miscellaneous supplies” box. Oh… then there’s one in the utility drawer in the kitchen for gallery wall projects and there’s one that’s currently sitting on Jason’s desk because we used it to wrap a present a few days ago instead of regular tape. Yes, you read that right. We used Handy Tape to wrap a gift. So yeah… we have it on hand pretty much everywhere. That’s how useful this stuff is.
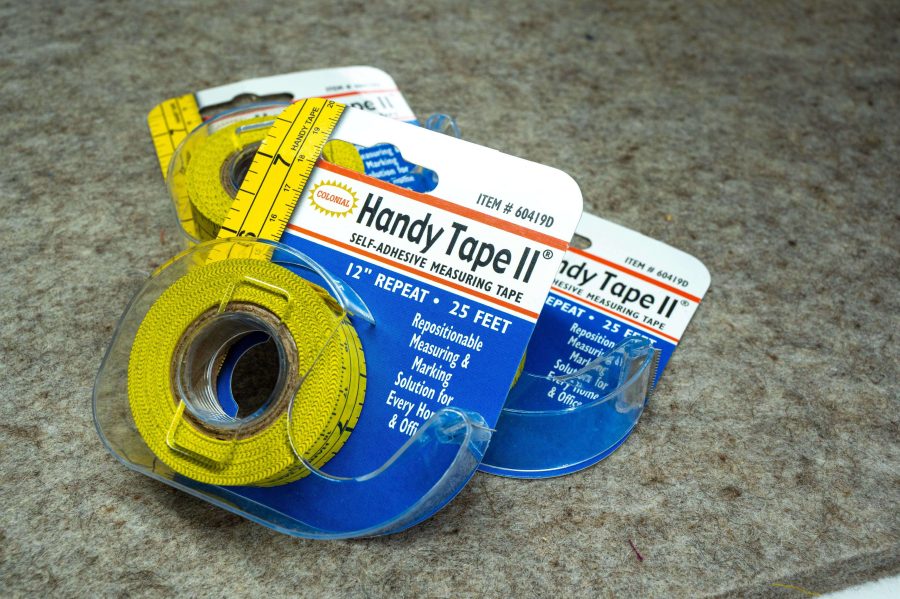
What Even Is Handy Tape?
On the surface, Handy Tape is exactly what it sounds like: a measuring tape with a low-tack adhesive backing that sticks to things. Fabric, walls, tables, your sewing machine, even skin (more on that later). But calling it “sticky measuring tape” is like calling a rotary cutter “a round blade.” Technically accurate but missing the entire point.
Handy Tape is the third hand you’ve been wishing for when you’re trying to measure something by yourself, mark guidelines without permanent lines, or create temporary grids that actually stay put while you work. It’s repositionable, it doesn’t leave residue, and once you start using it, you’ll find yourself reaching for it in situations that have nothing to do with measuring. Like wrapping presents. (We’re still a little surprised by that one ourselves.)
How We Actually Use It (The Real List)
The Temporary Design Wall
This is probably our most-used application. We hang a flannel sheet on the wall (flannel because quilt blocks stick to it), then apply strips of Handy Tape to create a grid or border. Suddenly we have a design wall where we can space out quilt blocks, test different layouts, rearrange components of a textile art piece, and see the whole composition without committing to anything permanent.
The tape sticks to the flannel, the blocks stick to the flannel, and everything stays put while we audition different arrangements. When we’re done, we peel off the tape and the flannel sheet is clean.
Why this matters: Most design walls are either expensive foam boards or permanent installations. Either way, they take up valuable space that, personally, we don’t have. This solution costs about $12 and packs flat when you’re not using it.
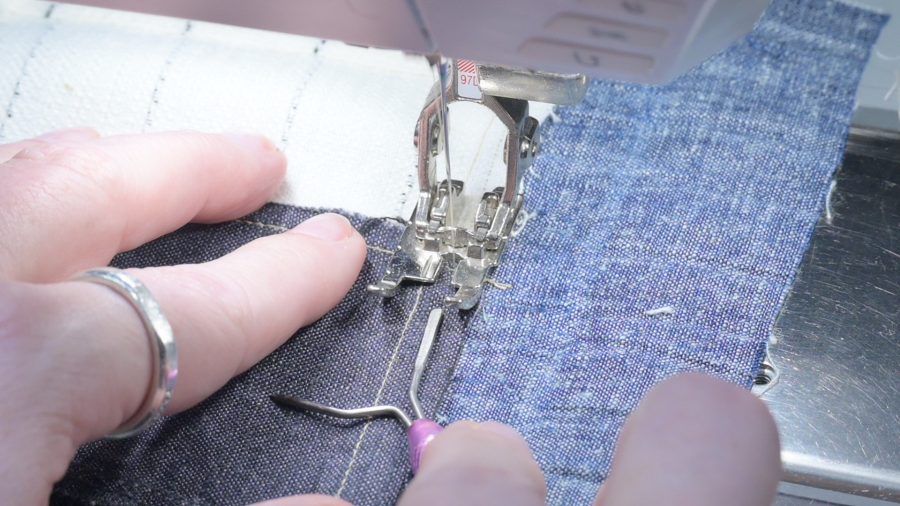
The Sewing Machine Seam Guide
We have guides etched into our sewing machine’s stitch plate. They’re fine. They’re also tiny, hard to read, and easy to lose track of when you’re chain-piecing at speed. And if you sew on a machine that has seen some years of use, those lines can be worn down and faded making them all but useless. Handy Tape applied directly to the machine in front of the stich plate stitch plate creates a bold, high-contrast guide that’s impossible to miss. Just line up one of the marks on the tape with where your needle is set, and follow the clear, bold Handy Tape lines. And the low-tack backing makes it easy to reposition Handy Tape or remove it entirely without leaving sticky residue.
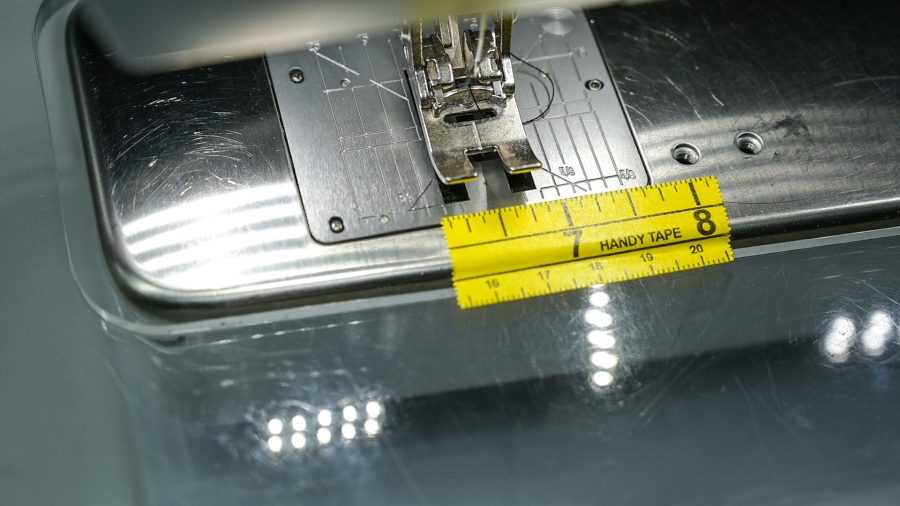
Bonus: It’s much easier to see on camera than etched metal lines. When we’re recording workshops or tutorials, we don’t have to zoom in and out constantly to show measurements. The tape is visible, clear, and stays exactly where we put it.
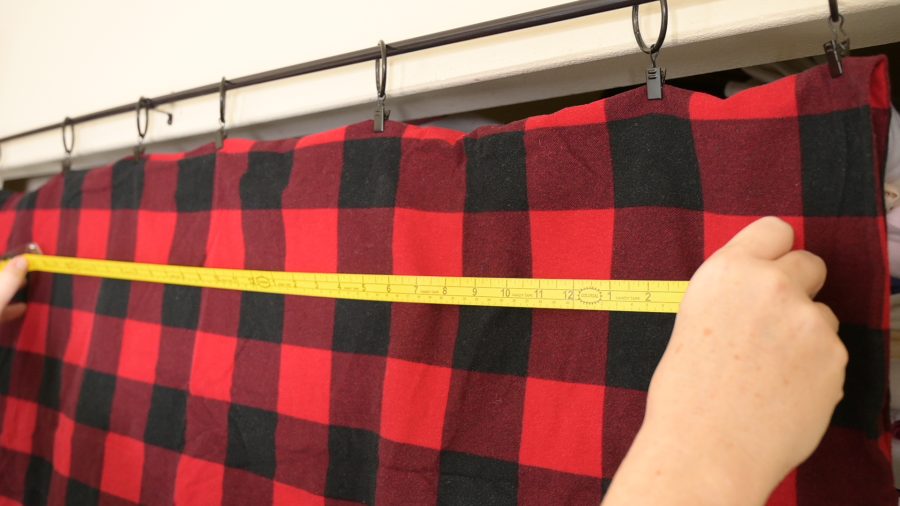
The Solo Measuring Solution for Awkward Spaces
Try measuring a doorway by yourself with a regular tape measure. One end wants to snap back. You’re holding it at arm’s length. You’re squinting to read the numbers while simultaneously trying to keep tension on the tape.
Now try it with Handy Tape: stick one end to the door frame, walk it across, stick the other end down, read the measurement. Done.

We’ve used this for:
- A large living room window (trying to figure out curtain yardage or curtain rod length)
- A curved chair back we were reupholstering (impossible with a rigid measuring tape or cloth tape)
- Walls when we’re planning furniture placement and art placement
- Any situation where you need a third hand but you’re working alone
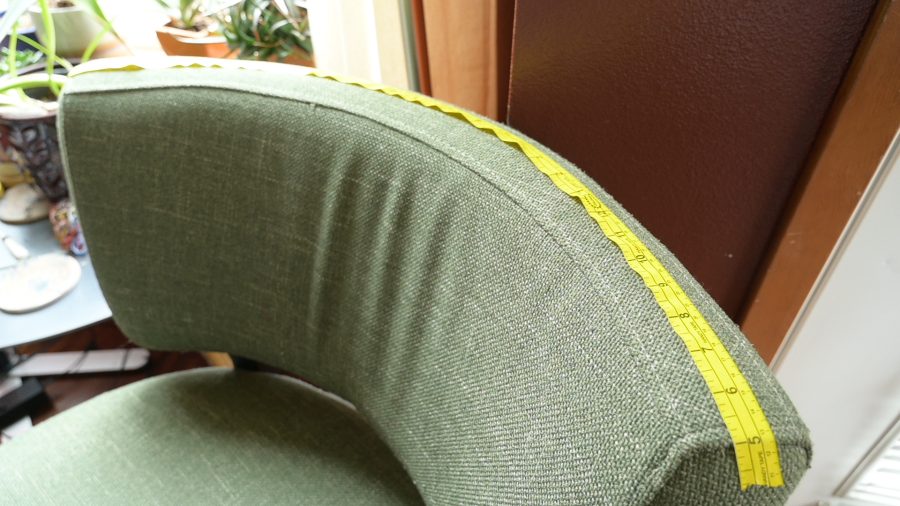
The curved chair was a revelation. Regular measuring tapes bend but they don’t stay in place. Previously, we would use a separate roll of tape to hold our cloth tapes in place but Handy Tape does it all quickly and efficiently. We laid Handy Tape on the curve and had our measurements without the gymnastics.
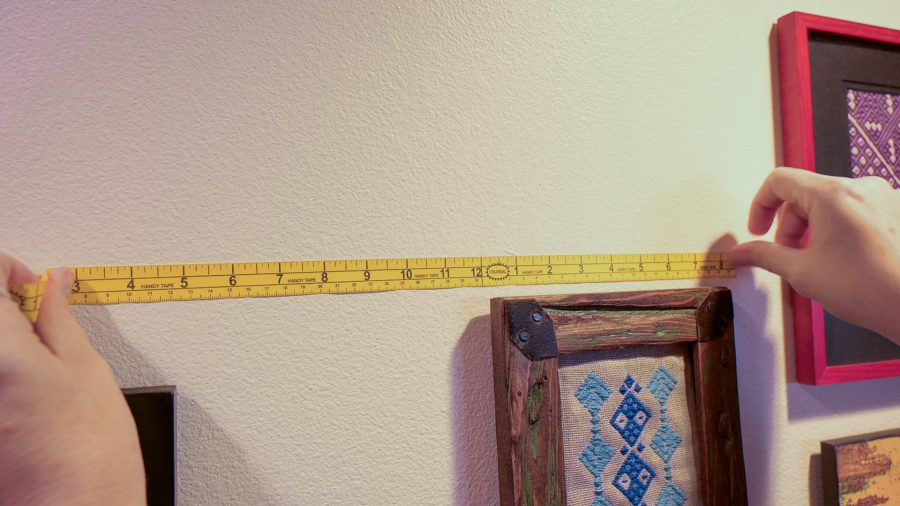
Gallery Wall Spacing (No More “Oops” Holes)
Hanging multiple pieces of art or textile work in a grid is an exercise in spatial geometry and crossed fingers. Measure wrong, and you’ve got unnecessary holes in your drywall. Handy Tape lets you plan first, drill later. Stick strips to the wall to map out where each piece will go. Step back. Adjust. Move things around. When the spacing looks right, mark your hook or nail spots, hang your pieces, and peel the tape away.
No guessing. No regrets. No spackle.
Body Measurements (The Solo Solution)
Here’s a use case we discovered by accident and now recommend all the time:
Taking your own body measurements is awkward. Getting someone else to take them for you is either impossible (you live alone) or uncomfortable. Not everyone wants hands-on help, and not everyone has a person available who knows how to measure correctly. And it’s not like we’re going to run to the neighbor’s and ask them to hold the tape for us. GAH!).
Handy Tape sticks lightly to fabric and skin without leaving residue or pulling uncomfortably. Wrap it around yourself – bust, waist, hips, whatever you’re measuring – stand straight, mark the overlap point with a marker, remove the tape, and count the inches. It’s like having a tailor’s assistant who doesn’t ask questions and doesn’t judge your measurements. We give this advice constantly now. It’s especially helpful for people who sew their own garments but don’t have a sewing buddy nearby to help with fitting.
The “Not Actually Measuring” Uses
And then there are the times we use Handy Tape for things that have nothing to do with measuring at all.
- In place of washi tape for mixed media art: The measuring tape marks add visual interest, and the low tack adhesive means it repositions easily on paper and fabric without tearing.
- Wrapping presents: This happened just a few days ago. The tape dispenser was sitting next to a roll of washi tape we’d been using. We needed to wrap a gift. We grabbed the Handy Tape instead because it was right there. It worked perfectly. We’re not even mad about it.
- Scrap bin organization: We stick strips to the top of our scrap bin lids so we can instantly check if a piece of fabric is large enough for a project without digging out a ruler or clearing off the cutting mat.
- Teaching tool for workshops: When we’re demonstrating spacing for sashiko grids or blanket stitch edges, we apply Handy Tape directly to the fabric. Students can see the measurements clearly on the overhead video regardless of the classroom lighting situation. IYKYK
The Bottom Line: It’s Not Just a Measuring Tape
Here’s what we’ve learned after going through multiple rolls of this stuff:
- Handy Tape isn’t solving one problem. It’s solving the “I need a measurement guide that stays put, doesn’t damage anything, and works in situations where regular tools don’t” problem.
- It’s the tool you didn’t know you needed until you try it once, and then suddenly you have five rolls scattered around your workspace and house because you keep finding new uses for it. Fair warning: order a few extra rolls because others will discover just how handy Handy Tape is and yours will mysteriously disappear. Just sayin’…
- Handy Tape may not be the flashiest gadget in your toolbox, but it’s one of those quiet workhorses that makes everything else easier. Measure solo. Mark temporarily. Create grids that actually stay where you put them. Wrap the occasional gift when the regular tape just isn’t special enough.
Like we said… we have it everywhere.
Ready to add a helping hand to your studio?
Watch the video demonstration on YouTube here to see Handy Tape in action.
What’s the most creative place you’ve ever used Handy Tape? Let us know in the comments. We’re always looking for new uses we haven’t thought of yet!