
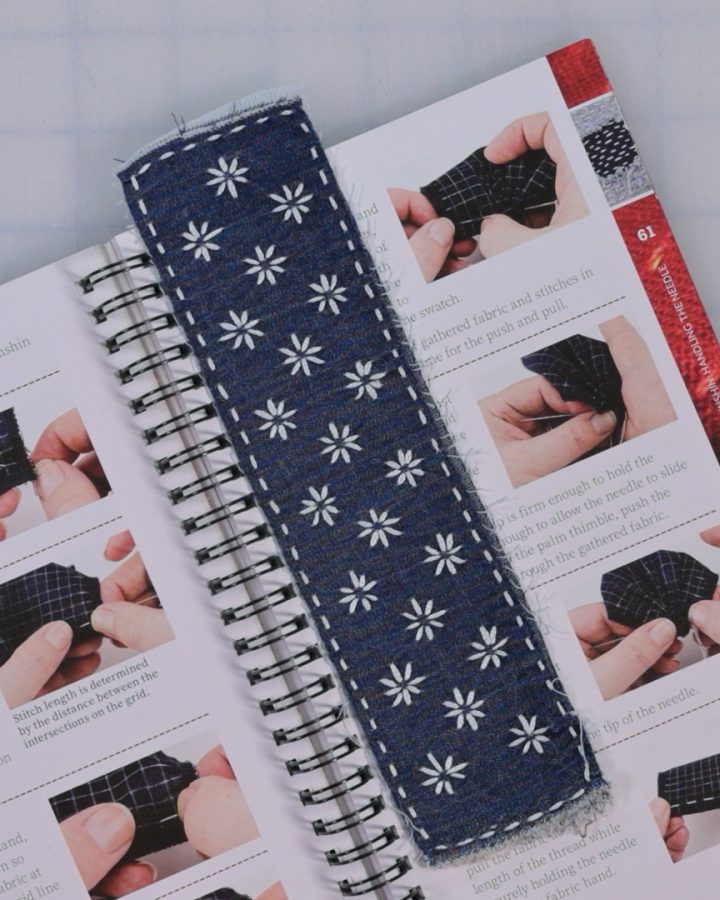
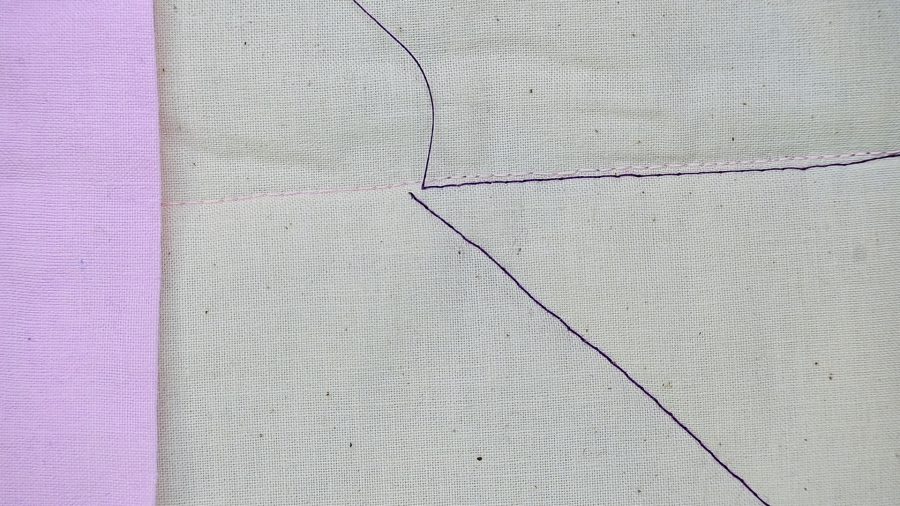
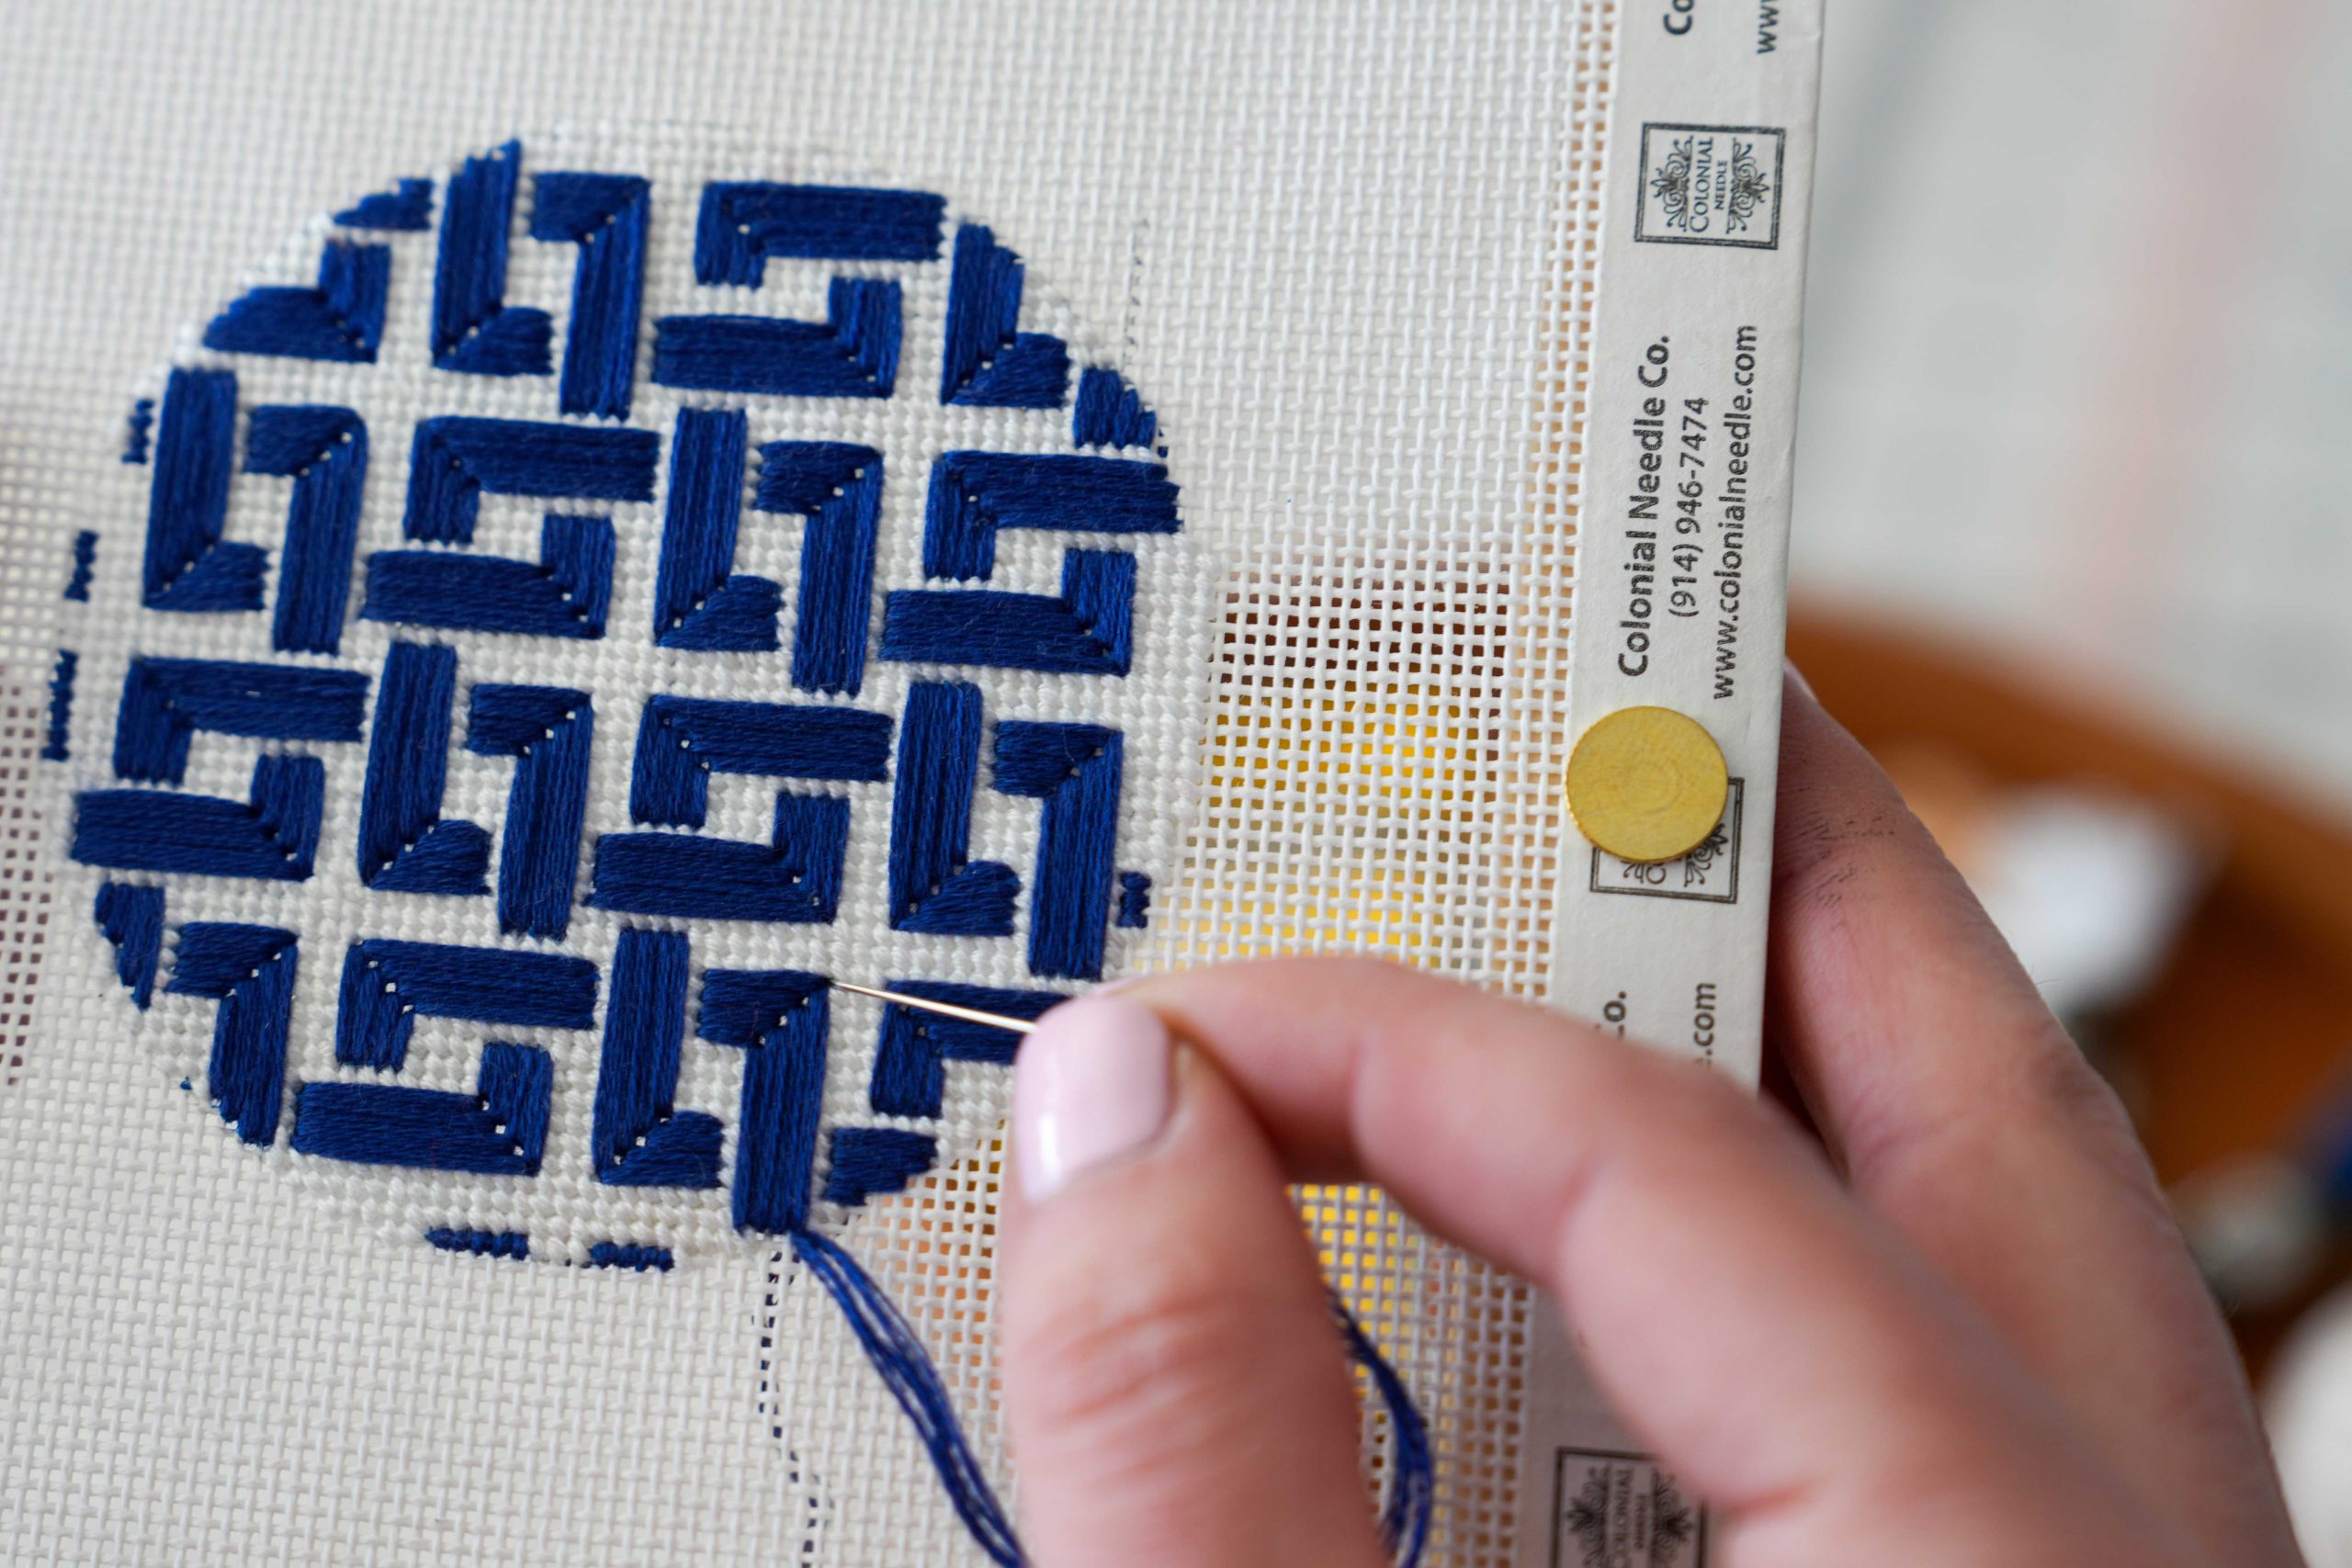
A simple running stitch can carry remarkable history.
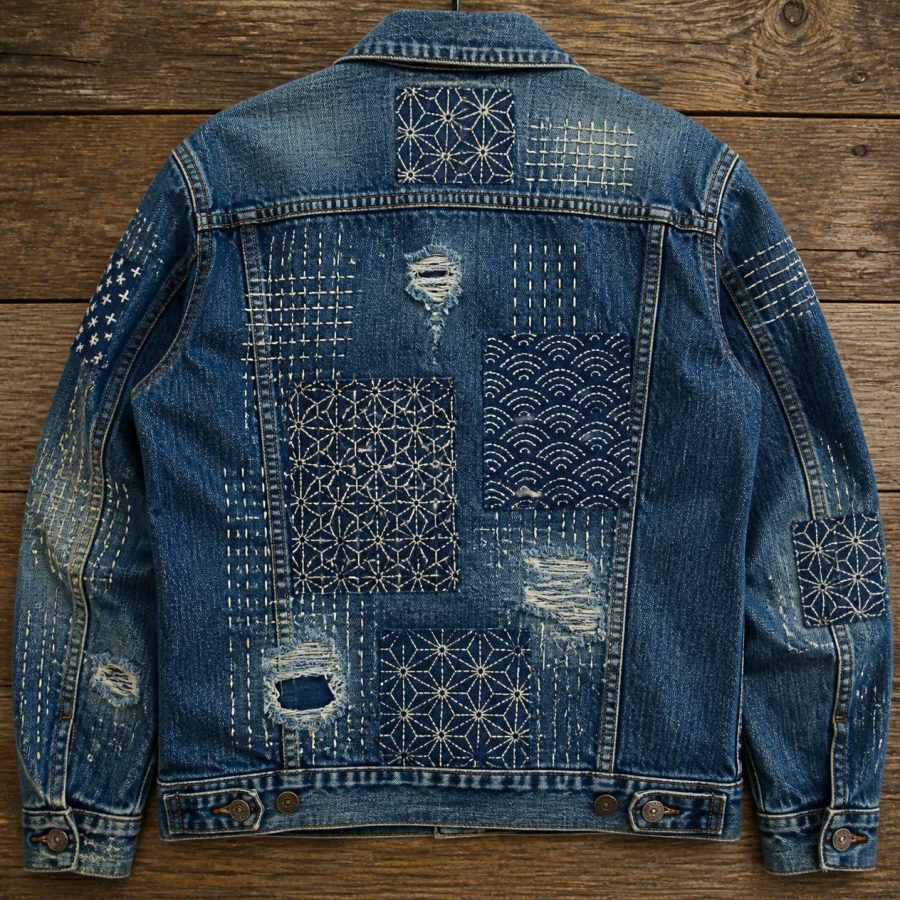
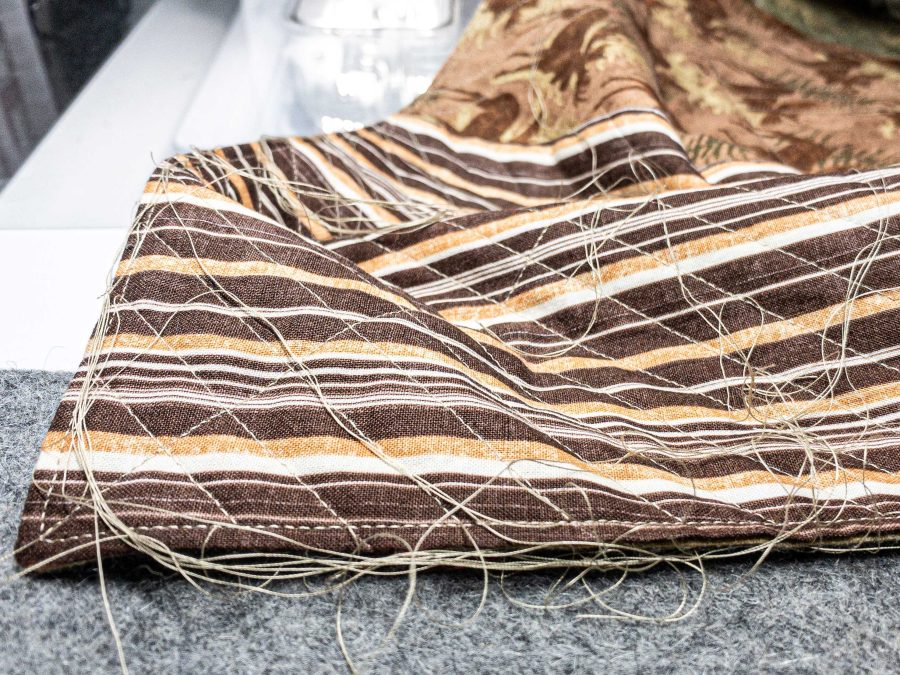
Sashiko is a Japanese stitching tradition with roots in the practical care, reinforcement, layering, and repair of cloth. Although many stitchers today recognize sashiko by its striking geometric patterns—often worked in white thread against indigo fabric—its story extends beyond decoration. Stitching helped strengthen textiles, extend their usefulness, and add warmth at a time when cloth was valuable and meant to be cared for.
Today, sashiko continues as a living and evolving practice in Japan while also inspiring stitchers around the world. As we explore the tools associated with this work, we do so with respect for the traditions and knowledge from which they come—and with the understanding that one article can offer only an introduction.
For our purposes, we’ll focus on an area we know well: how the length of the needle, the structure of the thread, and the use of a palm thimble can support the distinctive rhythm of running stitch.
The Stitching Scenario
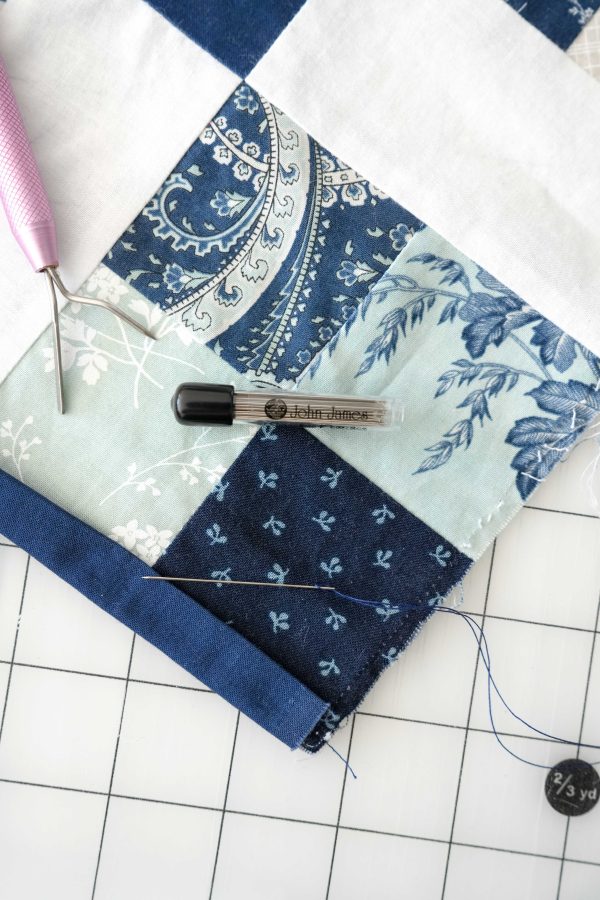
Sashiko and Japanese running-stitch projects
Depending on the style, purpose, and pattern, contemporary projects may include:
- Geometric stitched samplers
- Reinforced or repaired garments
- Decorative panels
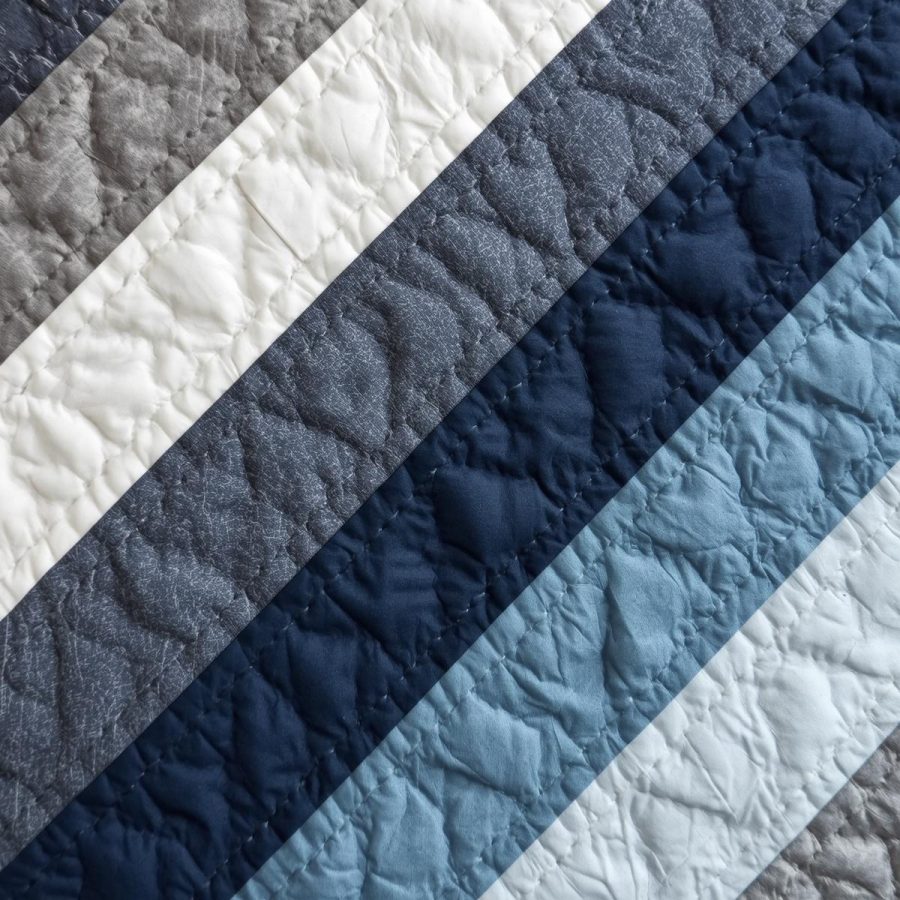
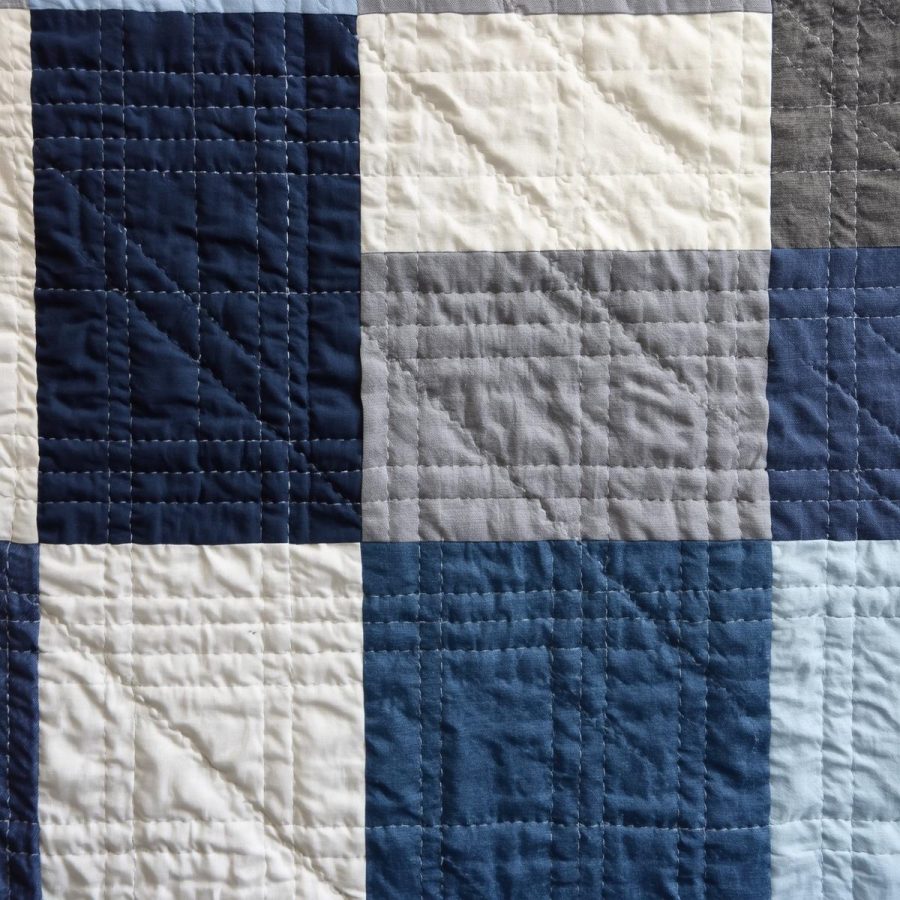
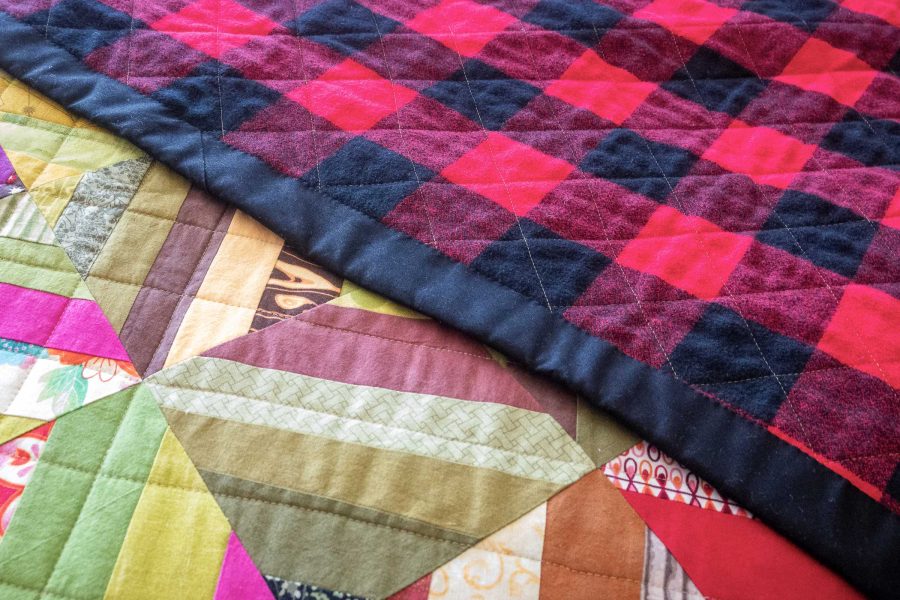
- Quilted or layered textiles
- Bags and home décor
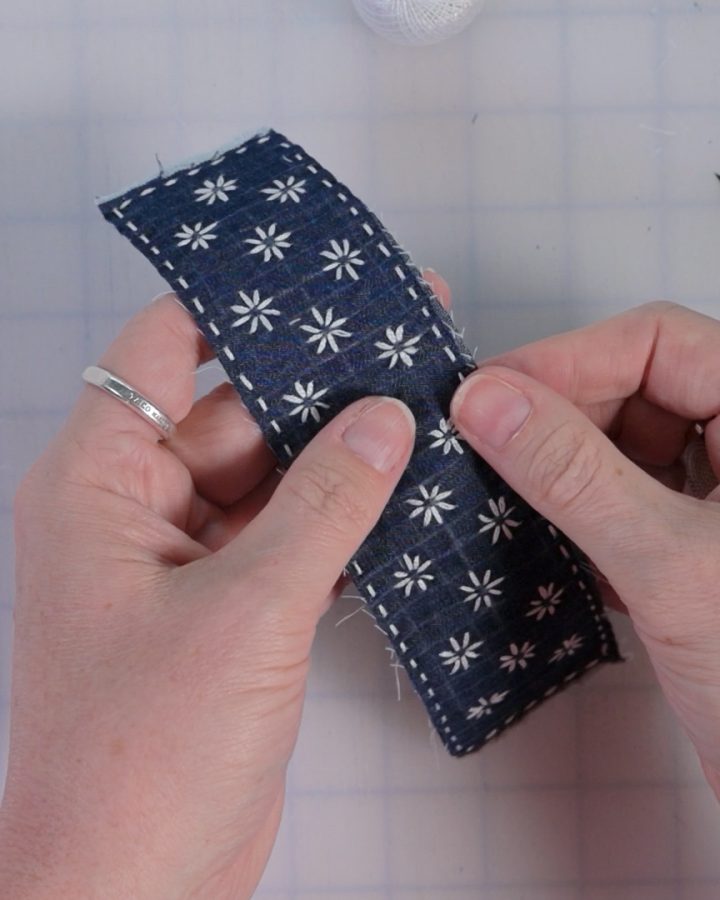
- Small projects such as bookmarks and coasters
Although running stitch is fundamental to many sashiko practices, sashiko is more than a decorative running-stitch pattern. Different traditions and regional styles have developed their own methods, patterns, and characteristics.
The tools used can also differ from those chosen for a typical Western-style running stitch.
The Common Challenges
Stitchers who are new to sashiko-inspired stitching may experience:
- Difficulty keeping stitches consistent
- Puckering or pulling in the fabric
- Trouble loading several stitches onto the needle
- Hand fatigue from pushing the needle with a fingertip
- Uneven tension between stitched and unstitched areas
- Difficulty developing a smooth stitching rhythm
These challenges do not necessarily mean you need to make every stitch perfectly identical. In fact, focusing too heavily on visual perfection can distract from learning the motion and rhythm of the technique.
The right tools can help the stitching feel more natural and efficient.
Why the Right Tool Matters
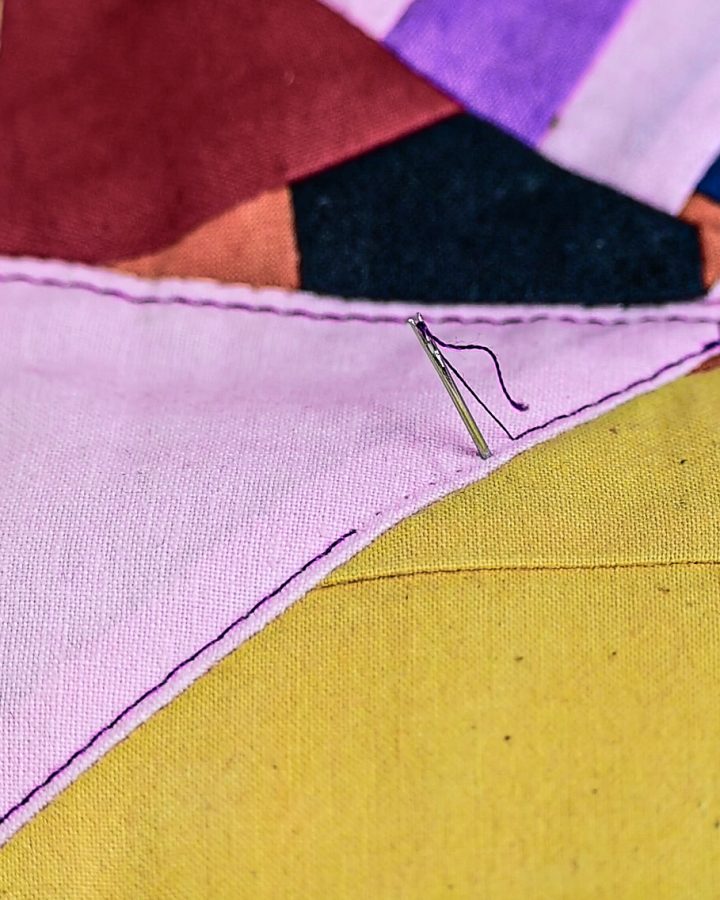
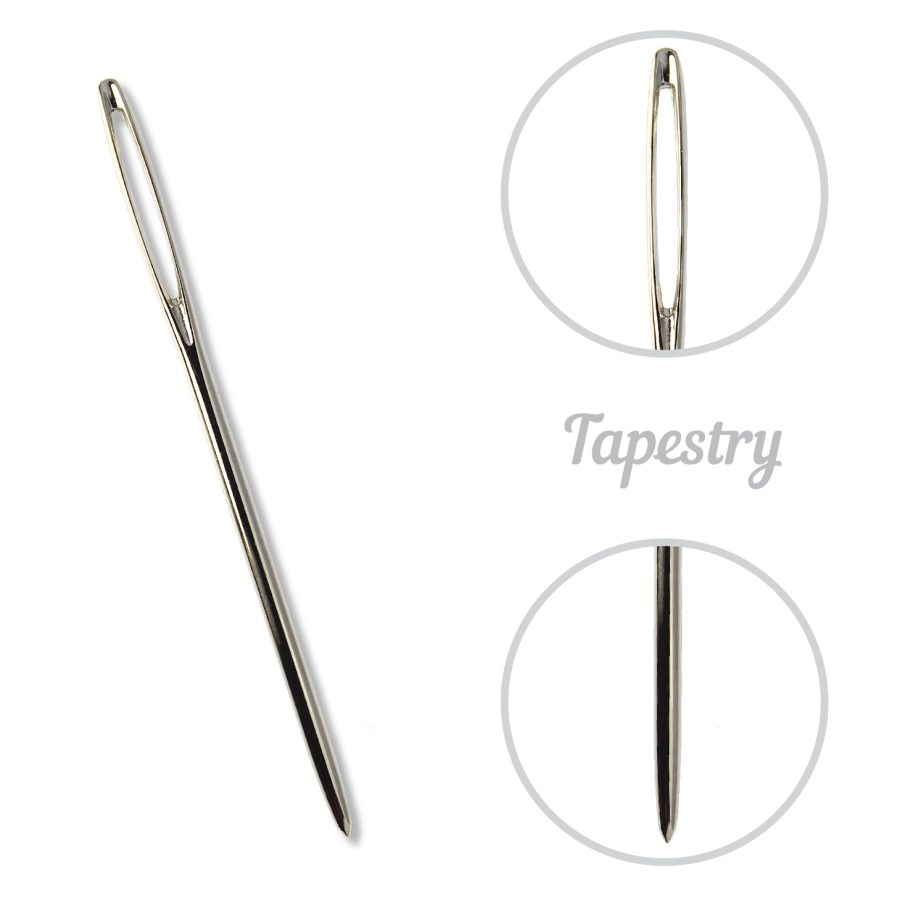
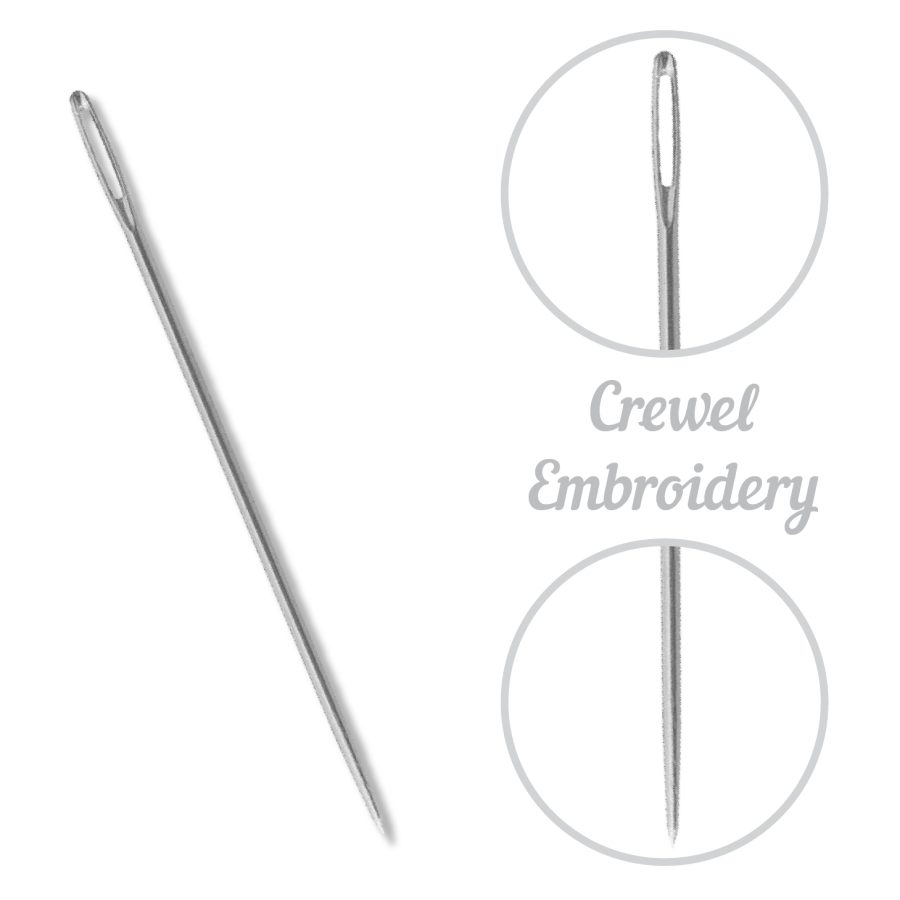
Needle Length
Sashiko needles are generally longer and sturdier than many standard hand-sewing needles.
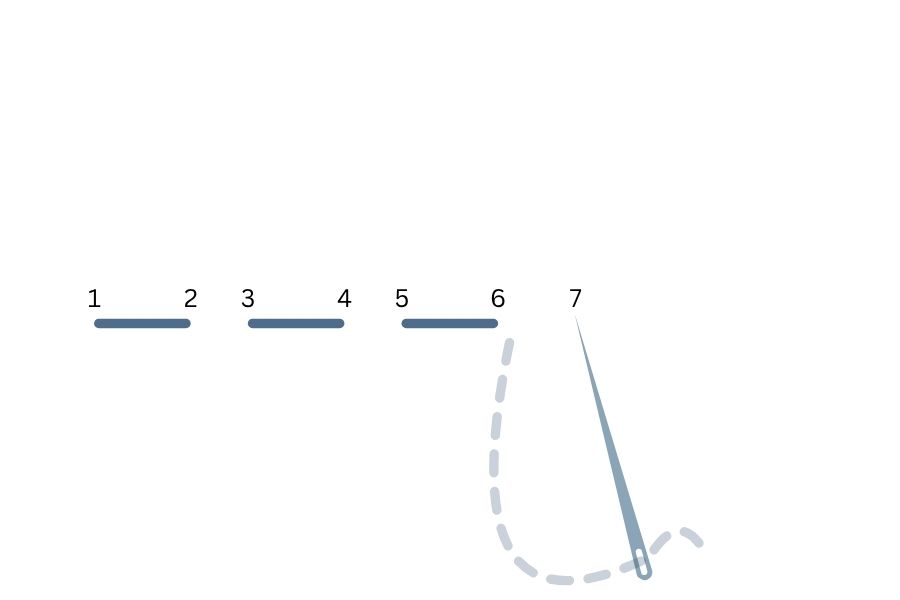
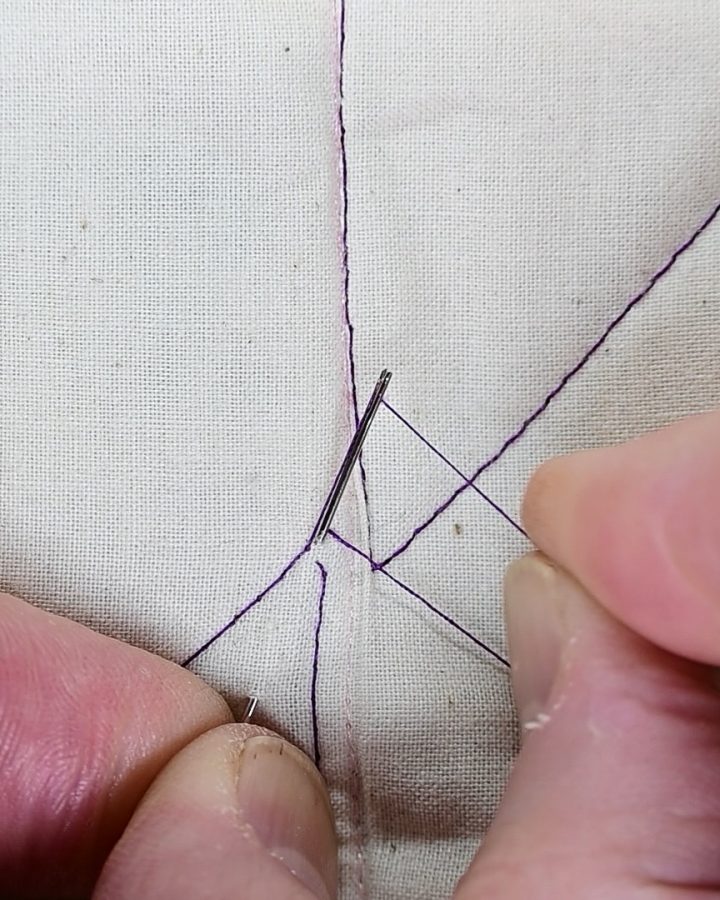
The additional length allows multiple stitches to be loaded onto the needle before the thread is pulled through. Rather than making each stitch individually, the stitcher can build a sequence of running stitches along the needle.
This supports a steady, continuous rhythm.
Needle Strength
Because several stitches may be gathered onto the needle—and because the needle may be pushed using the palm—it needs enough strength and stability to move through the fabric without excessive bending.
The best needle should feel substantial enough for the fabric while still moving through it smoothly.
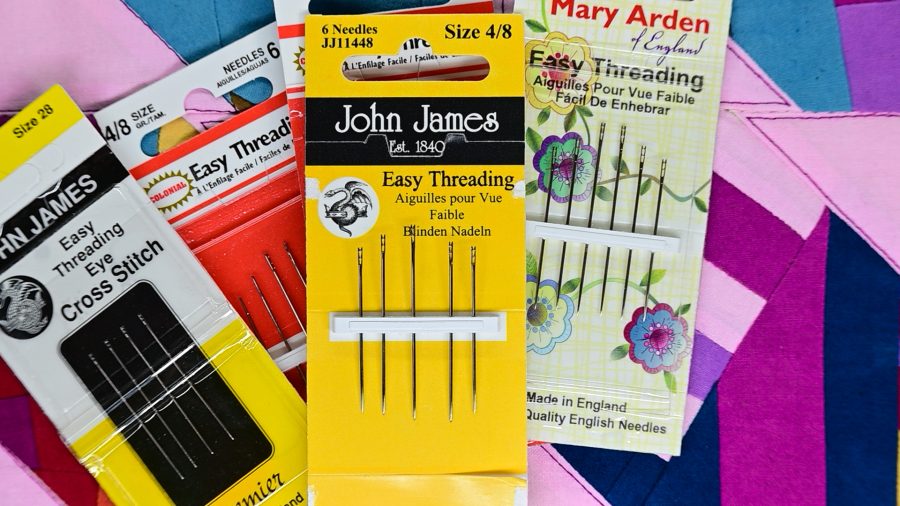
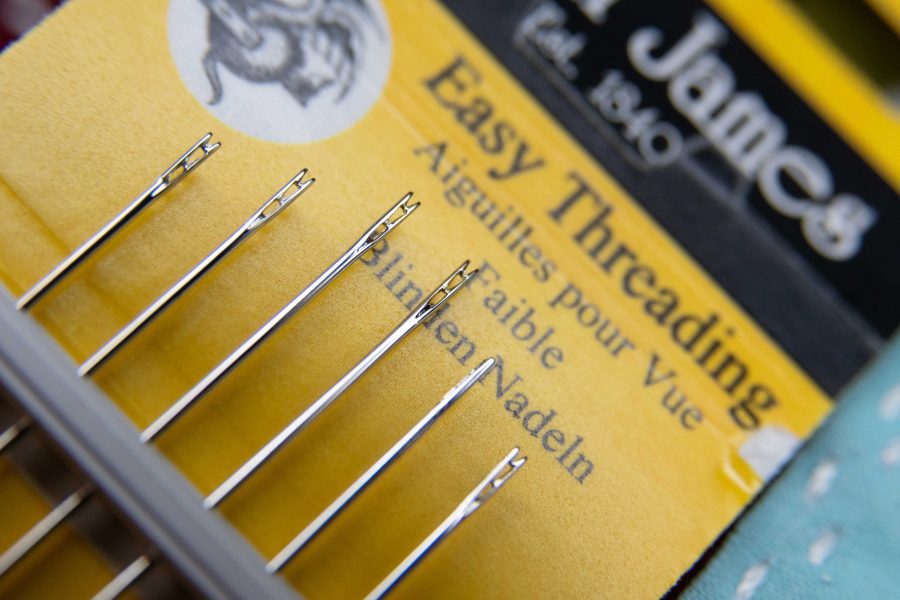
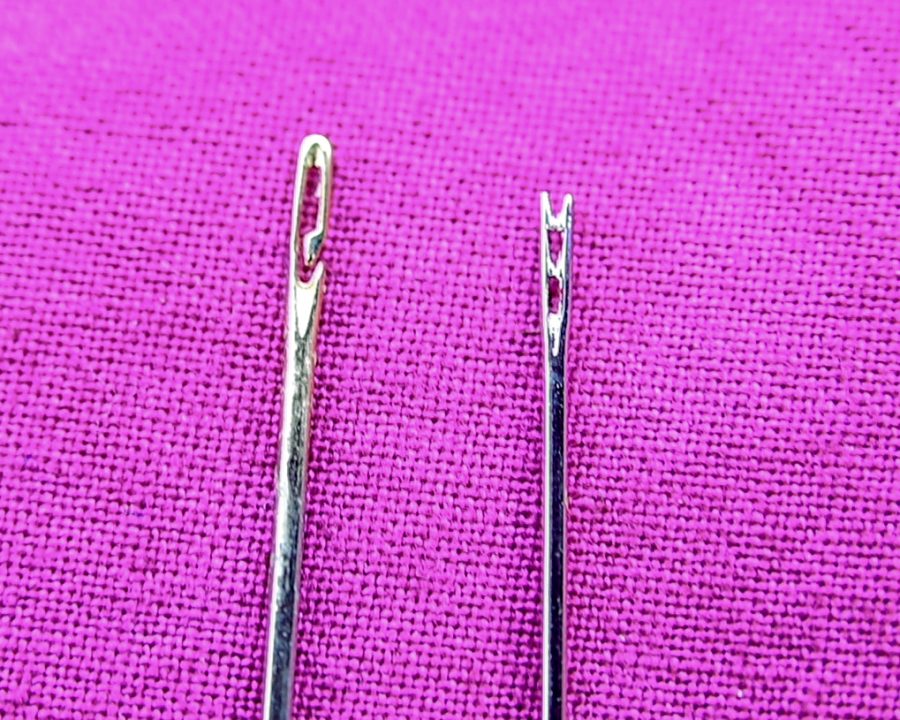
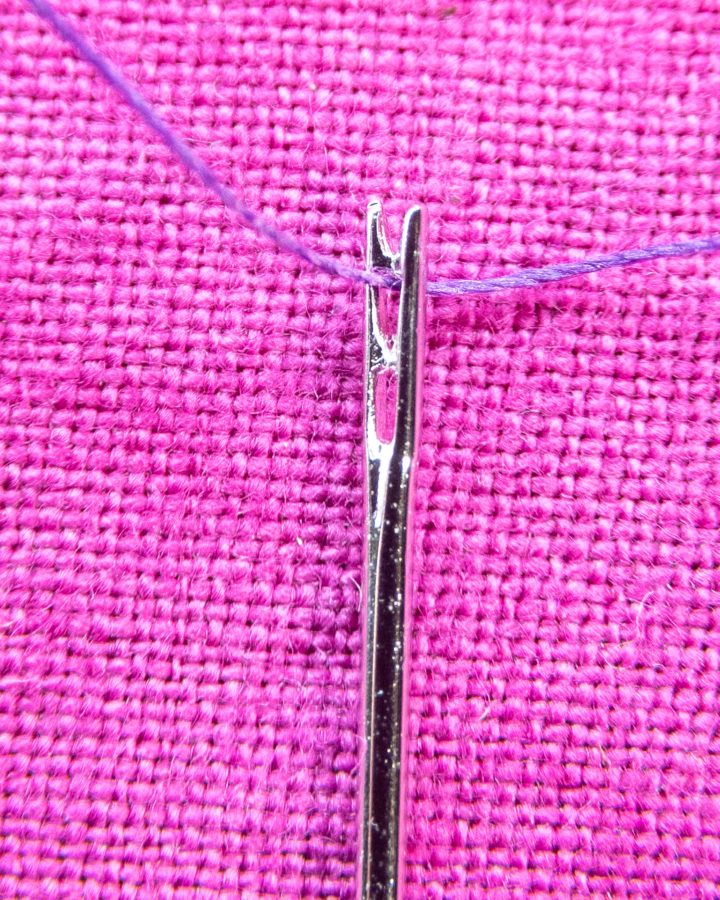
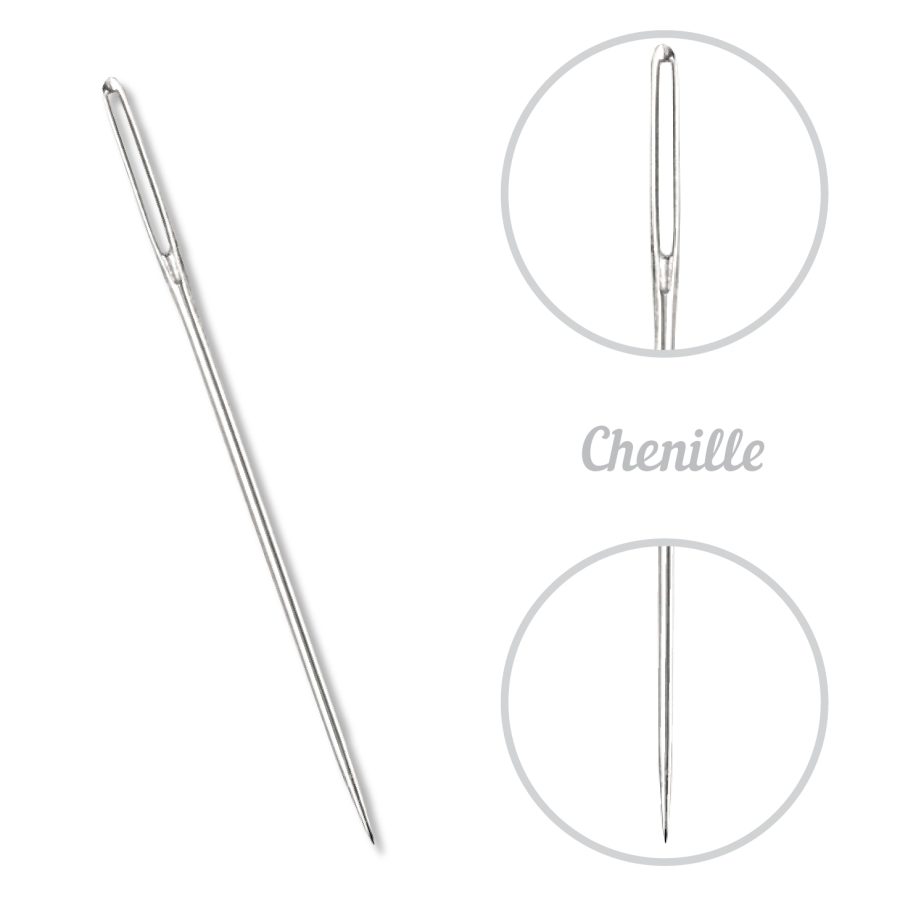
Eye Size
Traditional sashiko thread is generally thicker and more softly twisted than standard sewing thread. A sufficiently large, smooth eye helps accommodate the thread without excessive friction or wear.
Your thread should pass through the eye comfortably rather than requiring force.
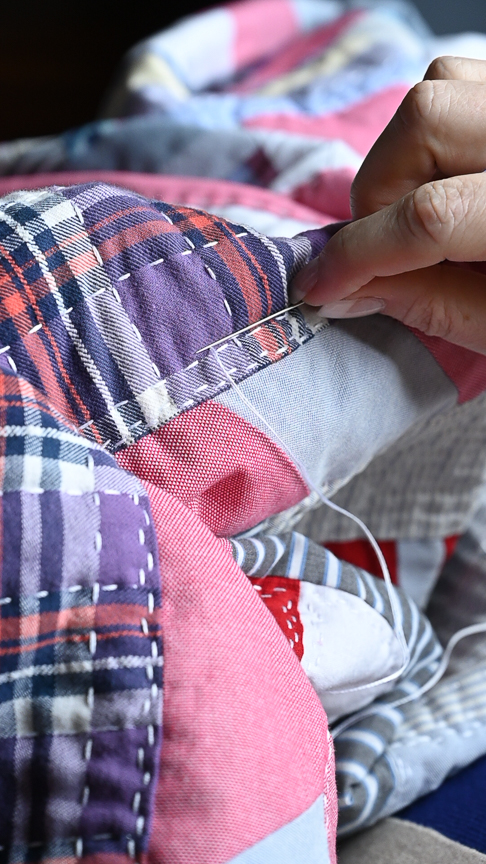
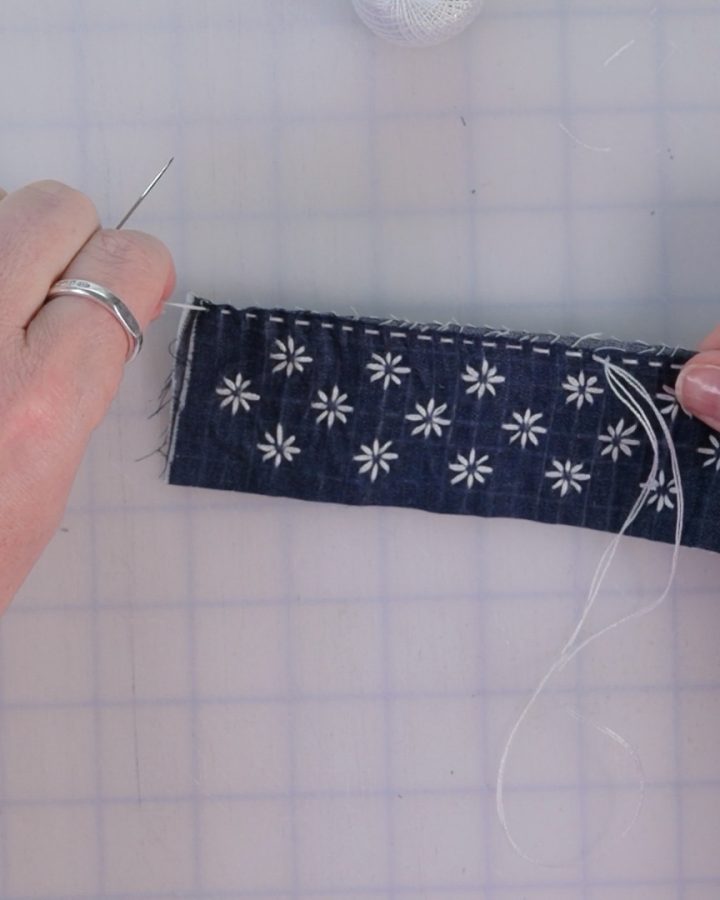
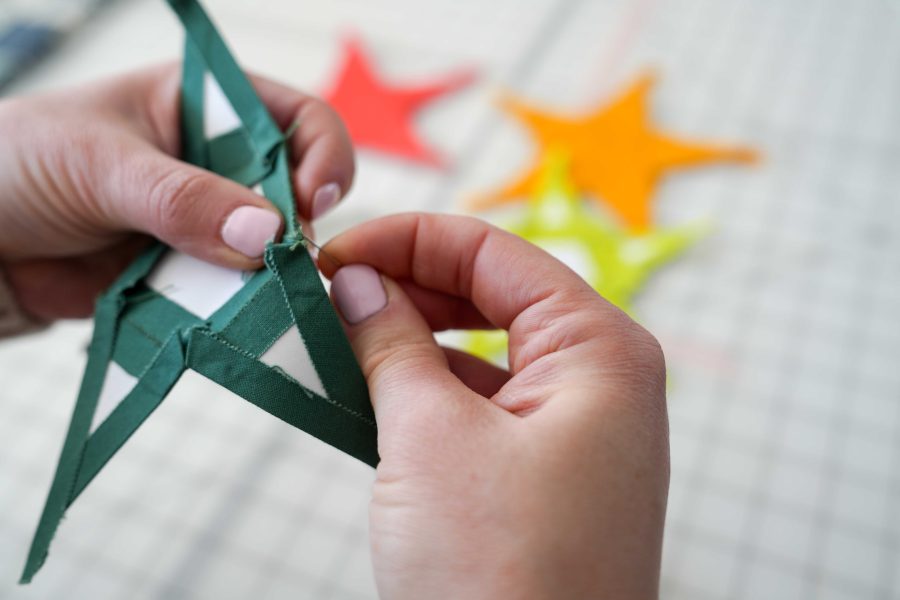
The Palm Thimble
One of the most distinctive tools associated with sashiko stitching is the palm thimble.
Rather than sitting over the end of a finger, a palm thimble is positioned near the base of the finger so the needle can be guided and pushed with the hand. This supports the motion of loading multiple stitches onto a longer needle before drawing the thread through.
For stitchers accustomed to pushing a needle with the tip of a finger, this movement may feel unfamiliar at first. With practice, however, the needle and thimble can work together to create an efficient stitching rhythm.
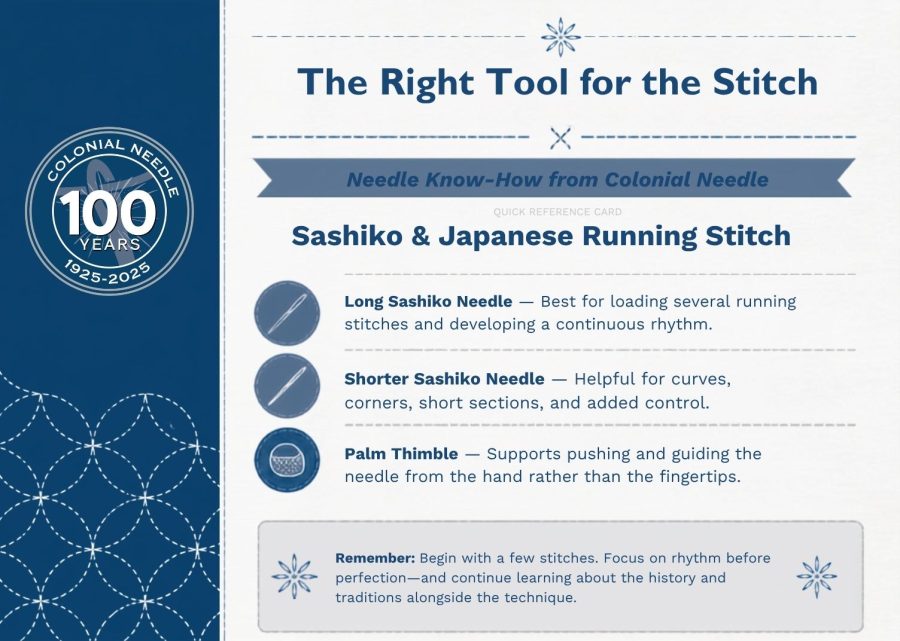
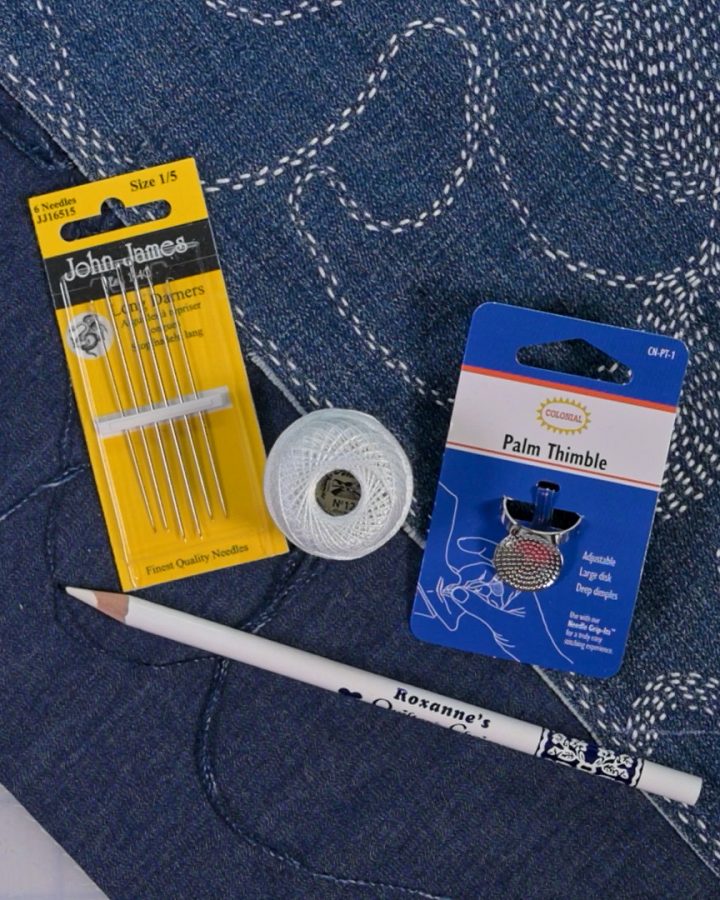
Our Recommendation: Tools for Sashiko & Japanese Running Stitch
Long Sashiko Needles
A long sashiko needle is designed to accommodate multiple running stitches at once.
Look for:
- Enough length to load several stitches
- A strong, stable shaft
- A smooth eye large enough for sashiko thread
- A sharp point that enters the fabric precisely
Longer needles can be especially useful for continuous lines and larger geometric patterns.
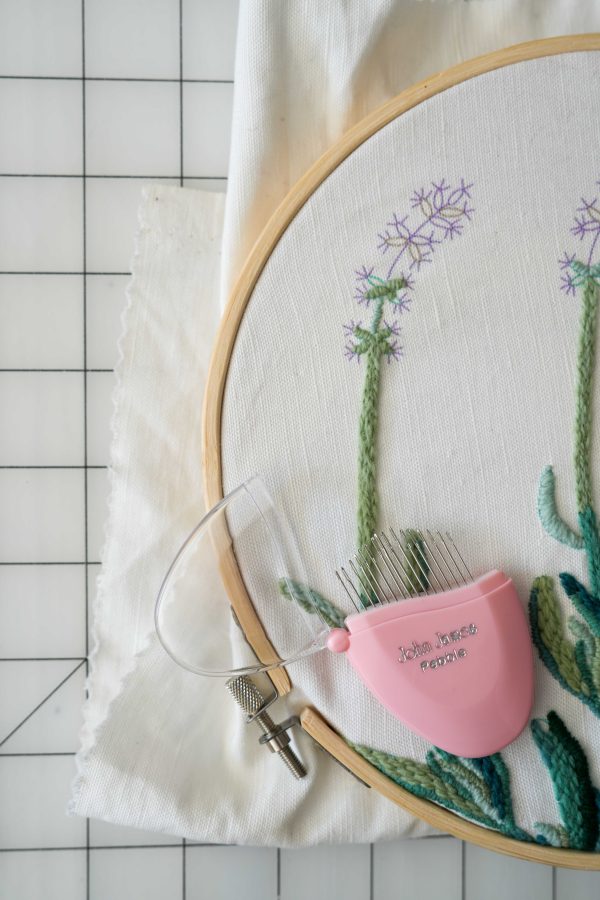
Shorter Sashiko Needles
Longer is not always better.
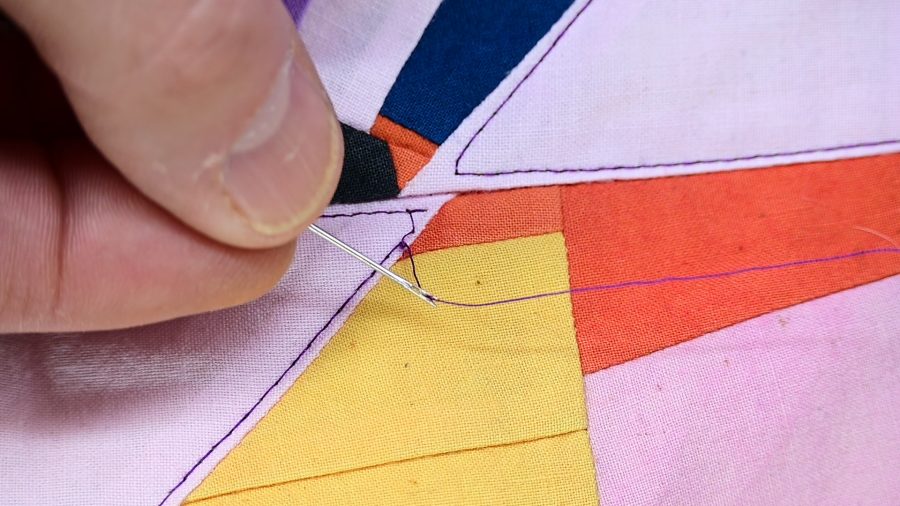
A somewhat shorter sashiko needle may provide greater control when working:
- Short pattern sections
- Curves
- Corners
- Small motifs
- Detailed designs
As with many forms of needlework, the best needle depends on the project and the stitcher’s comfort.
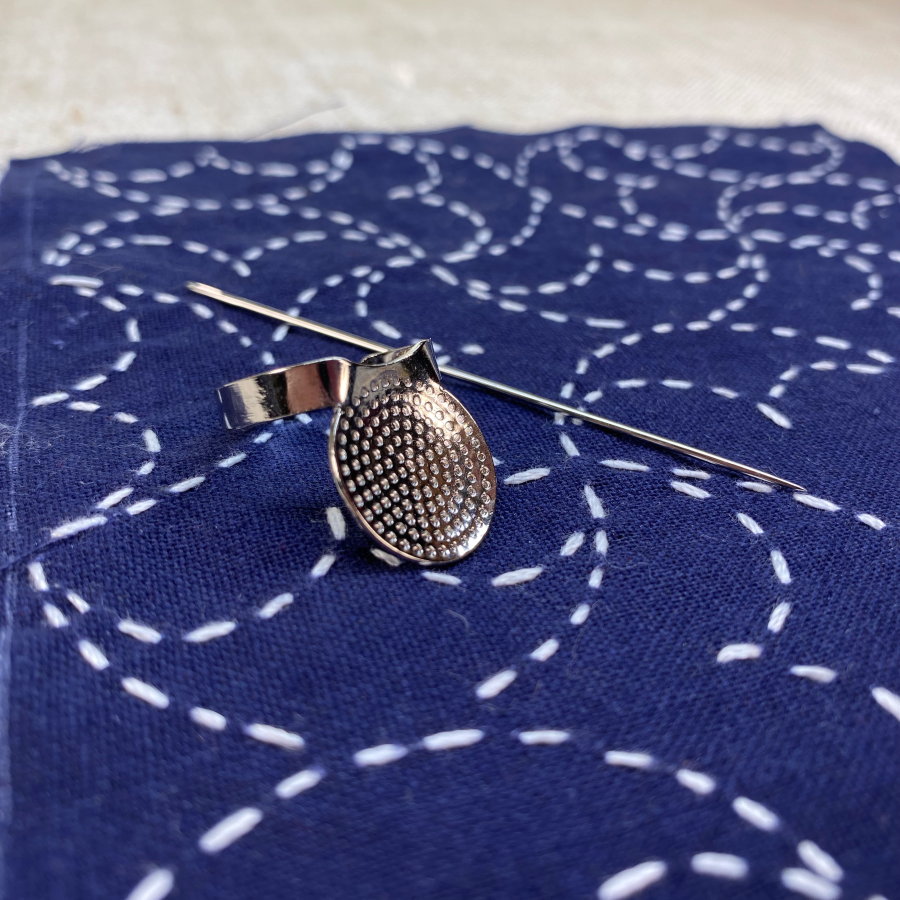
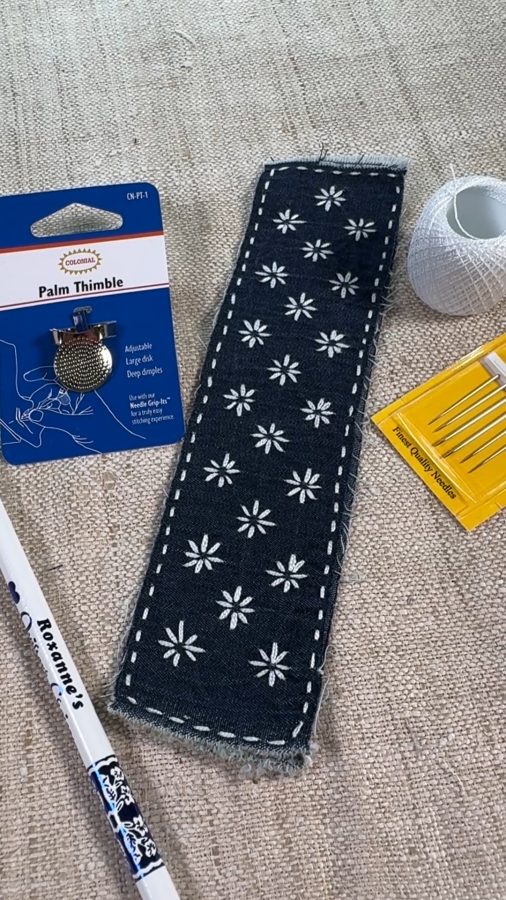
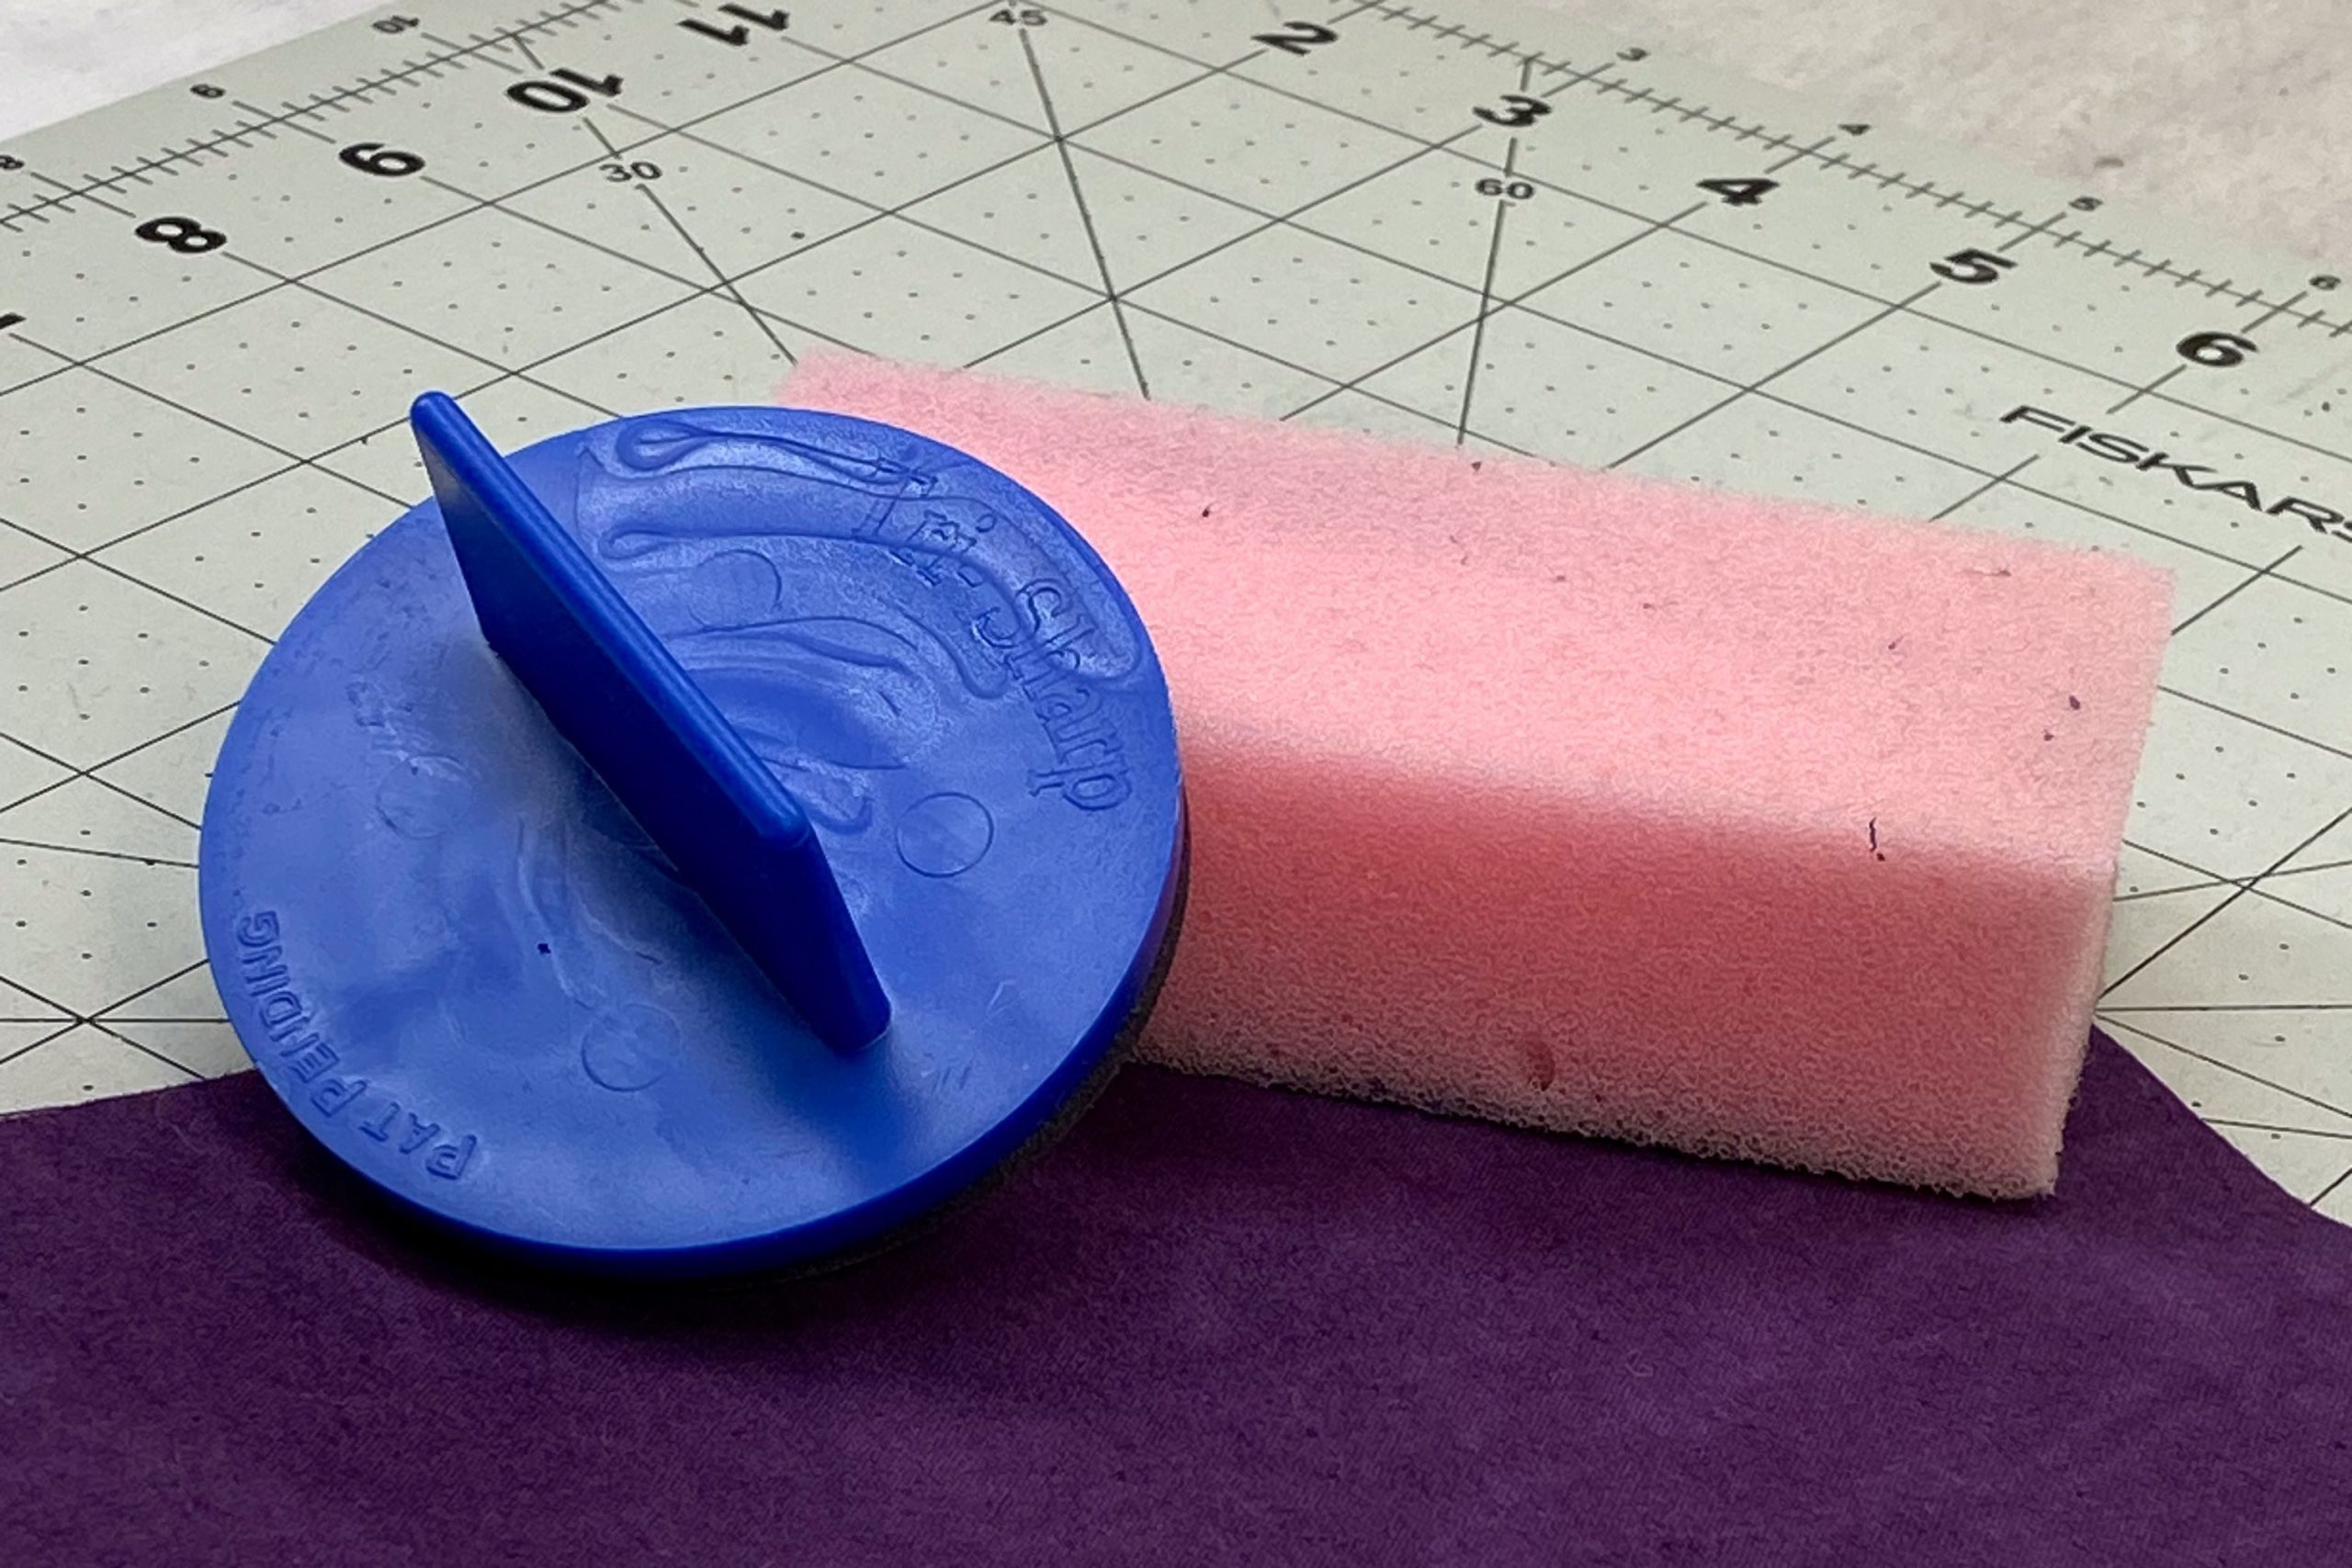
Palm Thimble
A palm thimble (like this one) helps support the traditional hand motion associated with loading multiple stitches.
Instead of pushing from the fingertip:
- Position the thimble near the base of the finger, according to its design.
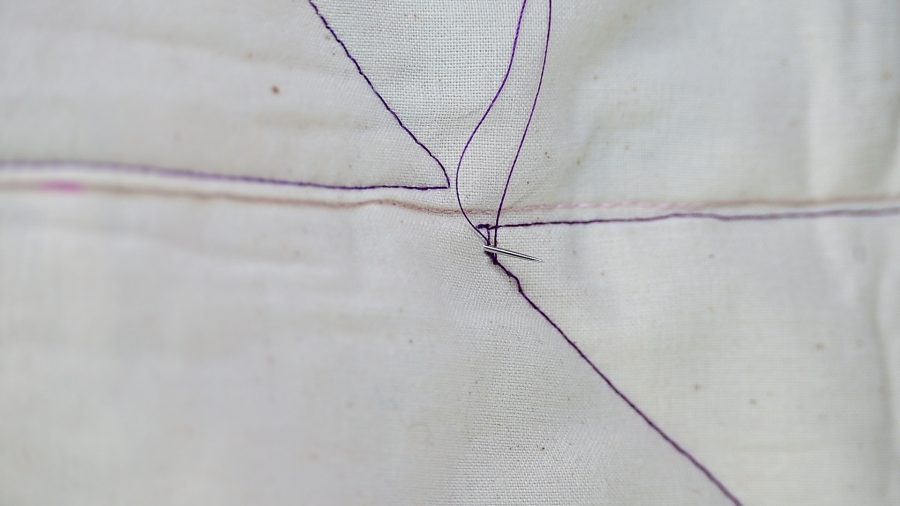
- Guide the fabric onto the needle.
- Use the palm thimble to help push the needle forward.
- Load several stitches before drawing the thread through.
This motion takes practice. Begin slowly and focus on becoming comfortable with the relationship between the needle, fabric, and thimble.
Pro Tip: Focus on Rhythm Before Perfection
When learning a new stitching motion, it can be tempting to concentrate entirely on making every stitch exactly the same size.
Instead, begin by finding a comfortable rhythm.
Work slowly. Load only a few stitches at a time. Pay attention to how the fabric moves over the needle and how the palm thimble supports your hand.
Consistency often develops naturally as the movement becomes more familiar.
A Note on Learning with Respect
Sashiko is sometimes reduced to a visual formula: white running stitches, indigo fabric, and geometric patterns. Those elements may be familiar, but they do not tell the whole story.
The tradition developed in connection with the practical care and continued use of textiles. Its forms and practices vary, and knowledge continues to be carried forward by Japanese sashiko practitioners today.
If sashiko is new to you, consider this article an introduction to the tools—not a complete guide to the tradition.
We encourage curious stitchers to seek out Japanese sashiko teachers, artists, historians, and makers; learn about the origins and meanings of the patterns they use; and approach the practice with curiosity and respect.
Reader Takeaway: Quick Tool Guide
For sashiko and Japanese running-stitch projects:
✔ Choose a longer, sturdy needle when loading several stitches (we like this one)
✔ Try a shorter sashiko needle for curves and detailed areas (this is a great assortment)
✔ Match the needle eye to the thickness of your thread
✔ Use a palm thimble to support the stitching motion (found here)
✔ Begin with a few stitches at a time as you develop your rhythm
✔ Learn about the history and traditions alongside the technique
The right tools do more than make stitching easier—they can help us better understand the movements and methods associated with the work.
Looking Ahead
Next month in The Right Tool for the Stitch, we’ll explore tools for classroom and workshop projects—and how thoughtful tool choices can help new stitchers build confidence.
Until then, stitch with curiosity, care, and an appreciation for the traditions that continue to teach and inspire us.

