If you’ve ever watched a professional sewist guide a tiny scrap of fabric toward a needle with terrifying precision, you might have wondered: How are their fingertips still intact?
For a long time, my “secret weapon” was actually a set of long acrylic nails. They were great for tucked pleats and guiding seams, but once I moved away from them, I realized I needed a replacement that was just as precise (and a lot more durable… ever snagged a needle on an acrylic nail? Ugh.).
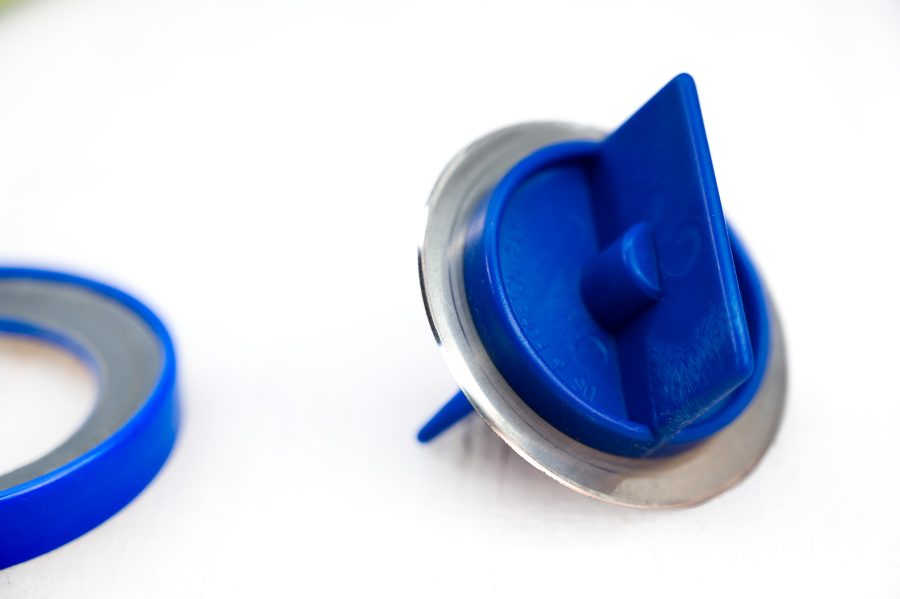
Enter the Sixth Finger Stiletto from Colonial Needle Company. It has officially earned a permanent spot in the tool tray right next to our machines. Here is why this little tool is a total game-changer in our textile studio.
1. Safety Without Sacrificing Precision
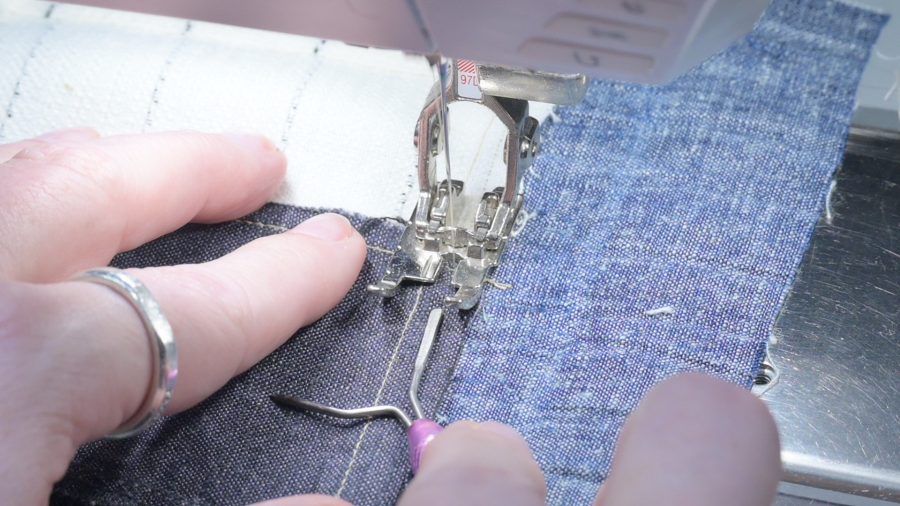
The primary job of the Sixth Finger Stiletto is to do exactly what its name suggests: act as an extension of your hand. When you’re feeding fabric into the machine – especially at the very beginning or end of a seam – your fingers can get uncomfortably close to that very sharp, very fast-moving needle. The stiletto gives you ultimate control to nudge, push, and hold fabric flat without putting your actual fingers in harm’s way. Anyone else cringe hard at the memory of a needle-meets-finger moment?
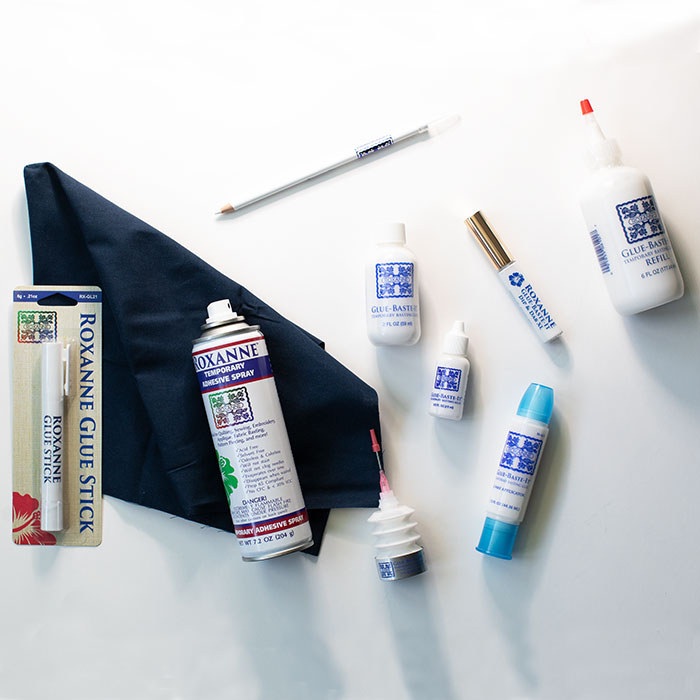
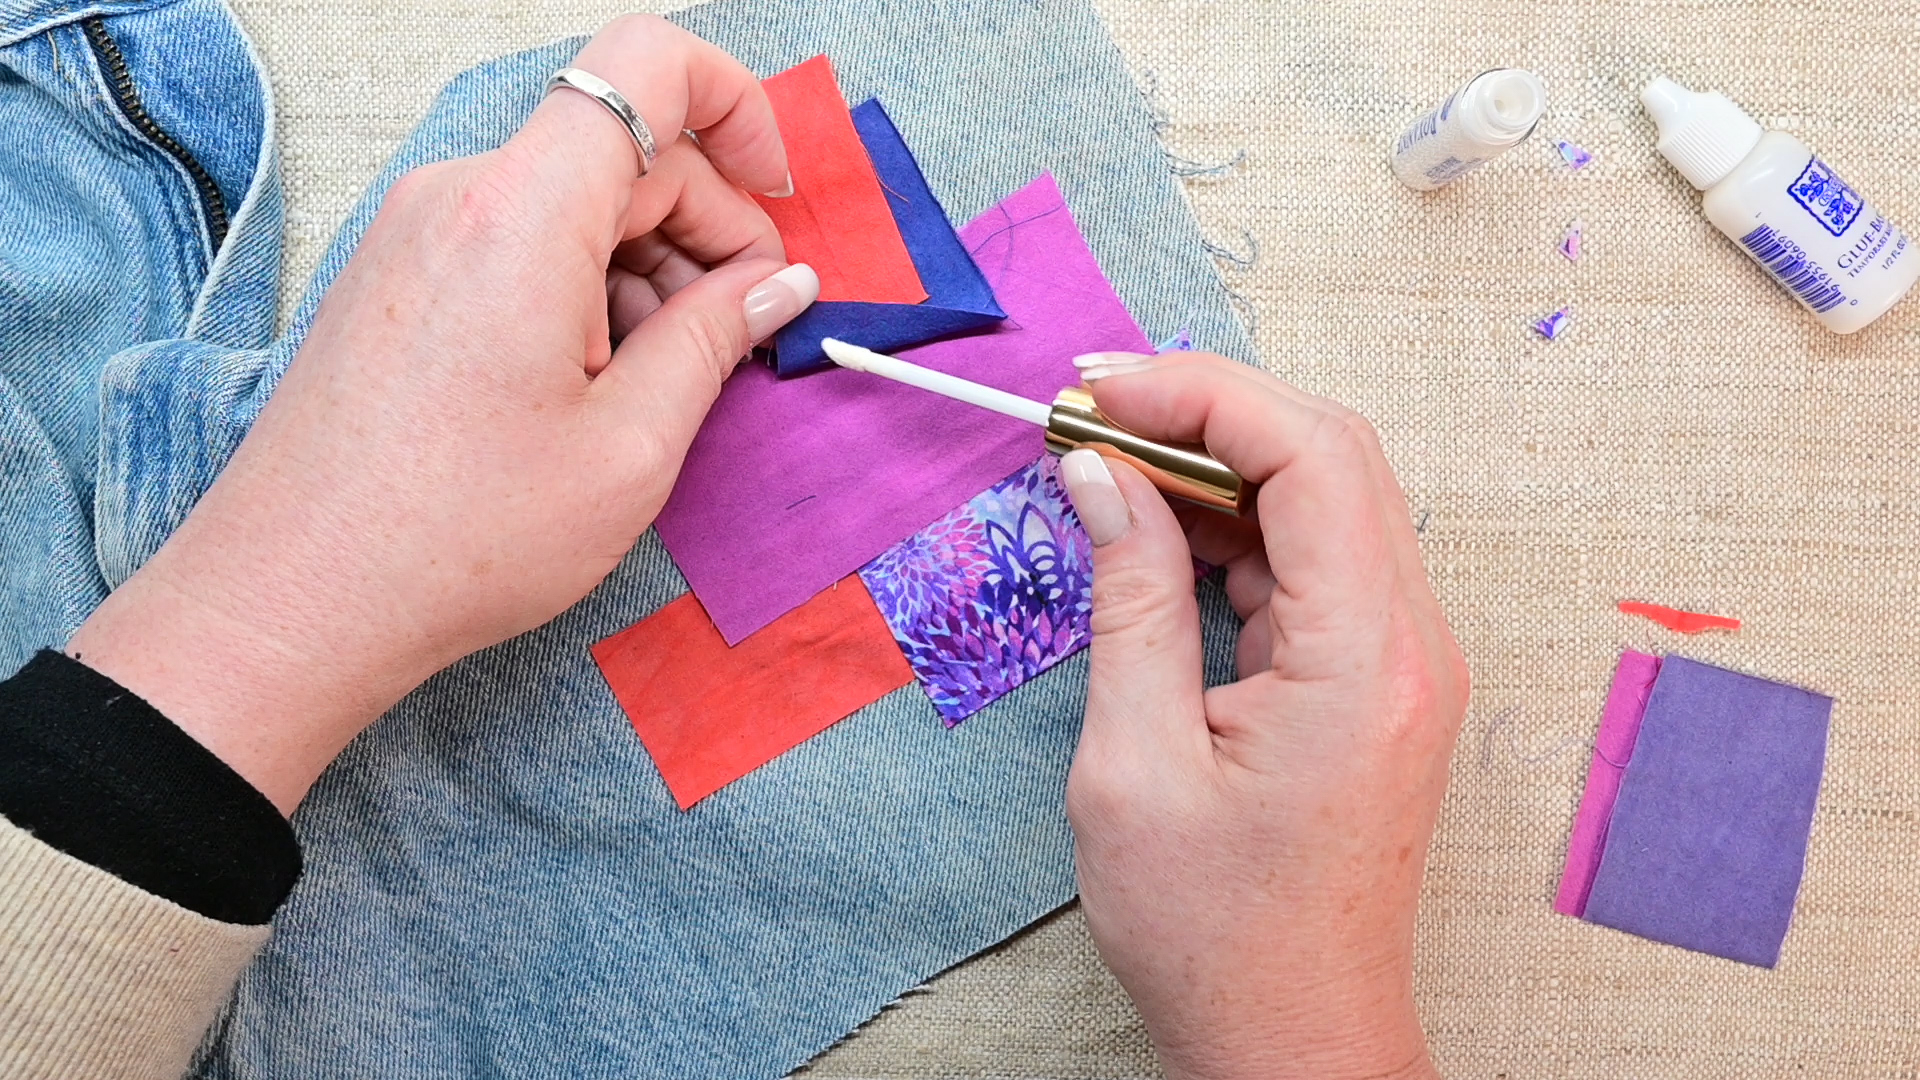
2. The EPP “Glue-Saver” Hack
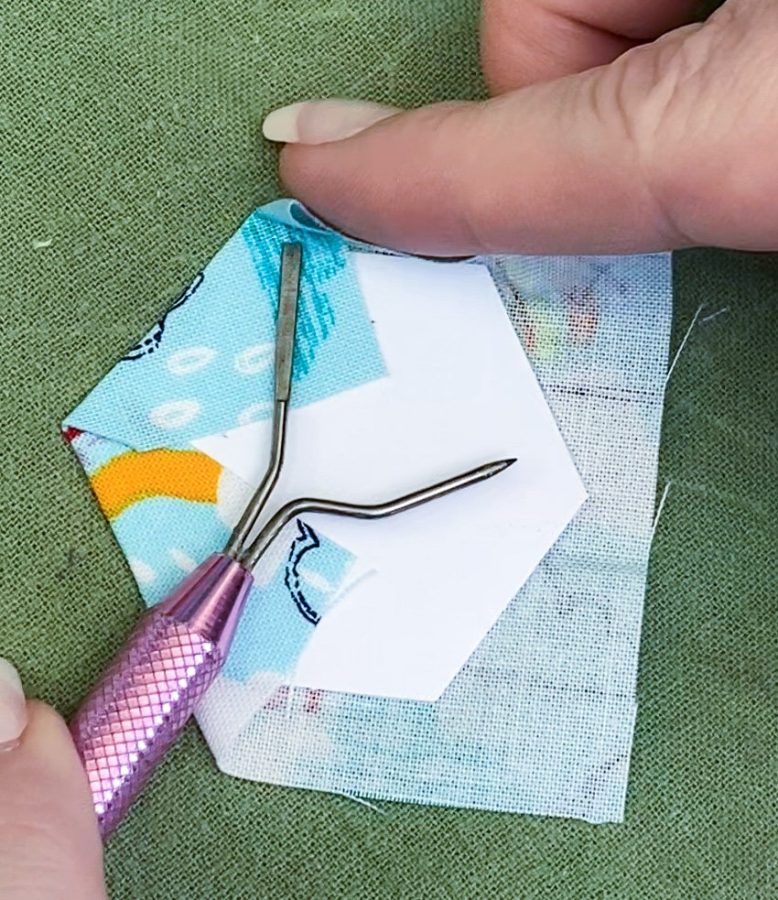
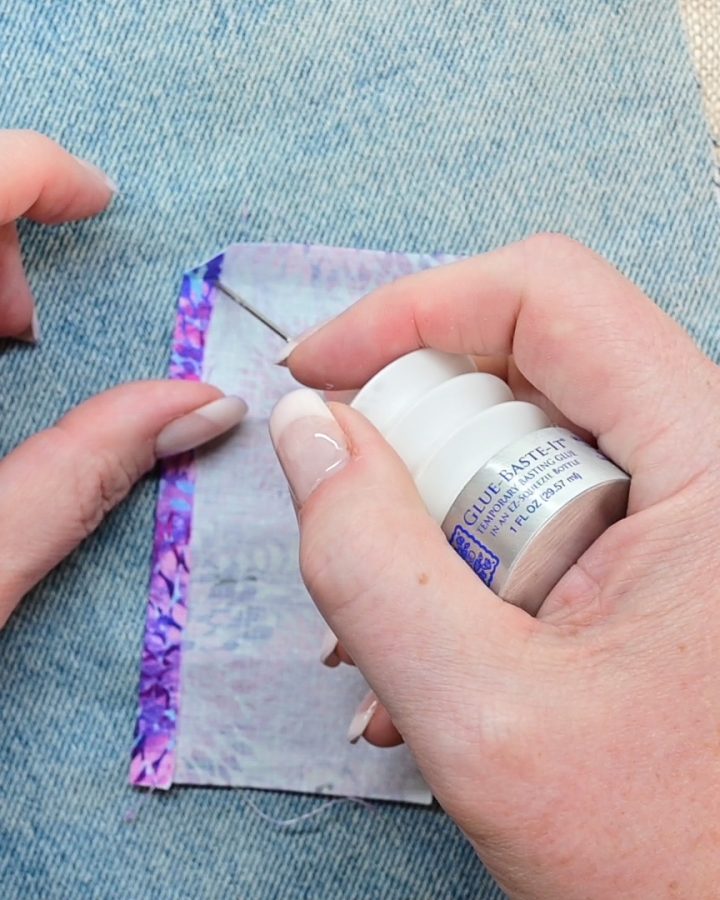
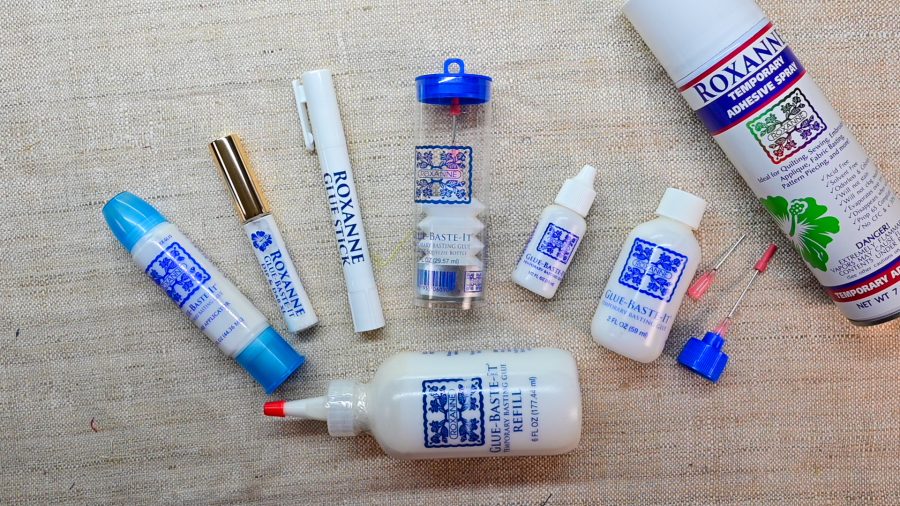
We discovered a brand-new use for this tool last year that we can’t stop talking about. If you do English Paper Piecing (EPP), you know the struggle of glue-basting:
- Glue gets on your fingertips.
- Your sticky fingertips then touch the front of your beautiful fabric.
- The fabric sticks to you instead of the template.
We started using the flat prong of the Sixth Finger Stiletto to fold the fabric over the edges of the EPP templates. It creates a crisp, tight fold and keeps the glue exactly where it belongs – on the paper, not on your hands! A quick swipe with a damp cloth or a small sponge kept on the side and the prong is clean of glue residue and you are on your way again.
3. It’s Always Within Reach
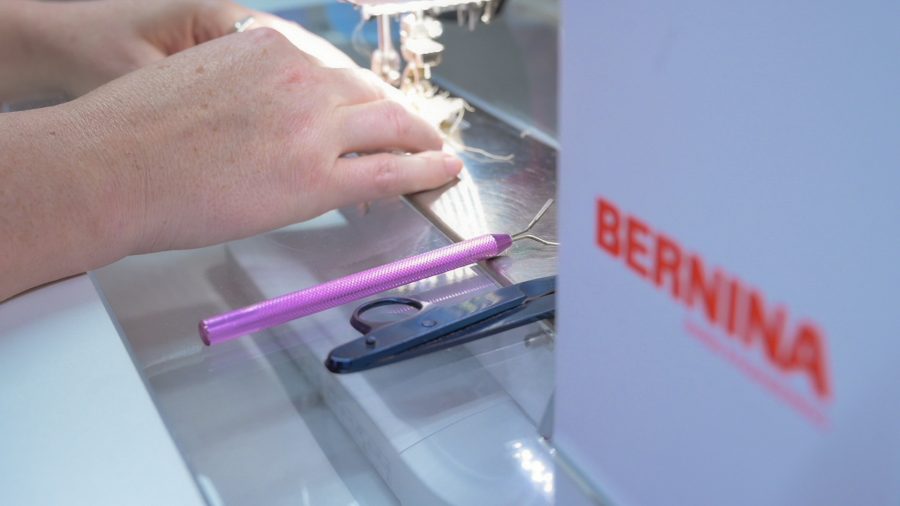
Some tools end up buried in a drawer, but the Sixth Finger is a “front-row” tool. Whether I’m guiding a bulky seam allowance, holding a ribbon in place, or helping a feed dog grab a slippery silk, it’s sitting right there in the tray. It’s simple, ergonomic, and honestly, I feel a little lost sewing without it now.
Bonus: Pressing Tool
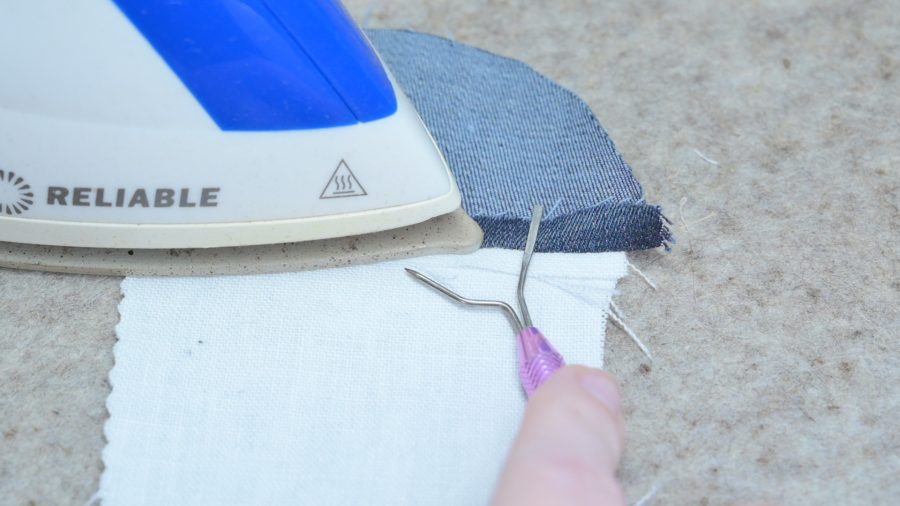
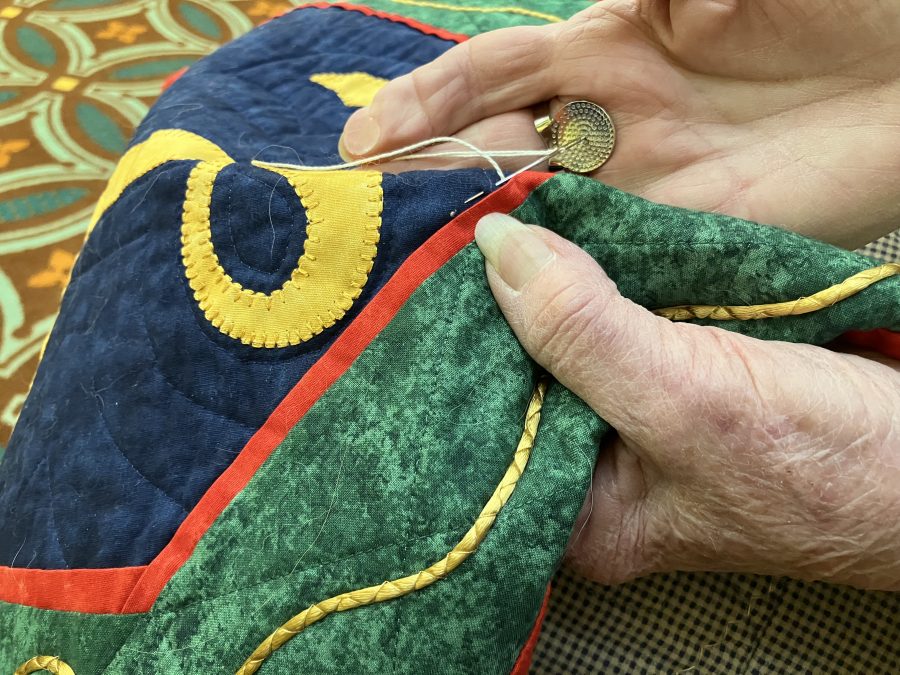
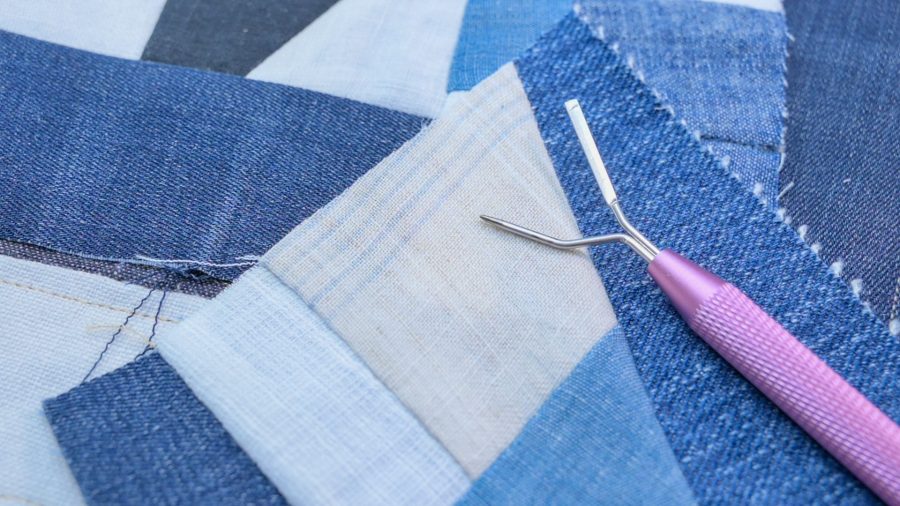
Unlike some rounded pressing assist tools, we absolutely love using the flat prong of the Sixth Finger Stiletto to open and then “finger press” a seam open. Even with shorter nails, I don’t like dragging them across my fabric to set a pre-crease so this tool is perfect for that. Then, we hold the flat edge across the seams securing them while pressing the seam open. It slides easily along the seams holding it in place ahead of the tip of the iron. Safety and precision all in one!
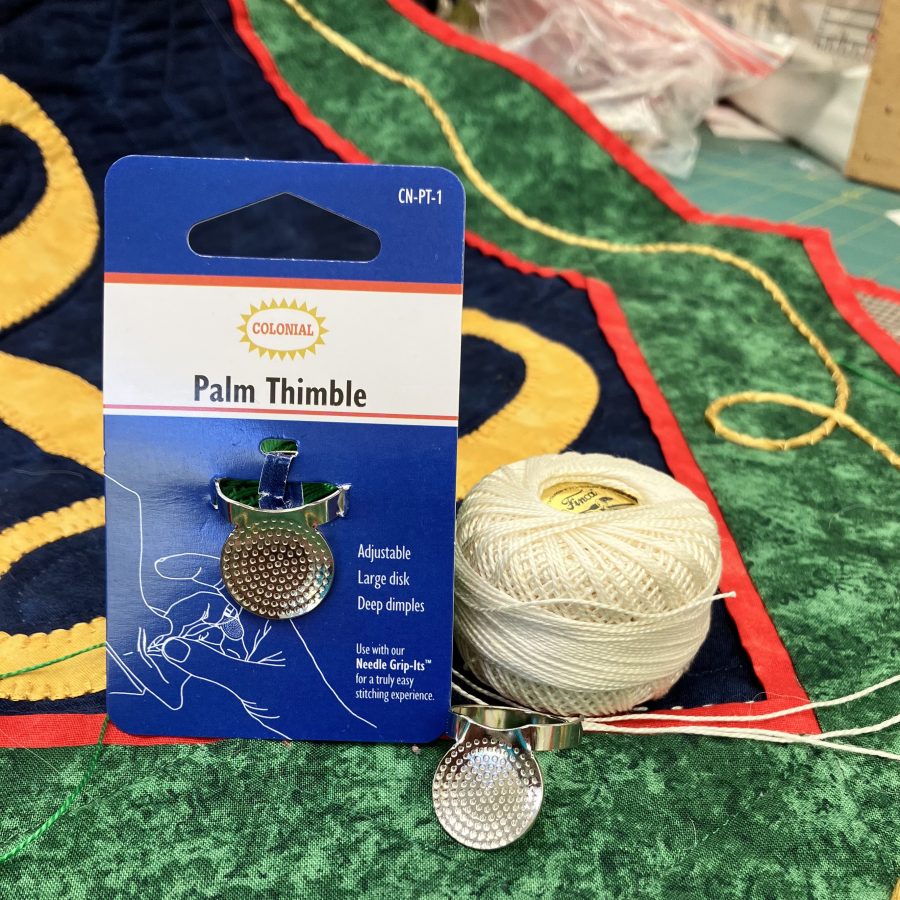
Pro Tip: Because it’s made by Colonial Needle Company, the quality is top-notch. It’s sturdy enough to handle heavy denim but precise enough for delicate appliqué and slippery gauze and silks.
What’s Next?
Tune in! Make sure you check our YouTube video demonstration where we show you the Sixth Finger Stiletto in action at the machine and give you a close-up look at our EPP folding technique and all the ways we use this versatile tool in our studio.
Do you use a stiletto in your sewing room, or are you still risking your fingertips? Let us know in the comments!