The holidays are the perfect time to embrace traditions – especially ones with centuries of history behind them! This month, Shannon & Jason are sharing their fabric version of the classic Scandinavian Star ornament, and we’re giving you the complete tutorial absolutely free.
A Craft with Roots in History
These beautiful, folded stars – also known as Scandi Stars or Fröbel stars (Fröbelstern) – have a fascinating origin story. The technique dates back to 19th-century Germany, where educator Friedrich Fröbel (yes, that Fröbel, the founder of Kindergarten!) incorporated paper folding and weaving into his curriculum. These hands-on activities weren’t just busy work, they taught children mathematical concepts while encouraging creative, constructive play.
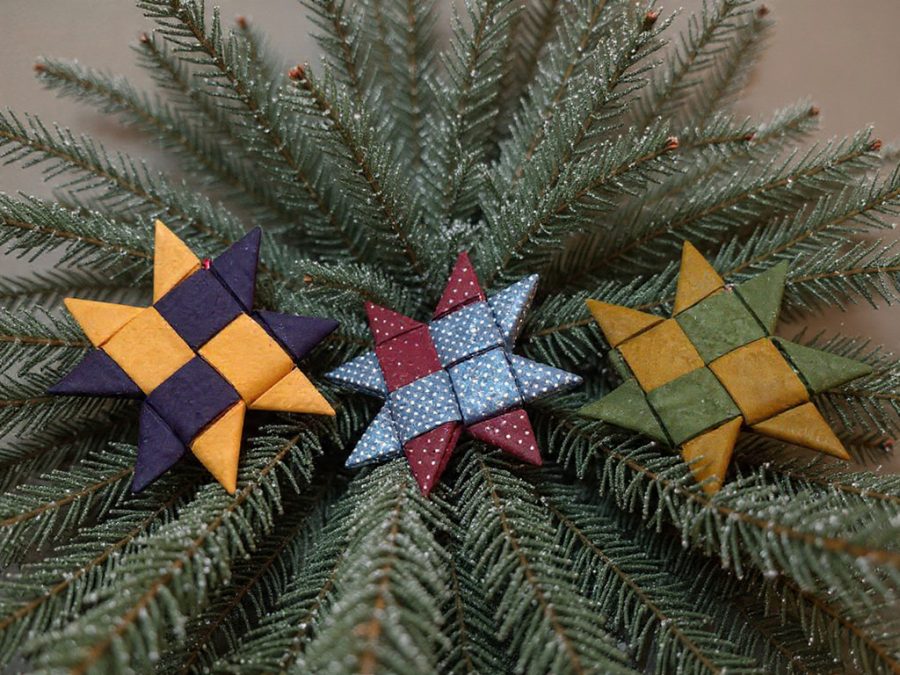
Traditionally, these stars were made from four strips of paper, folded and woven into an eight-pointed, three-dimensional star. Once complete, the paper stars were dipped in wax and sprinkled with glitter for extra sparkle. Shannon can confirm these details because her family used to make these when she was a child. In fact, we STILL have the ornaments she made all those years ago.
The craft became especially beloved in Nordic countries (Denmark, Norway, Sweden, Finland, and Iceland) where these stars evolved into a staple of holiday decoration. Scandinavian families hang them to symbolize the Star of Bethlehem and to represent hope and light during the long, dark winter months.
From Paper to Fabric: A Modern Twist
Fast forward to today, and crafters have given this traditional technique a fabric makeover! The fabric version is thicker, less likely to result in wax in your hair (ahem… what?! I was a CHILD), and, let’s be honest, perfect for using up those fabric scraps quilters can’t bear to throw away.
Our fabric stars maintain the beautiful geometric design of the original while creating ornaments that will last for years. Even better? This is a completely no-sew project. That’s right. No needle and thread required which makes this the perfect craft to do with kids or family members who are not crafty-inclined.
What You’ll Need
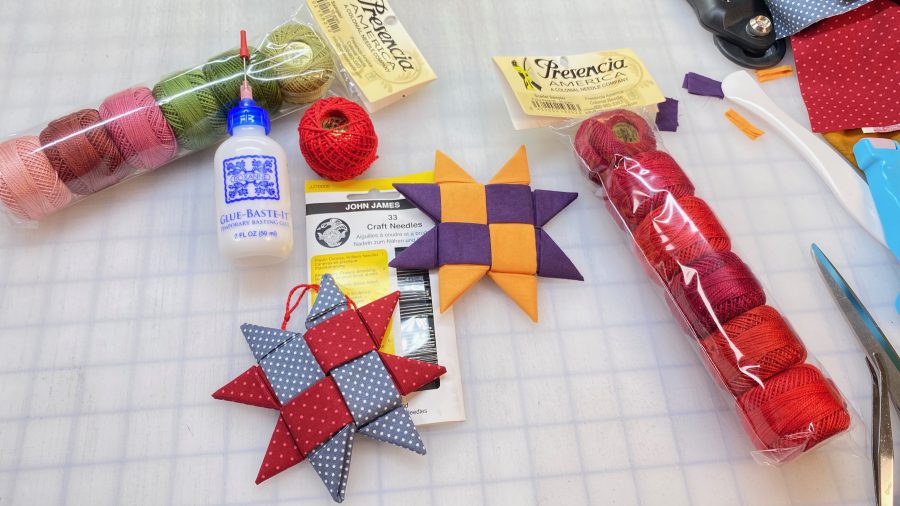
The supply list is wonderfully simple:
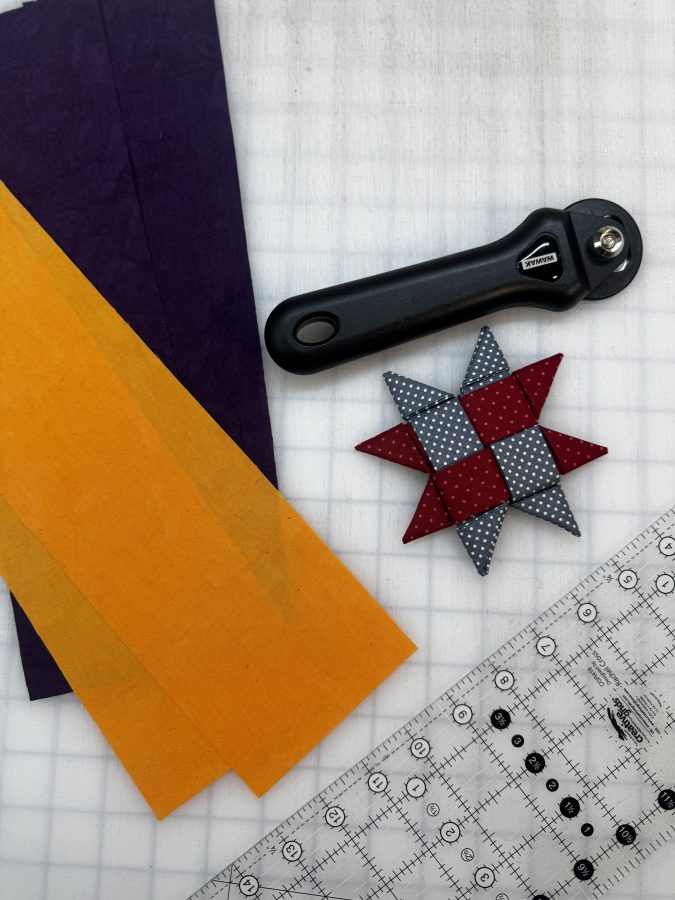
- Four fabric strips (4″ × 14″ each)
- Roxanne Glue-Baste-It (the pipette version is highly recommended)
- Your iron
- Basic cutting and pressing tools
That’s it! You probably have everything you need already sitting in your craft room.
Shannon & Jason’s Secret to Success
Here’s what makes these fabric stars work beautifully: sharp creases and strategic glue placement. Over the years, we have perfected the technique of making these FAB little stars by adding a few key steps and our tutorial walks you through every fold, flip, and tuck. We also made sure to include our favorite pro tips about using tools like the Hera marker and using the Roxanne Glue Baste-It to take these stellar ornaments to the next level.
The result? Gorgeous dimensional stars that won’t spring apart and will look stunning on your tree for years to come.
Why We Love This Project
- Scrap-friendly: Perfect for using up leftover fabric from other projects.
- Beginner and (supervised) child-friendly: If you can fold and glue, you can make these stars.
- Quick: Once your strips are cut and pressed, each star takes just minutes. Pro Tip: prep a batch of fabric ahead of time and make a whole constellation of stars in one sitting or as you go when you need a maker’s moment to yourself.
- Meaningful: Connect with centuries of craft tradition while creating something beautiful.
- Gift-worthy: Make a batch to give as handmade gifts or use as festive gift toppers.
Get the Free Tutorial
Ready to try your hand at this historic craft technique? Download our complete tutorial, including step-by-step instructions, pro tips, and all the details you need to create your own Scandinavian Star ornaments.
Download the Free Tutorial | Watch the Video Tutorial | Shop the Supplies
Whether you’re looking for a maker’s moment, a craft to share with kids or grandkids, or simply want to add handmade beauty to your holiday decor, these fabric stars are the perfect choice. Plus, you’ll be continuing a tradition that has brought joy and light to homes for nearly 200 years.
Happy folding, and may your holidays be filled with light, laughter, and more than a little Creative Chaos!