
Hey there folx! It’s Shannon & Jason and we’re back with our favorite list of products from Colonial Needle Company to inspire your holiday gift giving. Whether you’re a maker yourself, your friend is a maker, or your favorite person is a maker, this will get you started on solid ground. And dare we say, even make you a gift giving hero.
Let’s talk about that particular terror that grips the heart of non-makers when they’re shopping for their crafty friends. You know who you are. You walk into a craft store, see 47 different types of scissors, and suddenly you’re questioning every life decision that led you to this moment. Fear not! We’ve got you covered.
Grab a few of these as stocking stuffers or bundle them together into the ultimate maker’s gift basket. Having a holiday auction for your group? Makers are going to want this! Guild gift exchanges, holiday grab-n-go gift exchanges, or a gift for yourself (it’s totally valid to give yourself a gift!). And if you know your person is horrible at picking gifts that you want, you can always save this list and send it to them.
We would like to say in advance that there are SO many possibilities for gifts on the Colonial Needle Company site, but these are the products we reach for on a regular basis and carry in our kits for almost daily use. Also, these are in no particular order. We tried to rank them but, in the interest of continued wedded harmony, we gave up on that and randomized our picks. So without further ado… here is the Shannon & Jason 2025 Colonial Needle Company Gift Guide!
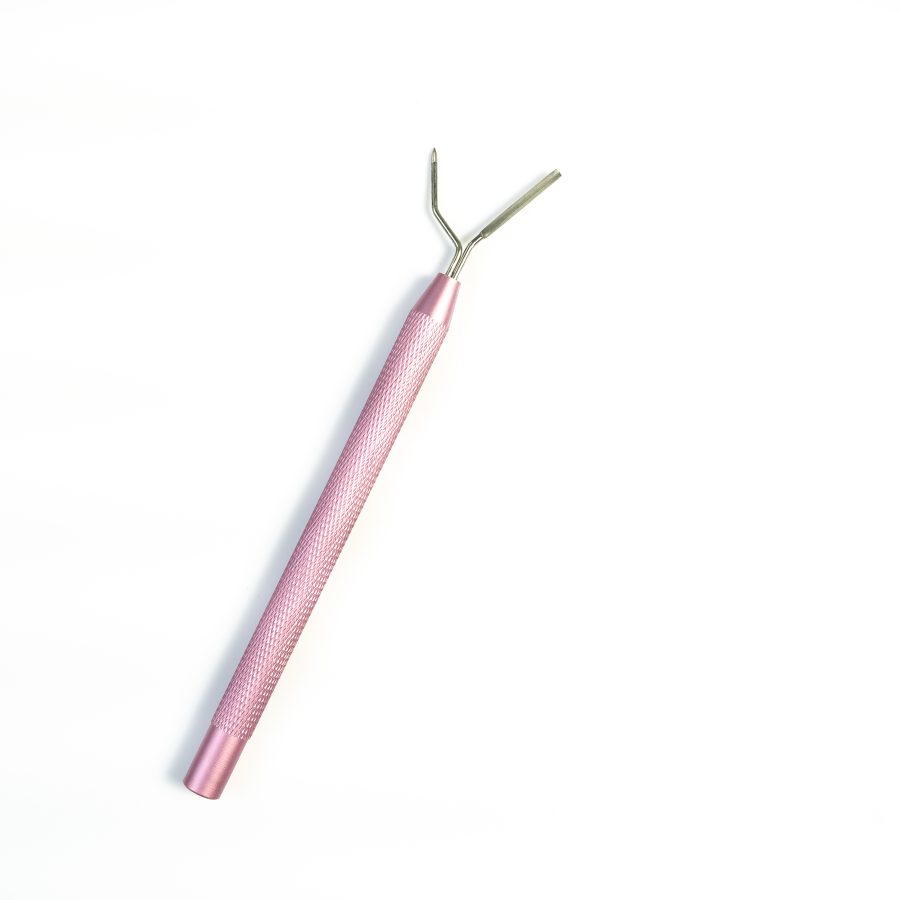
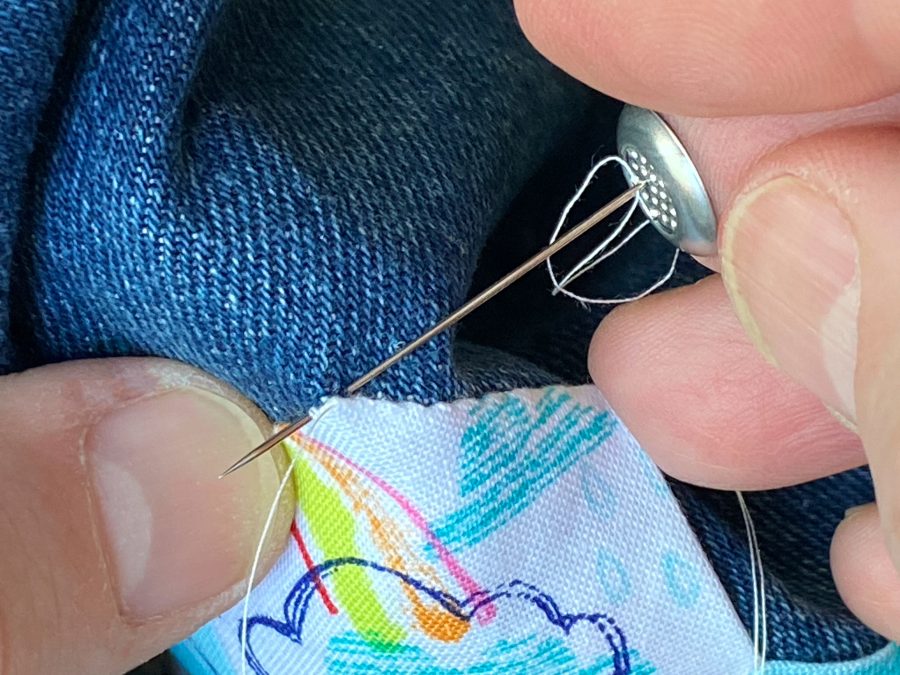
Sixth Finger Stiletto
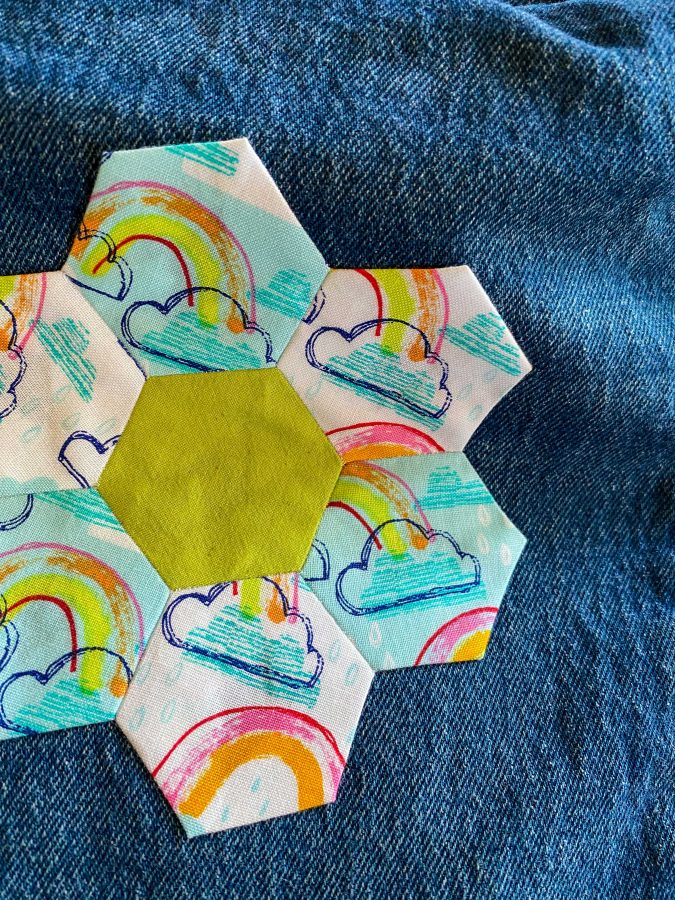
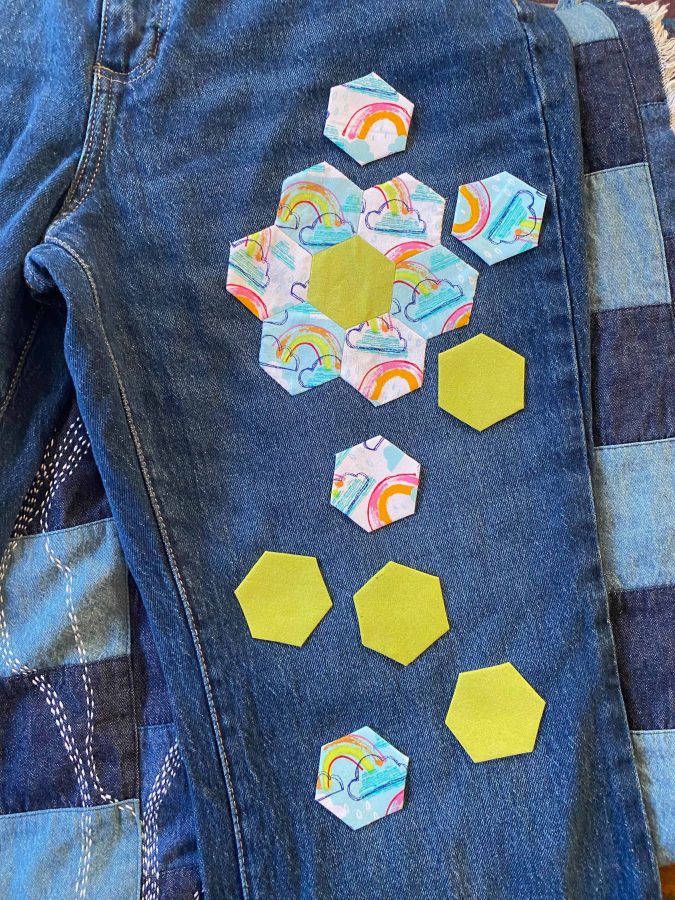
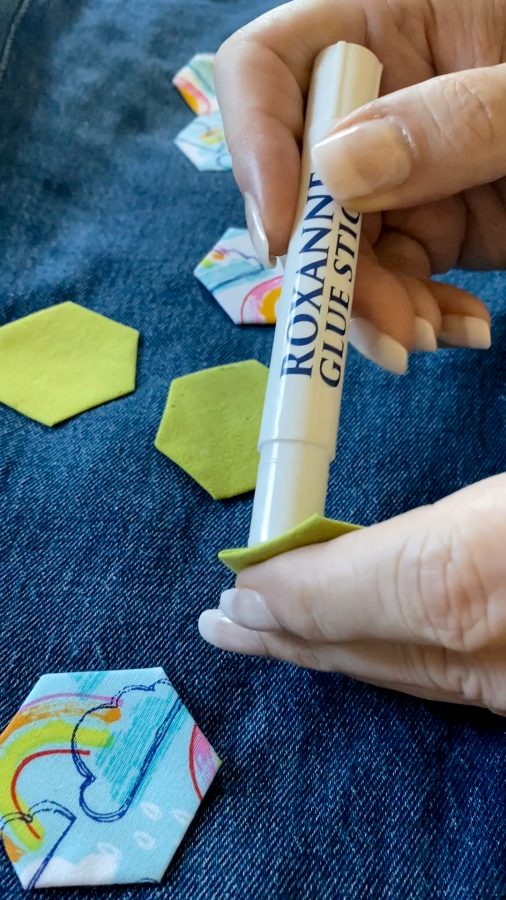
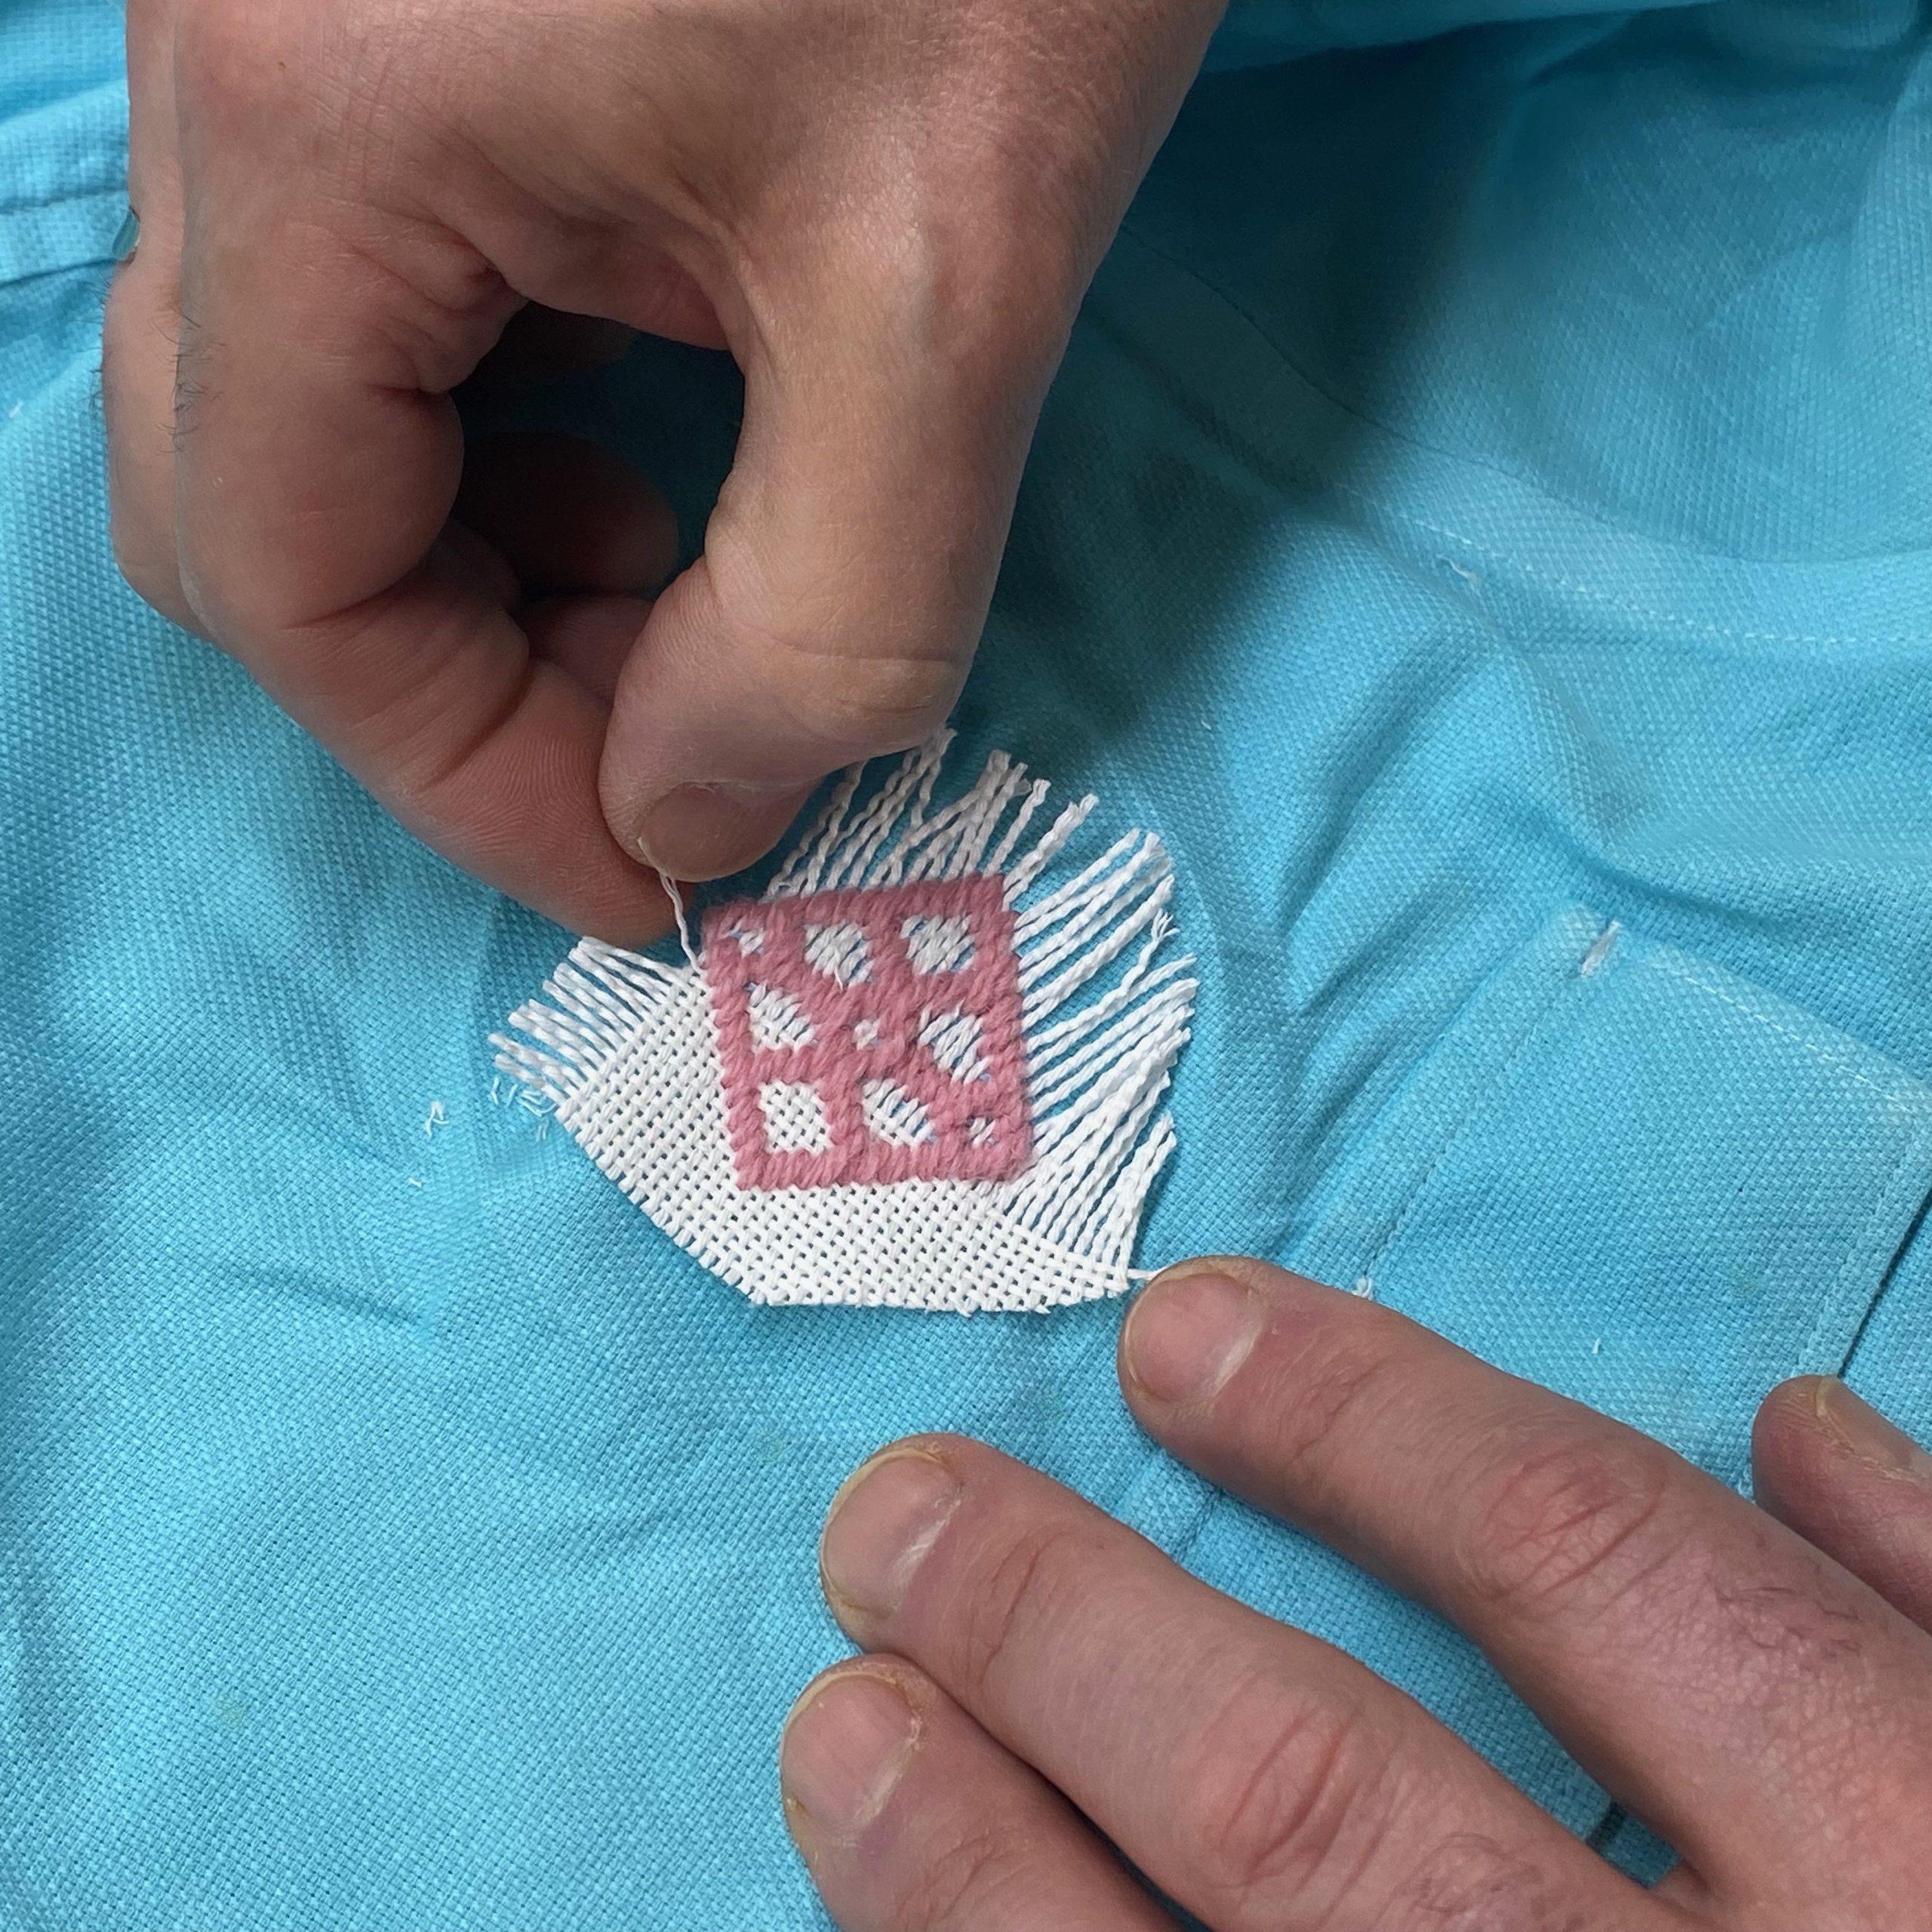
Easy to hold because of the textured handle and it is essential for guiding fabrics under the presser foot of your sewing machine. Safety first, folx! We’ve known people who have pierced their fingers with the machine needle (GAH!), and Shannon has personally sacrificed a French tip manicure to the sewing gods. This little tool keeps your digits safe while giving you precise control. The flat tip does double duty as an EPP creasing tool. We featured it in our EPP project post this past summer https://blog.colonialneedle.com/epp-take-it-with-you/ showing how it keeps glue off your manicure and off the rest of our fabric when folding over those fiddly paper piecing edges.
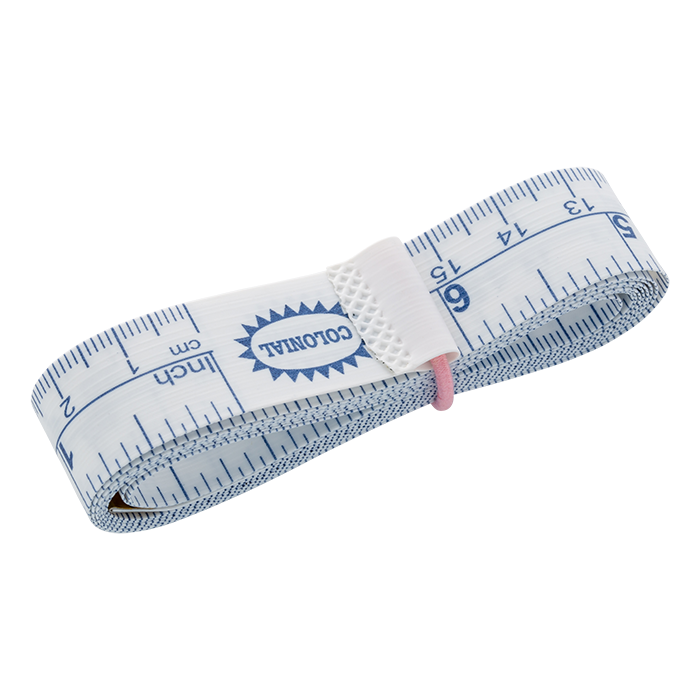
Easy-Store Measuring Tape
Before we discovered these measuring tapes, we used to fake it by looping old hair ties or tiny rubber bands to keep our tapes tidy in our sewing kits. If you have also tried this trick, you know that the hair ties tend to wiggle their way off or the rubber bands break. The result is that the measuring tapes end up all tangled in the bottom of our kits. If you’ve ever reached into your project bag and pulled out a snarled mess of measuring tape wrapped around scissors, needles, and (somehow) knotted around some stray thread, you know the pain. This has been the bane of crafter’s existence for as long as these tapes have been around. The Easy-Store lives in our travel kits and our project baskets (Shannon has one right next to her as we write this) because it stays put. No unraveling, no tangling, and no trying to find where that hair tie went. Just a measuring tape that stays neat and tidy until you need it.
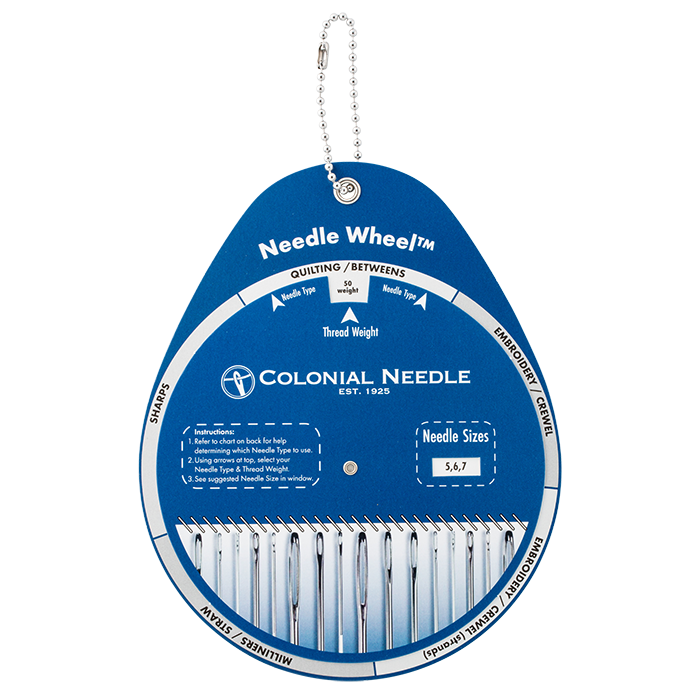
Needle Wheel
Here’s the thing: we are by no definition beginners, but we still use this as a quick reference check. It’s perfect for those “wait… could I be using something more suited to this task?” moments when you’re reaching for your usual needle but wonder if there’s a better option. For beginners, this is absolutely invaluable and will save so much frustration and help prevent failed projects. For experienced makers, we use it mostly as a reference tool when we’re writing content now, but it lives in our workspace hanging on our peg board for those occasional double-checks. No more second-guessing yourself about needle types. Just spin the wheel and get your answer.
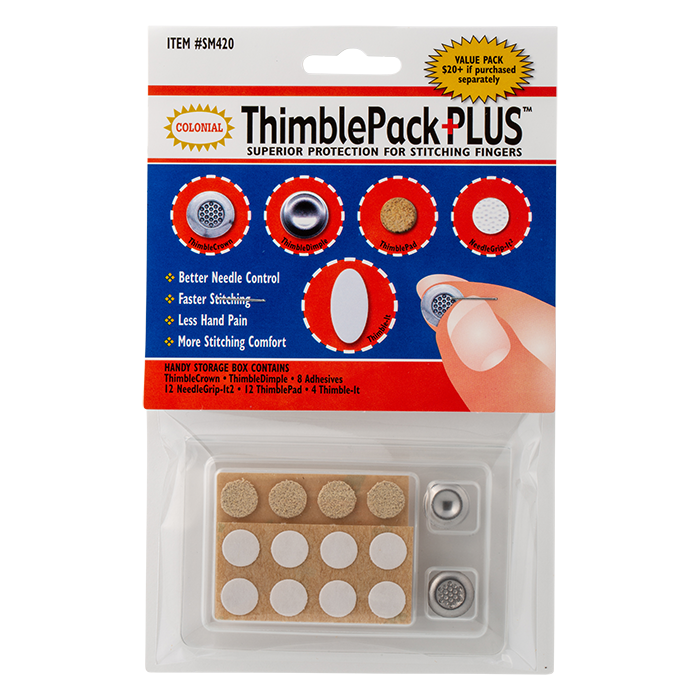
Thimble Pack Plus
We have these at every work station in our studio and in every stitching kit. A must-have for hand sewists, quilters, and embroiderers. Whether you’re piecing a quilt, doing delicate embroidery work, or hand-stitching a binding, these thimbles are going to save your fingertips and maybe even your sanity. They come in multiple configurations, so there’s always one that fits the task just right. Trust us. If your maker friend does any hand sewing at all, they can never have too many of these magical little thimbles. They’re like hair ties for crafters (wait for it); they multiply when you buy them but somehow disappear when you need them most. So buy a couple of these.
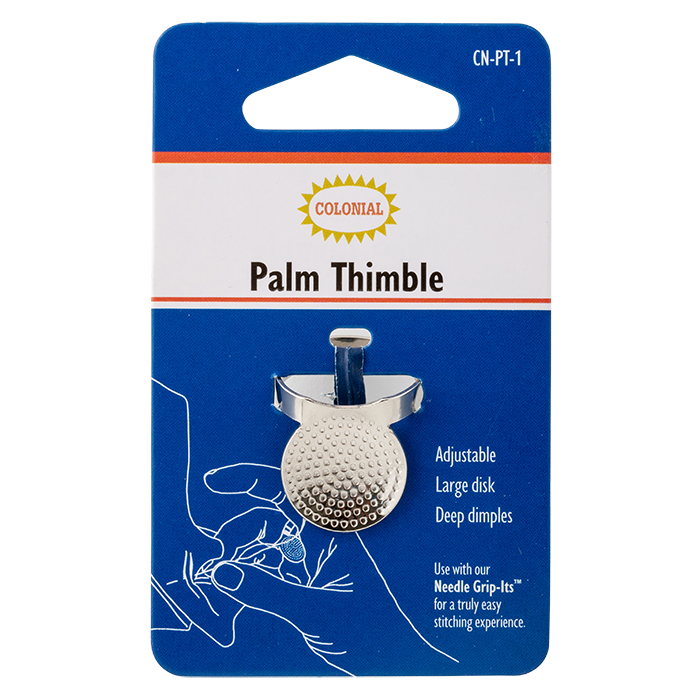
Long Darners & Palm Thimble Combo
This product combo holds a special place in our hearts because these are the tools we use for our sashiko and boro projects. Without these, we just couldn’t do what it is that we do do! The Long Darners give you the reach you need for those long, gathered running stitches, and the Palm Thimble provides the right leverage and control that lets you work for hours without destroying your hands. If your person is into Japanese stitching techniques, visible mending, or hand quilting (Yes! We use them for sashiko-style quilting), this combo is like giving them a superpower. These aren’t just tools, they’re the difference between a painful hand-stitching session and a meditative, enjoyable one.

Needle Grip-It
These unassuming little wonders are absolutely essential for all types of needlework from sashiko to EPP and embroidery. Just apply to the tips of your fingers and they give you a secure grip without any bulk, so they don’t interfere with your work. They make pulling needles through multiple layers so much easier, and they’re especially helpful if you have any hand issues or arthritis. Just remember to take them off when you’re finished… ever wash your hair with these on? One of us has… not saying who. (Spoiler: Jason doesn’t have any hair, so you can probably figure out the culprit from our photo.)

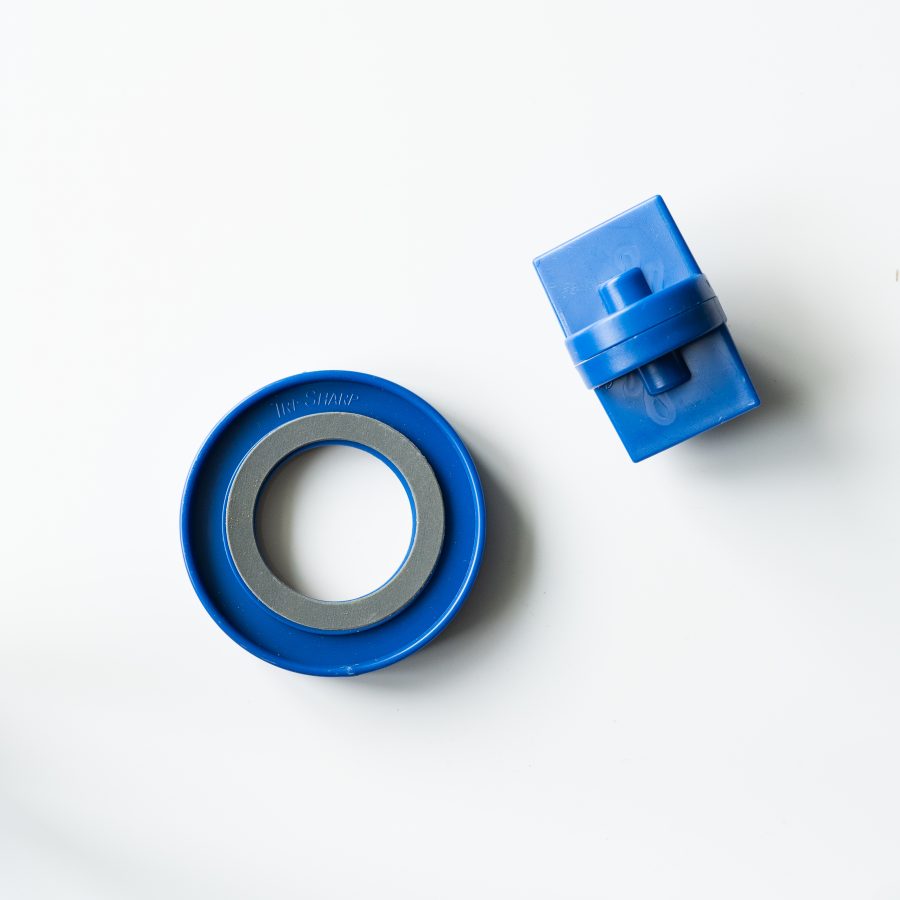
Dual Rotary Blade Sharpeners
LOVE! No really… we love these. Rotary cutter blades are expensive when you use them a lot, and these give them a second life. Actually, used properly, they have given our rotary blades multiple lives. They come in sizes for 28mm, 45mm and 60mm blades, and you can get two or three sharpenings out of a blade before you need to test for replacement. Even getting just two uses saves serious money. After all, it doesn’t do to use dull blades. In fact, a dull blade is dangerous and can slip or catch, causing injuries or ruining your fabric. These sharpeners get us back to creating faster without the expense of constantly replacing blades. ’Nuff said. If your person has rotary cutters, they want these. Trust us.
Okay! That’s it for Part 1. Again, in no particular order so be sure to come back for Part 2 which drops next week for more of our favorites to inspire you to be a better gifter. Or maybe to buy your own gifts! Seriously, grab your favorites, wrap them up, and put a tag on it to yourself from Santa. We’re definitely not above such things. Speaking of the big guy, did you hear who we recruited to help out with our YouTube video? Better go check that out if you want to stay on the nice list. Just sayin’!
Remember to share this list with a friend who could use some gift giving inspiration or who needs a hint so they get you exactly what you want this year.
STITCH ON!
Shannon & Jason
