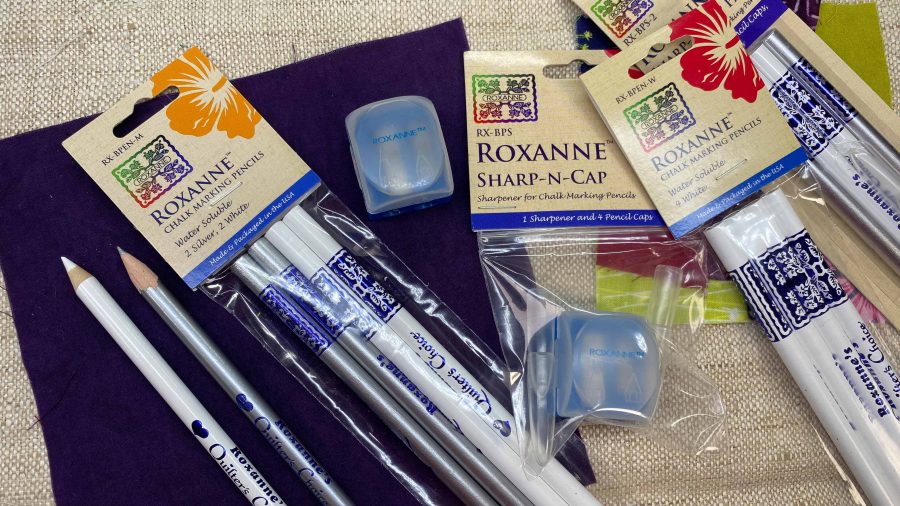
January is the season of fresh starts—and in the sewing room, that often means returning to the basics. Whether you’re mending a favorite garment, repairing household linens, or trying visible mending for the first time, hand sewing is where many stitchers reconnect with the simple satisfaction of needle and thread.
Yet even the simplest stitch can feel frustrating if the tool in your hand isn’t quite right. Choosing the right needle for hand sewing and mending can make stitches smoother, neater, and more enjoyable—and can even extend the life of the fabric you’re repairing.
Let’s take a closer look at how the right needle supports better hand sewing and mending.
The Stitching Scenario
Everyday hand sewing & mending
This category includes:
- Closing seams or hems
- Repairing small tears or worn spots
- Attaching buttons
- Darning socks or sweaters
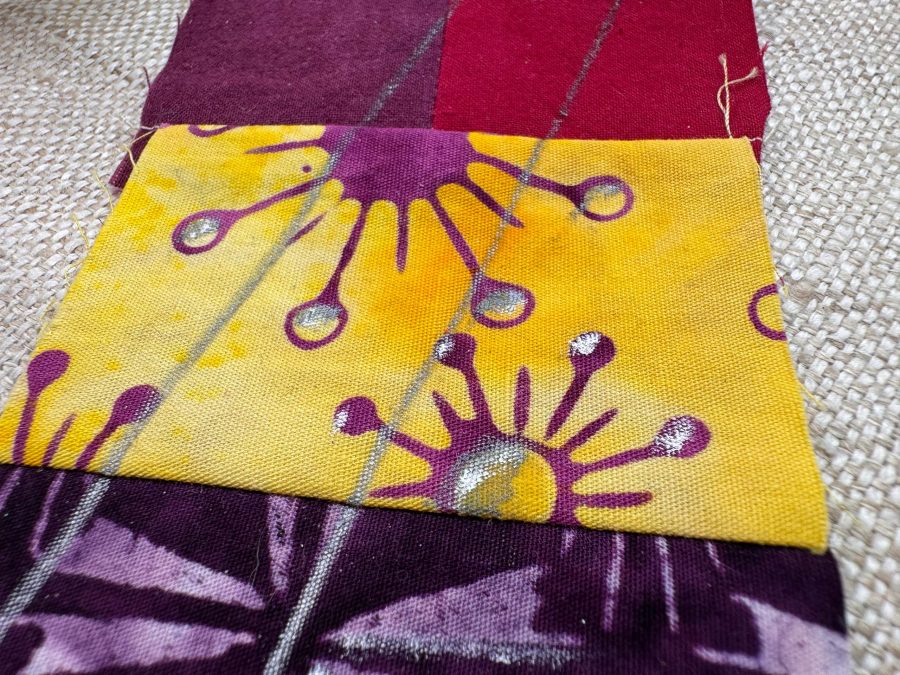
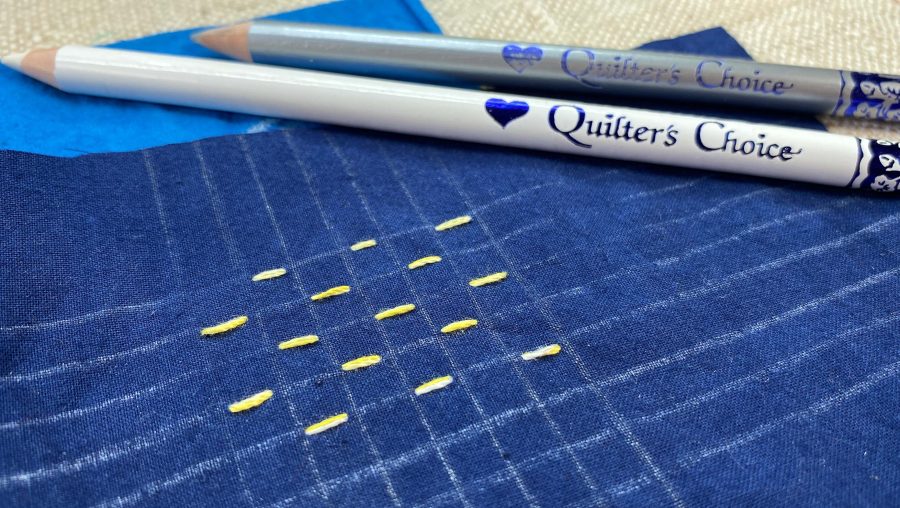
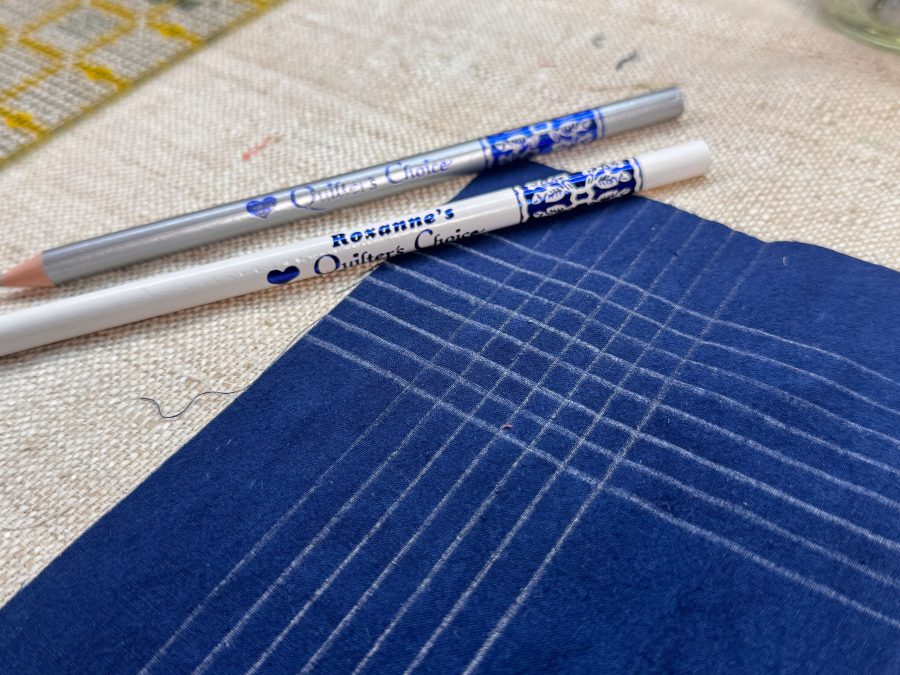
- Visible mending on garments or textiles
These projects often involve a mix of fabrics and threads, which means flexibility matters.
The Common Challenges
Many stitchers struggle with:
- Thread fraying or knotting while stitching
- Difficulty pulling the needle through fabric
- Uneven or bulky stitches
- Hand fatigue during longer mending sessions
These issues are often blamed on technique—but just as often, the needle itself is the culprit.
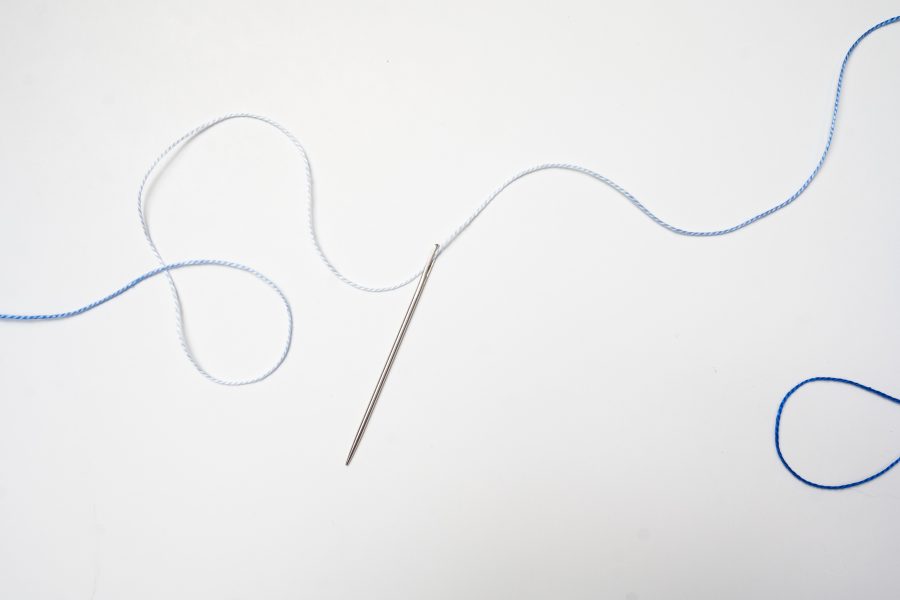
Why the Right Needle Matters
A hand sewing needle may look simple, but small differences make a big impact:
- Eye size: Too small, and your thread frays or won’t pass through smoothly. Too large, and stitches can look sloppy.
- Shaft thickness: A needle that’s too thick can damage fabric fibers; too thin, and it may bend or break.
- Point style: The point determines how the needle enters fabric—cleanly or with resistance.
- Length: Longer needles are helpful for basting or running stitches, while shorter needles offer more control for fine repairs.
Matching these qualities to your project improves both stitch quality and comfort.
Our Recommendation: Needles for Hand Sewing & Mending
For most general hand sewing and mending, look for:
Sharps (Sizes 7–9)
These are the workhorses of hand sewing. They have:
- A sharp point for easy fabric penetration
- A medium eye suitable for most sewing threads
- Enough strength for woven fabrics and light repairs
- Sharps are ideal for hems, seam repairs, and general garment mending.
Betweens or Quilting Needles (Sizes 8–10)
Shorter and slightly stiffer, these offer excellent control for:
- Small, precise stitches
- Reinforcing worn areas
- Fine, nearly invisible mending
Darners (Sizes 5–7)
Helpful for:
- Running stitches
- Basting repairs before machine sewing
- Visible mending designs
A small assortment allows you to adapt easily as projects change.
Pro Tip: Let the Fabric Lead
When in doubt, test your needle on a scrap of the fabric you’re repairing. If the needle glides smoothly without resistance—and the thread passes through without fraying—you’ve found a good match. If you hear fabric “popping” or feel drag, try a finer needle.
Special Considerations for Visible Mending
Visible mending is as much about expression as repair, and needle choice supports that creativity.
- Use a larger eye when working with thicker threads or embroidery floss
- Choose a slightly longer needle for rhythmic, even stitches
- Avoid forcing thick threads through tiny eyes—it weakens both thread and fabric
The goal is durability and beauty.
Reader Takeaway: A Simple Needle Checklist
If you’re hand sewing or mending:
- ✔ Match needle size to fabric weight
- ✔ Match eye size to thread thickness
- ✔ Keep a small assortment on hand
- ✔ Replace needles that feel rough or bent
A fresh needle truly makes a difference.
Looking Ahead
Hand sewing and mending are foundational skills—and mastering them sets you up for more advanced techniques throughout the year. In our next installment of The Right Tool for the Stitch, we’ll explore needle choices for embroidery on linen and other specialty fabrics.
Until then, may your stitches be smooth, your repairs satisfying, and your sewing basket well-stocked.