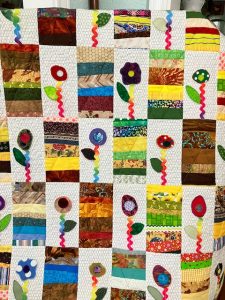
By Judy Moore Pullen
I am so eager to share with you one of my favorite NEW tools: Roxanne Temporary Adhesive Spray from Colonial Needle Company. It can be found on their website here, at major suppliers, and hopefully, quick as a bunny at your favorite quilt and fabric shops. There are so many wonderful uses and applications for this fabulous adhesive spray…so where to begin?!
What is Roxanne’s Temporary Adhesive Spray?
Roxanne is a well-known brand of quilting products, including glues, needles, and notions. The qualities of their Temporary Adhesive Spray are many. This spray adhesive is acid free, odorless and colorless meaning it will not stain fabric or fibers. For those of you with pricey or precious vintage sewing machines, it will not clog your machine or needles. As a tool, Roxanne’s spray assists in positioning and holding fabrics for quilting, sewing, and other fiber-related activities, yet it is temporary and disappears when washed. It is almost like another pair of hands assisting you to smoothly position and hold layers in place for the next step.
Roxanne Temporary Adhesive Spray will be loved and adored by quilters who are layering, seamstresses, home décor sewists, embroidery enthusiasts, applique and piecing passionists (that’s a word, right?), craft designers and artists, pattern piecing persons, and so many more! If you enjoy working and playing with fabric, fibers, threads, roving, yarn, etc., you will find that Roxanne’s newest product will fill your needs for fun and ease of use. The time saved with its use will allow you to spend more time playing and creating. As a firm believer in the importance of process, the doing part of a project for me is such an important part of the joy of creating; almost as important as showing off my finished product!
How do you use Roxanne’s Temporary Adhesive Spray?
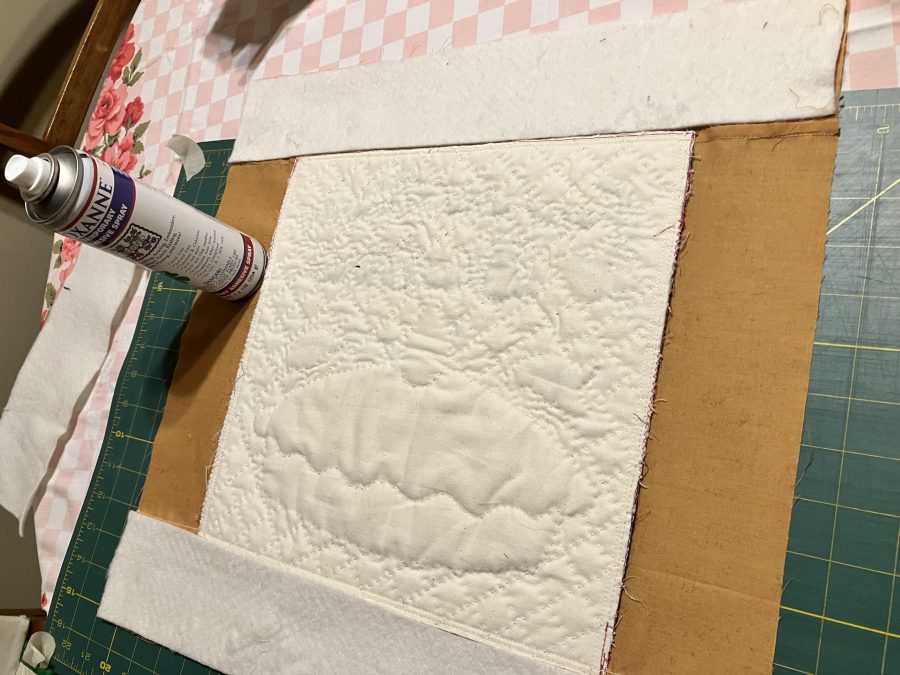
For years, I have been safety pin-basting backing, batting, and tops together for hand or machine quilting. I do not have time on my hands, but my hands have many years of time on them, and basting a quilt this way is not one of my favorite things to do. My hands and fingers become sore. However, what a joy to layer a quilt now with Roxanne’s Temporary Adhesive Spray!
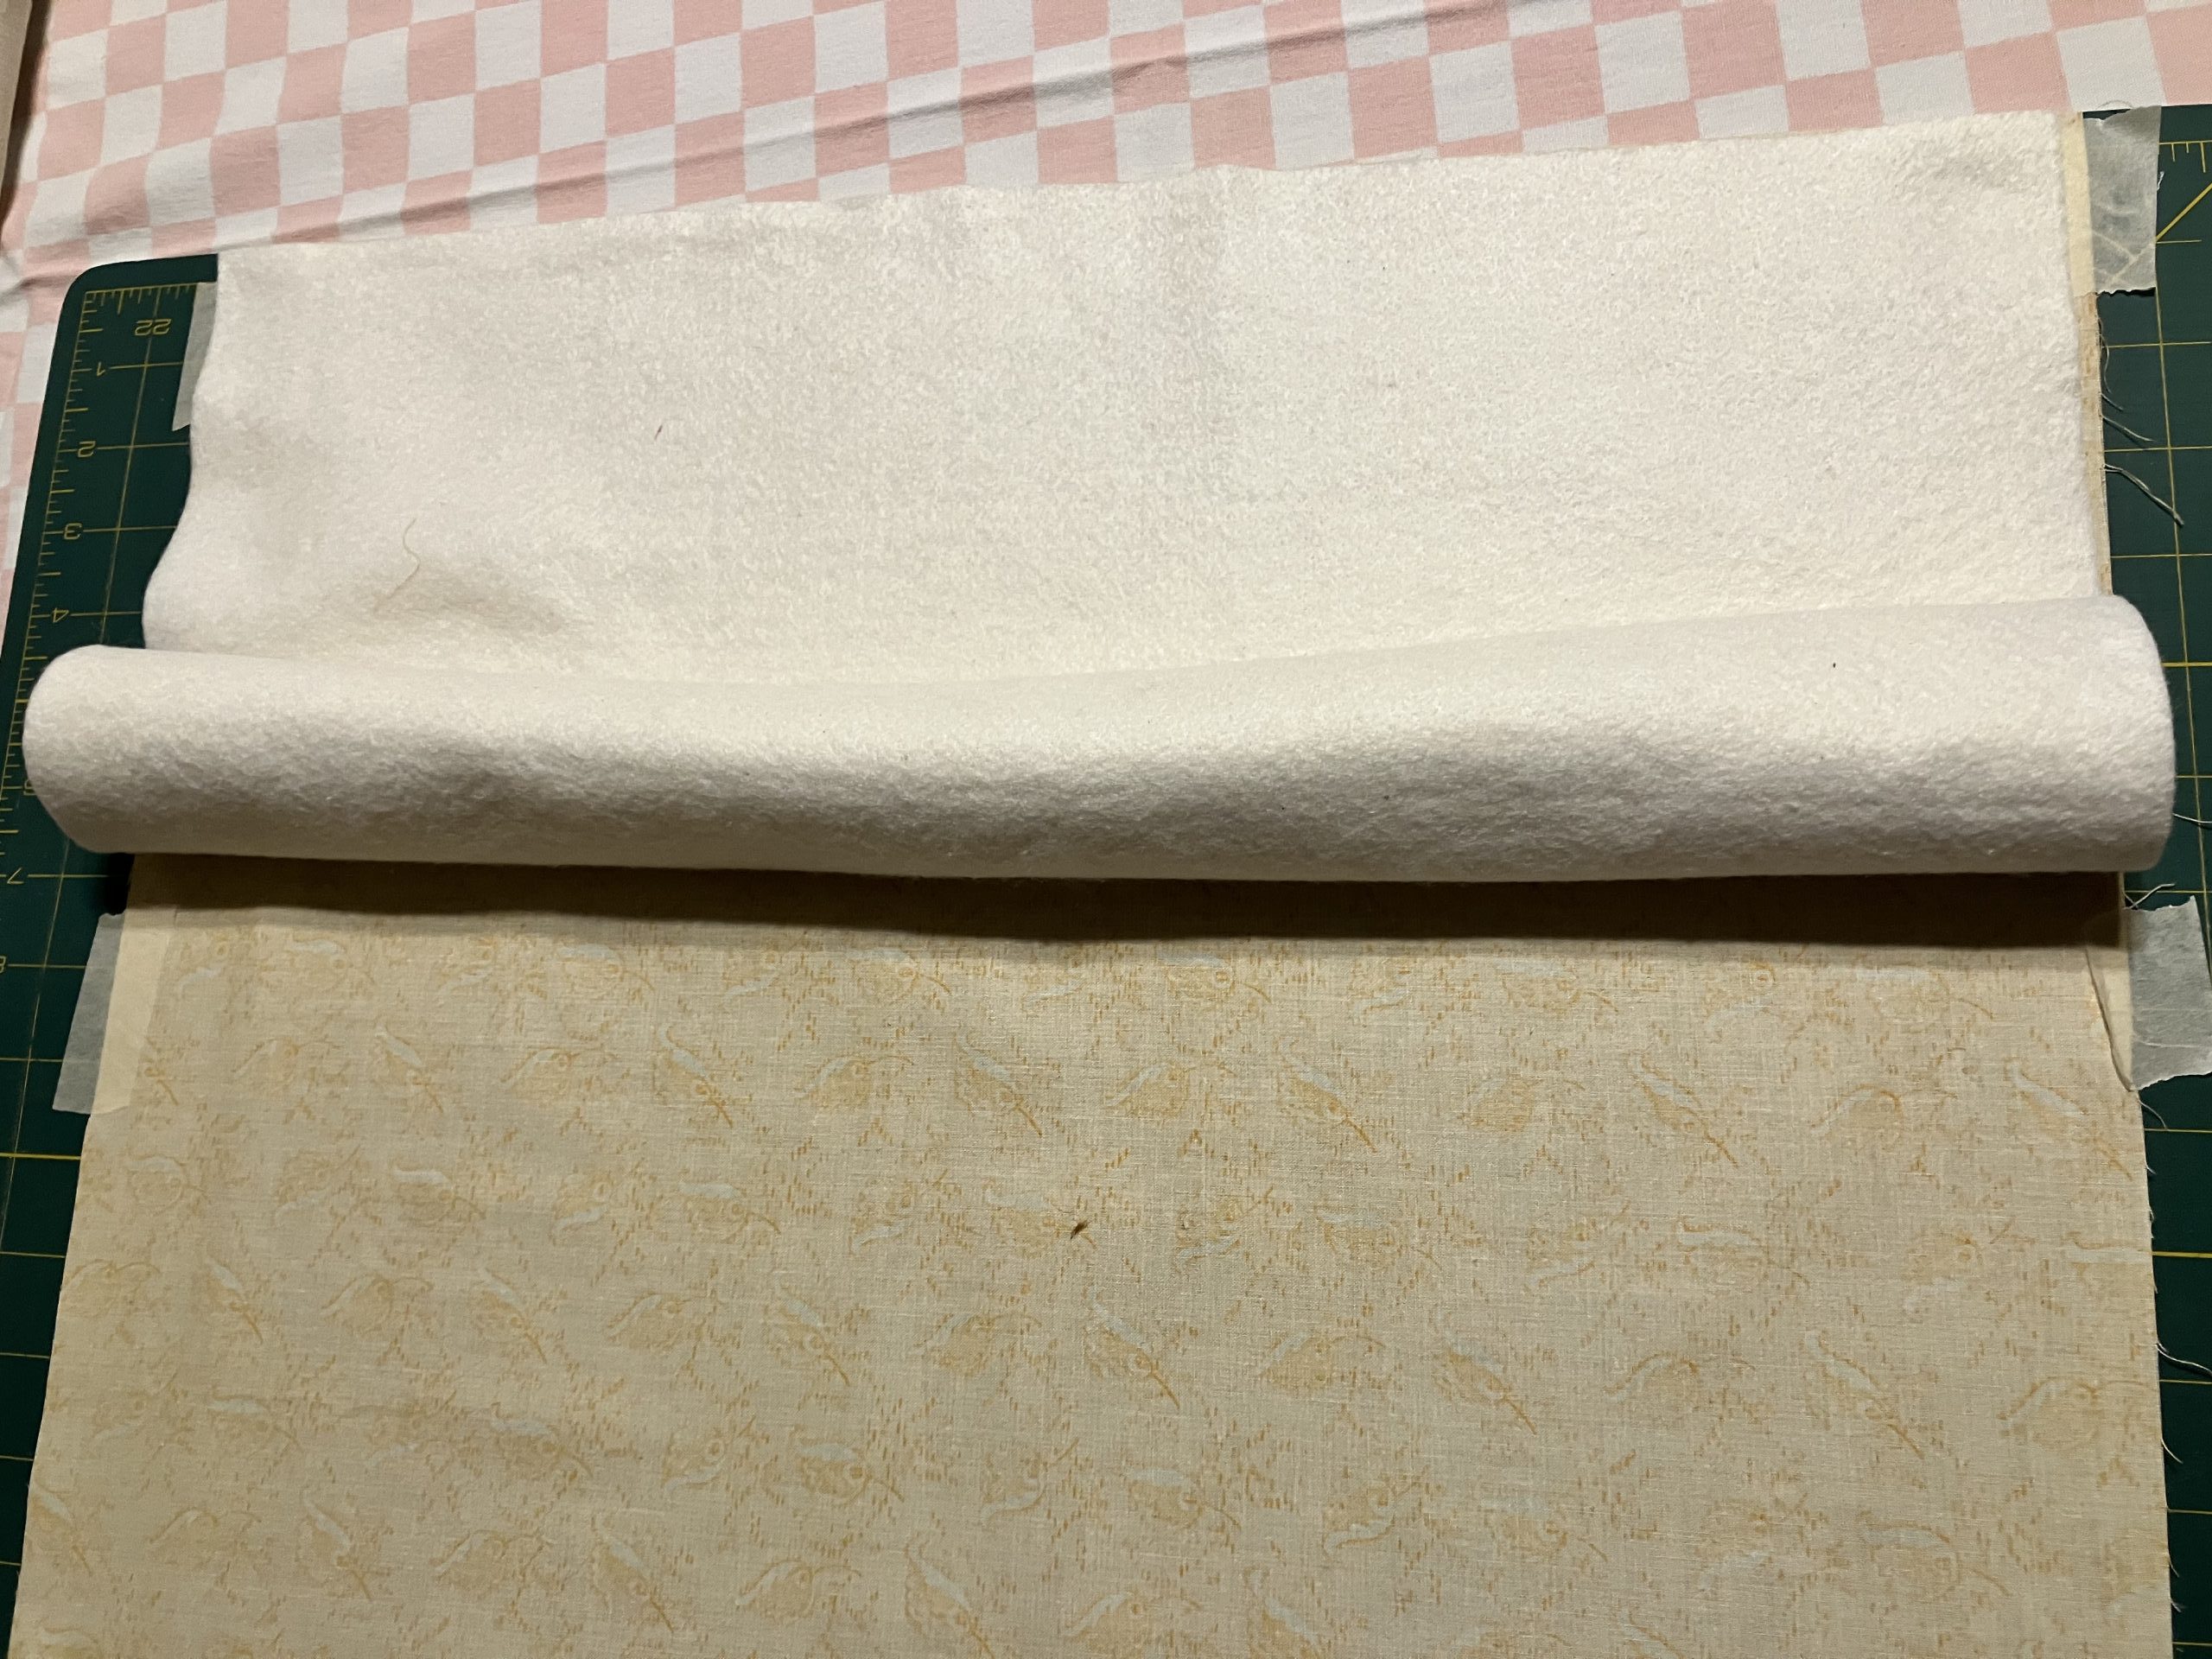
- Prepare by rolling the batting loosely from one end toward the other.
- Repeat with the quilt top, and lay both aside nearby.
- Secure the quilt backing layer to a clean flat surface, wrong side up, with masking tape.
- Lightly spray with Roxanne Spray.
- Position the batting at one end of the backing, and unroll the rest of the batting toward the other end, smoothing lightly with your hands as you unroll.
- Next, lightly spray the batting, then lay the quilt top at one end of the batting.
- Unroll the quilt top toward the bottom edge of the batting, smoothing and pressing lightly, flat as a tortilla, and smooth as an ice-skating rink!!
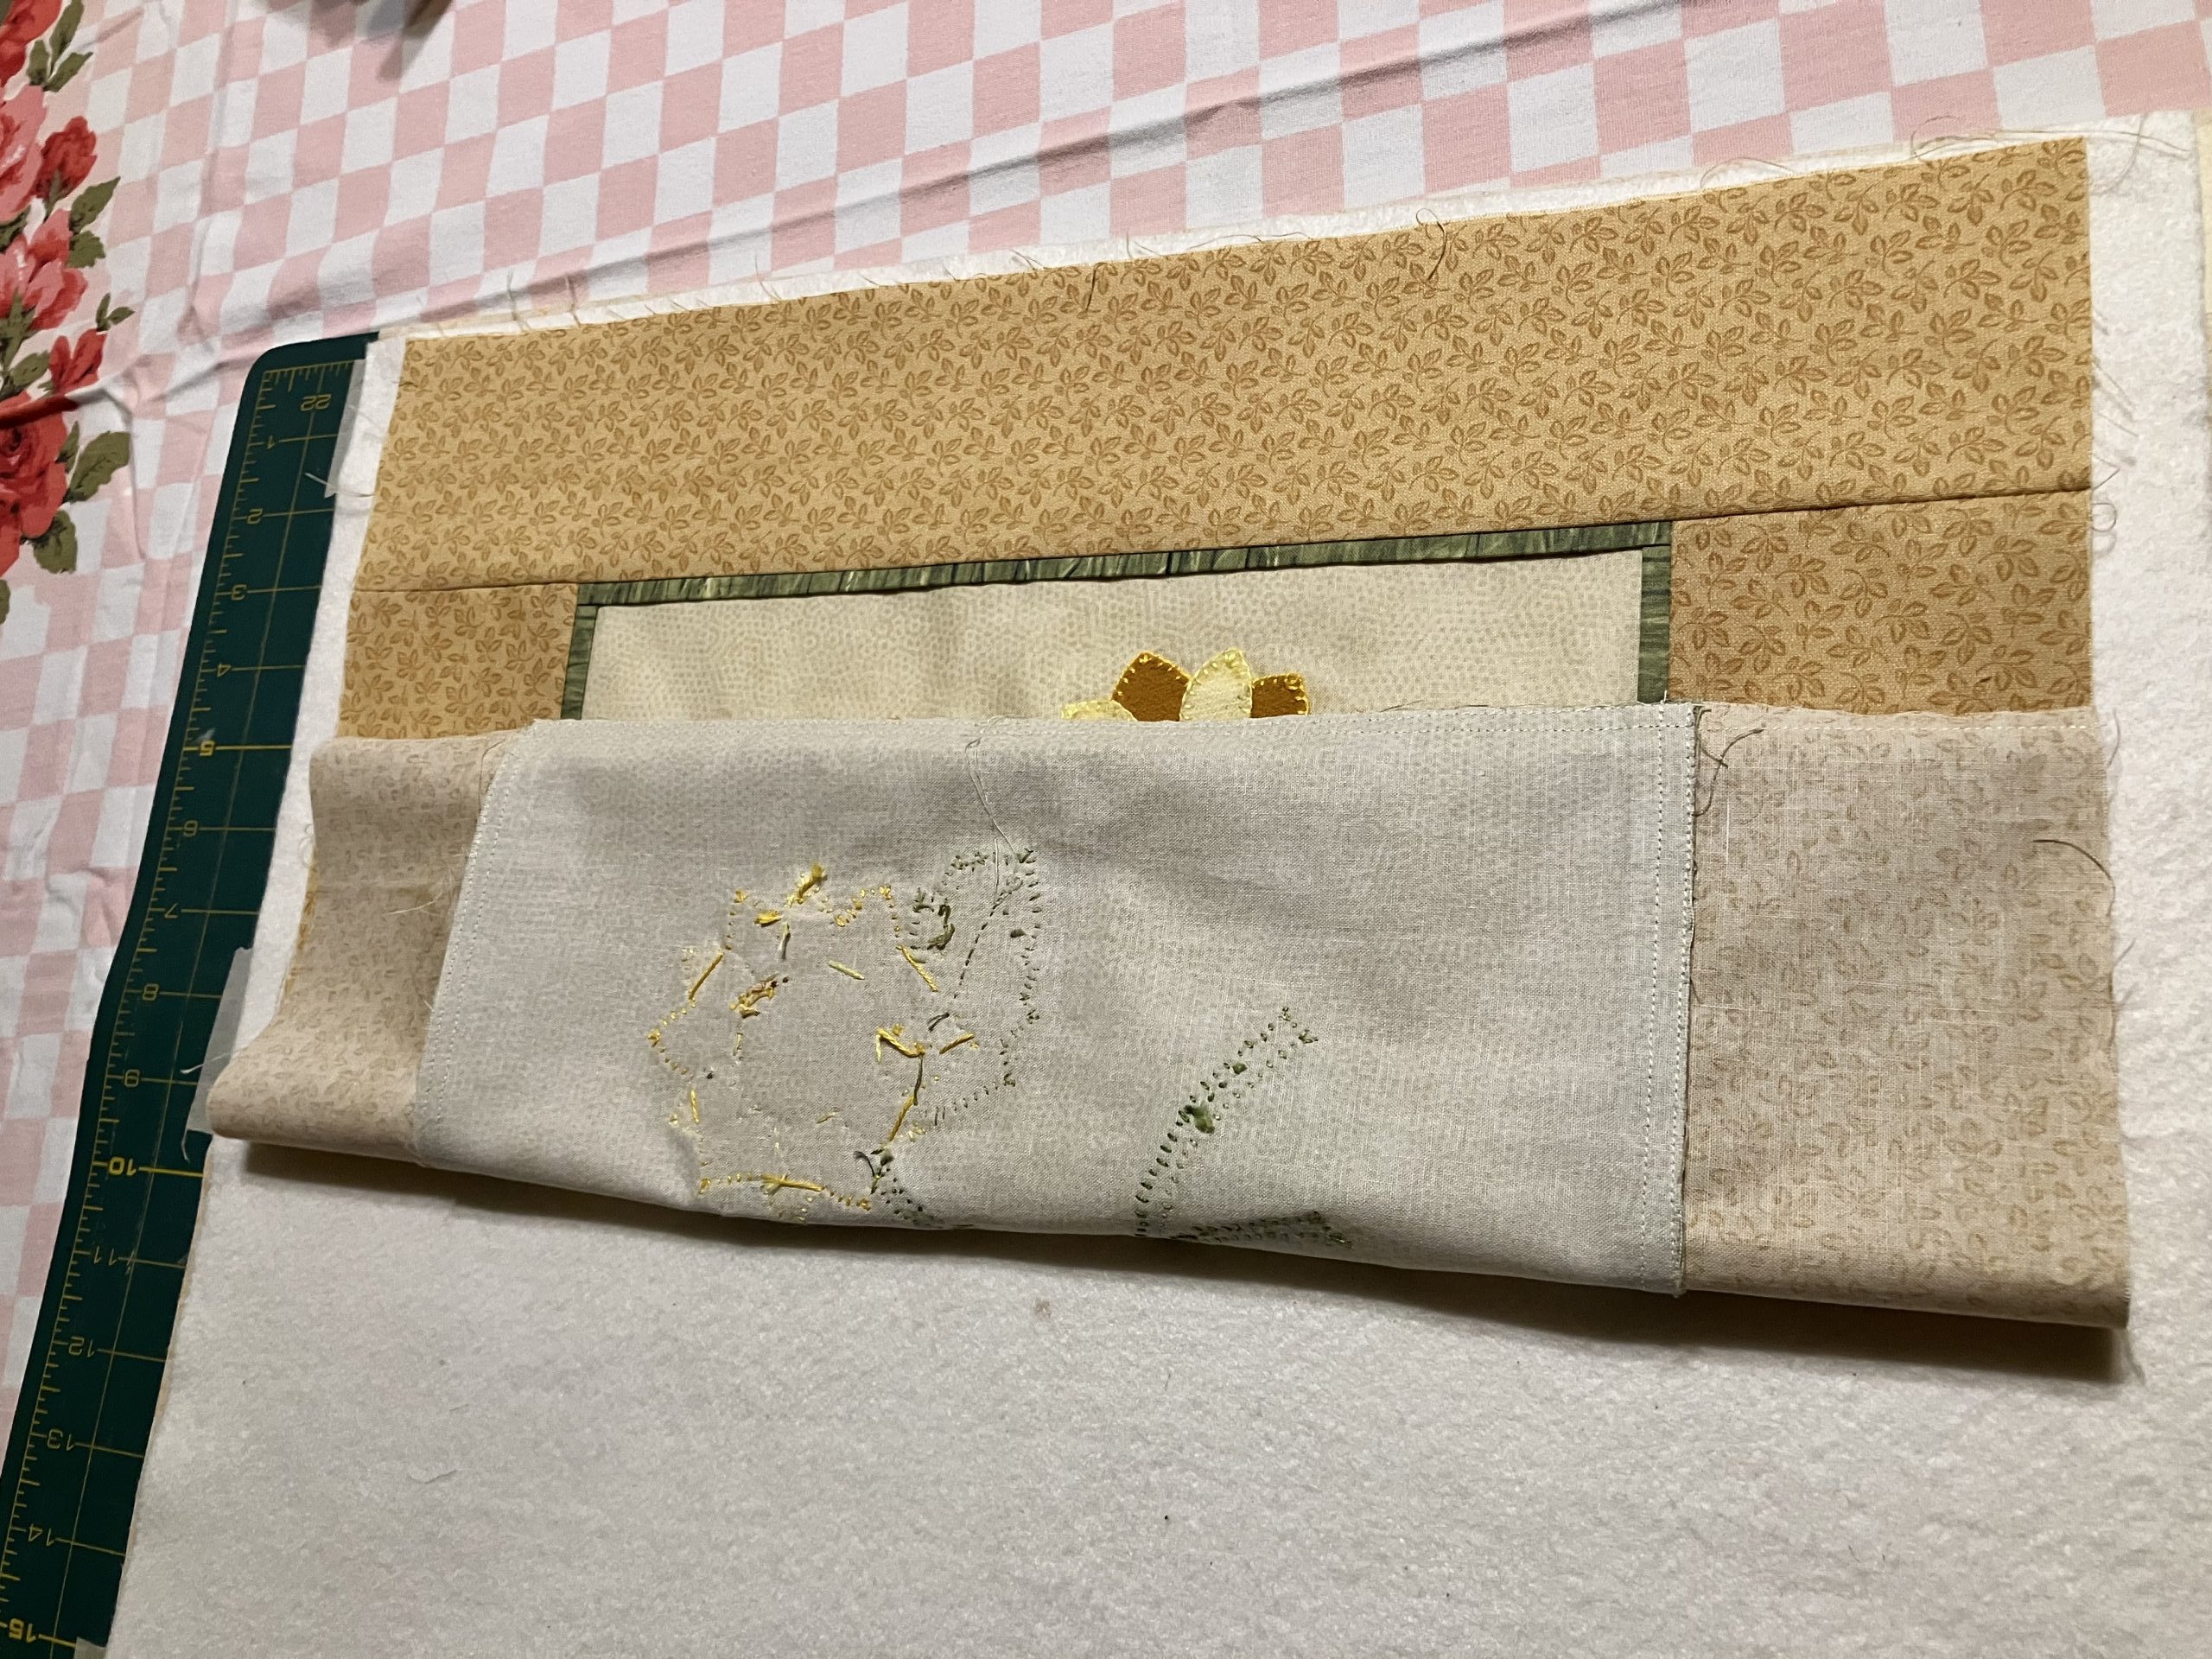
- Quickly and beautifully flat for hand or machine quilting!
All odor-free, easy-peasy and no sore fingers or hands!! After a few minutes to dry, I am confident that neither my machine nor hand quilting needle will get tacky while stitching.
TIP:
If you are generous with the spray and it winds up on your table or a surface, not to fret! A light spray with water and swipe with a clean dry cloth will remove the light tackiness.
What are some other benefits of using RX Adhesive Spray?
When machine or hand quilting, I sometimes get those undesired little pleats or tucks on the back side of my quilt whenever I approach a previous line of stitching. At times I need to manipulate the layers, or needle-down in my machine, lift presser foot, and give little tugs back and forth to remove bubbles on top, and hopefully prevent gathers on the backing. However, with Roxanne’s Temporary Adhesive Spray, I happily keep stitching when approaching quilting stitches, no bubbles on top and no ruffles on the back! My machine quilting has improved so much and in such a short period of time. Time saved basting layers together and quilting add up to the probability of getting more projects finished and more begun. Win~Win! More play time and improved finished product, means I am one happy quilter and excited about sharing what I have learned and experienced with this wonderful product from a name we know and trust to do what we love to do.
What else can you do with Roxanne’s Temporary Adhesive Spray?
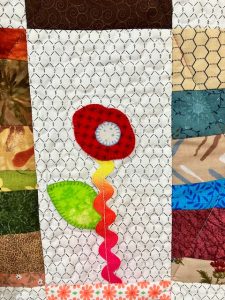
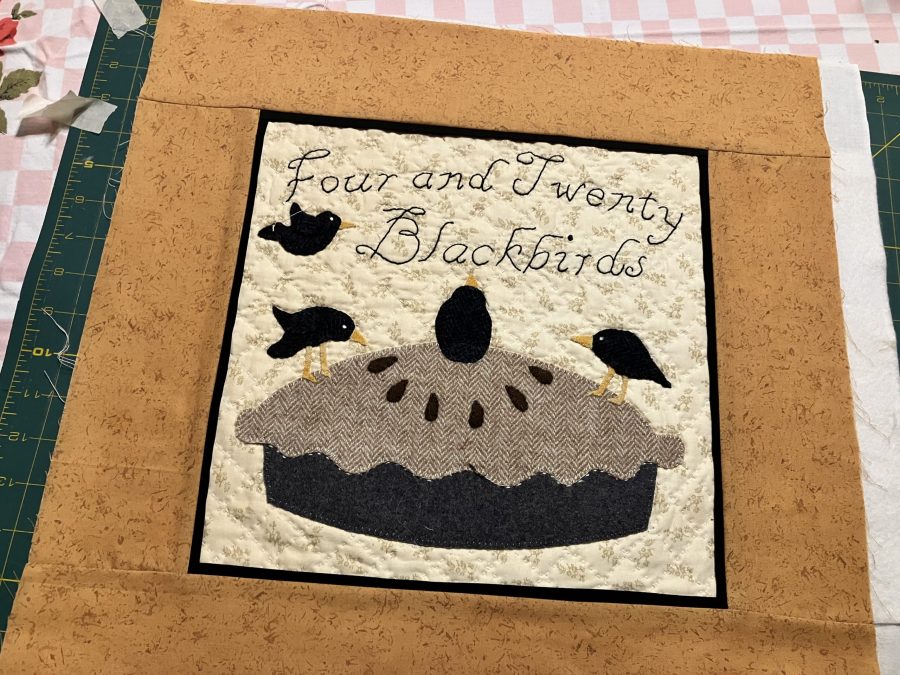
Here’s how Roxanne’ Spray helped me easily add borders to an old incomplete project:
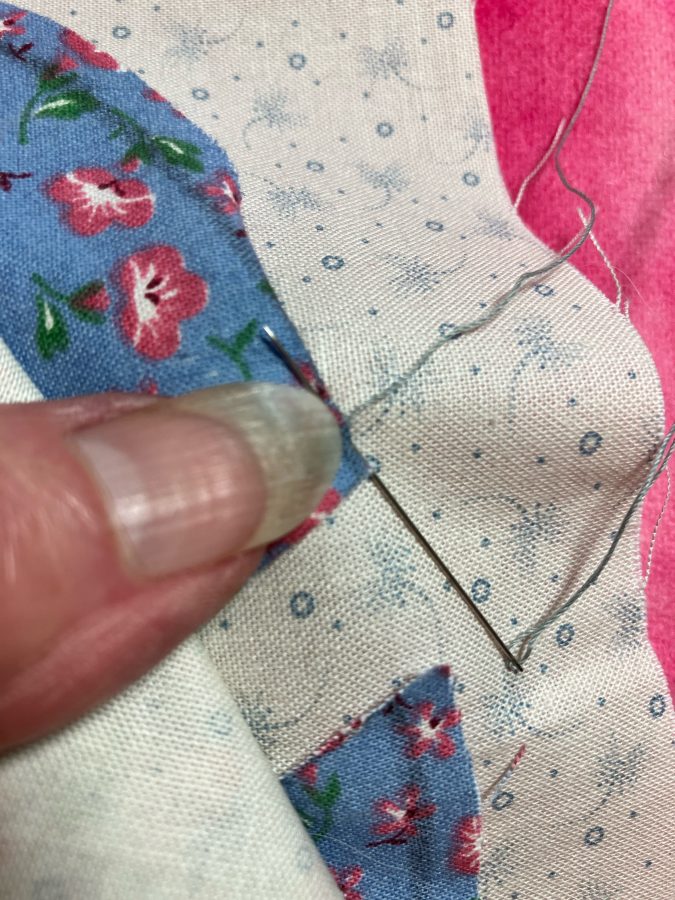
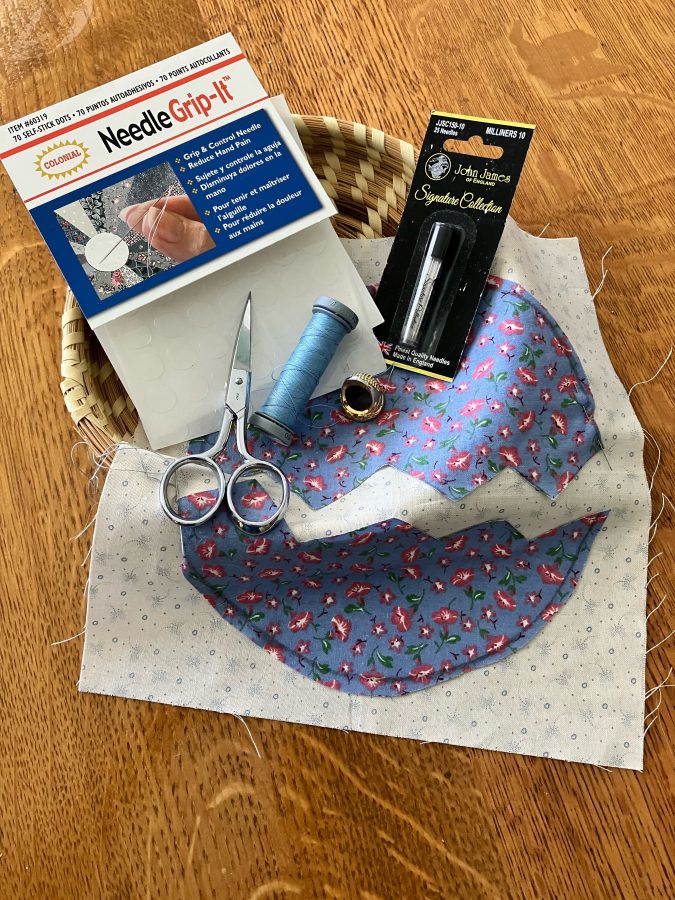
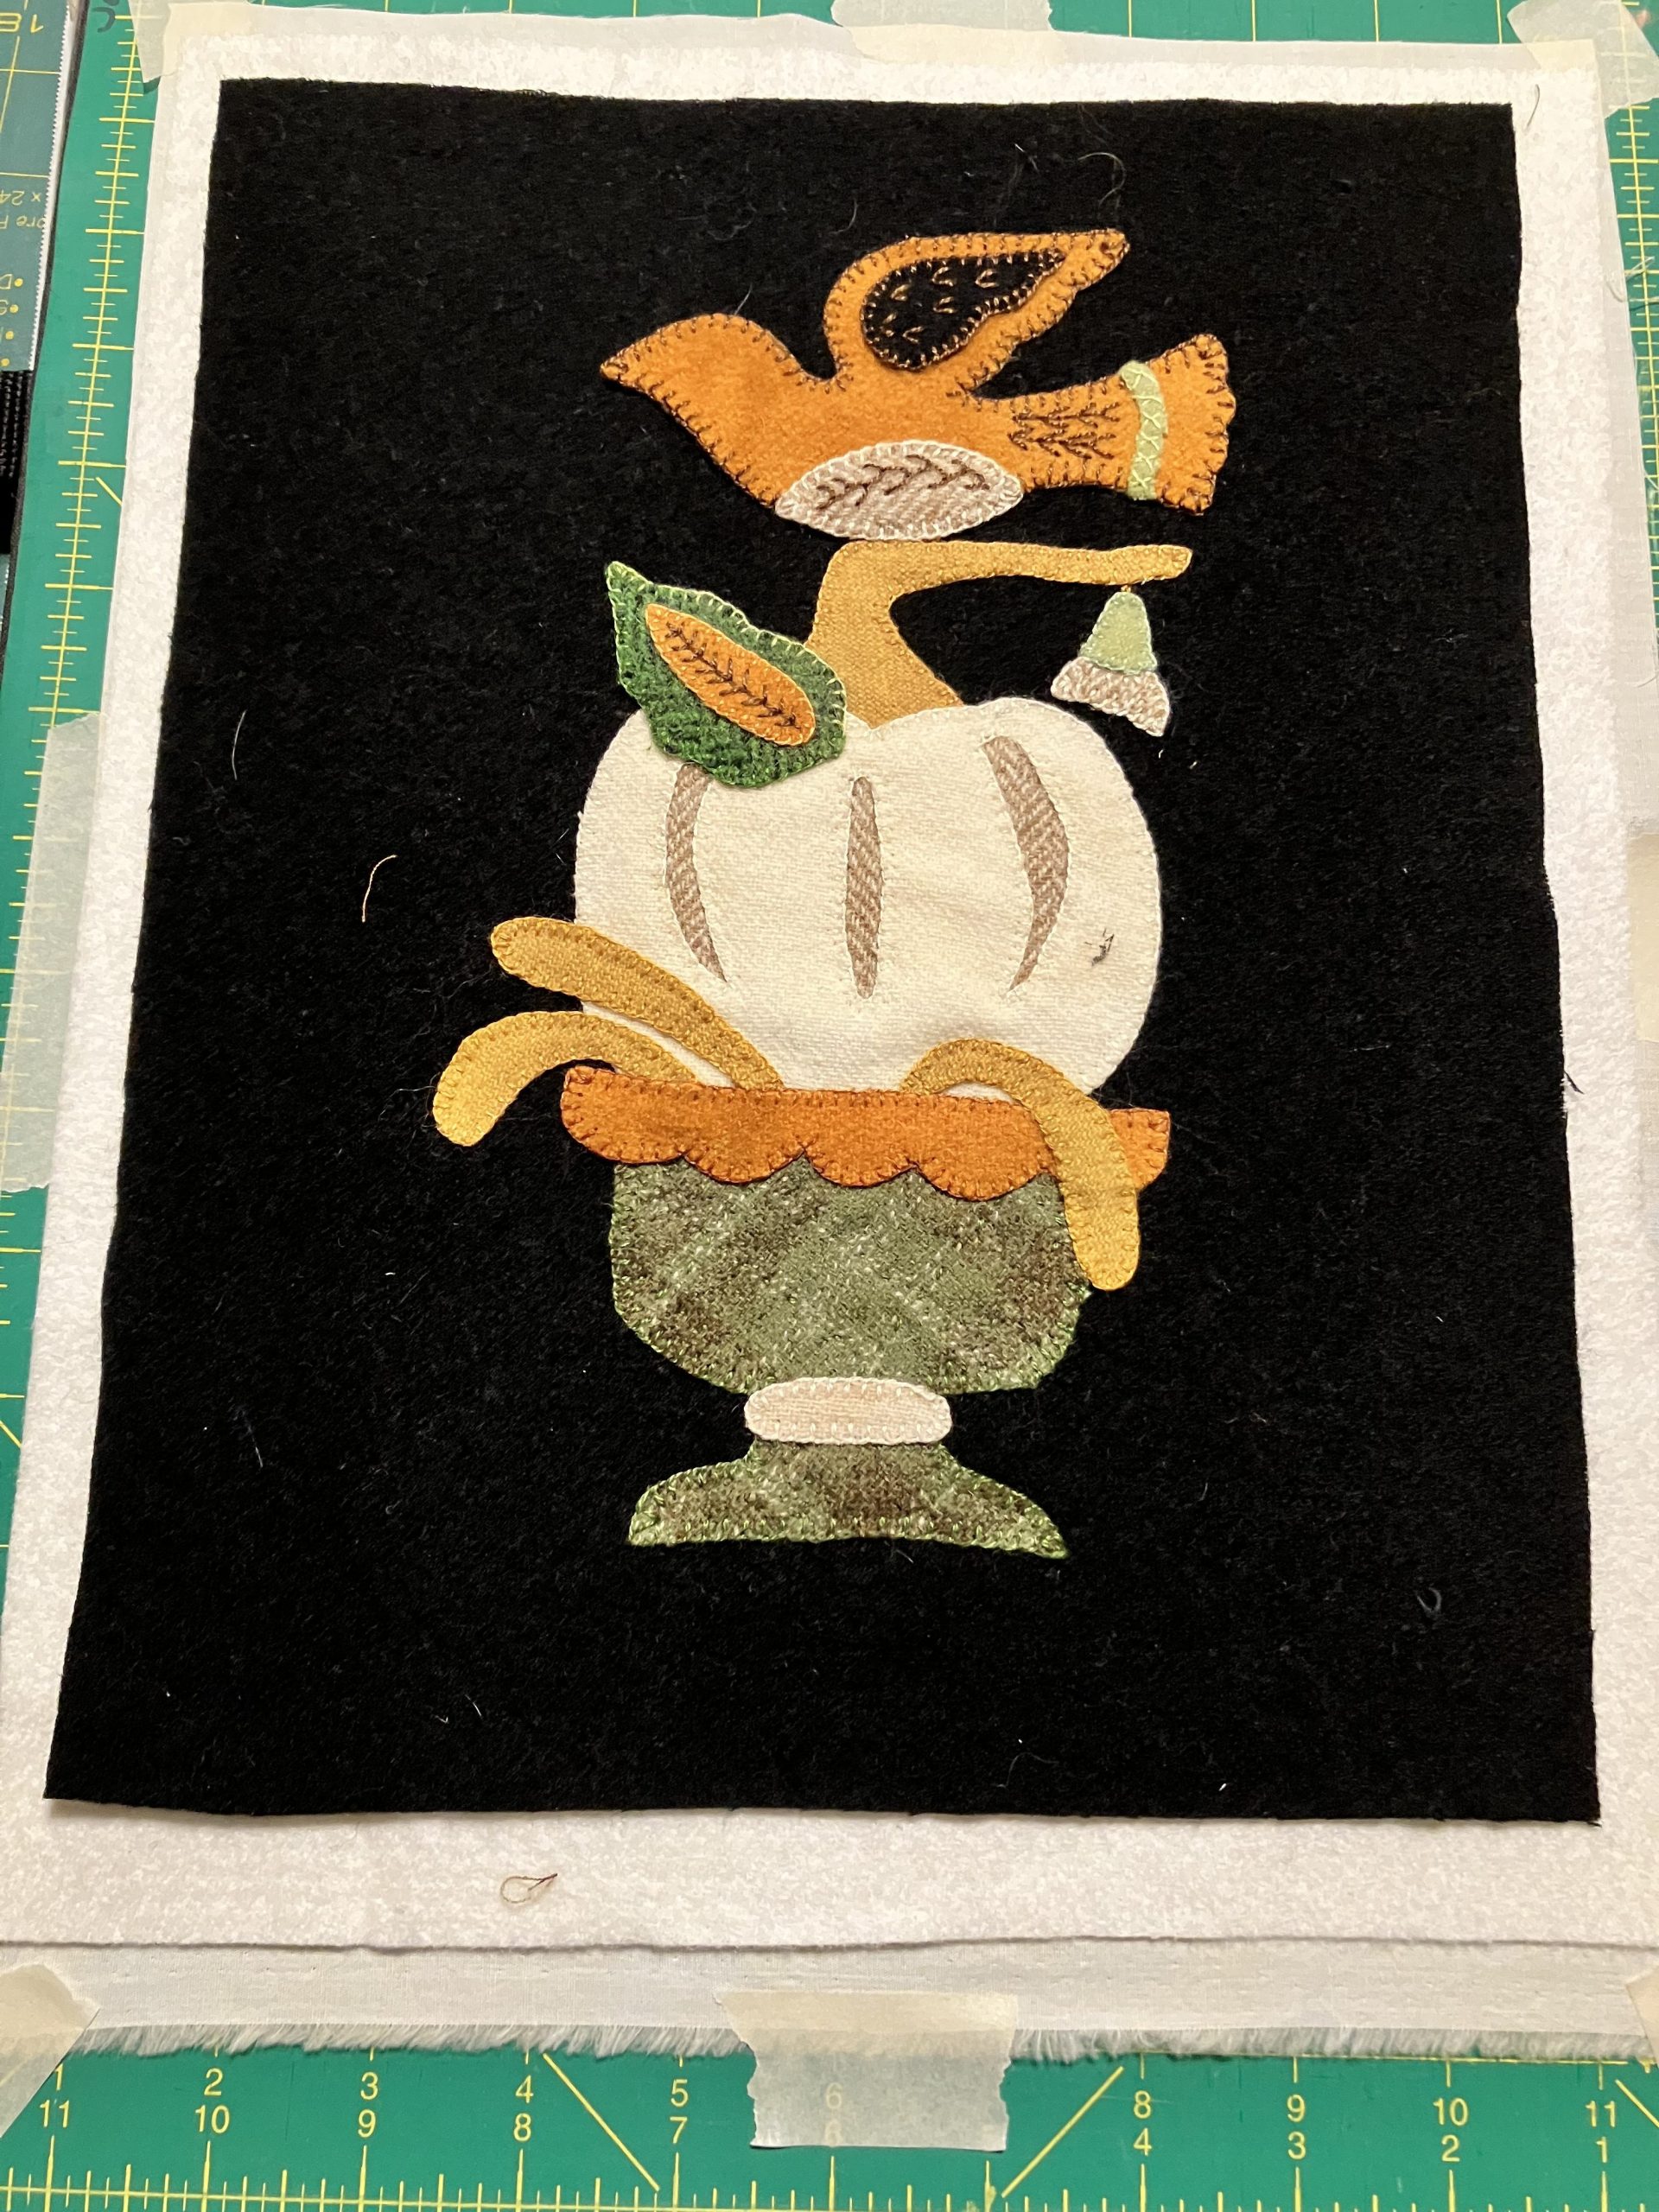
A wool applique enthusiast, I also discovered Roxanne’s Spray works beautifully to layer wool to batting for quilting.
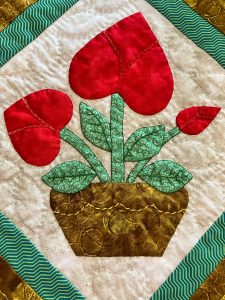
Another of my older needle turn applique projects needs help, so I plan to unstitch some of the applique on Sunbonnet Sue, spray lightly, reposition Sue’s dress and sunbonnet, and needle turn applique back in place.
In an upcoming blog, I want to share ways I have used Roxanne glues, needles, and notions. I guess you could say I am a fan of Roxanne products. Oh, wait, I happen to know where some vintage fan blocks are, and can hardly wait to applique them to backgrounds with Roxanne’s Spray. Then, I’ll turn them into a quilt, and move on to another fun project! Yes, I am very excited about this new product.
Go ahead, thank Roxanne for adding more playtime, fun, and pleasure to your fabric and fiber projects. You can thank me later.
Happily sew on and sew on…
Judy Moore Pullen