By Judy Moore Pullen
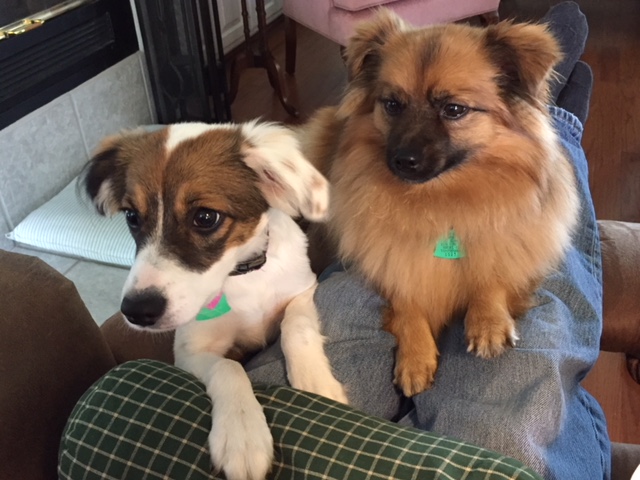
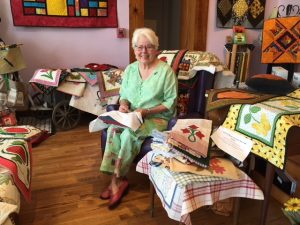
I love the peace and serenity of our back yard; serenaded by birds and the rustle of leaves in the trees, early in the morning before lawn mowers get cranked up. Even on gray rainy days, the sound of raindrops on the roof provides a sense of peace and tranquility while I sip morning coffee and stay snug and dry under the extended roof over the back porch. I look up from my hand stitching when Sable and Sadie race and chase after squirrels that they will never catch, as those annoying little fluffy- tailed critters leap from tree to tree, taunting our furry little girls.
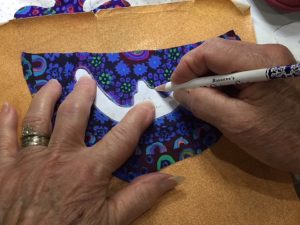
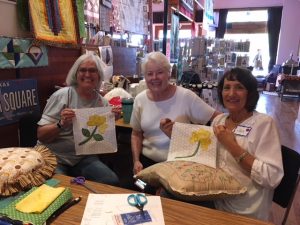
Making quilts for children also provides a wonderful sense of peace and fulfillment for me. A dear friend and I love to make charity children’s quilts. There are children in need, and we want to help provide the comfort of a quilt for as many children as we can. Debbie has a very large sewing room at her house, so she cuts the tops and backings, layers with batting, pin-bastes the layers together, and marks a diagonal grid with Roxanne’s marking pencils for machine quilting. She passes the quilts to me and I machine quilt and stitch the binding to the top. Debbie and I hand stitch the folded edge of the French fold bindings while binge-watching streamed TV in the evenings.
I love the process of doing something (except for the process of vacuuming and dusting.) I need a bumper sticker that tells the person behind me that “I would rather be sewing,” or “I would rather be shopping for fabric.” What would you rather be doing? What would your bumper sticker say about you?
Back to enjoying process…
I find that machine quilting the grid on these children’s quilts is so peaceful. Most of the tops are whole cloth, 36” x width of fabric, although some are lap size larger. Debbie creatively and artistically extends panels and darling children’s prints for tops by piecing, adding borders, turning plain-Jane fabrics into something fun for a child. Debbie is also a master at piecing scraps and strips together to make the bindings. Piece by piece, we hope to provide comfort and peace for children. This process provides a sense of peace for us as well. As I machine quilt the layers, I sometimes listen to audio books borrowed from our local library. At other times, I listen to music on my laptop. And sometimes, I simply savor the peace and quiet of the hum of my machine.
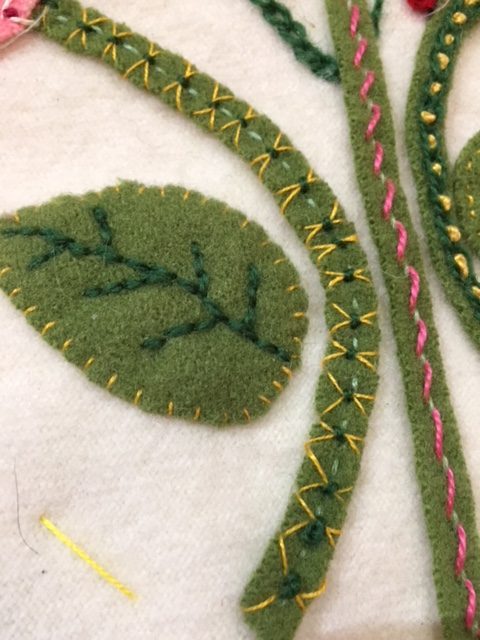
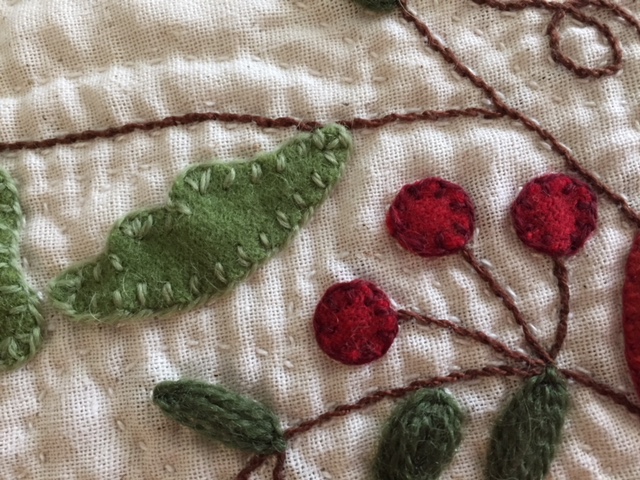
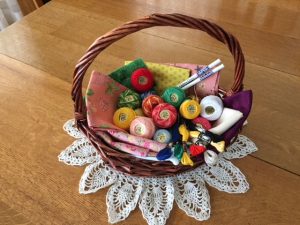
The peace acquired by hand stitching bindings is enhanced by the newest John James Signature Collection Needles from Colonial Needle Company. I had an opportunity to try the John James Signature Collection Milliners, size 10, for needle turn applique, one of my passions. What a joy! This needle is so sharp and glides so smoothly—easily piercing the turned edge of fabric rather than pushing or distorting it, which provides more accuracy and much greater ease of stitching. These needles are so user friendly that some of my “I don’t do hand applique” friends may even take up the art, joy, and passion of hand applique.
Threading the new John James Signature Collection Milliners, size 10, with Presencia 60-weight thread was also easy. Presencia 60 weight thread is 3-ply, long staple, so very strong while also very fine, perfect for hand applique and hiding those stitches. The length of this John James Signature Collection Milliners also made it perfect for swooping under and turning the seam allowance. One more thing I highly recommend is using two Needle Grip-Its to more easily grip the needle. Adhere one to your forefinger and one to your thumb tip on the hand with which you grip the needle. The repeated motion of gripping and pulling a needle can result in pain in hands and fingers over time. These great grips enable me to stitch for hours pain-free, also adding to my peace of mind whether I am doing hand applique or hand stitching a binding on a quilt.
One more thing…
I also tried stitching bindings with the newest John James Signature Collection Sharps, size 10. What a joy to easily pierce the backing, glide through the batting, and pierce upward to catch the fold of the binding. These needles are also strong, sharp, glide easily, and enhance my time of peace and quiet while listening to the sounds of chirping birds or a best seller book, peaceful music or the sound of silence. I’m eager to try these new John James Signature Collection Needles on hand piecing, too.
The process of sewing and creating is both peaceful and exciting for me. I enjoy the doing part of a project, not just the finished product. Using the best tools enhances both the process and the product. I highly recommend these new John James Signature Collection Needles. Just when you thought needles could not get any better ~ they did, they do, and they are!!
Peace be, piece by piece.
Happy Stitching!
Judy Moore Pullen