We love finding new ways to use crafting tools, techniques, and materials outside of their original, intended use. When the folx at Colonial Needle Company asked us to check out Presencia thread and do a project, we immediately went to embroidery since that is what we have always had a supply of Presencia around for. To be specific, we have a supply of Presencia Perle #5 and #3 on hand because we like to use it for general embroidery, but also for mending projects where we need a beautifully chunky thread to really pop off the surface of our fabric. So, yeah, we could have done some sashiko or boro or some freeform embroidery. We considered that. We also considered using it as part of a floral embroidery piece we are doing on a pair of jeans a la your auntie who hung out at Woodstock. We could have done any or all of those things because that is exactly what we have Presencia’s Perle thread for. But, as we said, we love finding new ways to use materials that are a bit outside of their original intent.
Soooo…Out came the crochet hooks!
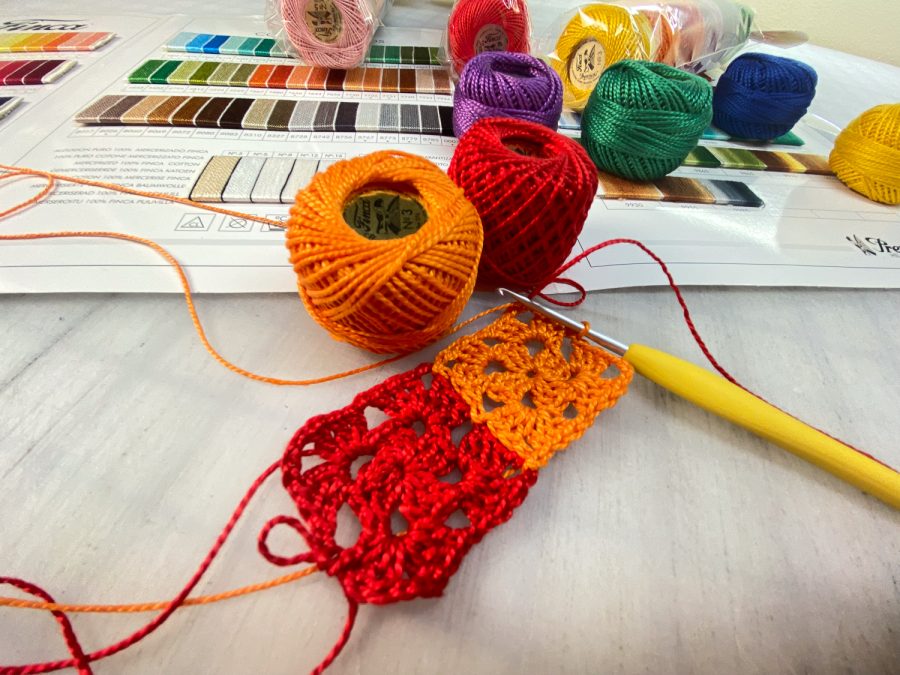
Now, this isn’t the first time we have made crochet pieces using sewing and embroidery threads and we have patterns for skirts and tops using crochet threads. We just knew the Presencia Perle #3 weight thread was going to work beautifully for crochet. And the fact that it comes in those cute little balls/spools and sets of color combos (the sets we have are the Crayon Sampler, Scarlet Sampler, and Yuletide Sampler) makes them prime for some delicious little projects with crochet motifs. With that in mind, we set to swatching.

First were granny squares which turned out FAB and got us thinking about a larger project using a set of samplers in the future…stay tuned for that. Then we did some round motifs and DING! A light went on: earrings!
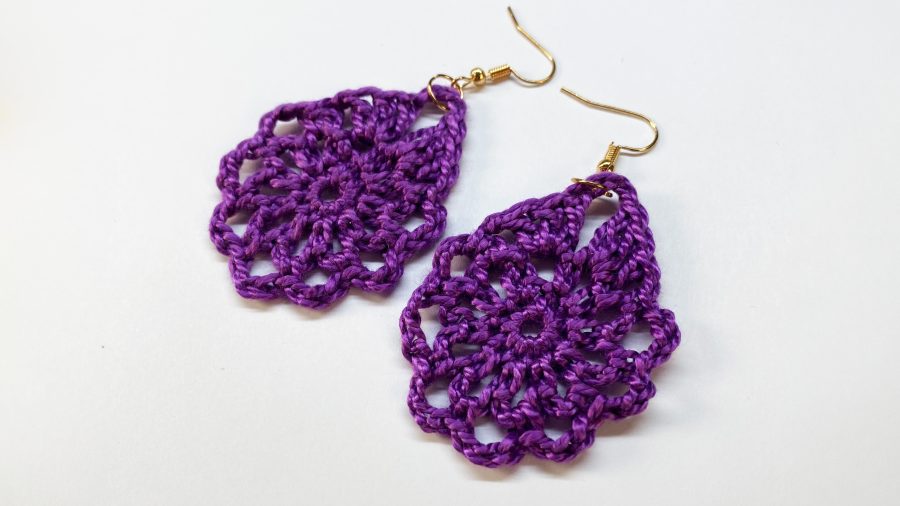
Virtually any crochet motif made in thread can be made into earrings. One more test motif and that was it; our Boho Crochet Earrings were born. And we didn’t even have to break out the steel crochet hooks! We actually used a C–2.75mm hook from a standard crochet hook set and, once it was blocked into shape, the finished motif held up beautifully. Yes, Shannon tested them out by wearing them the rest of the day…they are so good!

The Presencia Perle #3 weight thread is very different from working with yarn because the twist of the 2-ply thread creates ridges along the finished surface of the thread. This gives it that sheen with light and shadow reflecting off the surface of the thread but it also means that the thread has some grip to it when it is used in crochet. The stitches almost lock into place when stitched into crochet stitches and blocking further locks the stitches in place. This means projects like these earrings need only a good steam blocking with no starch. The finished earrings have a gorgeous texture to them and are ready to wear immediately after finishing.
Ready to make your own?
Grab your favorite color of Presencia Perle #3 thread, a C–2.75mm crochet hook, and our pattern which can be found below. The pattern includes the instructions for making the earrings as well as the stitch chart and all of the special stitches, techniques, and finishing instructions. Stitch, block, attach your earring findings and you’re ready to wear!
Just be warned: get used to saying “Thanks! I made them!” a lot.
Have fun! And be sure to share your makes with us on Instagram and tag Colonial Needle Company(@colonialneedleco) and us, Shannon and Jason (@embracethecreativechaos) so we can see your creations.
STITCH ON!!
S&J

