
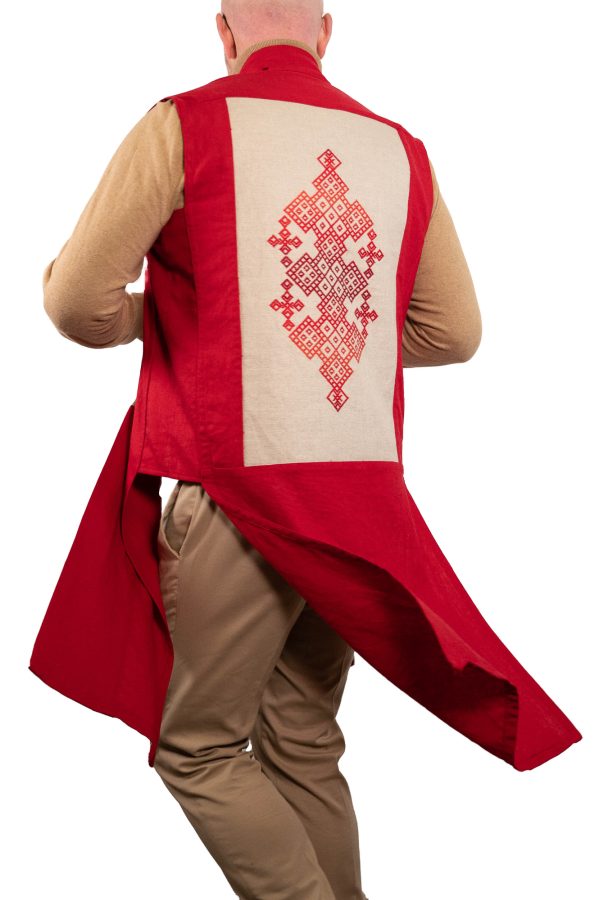
Got a shirt that’s seen better days (and maybe one too many spaghetti dinners)? Give it a new lease on life—just grab some Colonial Persian Wool yarn and a small piece of evenweave fabric for an embroidery makeover that screams creativity louder than any stain. With this easy project, your favorite shirt, skirt, or pants will be rocking sashiko-inspired style and a fresh story to tell.
The Canvas: Selecting and Preparing Evenweave Fabric
Evenweave fabric is just that… even. The warp and weft threads are evenly spaced, setting you up for precise, symmetrical stitching. Common types— Davosa, Lugana, Aida, Hardinger, ect—come in various thread counts. For this project we recommend a 16–18 count evenweave; it’s just the right size to stitch up crisp geometric patterns. Don’t go out and buy the most expensive you can find… it does not end up in the final product. This is a great way to use up small leftover pieces of evenweave!
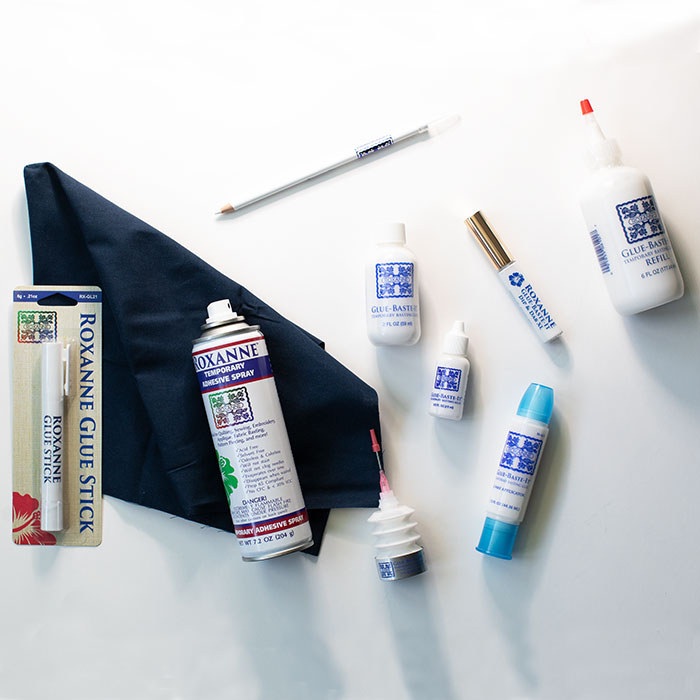
Threads and Tools
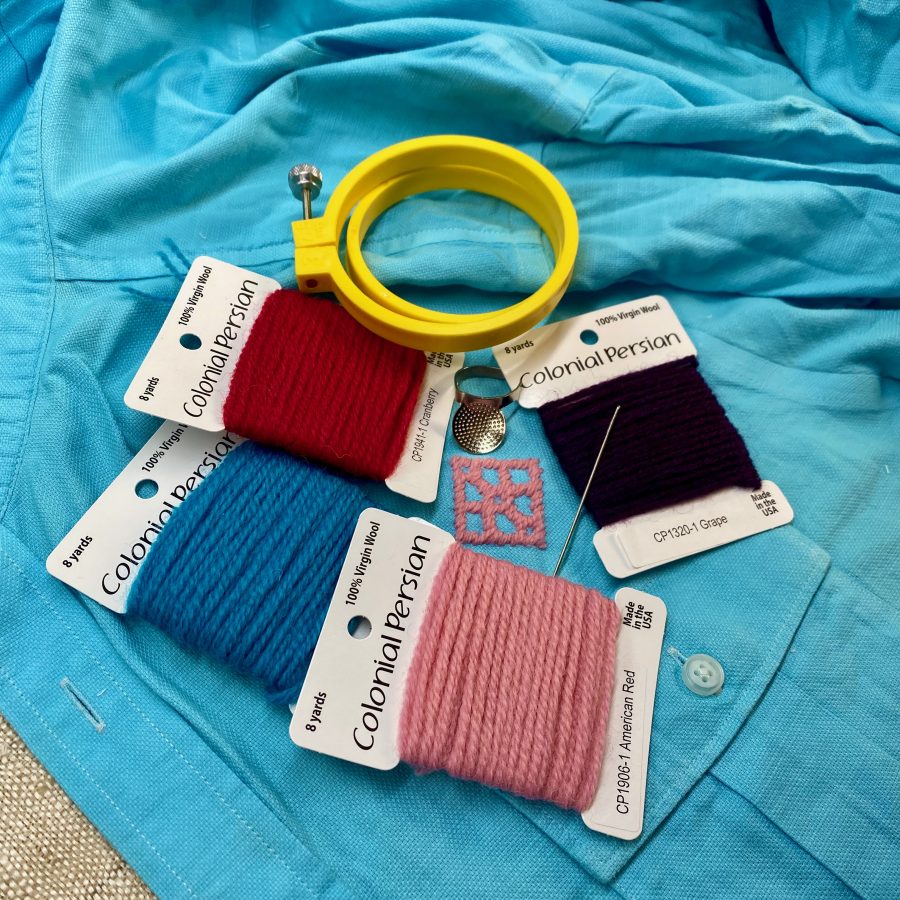
- Thread: Traditional kogin-zashi is all about thick cotton threads and floss, but hey, the modern crafter lives for something new—so we decided to give Colonial Persian Wool a shot. Wowzah, were we impressed with the results! It’s toothy and stands out beautifully in the final shirt!
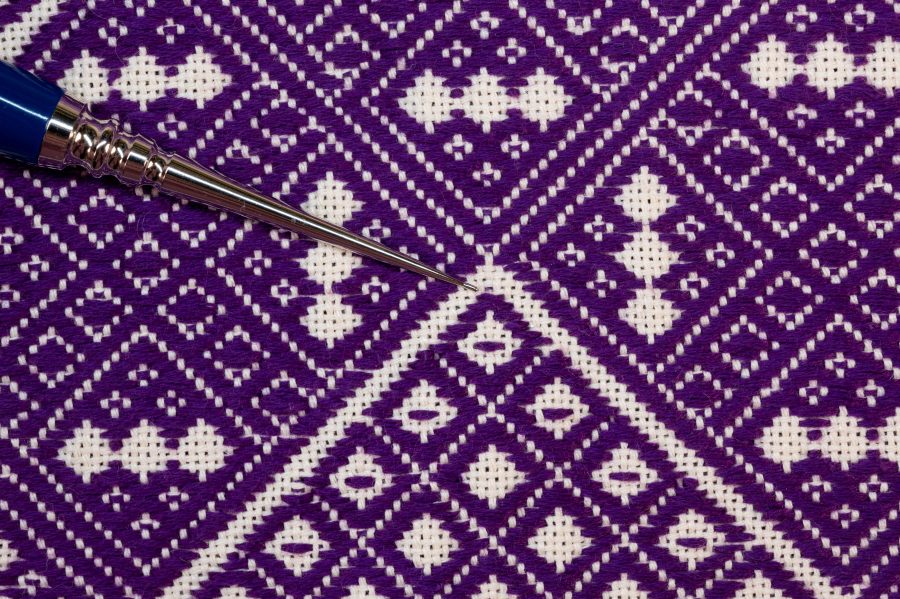
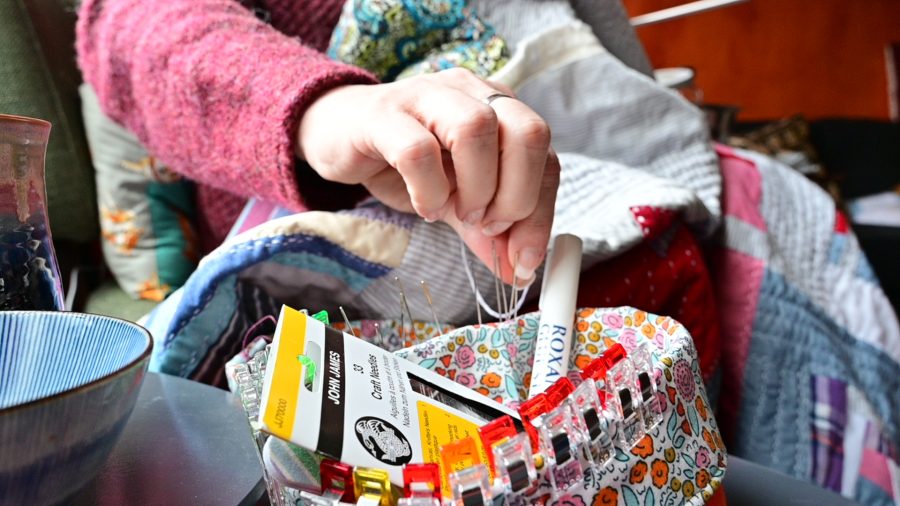
- Needle: Kogin needles tend to be longer and sturdier than a regular embroidery needle, suitable for thick threads and weaving through heavier fabric. We really like Colonial Needle’s Short Bullion Needles with Tapestry tips for this.
- Thimble: Colonial Needle’s Palm Thimble is the perfect tool for pushing the needle through both layers of fabric with ease.
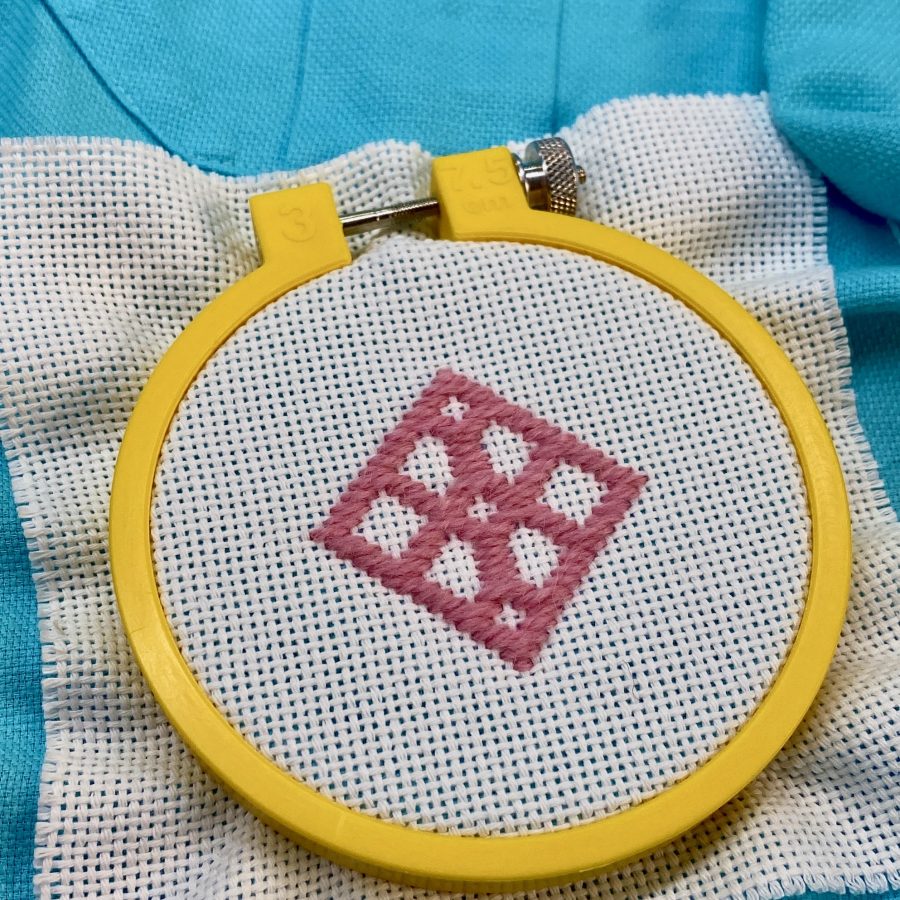
- Hoop: Embroidery hoops were not traditionally used in kogin stitching but are essential for this type of surface embroidery/visible mending. You’ll need a hoop at least 3’’ in diameter for a single motif or larger depending on the size of the spot you’re covering. Don’t worry… Colonial Needle Company has so many types and sizes of hoops, you’ll find what you need.
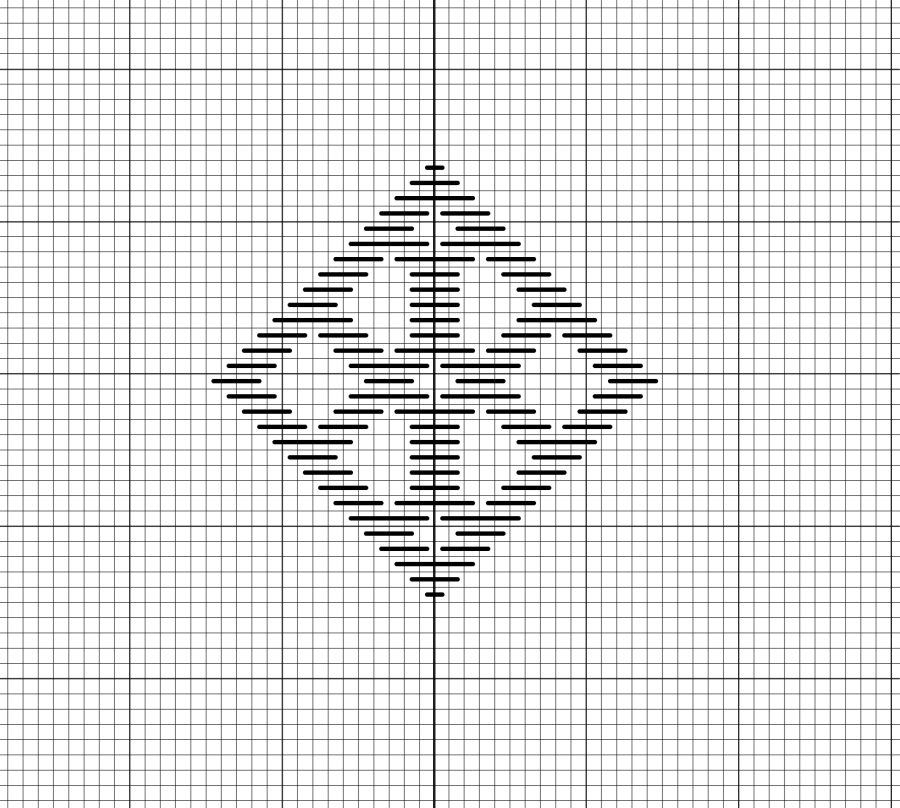
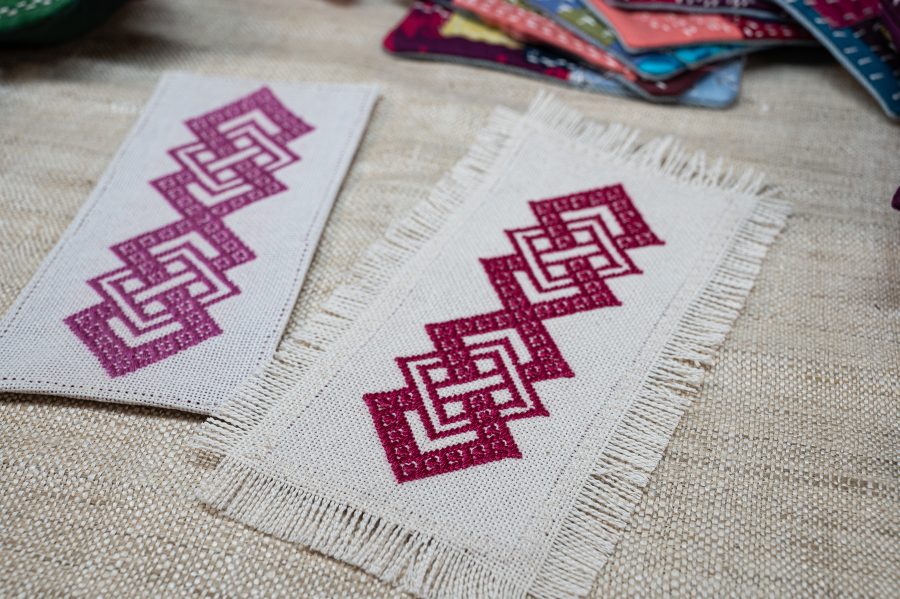
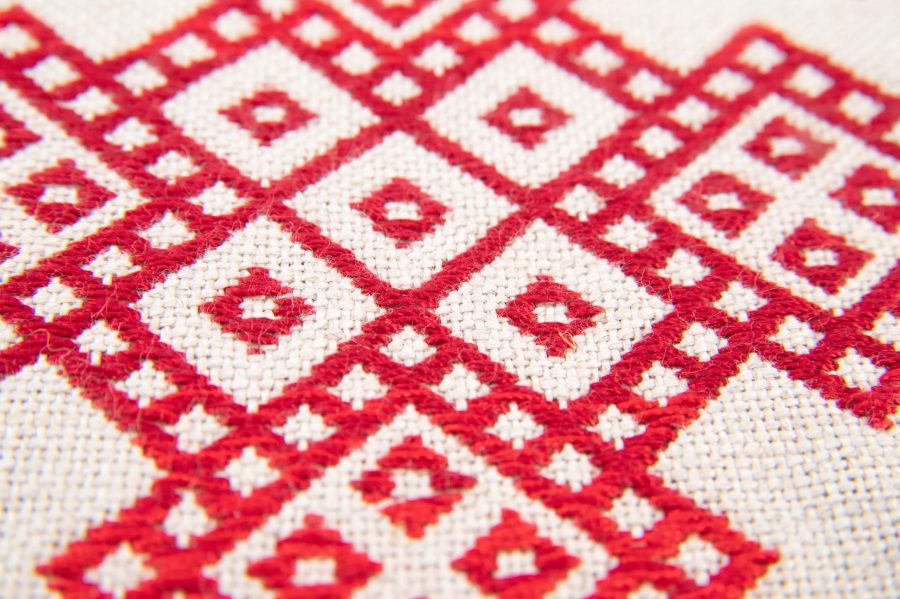
Modoko
We have provided a simple kogin motif (called a modoko) for you to use below. For more examples of modoko (both small and complex) check out our book Contemporary Kogin-zashi.
How To Stitch Kogin-zashi:
- Center the evenweave fabric on the stain on the right side of the shirt. Next, place the embroidery hoop over both the shirt fabric and the evenweave.
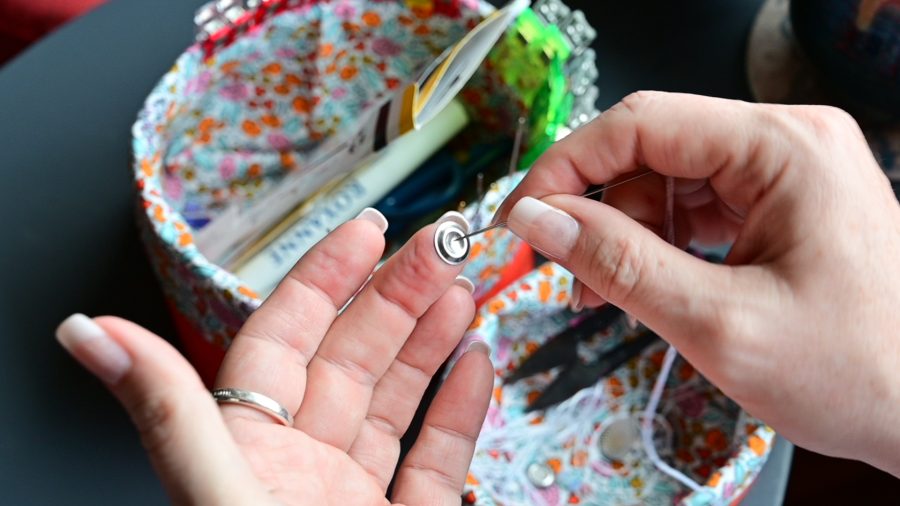
- Thread your needle. For this weight of fabric, we thread our needle with 2 strands of Colonial Persian Wool. You might prefer to use more or less depending on how dense or how puffy you like your stitches. Practice the motif of scrap fabric at least once to decide what you best like.
- Mark the center of the evenweave fabric to ensure your motif will be centered over the spot.
- Count over the number of threads from the center of the fabric to the left or right side of the center line of the motif. Then, working from the back, bring the needle up through both the shirt and evenweave fabric. Be careful to bring your needle up through up through the open holes of the evenweave fabric to prevent splitting the threads. Leave a small tail on the back for weaving in later.
- Work all the stitches in one row then turn your work and follow the next row of the pattern. Continue until you reach the top of the motif. Once the first half is complete return to the center row and work the second half in the opposite direction.
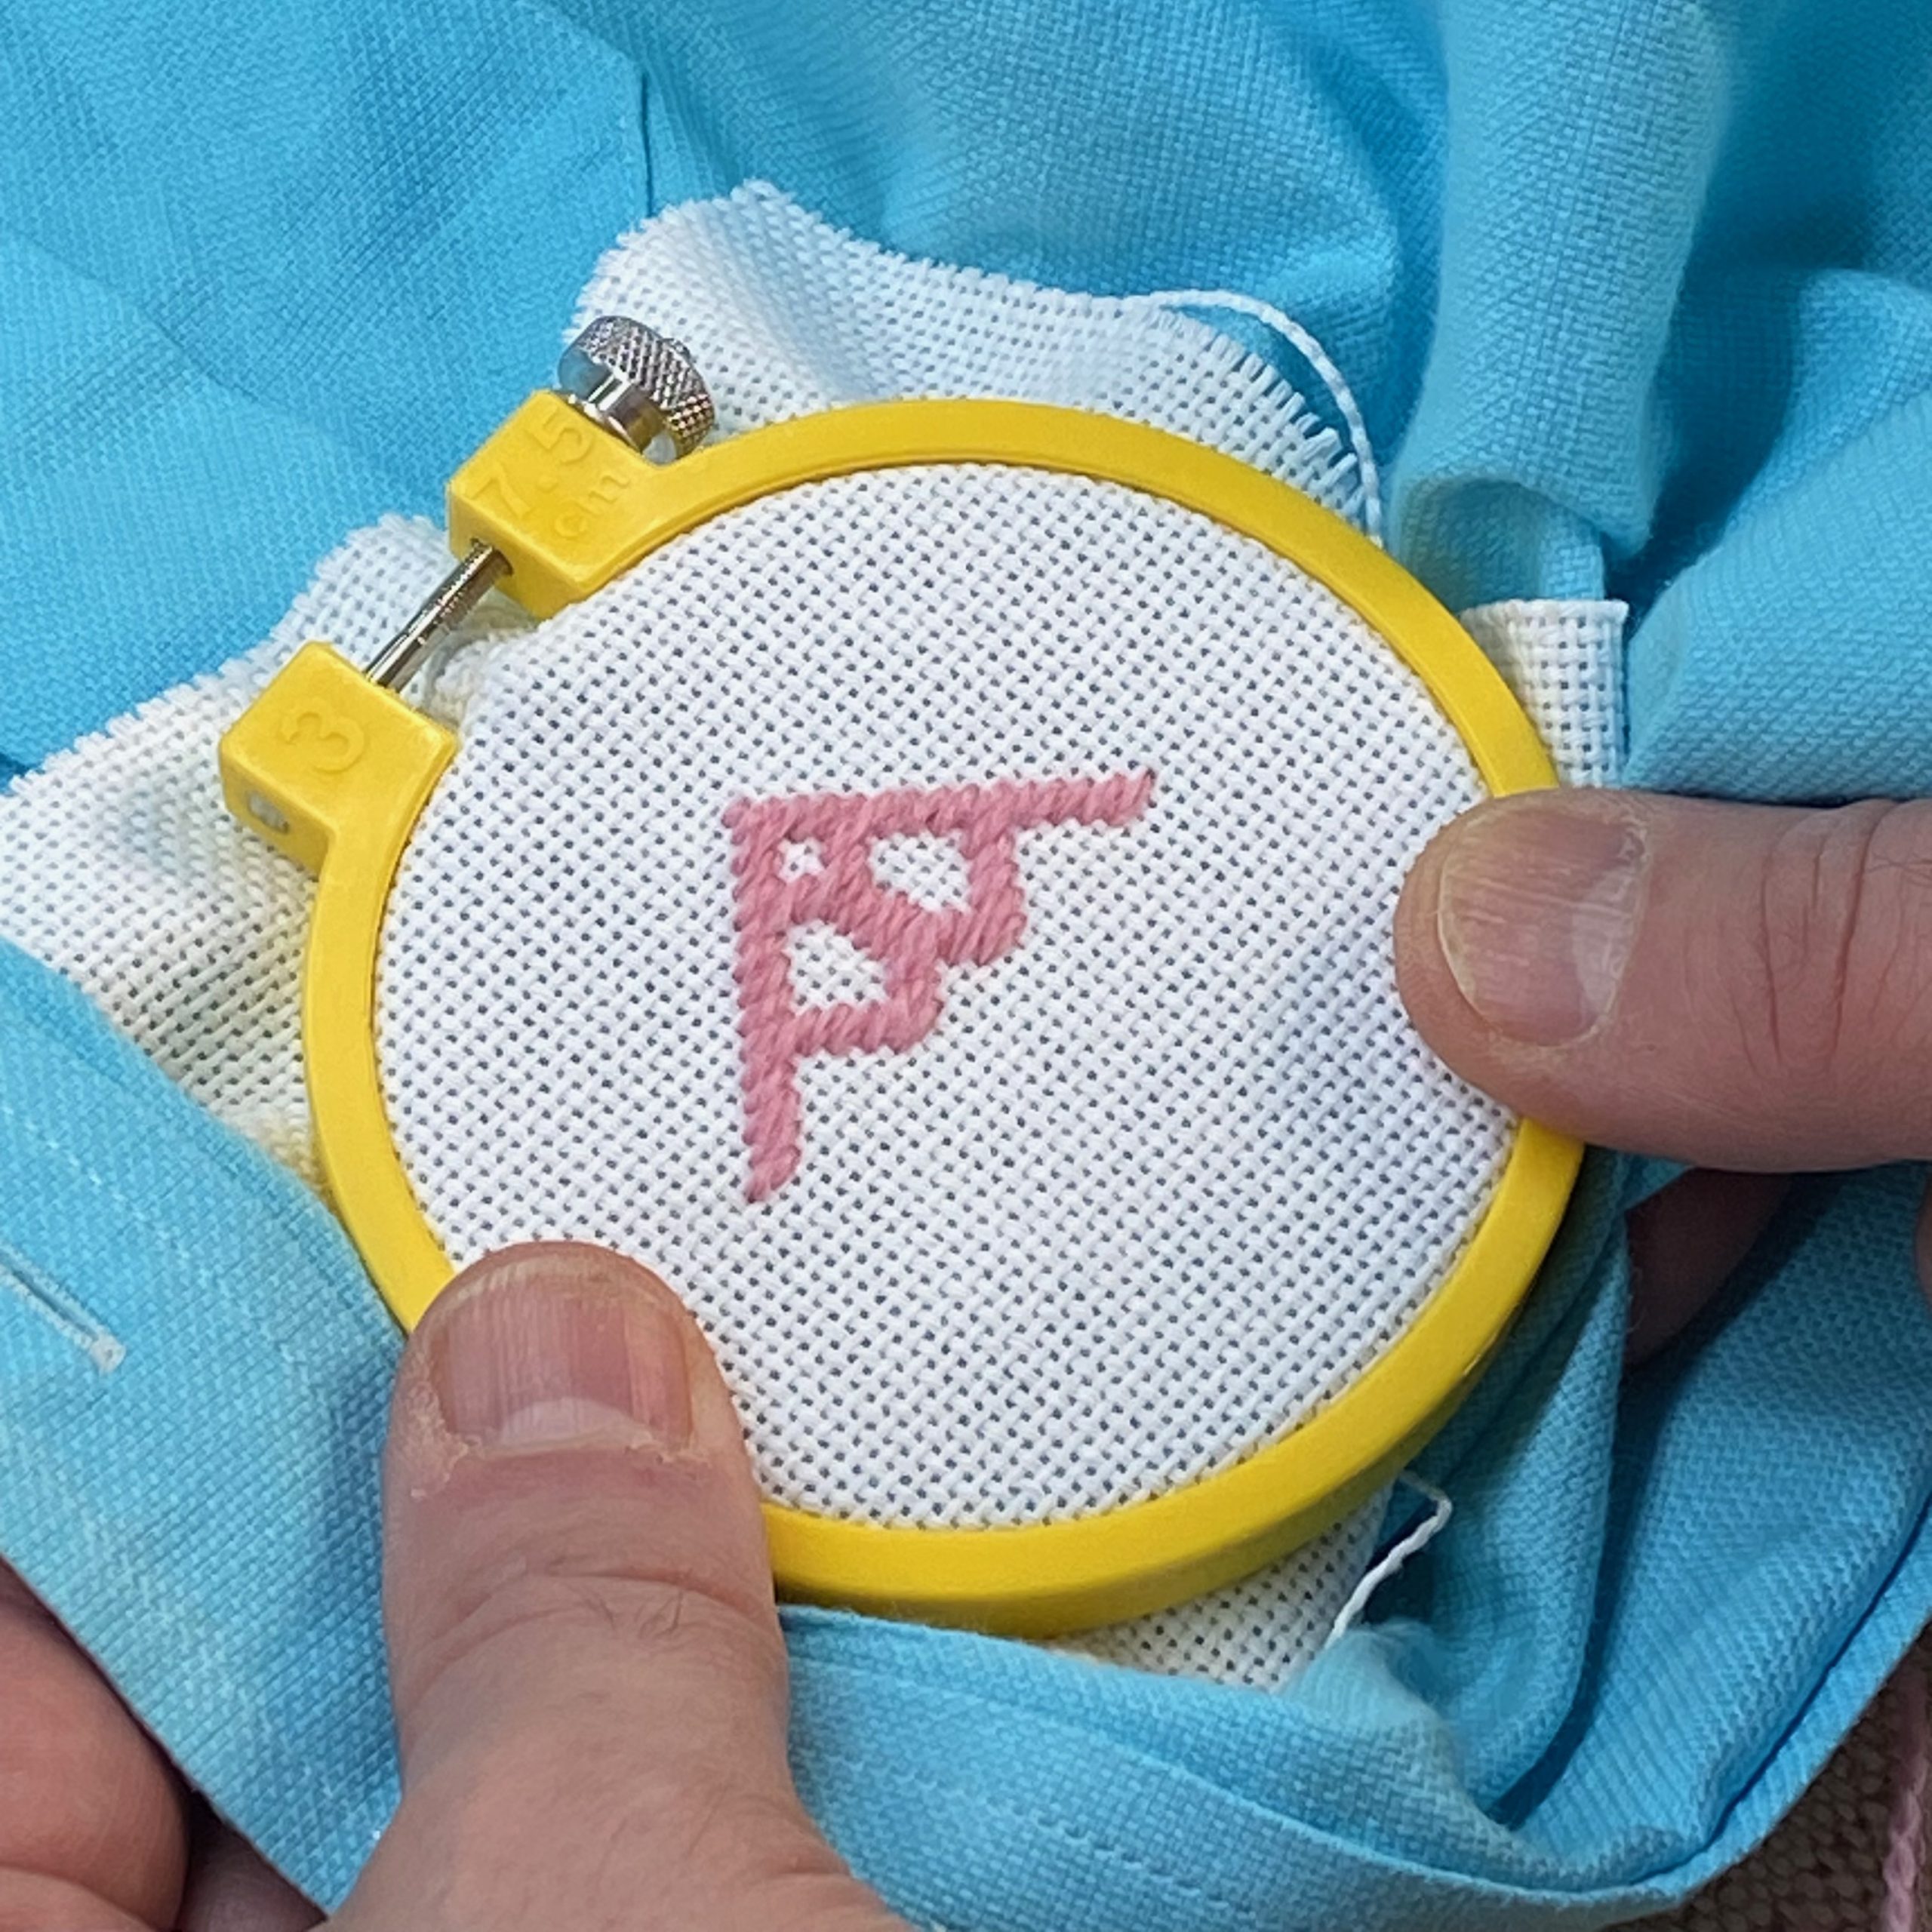
- Continue working row by row until the motif is complete. Secure thread ends neatly on the back.
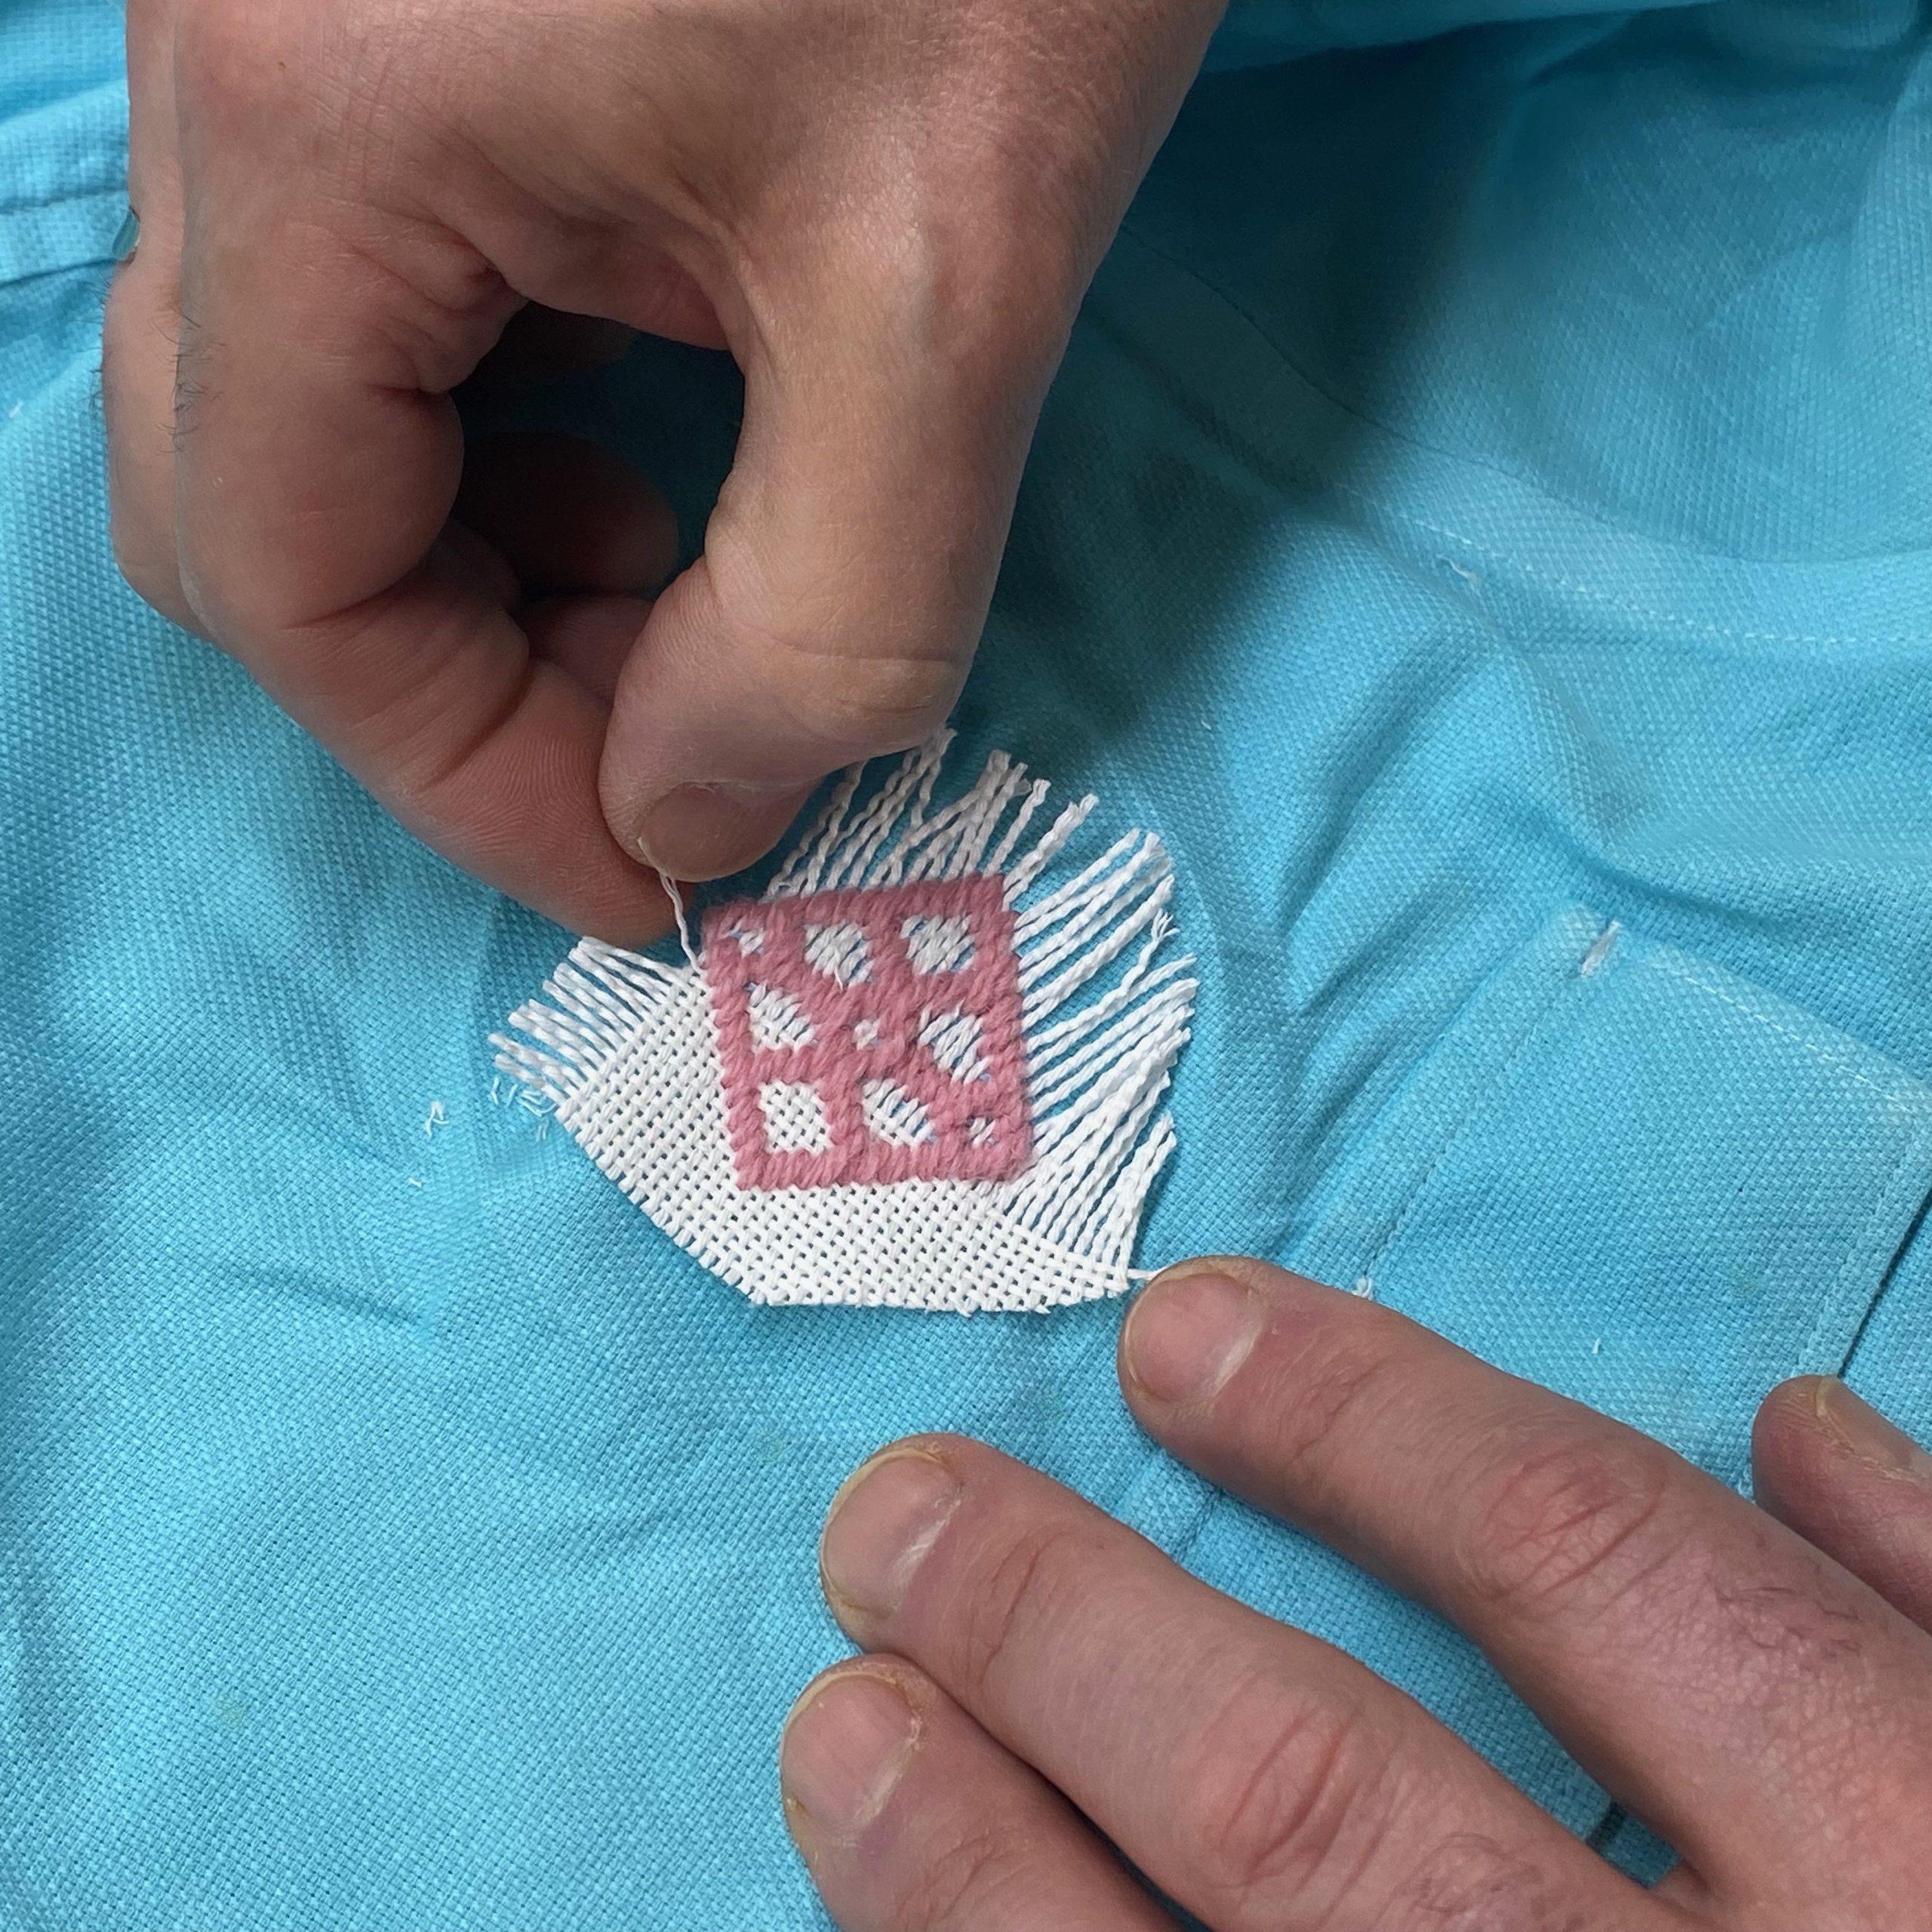
- After creating the motif and weaving in the ends of your yarn cut the excess evenweave fabric away then carefully remove the remaining evenweave by pulling strands of the fabric out one at a time. Once you are done removing the evenweave you will have a kogin motif sewn directly to your garment.
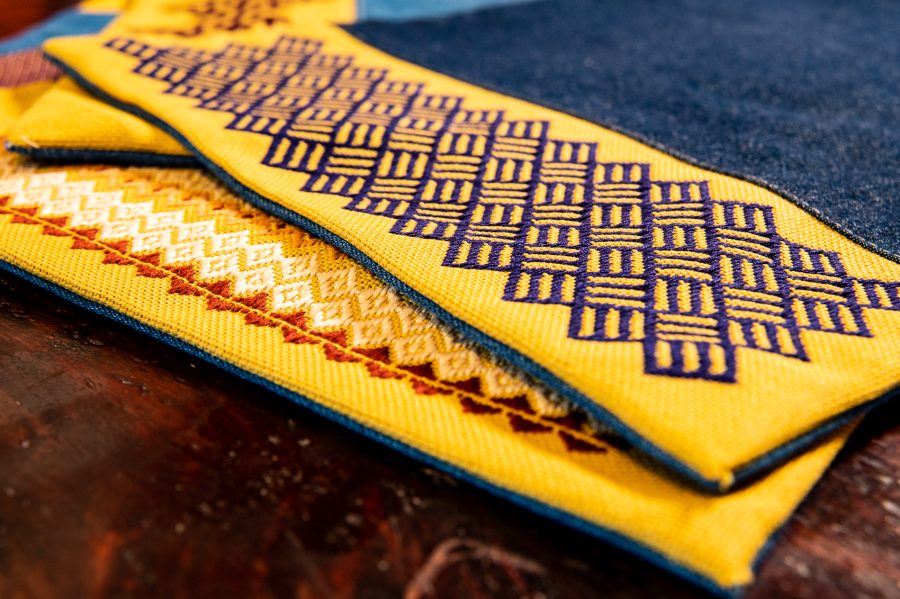
Kogin-zashi patterns are worked in horizontal rows, with stitches typically spanning an odd number of threads. The signature of kogin-zashi is its counting method: stitches pass over and under one, three, five, or seven threads. It’s a simple matter of reading each row of the chart and stitching what you see on it. Each horizontal row of stitches sets snuggly against the neighboring rows to build the solid motif.
Tips for successful stitching:
- Maintain even tension; stitches should lie flat but not pucker the fabric.
- Count threads carefully—precision is crucial for the pattern’s symmetry.
- Pay attention to the pattern’s overall flow and alignment, especially if stitching a repeating band or motif.
- Use shorter lengths of thread to minimize fraying and tangling.
You can use this same technique using cross stitch patterns and simple embroidery stitches. The evenweave fabric ensures your stitches are straight and the same size every time!
Caring for Your Kogin-Zashi Embellished Garment
Because Colonial Persian Wool is virgin wool, we recommend hand washing with a no-rinse soap and drying flat.
Weaving Old and New
Bringing kogin-zashi to your wardrobe is more than embellishing fabric; it’s about honoring a legacy of ingenuity, patience, and artistry. Whether you stitch for mindfulness, fashion, or the thrill of learning, using kogin-zashi for visible mending a garment offers a tangible connection to history and a canvas for your own story.
So, gather your threads, choose a garment, and stitch a little piece of the Tsugaru spirit into every wear. Each pattern, every careful row, is a celebration not only of the past but of the creative present—one stitch at a time.
Stitch On!
Shannon & Jason
