Featuring the Hearts to You Mug Rug Project
Reflecting on years past, when I was preschool age, my parents and I lived in an old three-story schoolhouse in Venice, Ohio. It sat quietly in the country, across the road from a cemetery, and was partitioned down the middle—our family on one side, a family of six on the other. I remember tagging along with my mother to the feed store, carefully choosing three printed chicken feed sacks that matched just right. She hand-stitched them into a new dress for me—clothing made from what is now considered a collector’s item.
Perhaps living in a schoolhouse and wearing feed-sack dresses was an early hint of what was down the road for me: a lifelong love of stitching, teaching, and encouraging others to create with their hands.
Over the years, I’ve taught countless “newbies” and not-so-newbies alike. My goal has always been the same—to help students feel confident, capable, and excited enough to keep sewing long after the class ends. The Hearts to You Mug Rug project is a perfect vehicle for that mission. It’s approachable, adaptable, and full of opportunities for learning and creativity.
Hearts to You Mug Rug Project
Fabrics
- 5” square felted white wool (top circle)
- 5” square felted red wool (bottom circle)
- 2 ¼” x 7” felted red wool (heart appliqués)
Notions
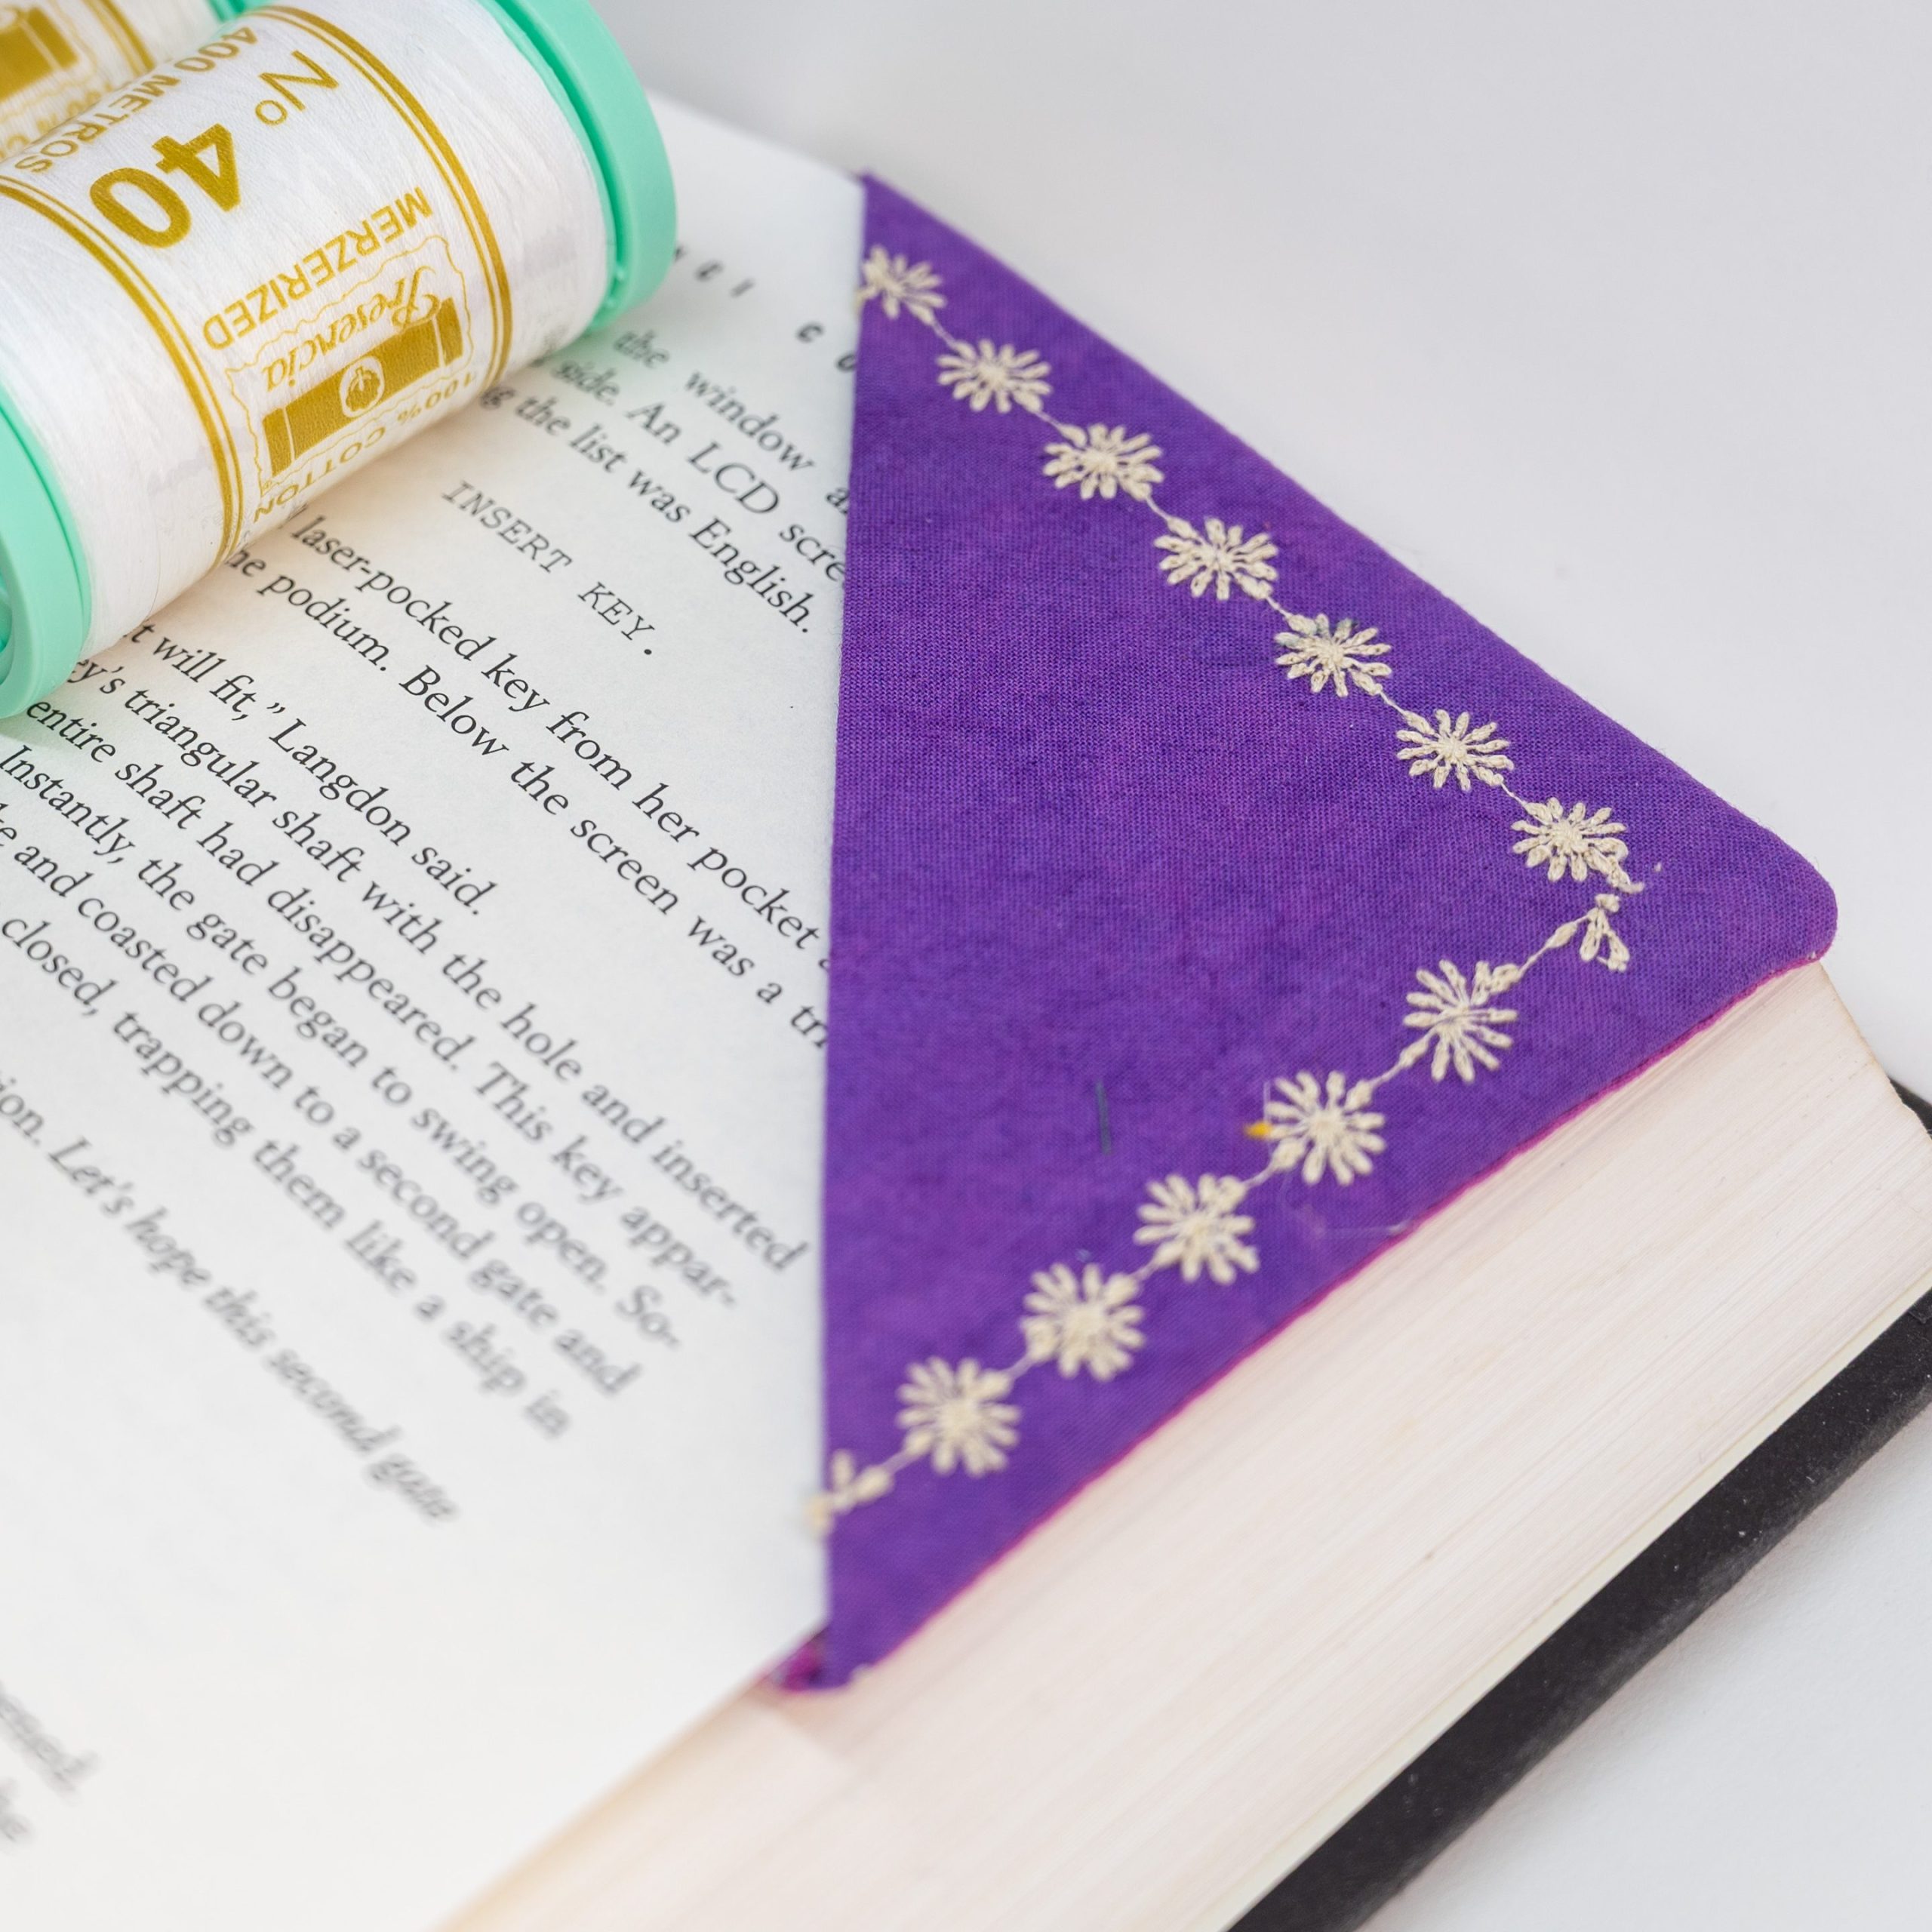
- Presencia Perle Cotton, Size 8, Color #9250 (Red Variegated)
- Roxanne Basting Glue
- John James Chenille Needle, Size 22
- Needle Grip-Its
Step-by-Step Project Instructions
This simple wool appliqué project is designed to build confidence while introducing or reinforcing basic hand-stitching skills. Encourage students to work at their own pace and remember: progress matters more than perfection.
Step 1: Prepare the Base Circles
Using the 5” felted white wool square and the 5” felted red wool square, cut one circle from each.
- The white circle will be your top/background.
- The red circle will be the base layer.
Tip: If students struggle with cutting smooth curves, provide a paper template or encourage slow, small scissor movements rather than long cuts.
Step 2: Layer and Secure
Place the white circle on top of the red circle, centering it carefully.
- Use pins, clips, Roxanne Basting Glue, or a few temporary basting stitches to hold the layers together.
- Check that the red shows evenly around the edges for a neat border.
Teaching moment: This is a great time to discuss alignment, balance, and how layering adds visual interest.
Step 3: Cut the Heart Appliqués
From the 2 ¼” x 7” piece of felted red wool, cut two small hearts.
- Hearts do not need to be identical—slight variations add charm.
- Encourage students to draw heart shapes lightly with pencil if helpful.
Ask: How could you change the shape or size of the hearts to make this project your own?
Step 4: Position the Hearts
Arrange the hearts on the white circle until you’re happy with the placement.
- Overlapping hearts create depth and interest.
- Once positioned, secure with pins, glue, or a few basting stitches.
Visual learners benefit from seeing multiple layout examples before stitching.
Step 5: Thread the Needle
Thread a John James Chenille Needle, size 22 with Presencia Perle Cotton size 8, color #9250.
- Use a Needle Grip-It if needed to improve control and comfort.
- Tie a knot at the end of the thread.
Word clue reminder: “The older I get, the finer I am.” (Thicker thread = larger needle.)
Step 6: Stitch the Hearts in Place
Using a simple blanket stitch or whip stitch, appliqué the hearts onto the white circle.
- Keep stitches evenly spaced.
- Remind students that stitches don’t need to be perfect to be effective.
Encouragement: An error is not a terror! Wool is forgiving and easy to adjust.
Step 7: Stitch the Circles Together
Stitch around the edge of the white circle, securing it to the red circle beneath.
- A blanket stitch works well and adds a decorative finish.
- Rotate the project as you stitch to maintain consistent spacing.
Tip: Take breaks to avoid hand fatigue and maintain stitch quality.
Step 8: Finish and Secure
When you reach your starting point:
- Take a small securing stitch.
- Run the needle between layers for about an inch and trim the thread close to the fabric.
This hides the thread tail and creates a clean finish.
Step 9: Show, Share, and Reflect
Invite students to share their finished mug rugs.
Discussion prompts:
- What stitch or step was your favorite?
- What was challenging?
- Where else could you use this technique?
Celebrate each piece—every project tells a story.
Teaching Tips & Techniques That Set Students Up for Success
Start with Connection
- Introduce yourself. Let students know who you are—not just as a teacher, but as a stitcher. A personal story builds trust.
- Learn where your students are from. Geography, background, and experience all shape how people learn.
- Set and state your goal clearly. Whether it’s mastering a stitch or completing the project, clarity matters.
- Ask students about their goals. When learners name their own objectives, they’re more invested.
Create a Positive Learning Environment
- Set students up for success—and be positive. Confidence grows in encouraging spaces.
- “We are successful because we are flexible.” Adjust pacing, methods, and expectations as needed.
- Simplify wherever possible. Break techniques into manageable steps.
- Set high standards for yourself. Preparation and enthusiasm are contagious.
- Manage time wisely and plan ahead. A smooth class keeps frustration at bay.
- Provide extra tools—scissors, pencils, needles, fabrics, notions—and label them clearly.
Teach to All Learning Styles
- Identify learning styles: visual, auditory, kinesthetic—or a combination.
- Make accommodations: Needle Grip-Its, good lighting, comfortable seating, and adequate workspace go a long way.
- “An error is not a terror.” Mistakes are learning opportunities.
- “It is okay to break rules.” Creativity often lives just beyond them.
- Expect the unexpected. Threads tangle, needles bend, plans change—and that’s okay.
Show, Tell, and Practice
- Use visuals and drawings. Sometimes a sketch explains more than words.
- Demonstrate for large groups and again for smaller groups when needed.
- Provide time for guided practice. Stitch alongside students.
- Allow independent practice while monitoring and encouraging.
- Vary group sizes and group members. Learning from peers is powerful.
- Use pull-out groups for extra help or advanced exploration.
- Show and share as you go. Celebrate progress, not just finished pieces.
Use Clues and Encouragement
- Word clues:
“Just like me, the older I get, the finer I am. The same is true for thread and hand sewing needles. Sewing machine needles are the opposite.” - Visual clues:
Place a sticker in the top right-hand corner of a square-up ruler to indicate step one. - Reduce frustration: Encourage breaks, mark with tape, and avoid Sharpie markers on fabric.
Engage Creativity and Reflection
- Engage students with questions:
- How could you change the design?
- Which color do you prefer?
- How did you get that corner so sharp?
- What would you do differently next time?
- Transfer learning: Where else could you use this technique?
- Check back: What did you learn today?
- Reflect together: What would you keep, eliminate, or change?
- Appoint “maestras.” Peer leaders build confidence and community.
- Keep it FUN! Joy is the best teacher of all.
Sewing Beyond the Project
The Hearts to You Mug Rug may be a small piece, but it carries big lessons—about patience, flexibility, creativity, and community. When students leave class feeling successful and eager to stitch again, we’ve done our job.
After all, sewing isn’t just about thread and fabric. It’s about stories passed down, skills shared, and hearts stitched into every piece.
Happy Stitching!
Judy Moore Pullen