DIY Fabric Cards

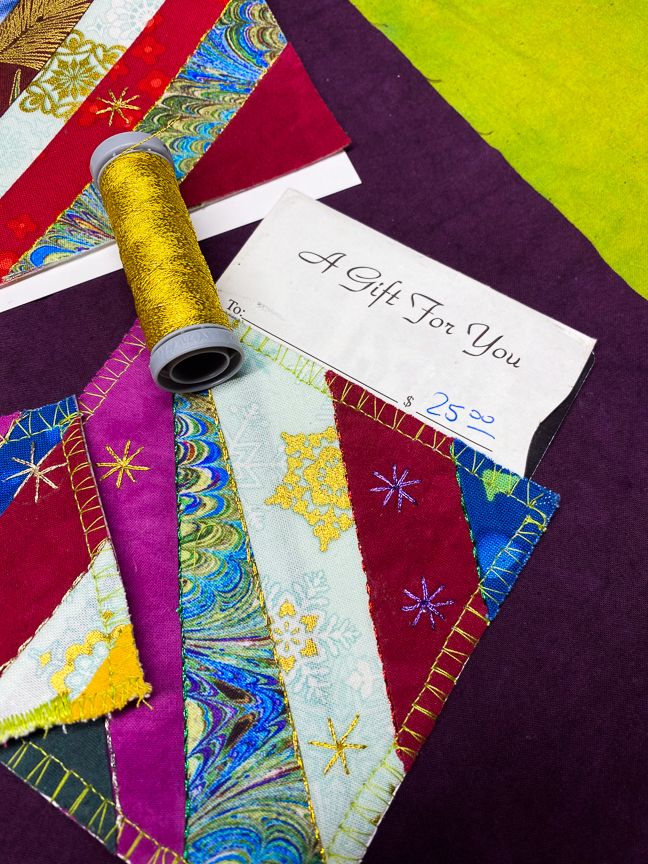
Fabric cards are the perfect way to add a little OMPH to your gift giving and they show that you really do care enough to send something handmade…even if you don’t have a lot of spare time or the extra brain capacity for a larger project. Easy to customize to any size for any occasion (maybe a certain winter holiday that is coming up?), fabric cards show you went that extra mile and put thought and effort into the gift-giving experience. They make that special person receiving the card feel seen and appreciated. Fabric cards have a distinctive handmade quality that is hard to replicate with mass-produced, store-bought cards and it is this uniqueness that adds charm and character to your gift.
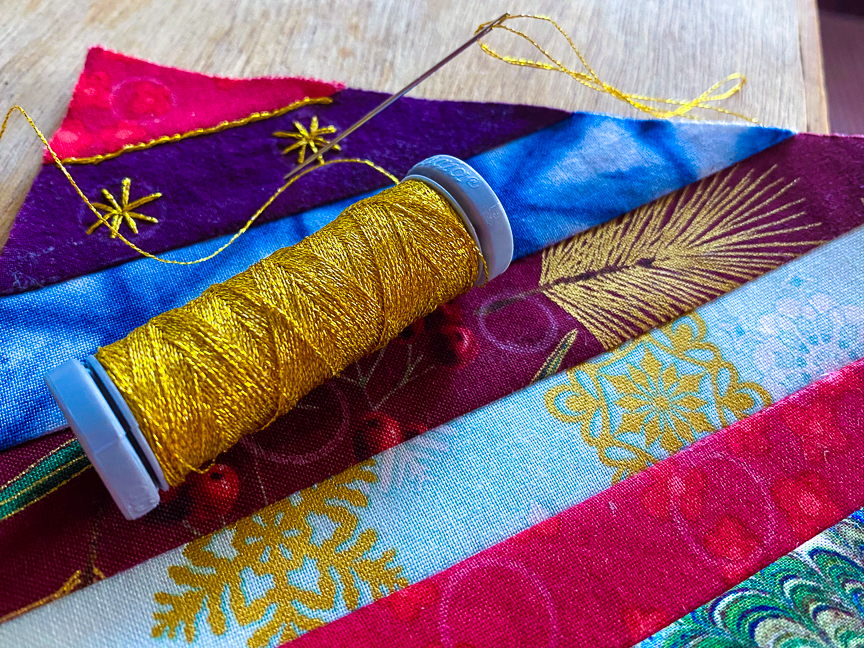
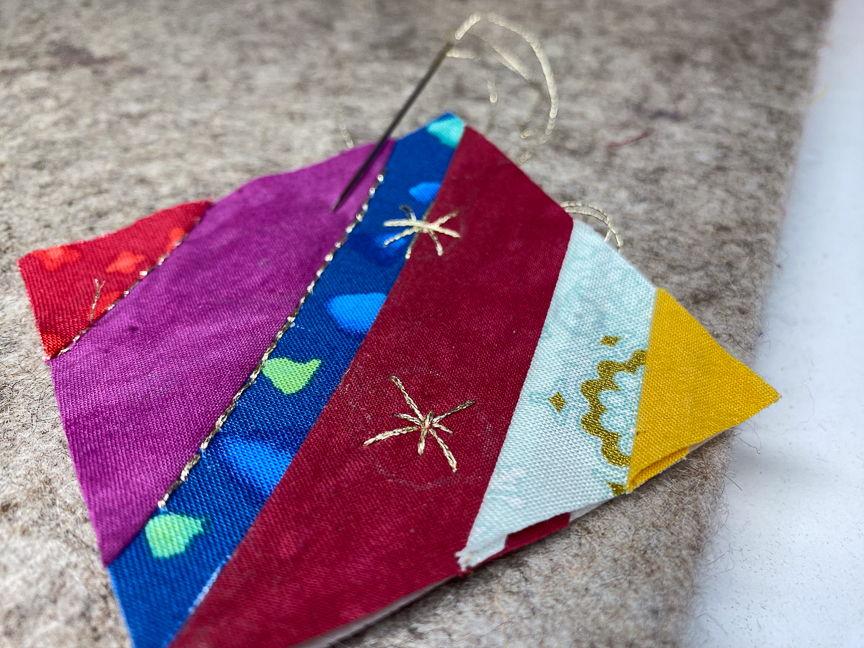
They are super easy to make! Fabric scraps are pretty inexpensive and if you are already a sewist or know someone who is, you might already have the materials you need to create your own mini textile masterpiece. Add some quilting or embroidery and your creation really goes to the next level. You can hand stitch, applique, or machine embroider each one for a one-of-a-kind product. We used Finca Metallic Thread to hand embroider our fabric cards. Send yours as postcards, framed miniature textile art, gift tags, or leave one side open to insert a gift card. However you use them, if you are like us, you will end up making several *ahem* extra which is a good thing because you never know when you will need a little piece of handmade excellence to add to your gifting.

Here is how we make ours.

Supplies:

  • Fusible interfacing or stabilizer
  • Fabric scraps (1–2”wide and long enough to cover your card)
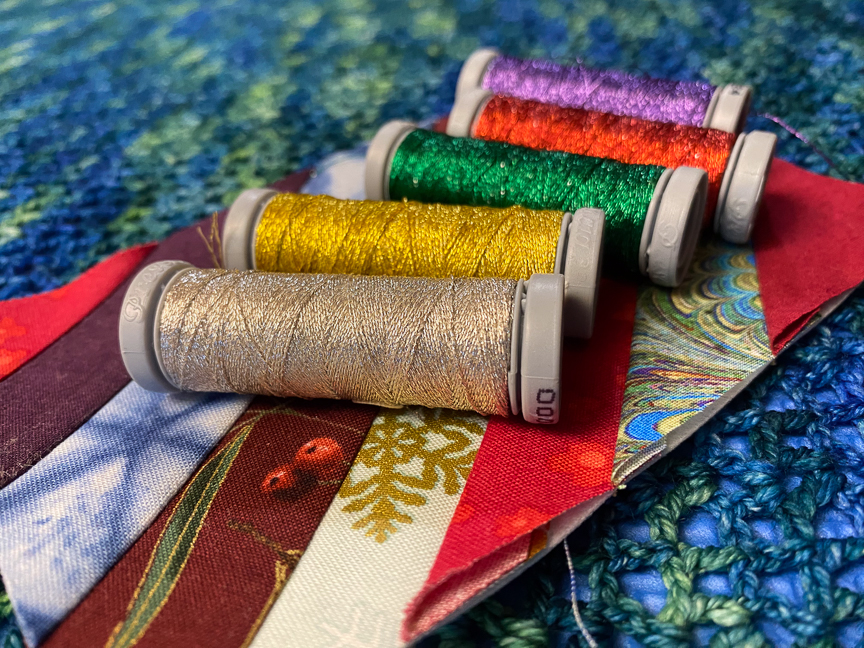
  • Finca Metallic Thread – 1 Ply for machine embroidery, 2 Ply for hand stitching.
  • Crewel Needle–Large eye and sharp tip make easy work of the layers
  • Sewing machine with all-purpose thread and jeans needle or embroidery needle
  • Roxanne Glue–Glue Stick or Dip & Dab XL Tube
  • Cover Stock Paper or similar for backing (we like Kraft-Tex for sturdy projects)
    Note: You can use cotton fabric for the backing too. The end result is not as“cardlike”.
  • Scissors or rotary cutter

Cuts:

Cut stabilizer/interfacing to your desired size – Standard post card size is 4”x6” but you can make your cards any size you like
Cut paper backing to the same size as stabilizer
Instructions:

  1. Place strips of fabric on the stabilizer deciding on placement, color, texture, ect.
  2. Remove your chosen strips and place the center strip face up on the stabilizer. We like using diagonal lines, so our first strip covers from the top left corner to the bottom right. You do you though…
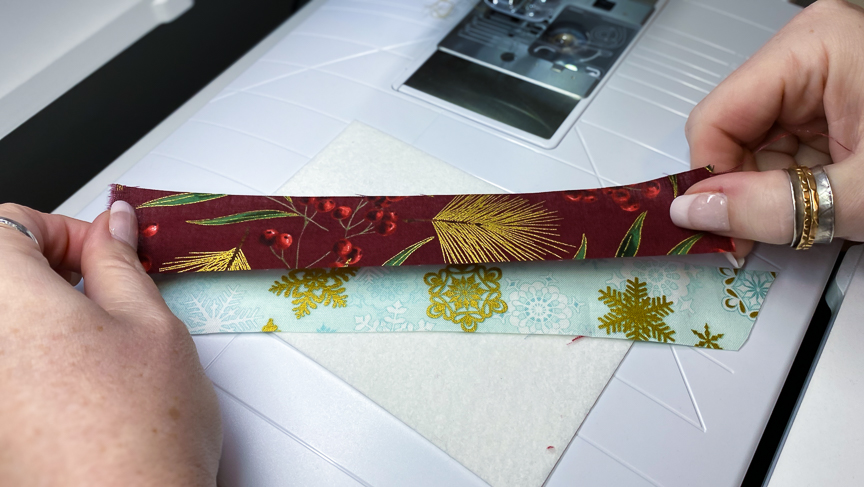
  3. Place an adjacent strip on top of the first one with Right sides facing. Sew the seam using a 1/4’’ to 3/8’’ seam allowance. Make sure the fabric covers past the edge.
  4. Press the seam open being careful to watch if your stabilizer has a fusible backing (you can also finger press the seam open as well).
  5. Continue in this manner sewing strips on one at a time moving in one direction.
  6. Once you have covered the first half, turn your card and repeat the process goingf rom the center to the opposite corner.
  7. Once the stabilizer is completely covered turn Right side down and trim off the excessfabric.
  8. Secure the last 2 corners using a glue stick or Roxanne Dip & Dab XL Tube
  9. Add embroidery to your card by hand or machine.
    a. If embroidering by hand use Finca 2-Ply Metallic Thread held double.
    b. If machine embroidering use Finca 1-Ply Metallic Thread as your top thread and all-purpose thread in the bobbin.
  10. Once embroidery is complete apply the paper back to the card.
    a. If your stabilizer has a fusible back you can use an iron to secure otherwise glue the card to the back
    b. If you are using the fabric card as a gift card holder skip this step.
  11. Machine or hand sew a zig-zag or edging stitch around the card to secure the edge.
    a. We specifically like using fabric cards as holders for gift cards…just leave one side open so you can slide the card inside the pocket
    b. If you want to use a satin stitch along the edge, use a fabric backing instead of paper. The punching of the needle that many times will perforate the backing causing it to tear off easily.

Optional: Use a hole punch in one corner of the finished card and thread it with sparkly thread oryarn as a beautiful gift tag.

Gift cards like this can be mailed using standard postage…you’ll need to weigh the item to ensure you have enough postage attached to it. They do tend to get dirty in the mail so we opt for mailing them in an envelope.
For a video tutorial visit our YouTube page here.

We hope you decide to make a few fabric cards this season for your loved ones…let us know how you like them!

Shannon & Jason

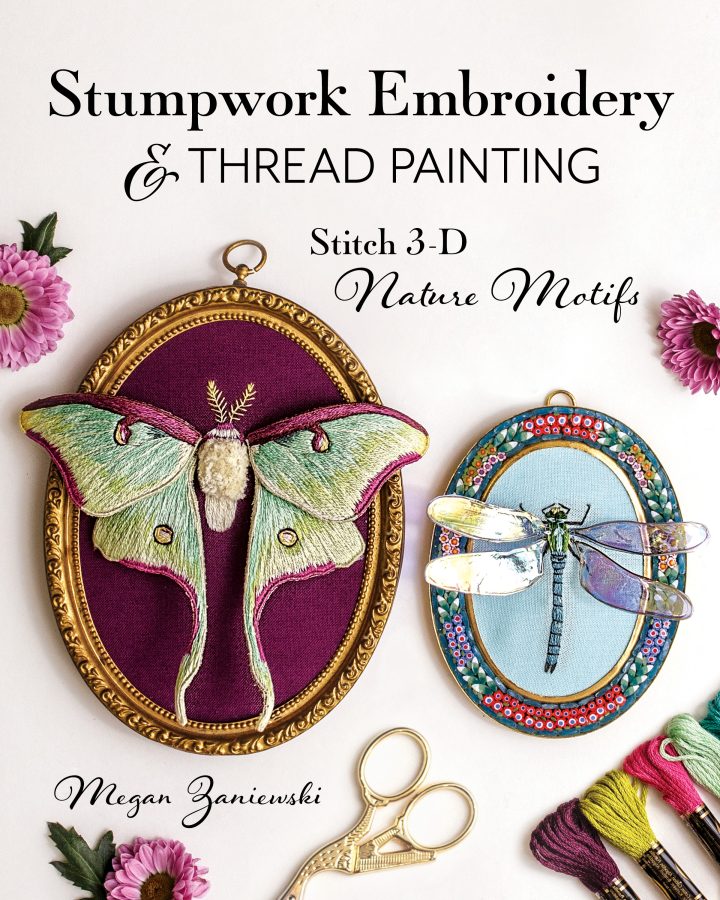
Stumpwork Embroidery & Thread Painting

We are so excited to announce a guest contributor to our blog this week, Megan Zaniewski! Megan has recently authored a new book sharing her techniques, tips, and tricks for stitching 3D Nature Motifs. This book is an absolute delight and includes beautiful pictures and easy-to-follow descriptions and instructions to create your own thread masterpieces. We are truly inspired by her work and are thrilled to be able to share a digital copy of her book with one lucky winner!

*To Enter: Follow us and Megan on Instagram and be sure to like the contest post. For additional entries, tag a friend in the comments. Each tag = one additional entry so be sure to share the love!

Hi! I’m Megan Zaniewski, author of Stumpwork Embroidery & Thread Painting: Stitch 3D Nature Motifs and I’m guest writing for Colonial Needle today to discuss my favorite needles for thread painting and stumpwork embroidery techniques and share some tips for selecting the correct needle size for your project.

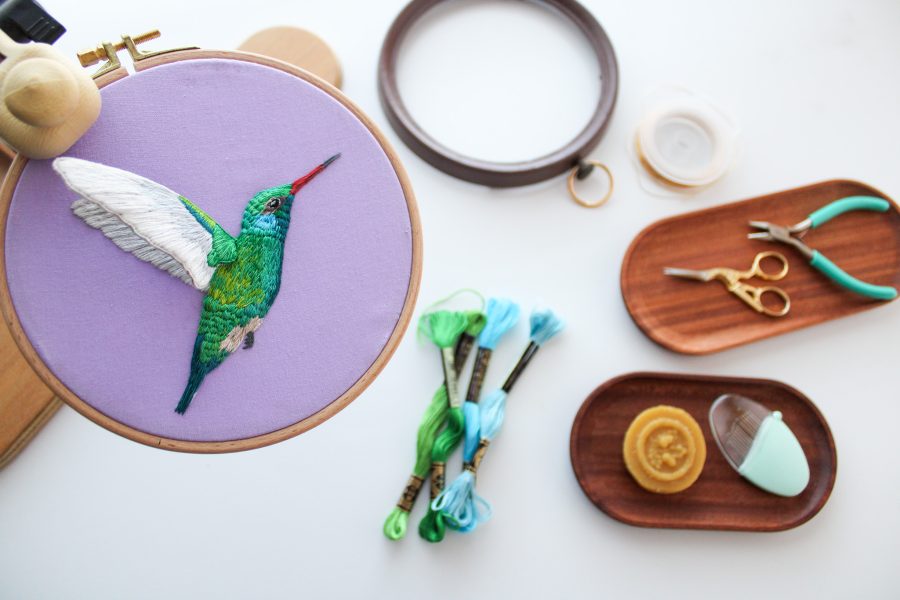
Embroidery tablescape with stitching tools

Why is needle choice important?

Even though the differences between different types of needles and their sizes may seem slight or insignificant, choosing the appropriate needle for your project can make a big difference in your stitching experience and the quality and look of your finished work. 

The type of embroidery you are doing will help determine the type of needle you select. John James Sharps and Embroidery needles are both well-suited, high-quality choices for most hand embroidery with 6-strand cotton embroidery thread, including thread painting and stumpwork techniques. 

What is thread painting?

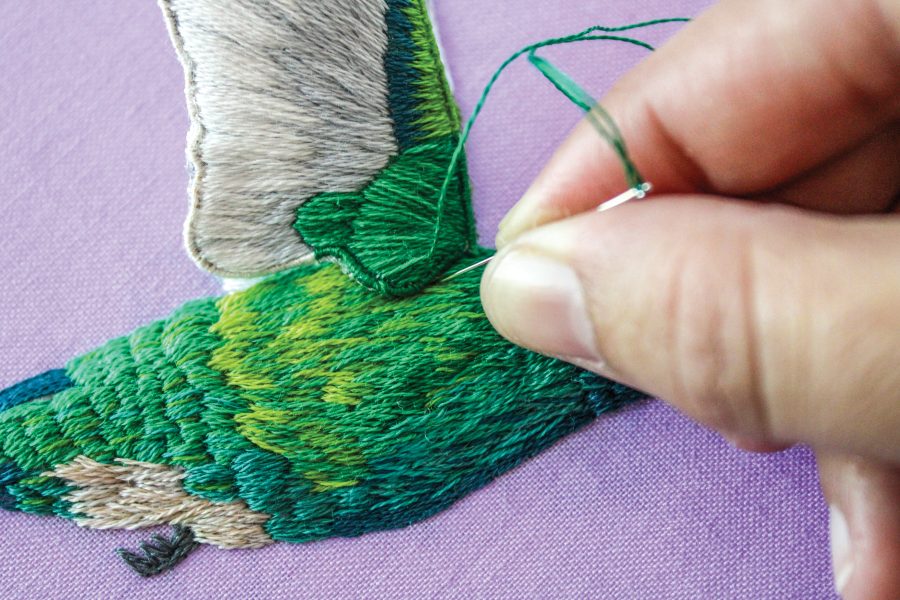
Thread painting refers to an embroidery style where long and short stitches are used to blend threads, similar to the way a painter blends paint with brushstrokes. Thread painted designs are most often worked in stranded cotton embroidery thread or silk split down to 1 or 2 strands at a time. This blending technique allows the artist to create depth and shadows that render their subjects in realistic, precise detail. This type of detailed embroidery requires a thin needle with a sharp point profile to achieve the best amount of coverage and detail in your work. When thread painting with a single thread of stranded cotton, a size 10 John James Sharp needle is my preferred needle. For 2 strands, I use a size 9 John James Sharp needle. 

A thread painted hummingbird body.
A Hummingbird stitched using Megan Zaniewski’s thread painting technique.

What is stumpwork?

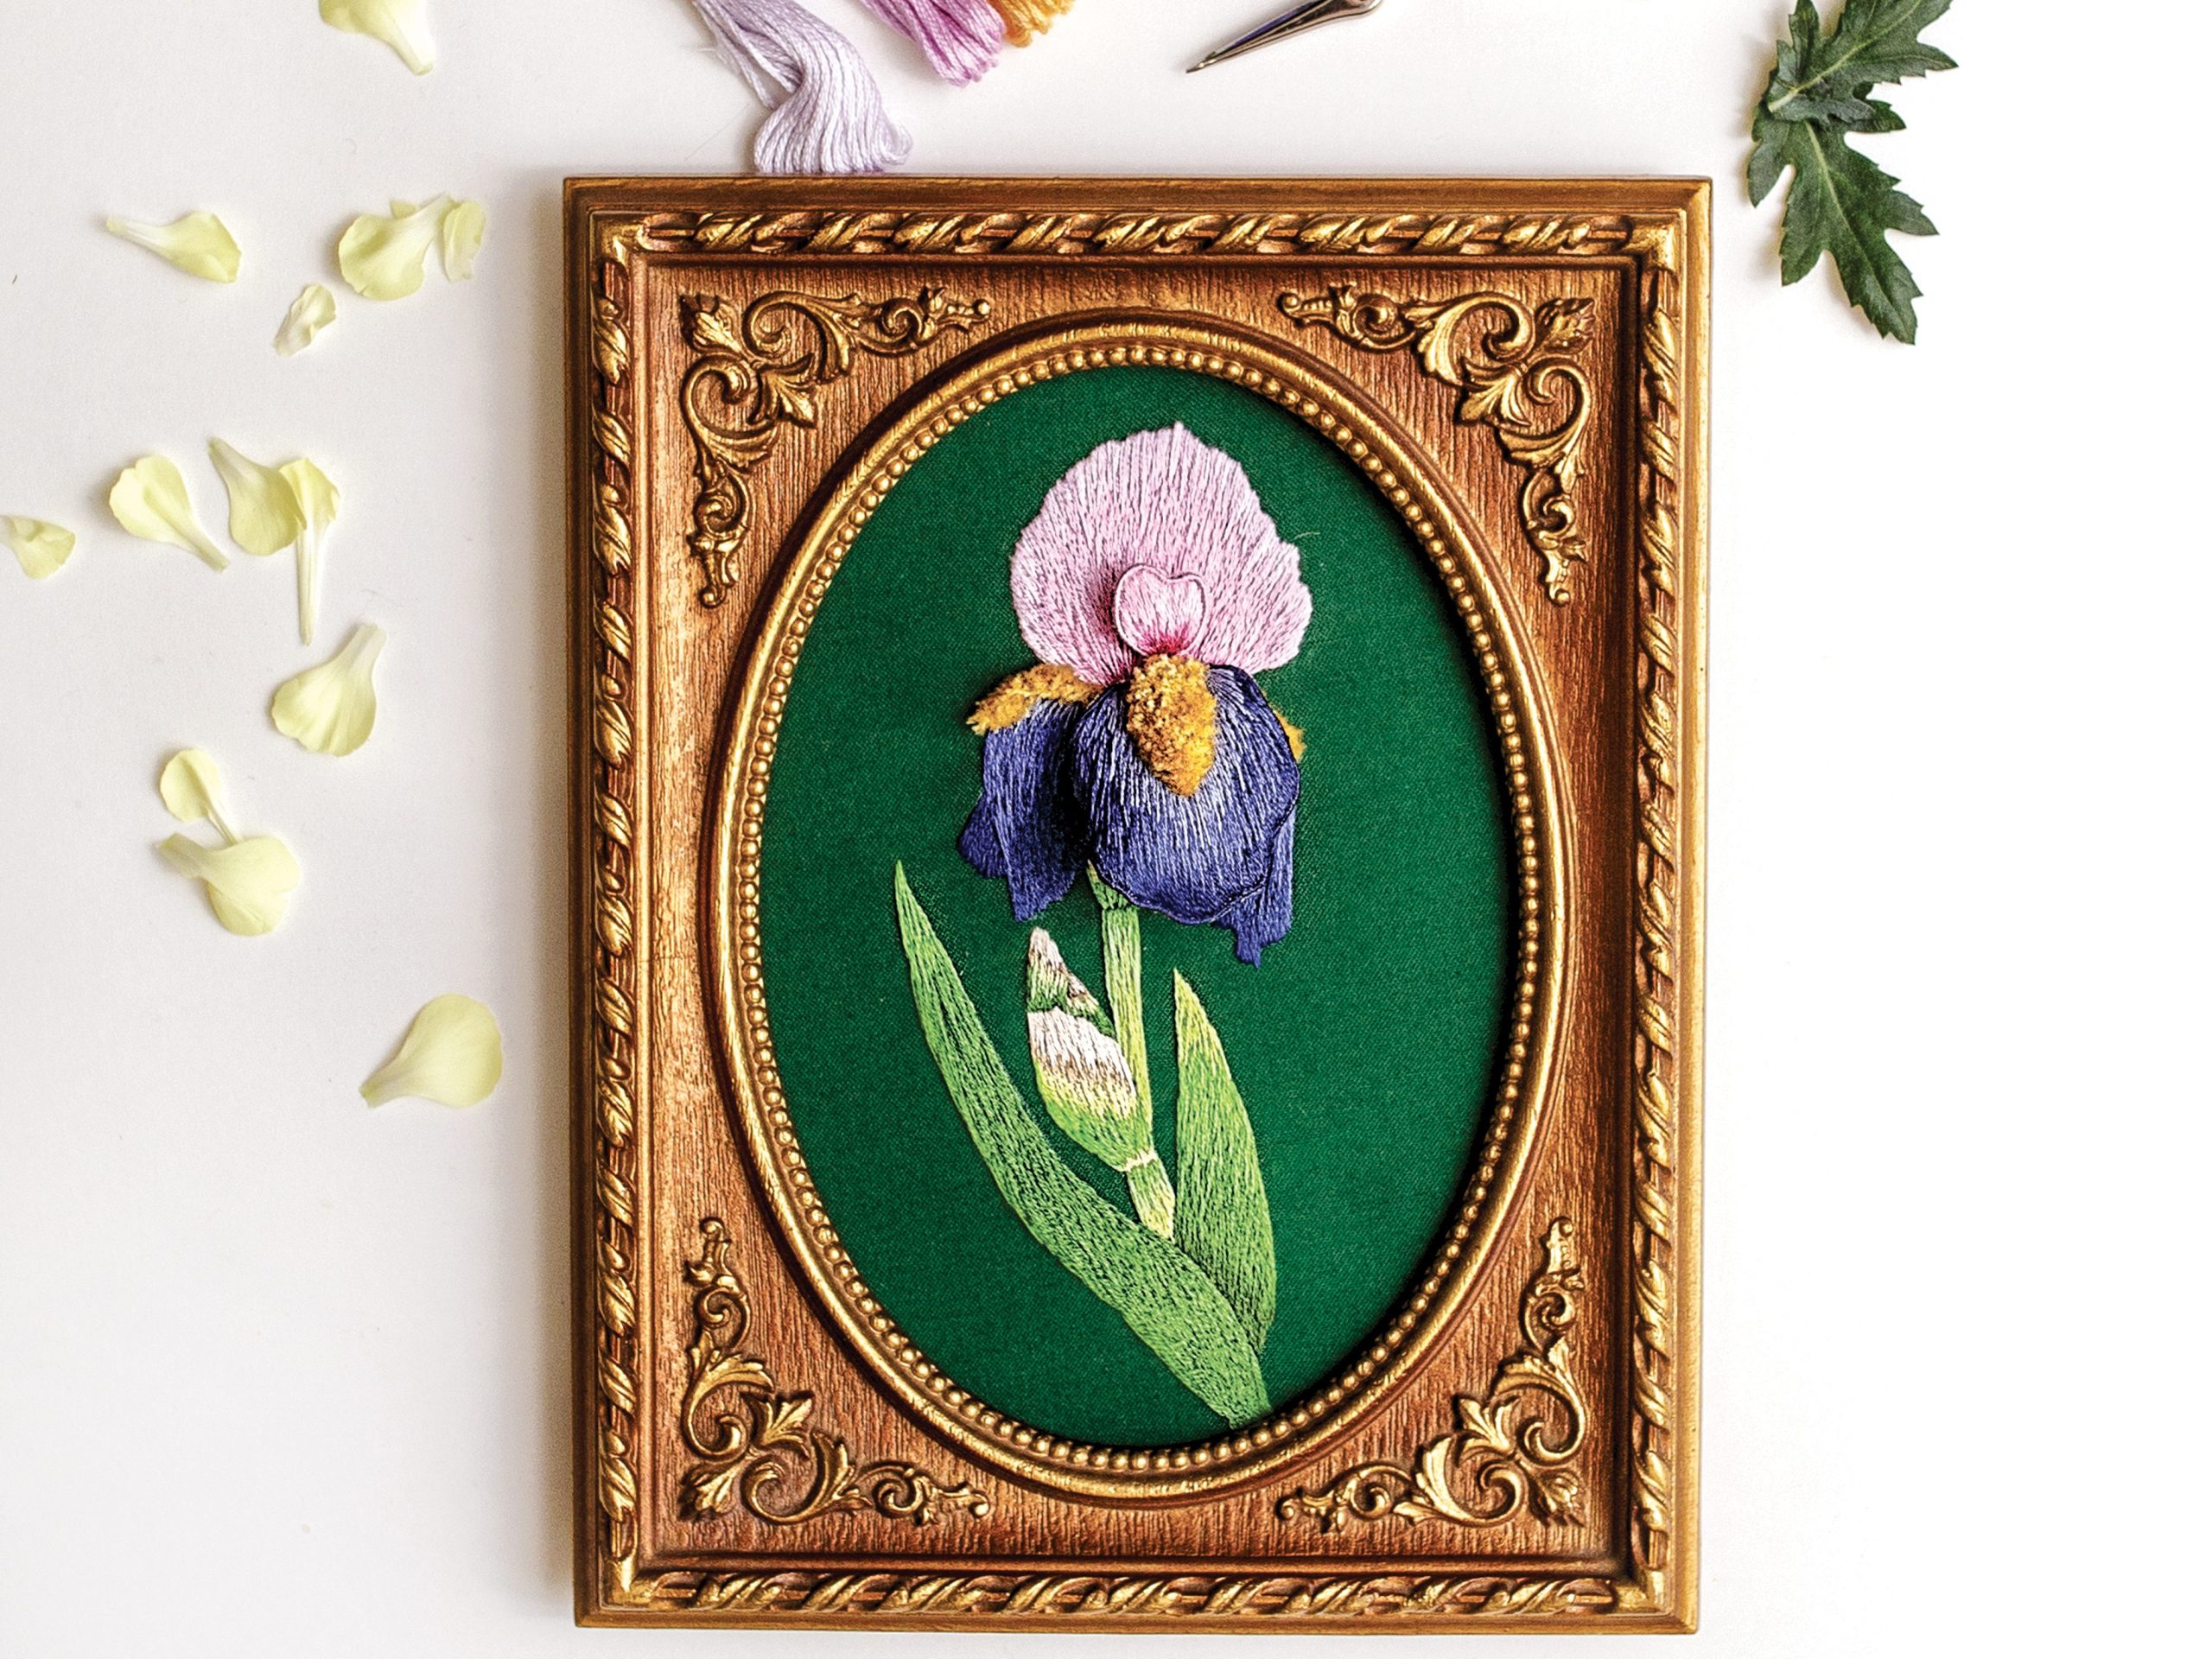
Stumpwork embroidery includes a variety of techniques that produce a 3-dimensional effect. Padded stumpwork and wire slips are two embroidery techniques I use in my work and teach in my book. The John James Sharps needles are my preferred needles for these projects as well because of their sharp point profile. Their thinness and sharpness allow you to precisely couch wireslips in place and stitch through multiple layers of padded felt with very little resistance. Again, I recommend a John James Sharps size 10 for 1-stranded work involving wireslips and padding. The dependably high-quality of these needles will also help ensure your work is clean, consistent, and precise.

A stumpwork pink and purple violet.
A flowery example of Megan’s stumpwork.

How to select needle size

The size of the needle you select in your own embroidery will depend on the number of strands you are stitching with. Follow this general guideline choosing the correct needle size Note: there is some flexibility between sizes. The brand of stranded cotton embroidery floss you are using may affect your needle selection slightly. For example: a size 9 needle can be used for 1 strand as well if you are having difficulty threading it. 

  • 1 strand – size 10
    • 2 strands – size 9
  • 3 strands – size 8
  • 4 strands – size 7
  • 5 strands – size 5
  • 6 strands – size 3

How do I know if my needle is too small?

If you’ve mixed up your needles and cannot confidently identify their size, here are some signs to look out for that might indicate the needle you are using is too small:

  • You have more-than-usual difficulty threading the needle. Smaller needles have smaller eyes to accommodate fewer threads, so if you are trying to thread multiple strands through a smaller needle, like a size 9 or 10, you will find it is very difficult, if not impossible. 
  • You experience resistance when pulling the needle through the fabric. If you have to tug or pull to get your needle and thread through the fabric, your needle is too small. 
  • You lose fabric tension and notice your fabric is denting or puckering around the needle as you pull it through the fabric. 
  • A slight popping sound when the needle pushes through the fabric is often normal and okay, but loud or abrasive sounds as you pull the thread through might indicate that your needle is too small. The hole the needle creates should be large enough to accommodate your thread so that it glides smoothly through the fabric without a lot of rubbing or abrasion.
  • Your thread is becoming fuzzy-looking, breaking, or tangling easily. This happens when the hole is too small for the thread to glide through smoothly, causing the thread to rub excessively against the fabric and wear down with each pass.
  • Sore hands. If you are having to work harder to get the thread through the fabric, the additional strain on your hands can cause them to hurt or tire easily. 

If you encounter any of these issues and suspect your needle is too small, try the next size down (ex. switch from a size 9 to a size 8). Remember, needles get larger as the size # decreases.

How do I know if my needle is too large?

Alternatively, here are some signs that might indicate the needle you are using is too large:

  • Visible holes left in the fabric around the thread are a sign that your needle is too large. The needle should create a hole wide enough for the thread to pass through comfortably without resistance, but not much larger than that. 
  • Stitches that are loose.

If you suspect your needle is too large, try the next size up (ex. switch from a size 8 to a size 9), which will be a slightly smaller needle.

I hope these tips help take some of the guesswork out of choosing the correct needle size for your hand embroidery project. Remember, stitching should be comfortable and fun above all else. If your needle is causing you hand strain or frustration, try out different sizes until you find what works best for you. 

Happy Stitching!

Book Cover: Stumpwork Embroidery & Thread Painting