
There are some stitches you learn early and keep finding new uses for—and Blanket Stitch is one of them.
Recognizable by its neat line of loops along the edge of the fabric, Blanket Stitch combines function with decoration. It can help finish a raw edge while adding a handmade detail that deserves to be seen.
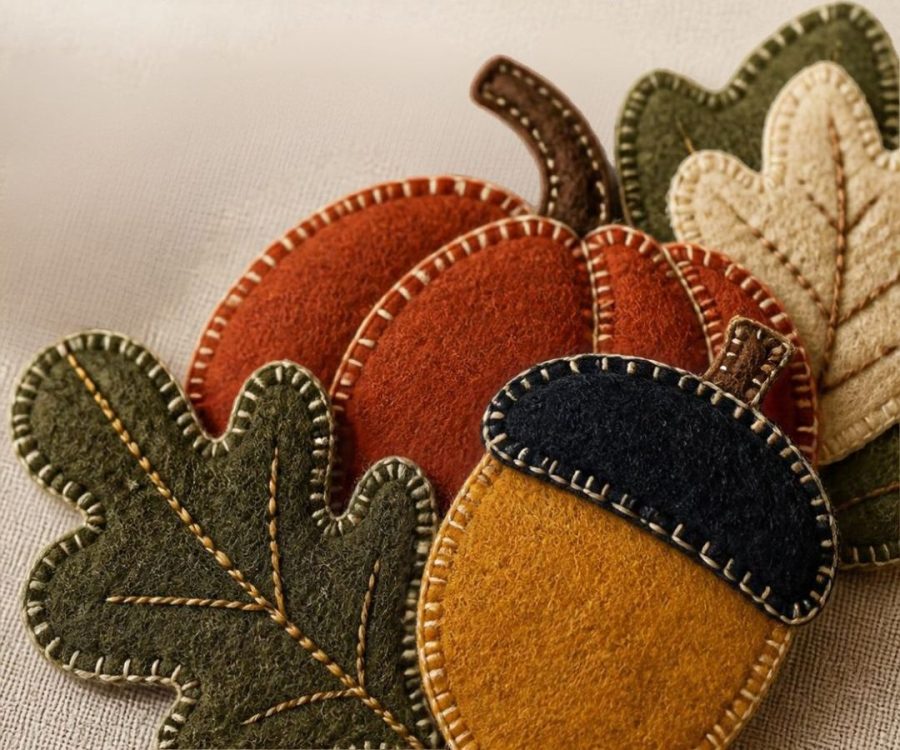
And while you certainly can find it along the edge of a blanket, its usefulness goes much further. From wool appliqué and felt ornaments to seasonal decorations and creative repairs, Blanket Stitch is a wonderful technique to revisit as we move into fall projects and heavier fabrics.
What Is Blanket Stitch?
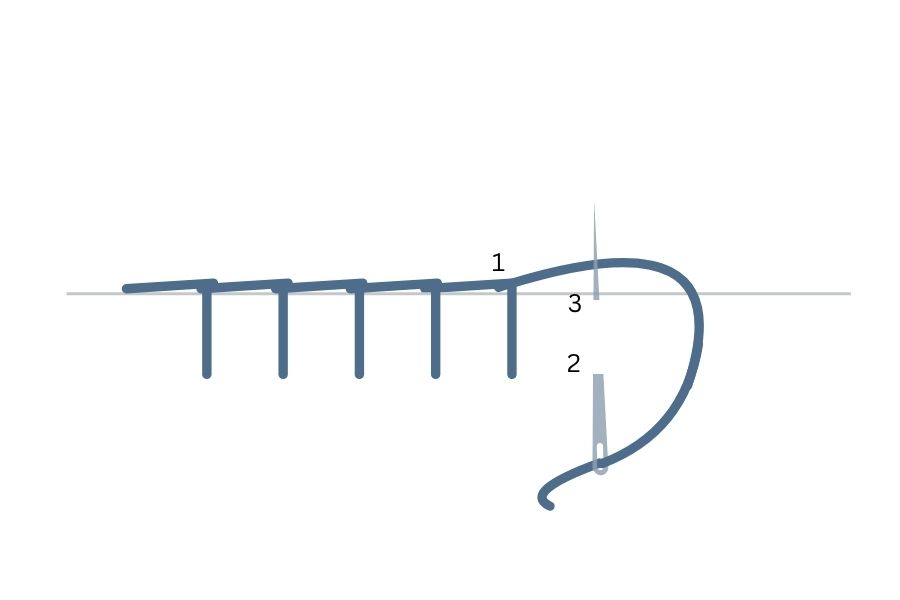
Blanket Stitch is an edge stitch made by creating a series of evenly spaced stitches with a loop of thread running along the fabric’s edge.
As each stitch is formed, the working thread is caught beneath the needle. This creates the characteristic continuous line along the edge.
Depending on the thread, spacing, and fabric you choose, Blanket Stitch can be subtle and functional or bold and highly decorative.
When to Use Blanket Stitch
Blanket Stitch is especially useful when you want the edge of your project to become part of the design.
Try it for:
- Wool appliqué
- Felt projects
- Blankets and throws
- Raw-edge appliqué
- Fabric ornaments
- Decorative patches
- Seasonal decorations
- Creative mending
- Finishing heavier fabrics that don’t fray excessively
Fall is an especially good time to experiment with this stitch because it pairs beautifully with wool, felt, heavier threads, and layered textiles.
What You’ll Need
- A sharp hand-sewing or embroidery needle
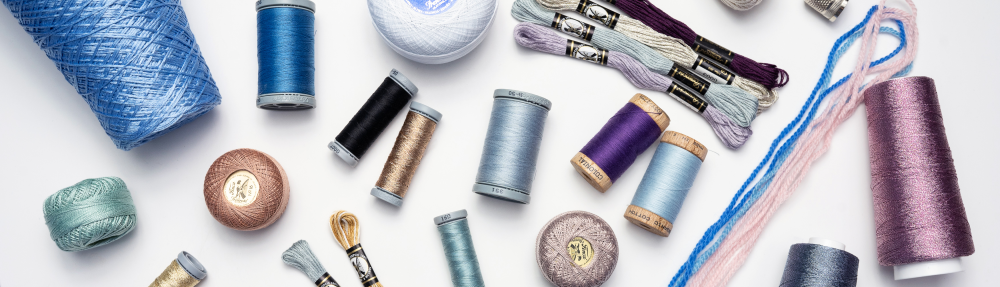
- Thread appropriate for your fabric (we love Presencia perlé because it comes in so many thread weights!)
- Wool, felt, cotton, or another suitable fabric
- Small scissors
- Optional fabric marking tool (our Roxanne marking pencils or our marking pen are great options!)
For a more decorative finish, try a heavier thread such as Presencia perlé cotton or Colonial Persian Yarn. The added weight makes the structure of the stitch much more visible.
Your needle should also suit the materials you’re using. Heavier thread and dense fabrics may require a needle with a larger eye or stronger shaft than you would choose for delicate embroidery.
How to Sew Blanket Stitch
Step 1: Begin at the Edge
Bring your needle up near the edge of the fabric, hiding your knot between layers whenever possible.
Step 2: Position Your Next Stitch
Insert the needle a short distance away from your first stitch and at a consistent depth from the fabric edge.
Step 3: Catch the Working Thread
Before pulling the needle completely through, position the working thread underneath the tip of the needle.
Step 4: Pull the Stitch Through
Gently pull the thread through. A small loop will form along the edge of the fabric.
Step 5: Continue Along the Edge
Repeat the process, keeping the distance between stitches—and their depth from the edge—as consistent as possible.
The connecting thread should create a continuous line along the edge.
Tips for a Beautiful Blanket Stitch
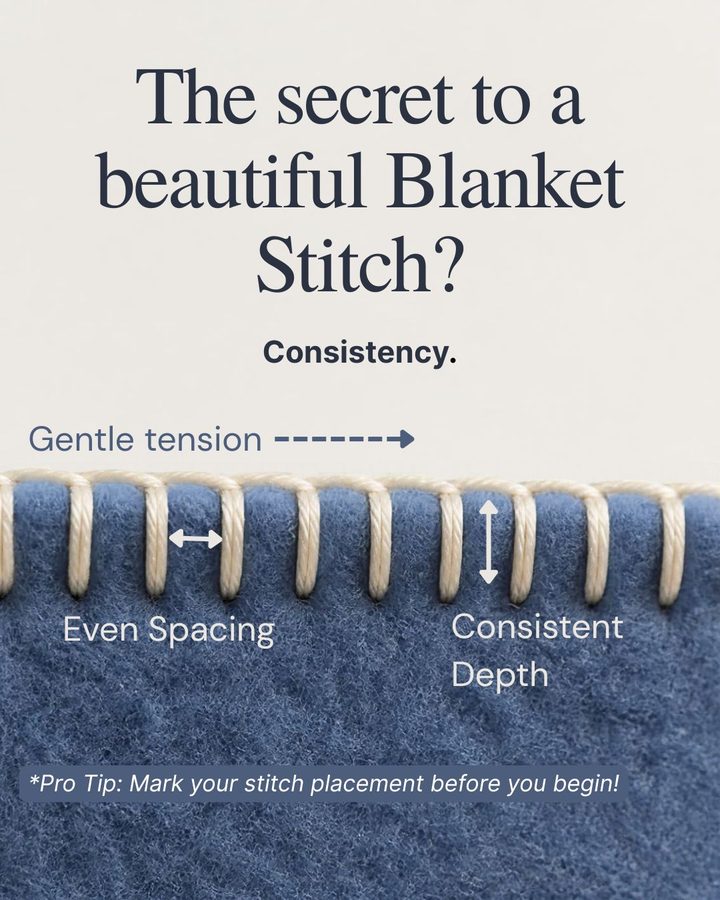
Watch your spacing. Consistent spacing is what gives Blanket Stitch its characteristic polished appearance.
Don’t pull too tightly. The thread should rest neatly against the edge without causing the fabric to pucker.
Mark your fabric. If evenly spaced stitches are difficult at first, use a removable fabric marker to create small placement guides.
Adjust for curves. Slightly shorten your stitches as you work around curves and corners.
Experiment with thread weight. Fine thread creates a subtle finish, while heavier thread makes the stitch a decorative feature.
Blanket Stitch vs. Buttonhole Stitch
If Blanket Stitch looks familiar, there’s a reason.
Blanket Stitch and Buttonhole Stitch are closely related looped-edge techniques, and their names and uses sometimes overlap. In modern sewing, Blanket Stitch is often worked with more open spacing for decorative edging, while Buttonhole Stitch is typically worked more densely to create a firm, reinforced edge around a buttonhole.
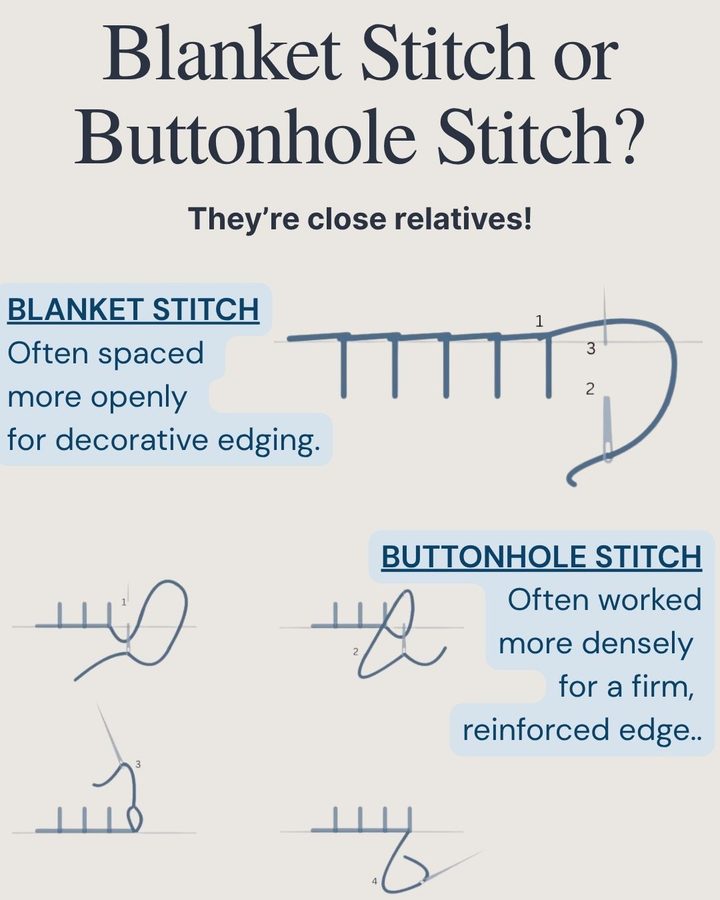
Rather than thinking of them as completely unrelated stitches, it can be helpful to think of them as close relatives whose spacing, scale, and intended purpose can change the finished result.
Change the Materials, Change the Look
One of the best things about revisiting a foundational stitch is discovering how much your material choices matter.
Try Blanket Stitch worked:
- In matching thread for a subtle finish
- In contrasting perlé cotton for a bold edge
- Around wool appliqué
- Along two layers of felt
- Around a decorative patch
- With deliberately longer or shorter stitches
The basic technique stays the same, but the finished effect can feel completely different.
Projects to Try This Fall
Put your Blanket Stitch skills to work on:
- Wool appliqué
- Felt pumpkins or ornaments
- Fabric leaves
- Decorative patches
- Mug rugs
- Needle books
- Small wool or felt pouches
- Handmade holiday decorations
It’s an approachable stitch for beginners, but there’s plenty of room for experienced stitchers to experiment with spacing, color, thread weight, and materials.
Sometimes a familiar stitch is worth another look—especially when changing the fabric or thread can turn it into something entirely new.