Fabric cards are the perfect way to add a little OMPH to your gift giving and they show that you really do care enough to send something handmade…even if you don’t have a lot of spare time or the extra brain capacity for a larger project. Easy to customize to any size for any occasion (maybe a certain winter holiday that is coming up?), fabric cards show you went that extra mile and put thought and effort into the gift-giving experience. They make that special person receiving the card feel seen and appreciated. Fabric cards have a distinctive handmade quality that is hard to replicate with mass-produced, store-bought cards and it is this uniqueness that adds charm and character to your gift.
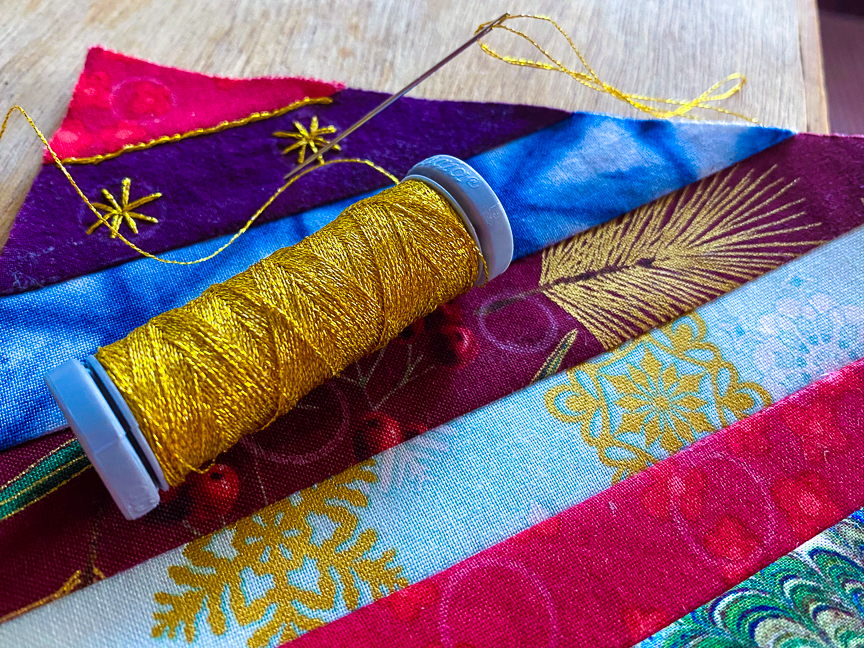
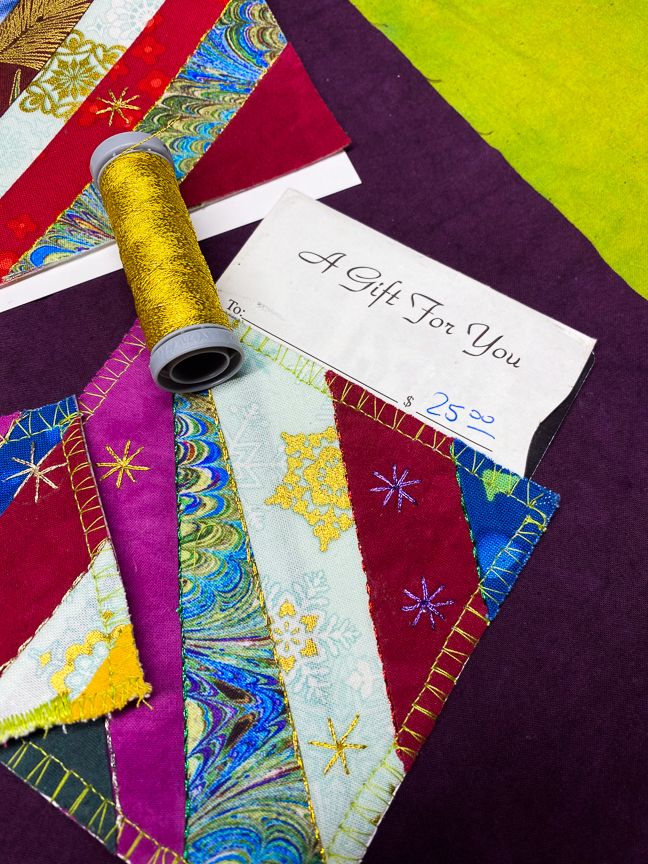
They are super easy to make! Fabric scraps are pretty inexpensive and if you are already a sewist or know someone who is, you might already have the materials you need to create your own mini textile masterpiece. Add some quilting or embroidery and your creation really goes to the next level. You can hand stitch, applique, or machine embroider each one for a one-of-a-kind product. We used Finca Metallic Thread to hand embroider our fabric cards. Send yours as postcards, framed miniature textile art, gift tags, or leave one side open to insert a gift card. However you use them, if you are like us, you will end up making several *ahem* extra which is a good thing because you never know when you will need a little piece of handmade excellence to add to your gifting.
Here is how we make ours.
Supplies:
- Fusible interfacing or stabilizer
- Fabric scraps (1–2”wide and long enough to cover your card)
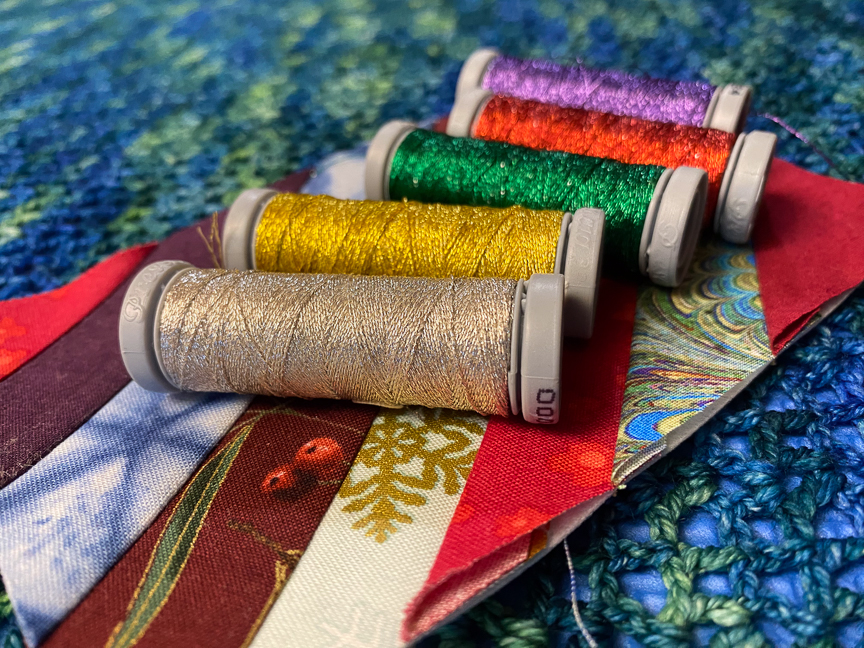
- Finca Metallic Thread – 1 Ply for machine embroidery, 2 Ply for hand stitching.
- Crewel Needle–Large eye and sharp tip make easy work of the layers
- Sewing machine with all-purpose thread and jeans needle or embroidery needle
- Roxanne Glue–Glue Stick or Dip & Dab XL Tube
- Cover Stock Paper or similar for backing (we like Kraft-Tex for sturdy projects)
Note: You can use cotton fabric for the backing too. The end result is not as“cardlike”. - Scissors or rotary cutter
Cuts:
Cut stabilizer/interfacing to your desired size – Standard post card size is 4”x6” but you can make your cards any size you like
Cut paper backing to the same size as stabilizer
Instructions:
- Place strips of fabric on the stabilizer deciding on placement, color, texture, ect.
- Remove your chosen strips and place the center strip face up on the stabilizer. We like using diagonal lines, so our first strip covers from the top left corner to the bottom right. You do you though…
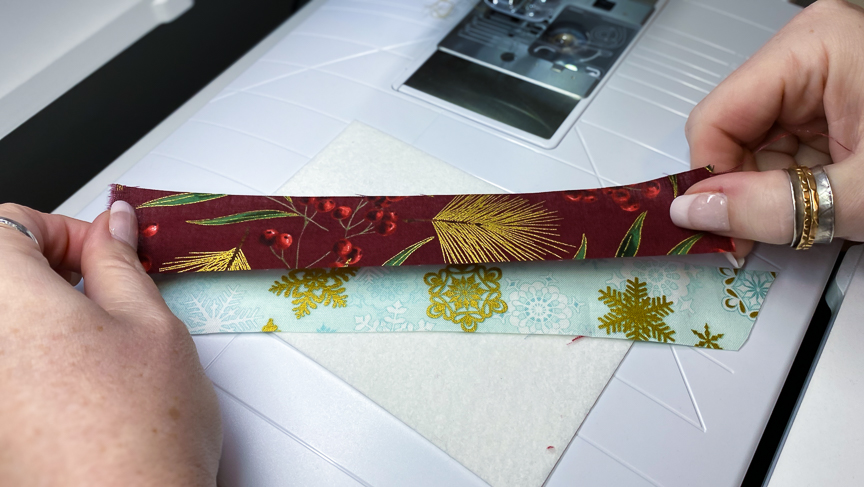
- Place an adjacent strip on top of the first one with Right sides facing. Sew the seam using a 1/4’’ to 3/8’’ seam allowance. Make sure the fabric covers past the edge.
- Press the seam open being careful to watch if your stabilizer has a fusible backing (you can also finger press the seam open as well).
- Continue in this manner sewing strips on one at a time moving in one direction.
- Once you have covered the first half, turn your card and repeat the process goingf rom the center to the opposite corner.
- Once the stabilizer is completely covered turn Right side down and trim off the excessfabric.
- Secure the last 2 corners using a glue stick or Roxanne Dip & Dab XL Tube
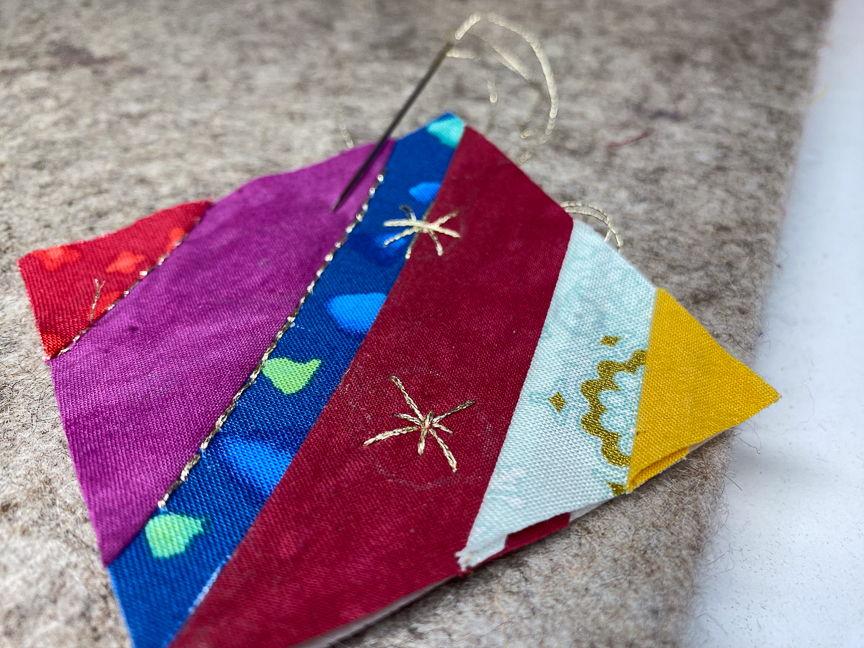
- Add embroidery to your card by hand or machine.
a. If embroidering by hand use Finca 2-Ply Metallic Thread held double.
b. If machine embroidering use Finca 1-Ply Metallic Thread as your top thread and all-purpose thread in the bobbin. - Once embroidery is complete apply the paper back to the card.
a. If your stabilizer has a fusible back you can use an iron to secure otherwise glue the card to the back
b. If you are using the fabric card as a gift card holder skip this step. - Machine or hand sew a zig-zag or edging stitch around the card to secure the edge.
a. We specifically like using fabric cards as holders for gift cards…just leave one side open so you can slide the card inside the pocket
b. If you want to use a satin stitch along the edge, use a fabric backing instead of paper. The punching of the needle that many times will perforate the backing causing it to tear off easily.
Optional: Use a hole punch in one corner of the finished card and thread it with sparkly thread oryarn as a beautiful gift tag.
Gift cards like this can be mailed using standard postage…you’ll need to weigh the item to ensure you have enough postage attached to it. They do tend to get dirty in the mail so we opt for mailing them in an envelope.
For a video tutorial visit our YouTube page here.
We hope you decide to make a few fabric cards this season for your loved ones…let us know how you like them!
Shannon & Jason
