The “Magic Wand” of Your Sewing Kit (A Guide to Needle Threaders)

Why You Should Never Struggle to Thread a Needle Again

We’ve all been there: you’re in the flow of a beautiful Sashiko piece or a delicate EPP project, and then… you have to re-thread. Suddenly, you’re squinting, snipping thread ends, and losing your “stitching zen.”

At a recent workshop, we realized that while most of us know what a needle threader is, many of us aren’t using the right one or we weren’t taught how to use them. Since our friends at Colonial Needle Company sent us their full lineup to test, we’re breaking down which threader belongs in your kit and how to use them for both hand and machine sewing.

Meet the Lineup

Not all needle threaders are created equal. Depending on your project, you might need a different “wand”:

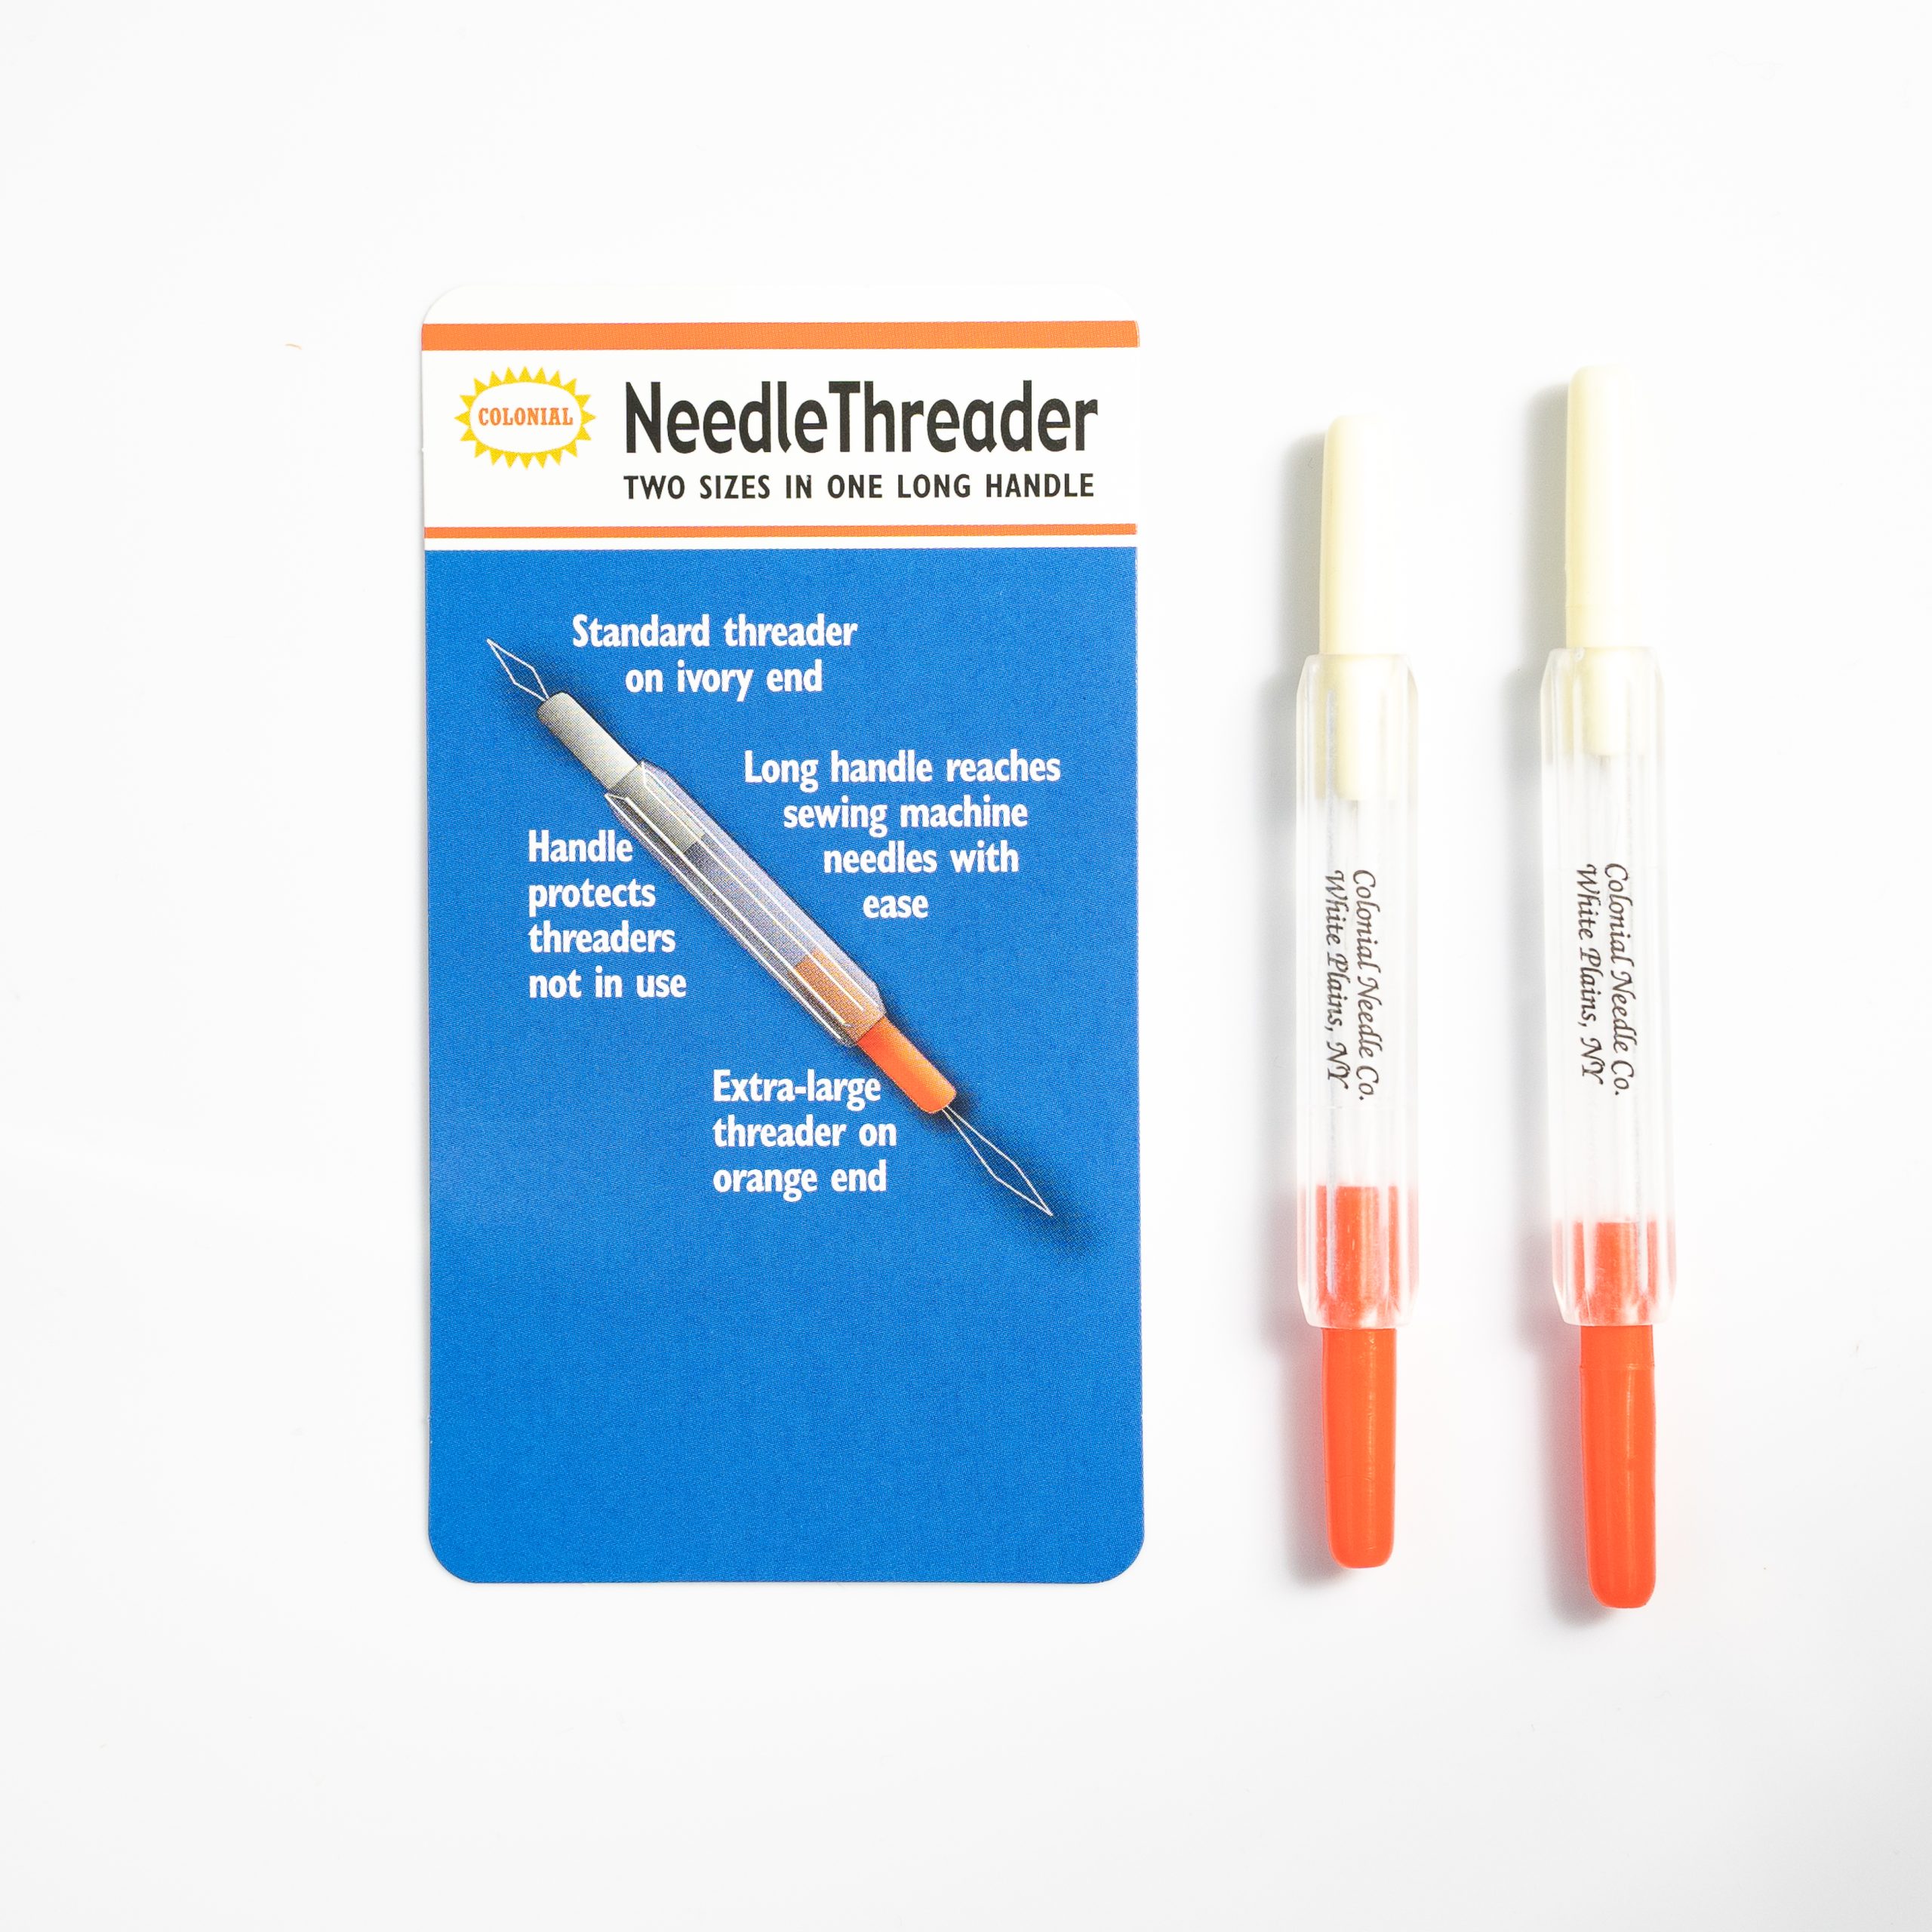
  • Colonial Dual Threader: This is the one that lives in our sewing machine tray. It features a long handle (perfect for reaching into tight machine spaces) and two different wire sizes: a standard end and an extra-large end for thicker threads or Pearl Cottoncolonial dual ended threader image
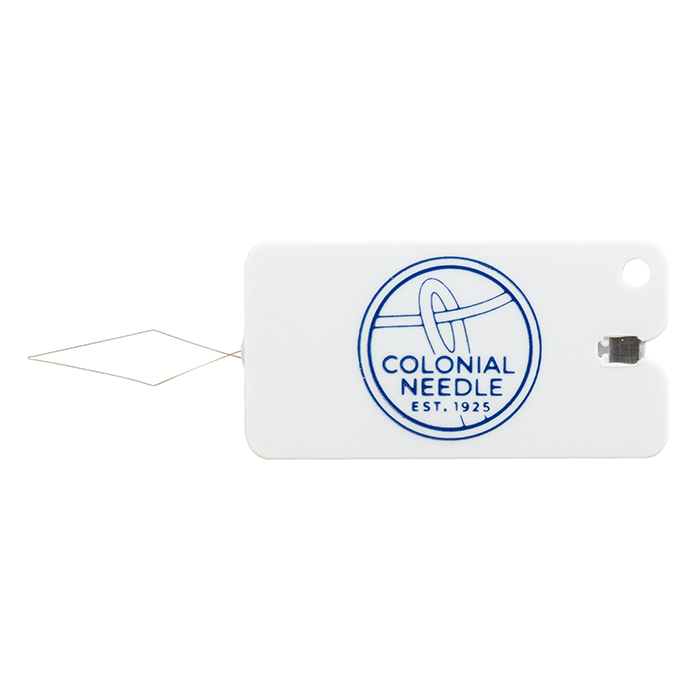
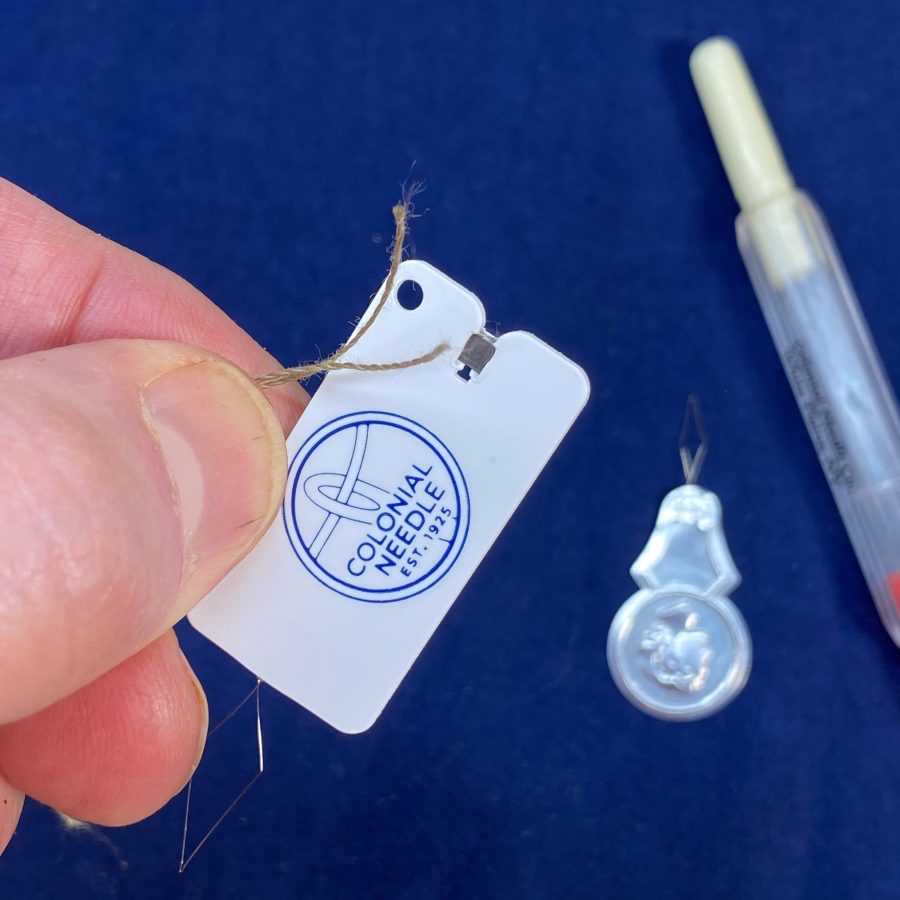
  • Ultrafine Threader with Cutter: The “must-have” for Sashiko and fine appliqué. The wire is incredibly thin to fit through tiny needle eyes, and the built-in cutter means you don’t have to reach for your scissors every time you finish a strand.
    colonial ultrafine threader
  • Roxanne Needle Threaders: If you do a lot of hand quilting or beading, these are legendary. They are patented, exceptionally fine, and designed to be sturdy enough for repetitive use without the wire snapping.
    roxanne ultrafine threader
  • John James Threaders: These are the gold standard for traditional hand sewing. They are simple, reliable, and come in various sizes to match your favorite John James needles.john james threaders

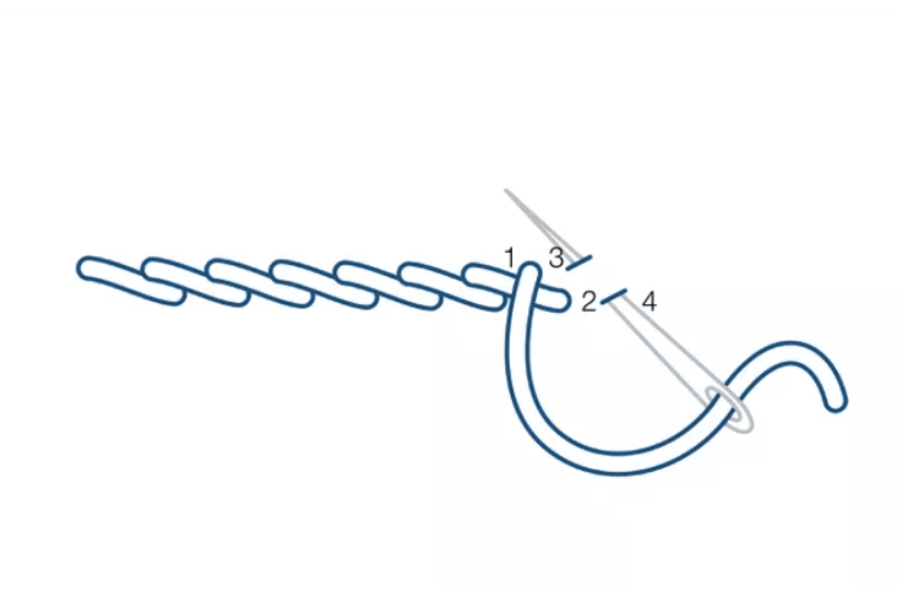
How to Use a Needle Threader (The Correct Way!)

For Hand Sewing:

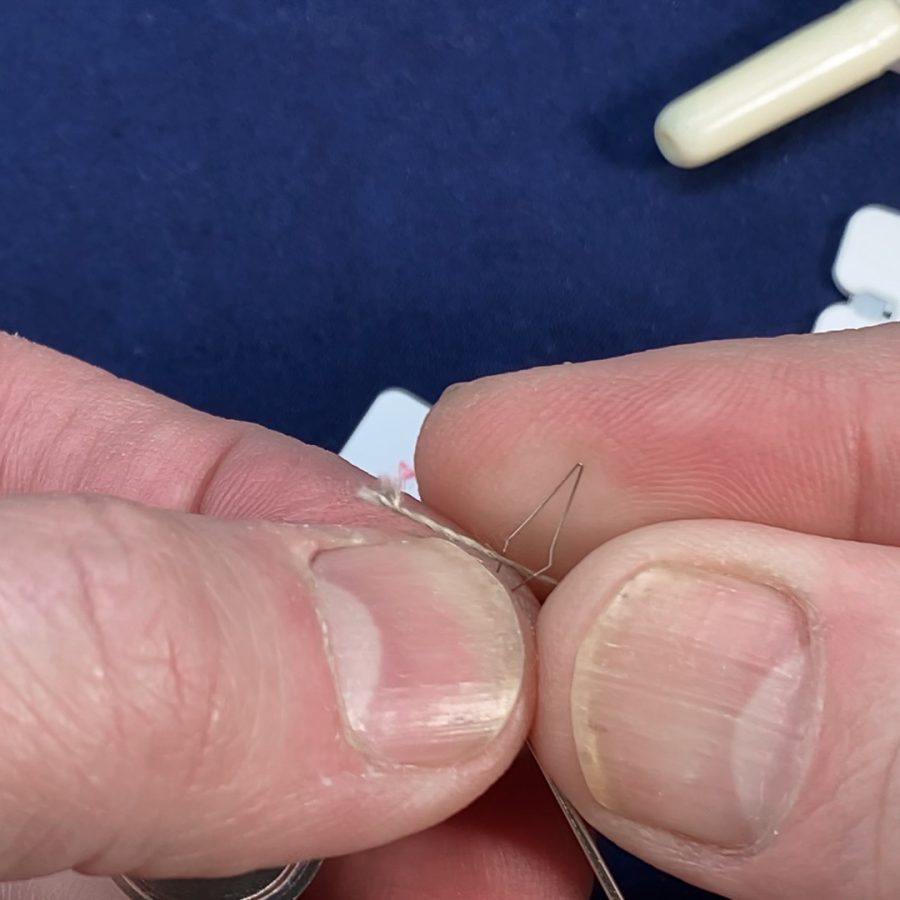
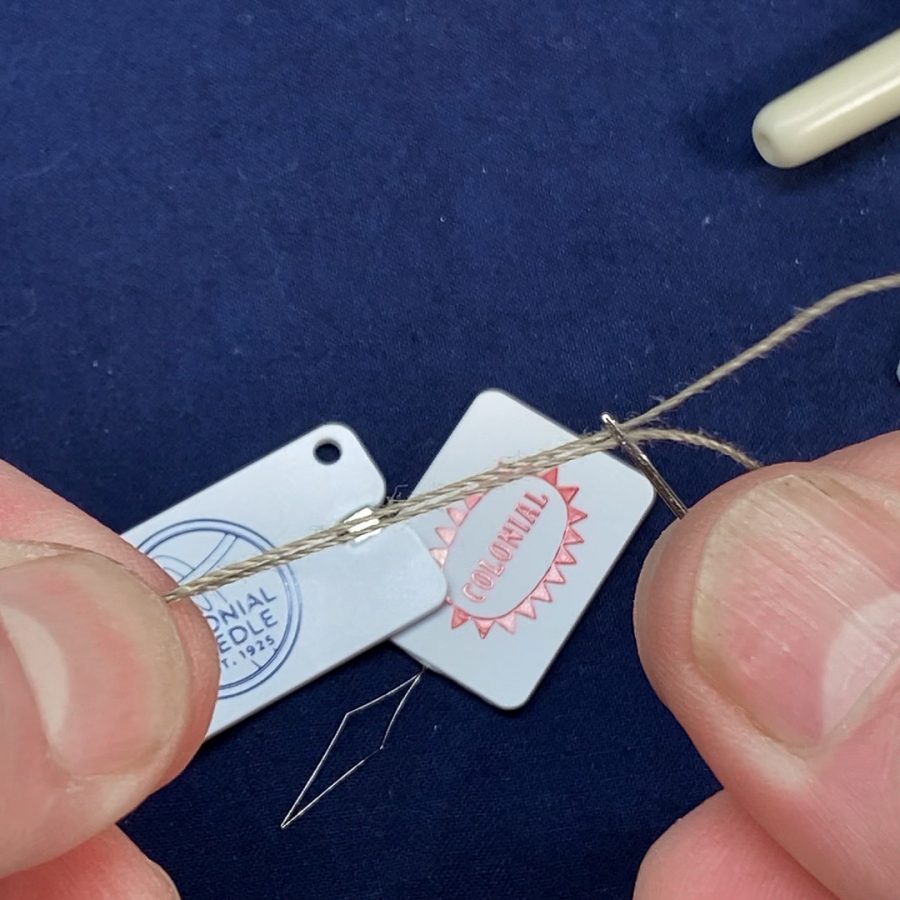
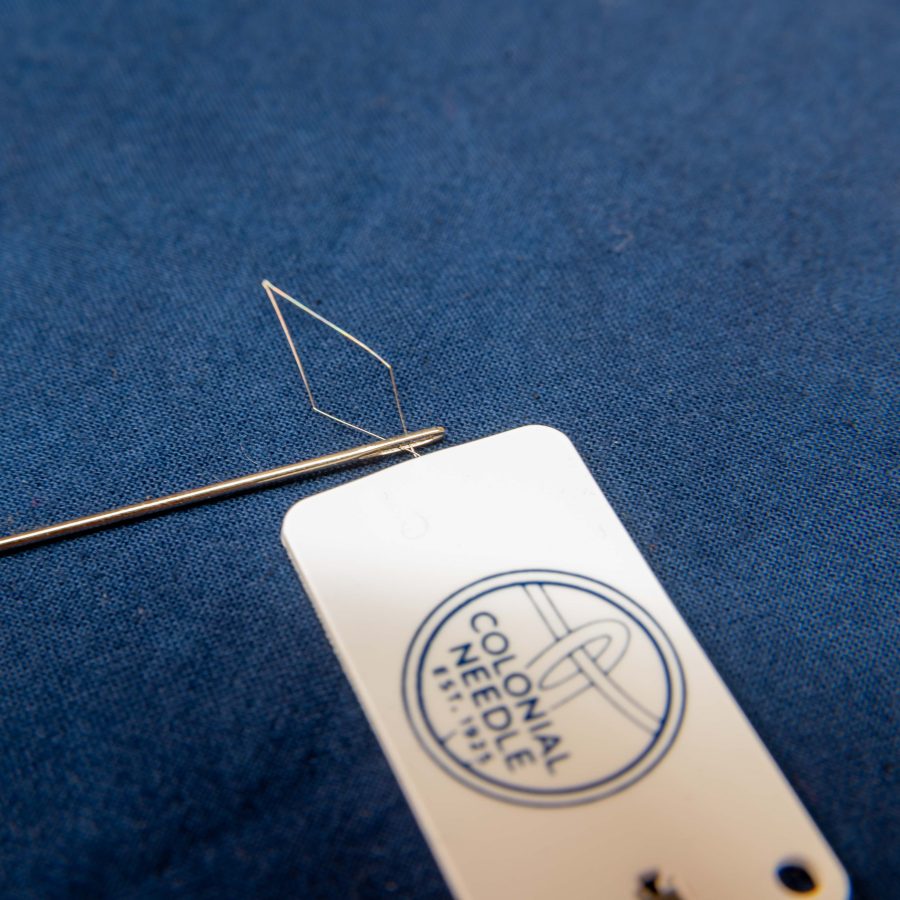
  1. The Insert: Hold the needle threader by the handle and slide the wire loop through the eye of your needle.
  2. The Thread: Pass your thread through the large wire loop (not the tiny needle eye!).
  3. The Pull: Gently pull the wire loop back through the needle eye. The wire will carry the thread right through.
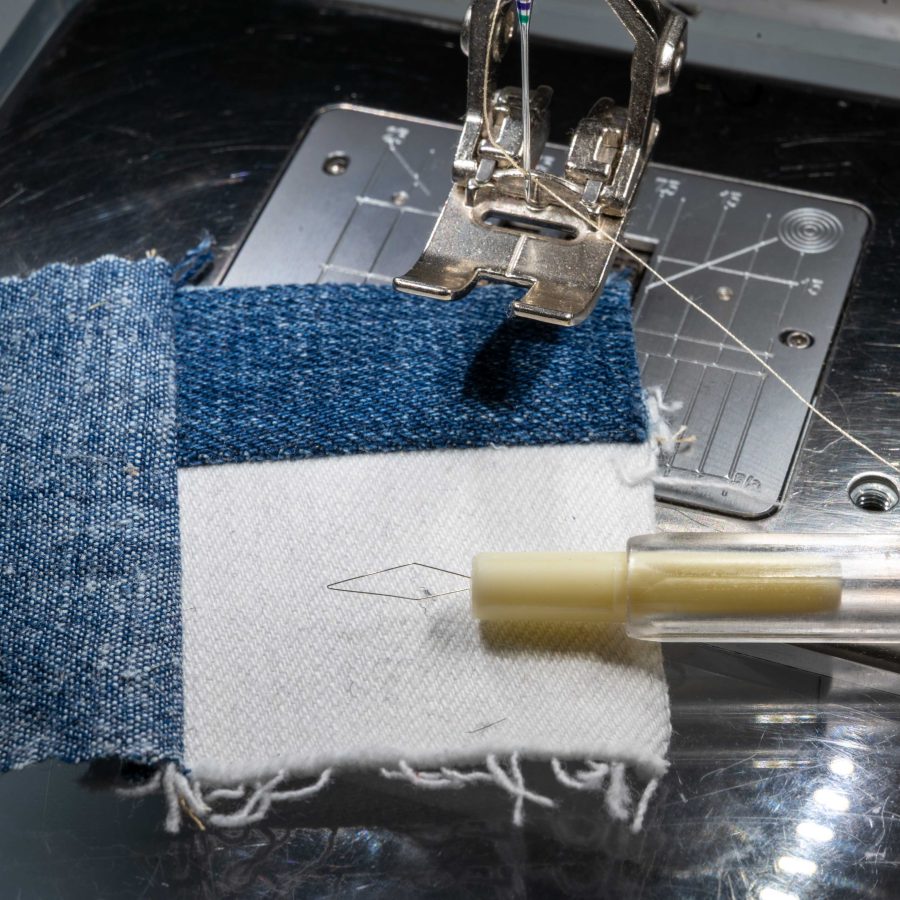
For Machine Sewing:

  1. The Positioning: Ensure your needle is in the highest position.
  2. The Reach: Using the Colonial Dual Threader, insert the wire loop through the needle eye from the back to the front (or side to side, depending on your machine).
  3. The Magic: Place your thread in the loop and pull the threader back through.

Pro Tip: If you’re using the Ultrafine Threader, be gentle! These are high-precision tools. If the wire feels stuck, don’t force it—ensure your thread weight is appropriate for your needle size.


Watch the Step-by-Step

Want to see these in action? We filmed a quick tutorial demonstrating exactly how we use the Ultrafine Threader for Sashiko and the Dual Threader at the machine.

It’s funny how the simplest tools can sometimes be the most intimidating… until someone shows you the trick! Whether you’re a lifelong quilter or just starting your first Sashiko project, there is no shame in reaching for a ‘magic wand’ to save your eyes (and your sanity).

Now we want to hear from you: Is there a tool in your sewing tray that you still aren’t quite sure how to use? Or maybe you have a threading hack of your own? Let’s chat in the comments below!

Until next time…

STITCH ON!!
S&J

The Right Tool for the Stitch: Wool Appliqué

As winter begins to soften and spring projects start to take shape, many stitchers reach for wool appliqué. The soft texture, rich color, and forgiving nature of wool make it ideal for decorative stitching, layered designs, and heirloom-style projects.

But wool appliqué behaves differently than cotton or linen. Its loft, thickness, and layered construction mean the needle you choose can make a noticeable difference in how easily your stitches form—and how polished the finished piece looks.

If your needle feels difficult to pull through layers, or your stitches look larger than you’d like, it may simply be time to switch tools.

Let’s explore how the right needle supports smooth, consistent wool appliqué stitching.


The Stitching Scenario

Hand wool appliqué

Common projects include:

  • Appliqué quilts
  • Penny rugs
  • Decorative pillows or wall hangings
  • Seasonal table toppers
  • Folk art stitching projects

These designs typically involve stitching wool shapes onto a background fabric using small, often decorative stitches.

Because wool is thicker than most fabrics—and often layered—the needle must be strong enough to pass through both materials without distorting the stitches.


The Common Challenges

When working with wool appliqué, stitchers often notice:

  • Difficulty pulling the needle through layered fabrics
  • Large or visible stitch holes
  • Uneven stitch size
  • Hand fatigue during longer sessions
  • Threads wearing down from friction

The density and loft of wool require a needle that balances strength with finesse.


Why the Right Tool Matters

Several needle characteristics influence how easily you can stitch wool appliqué:

  1. Needle Length
    Shorter needles allow for better control when making tiny appliqué stitches.
  2. Shaft Strength
    A slightly stronger needle prevents bending when passing through thicker layers.
  3. Eye Size
    Your thread should glide smoothly through the eye without shredding—especially when using cotton thread or embroidery floss.
  4. Point Style
    A sharp point helps the needle pass cleanly through wool and the background fabric without excessive resistance.

When these elements are balanced, stitches become smaller, smoother, and more consistent.


Our Recommendation: Needles for Embroidery on Linen

Appliqué Needles – Sizes 9–11
These short, fine needles are favorites among appliqué stitchers because they allow for tiny, nearly invisible stitches. Their length provides excellent control when stitching close to edges.

Sharps Needles – Sizes 8–10
A versatile option that works well when stitching through slightly thicker wool or layered fabrics.

Embroidery (Crewel) Needles – Sizes 7–9
If you’re using embroidery floss or decorative stitching, a crewel needle’s longer eye accommodates thicker threads comfortably.

Choosing the right size depends on:

  • Wool thickness
  • Background fabric
  • Thread type
  • Desired stitch visibility

Testing on a scrap piece before beginning is always helpful.

When in doubt, test on a scrap. Or use our handy Needle Wheel!


Pro Tip: Keep Your Stitches Small

For polished appliqué, aim for stitches that disappear into the edge of the wool shape.

Try this simple technique:

  • Angle your needle slightly under the edge of the appliqué shape
  • Catch only a few threads of the background fabric
  • Keep stitches evenly spaced

A fine needle makes this much easier.


Special Considerations for Layered Projects

Many wool appliqué designs include multiple layers of fabric. When stitching through wool and cotton together:

  • Use a slightly stronger needle if you feel resistance
  • Avoid forcing the needle through thick spots
  • Replace needles that begin to bend or feel rough

A smooth, sharp needle protects both your fabric and your hands.


Reader Takeaway: Quick Checklist

When stitching wool appliqué:

✔ Choose a short needle for better stitch control
✔ Use a sharp point to pass through wool cleanly
✔ Match eye size to your thread
✔ Test your needle on layered fabric before starting

Small adjustments help create beautifully neat appliqué stitches.


Looking Ahead

Next month in The Right Tool for the Stitch, we’ll explore needle choices for hand quilting and big stitch quilting—two techniques where needle flexibility and length make a surprising difference.

Until then, enjoy the rhythm of slow stitching and the satisfying texture of wool appliqué.

Stem Stitch: The Go-To Stitch for Smooth Lines and Beautiful Curves

As spring arrives and floral embroidery begins appearing everywhere, there’s one stitch that shines above the rest for outlining stems, vines, and flowing designs: the Stem Stitch.

This classic embroidery stitch creates a smooth, slightly twisted line that follows curves beautifully. It’s easy to learn, versatile, and ideal for everything from floral embroidery to lettering.

If you’re building your hand-stitching skills, the stem stitch is one you’ll return to again and again.


What Is a Stem Stitch?

The stem stitch is an embroidery stitch worked in a series of slightly overlapping stitches that form a continuous line. Each stitch begins just ahead of the previous stitch and comes up halfway along the previous stitch.

This overlapping structure creates a soft rope-like line that naturally curves — which is why it’s traditionally used for stitching plant stems in embroidery.

When & How It’s Used

Stem stitch works especially well for designs that require flowing lines or delicate outlines.

Best for:

  • Floral stems and vines
  • Outlining embroidery designs
  • Script lettering and monograms
  • Curved borders
  • Nature-inspired embroidery

Because the stitch curves smoothly, it’s often easier to use than backstitch when working around rounded shapes.


What You’ll Need

  • Crewel or embroidery needle – Our brands are available here
  • Embroidery floss or perle cotton – Presencia can be found here
  • Fabric (cotton or linen works well)
  • Embroidery hoop (recommended) – Shop our hoops here
  • Small scissors

Tip: A hoop helps maintain even tension and keeps your stitch line smooth.


How to Sew the Stem Stitch

  1. Step 1: Bring Needle Up
    Bring your needle up through the fabric at the starting point of your line.
  2. Step 2: Make the First Stitch
    Insert the needle slightly ahead along the line and bring it back up halfway between the starting point and the end of the stitch.
  3. Step 3: Continue the Line
    Repeat this motion, always bringing the needle up halfway along the previous stitch.
  4. Step 4: Keep the Thread to One Side
    For consistent results, keep the working thread on the same side of the needle each time.
  5. Step 5: Follow the Design Line
    Continue stitching along your design, adjusting stitch length for curves.

Tips for Beautiful Stem Stitches

  • Keep stitches small and consistent
  • Maintain even tension
  • Keep the working thread on the same side for a uniform twist
  • Use shorter stitches on tight curves

With a little practice, stem stitch becomes incredibly rhythmic and relaxing.


Common Projects Using Stem Stitch

Stem stitch appears in many traditional and modern embroidery projects. Try it for:

  • Floral embroidery patterns
  • Decorative lettering
  • Hand-stitched monograms
  • Botanical illustrations in thread
  • Nature-inspired borders

Once you master it, stem stitch quickly becomes one of the most useful stitches in your embroidery toolkit.


Next Month:

We’ll explore a stitch that adds bold texture and structure to designs — the Couching Stitch.