Sashiko is stitched with no hoop, no frame, and no tensioning bars. None. The only thing holding that fabric steady is a pair of hands, and that works beautifully when you are stitching a coaster or mending the knee of a pair of jeans.
Now try it on a queen sized quilt.
This is a problem we run into constantly, because we stitch sashiko-style quilting across large art pieces and full quilts, and there is simply no way to gather all of that fabric into your hands while you work the middle of it. We solved it years ago with something we call the sock puppet method, and we are going to walk you through it.
But we are not starting there. We are starting with the quilt itself, because hand tensioning only works on a textile that was built to be tensioned. If the fabric underneath you is unstable, no amount of clever hand work will save you.
First, build a stable fabric
This is what we mean by Textile Architecture. You are not just sewing pieces together, you are constructing something that has to hold its shape under load, the same way an architect designs a building to stand up to weather and gravity and time.
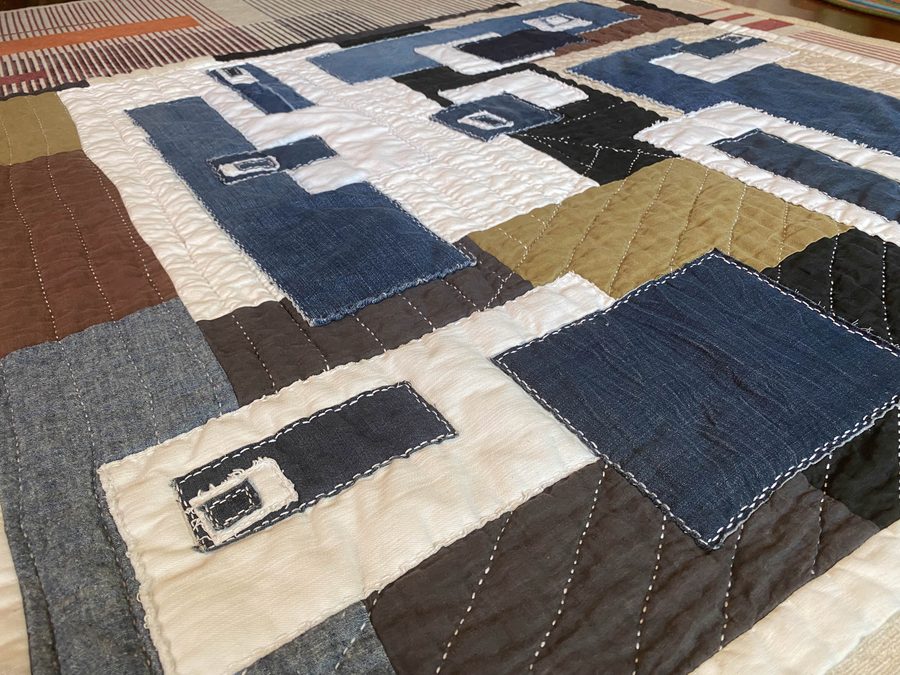
Our clothing quilts make the point better than anything else we make. We piece them improv style, but improv here is not a shortcut and it is not chaos for its own sake. The goal is a large piece of patchwork fabric that behaves as a single stable cloth.
Consider what we are actually working with. Garment fabric means the contents can be anything. Organic cotton and linen. Fabric spun from recycled plastic. Fibers that have never once been near a plant. Poly blends, acrylics, and weights that run from heavy canvas and denim all the way down to gauzy little wovens you can see daylight through.
Every one of those behaves differently. They stretch differently, they resist the needle differently, and they will absolutely fight each other if you let them. So we build with a few rules:
- Spread the weight around. A cluster of denim and canvas in one corner with lightweight wovens everywhere else creates a heavy zone that drags on its neighbors. We distribute the heavier pieces across the whole top so the load is even.
- Give unstable fabrics a stable neighbor. A loose weave or a stretchy knit-adjacent piece gets surrounded by something with more backbone, rather than being seamed to another piece that is just as willing to move.
- Watch the grain on improv cuts. Cutting freely means bias edges show up everywhere, and bias stretches where straight grain does not. We are not avoiding bias, we are just paying attention to where it lands and not letting a whole run of bias edges stack up in one seam line.
- Back the featherweights. When a piece is too light to hold its own against the fabric around it, we back it with muslin before it goes into the top. It joins the party as a stable piece instead of a liability.
- Press as you go. Every seam, every time. Skipped pressing is where warp sneaks in, and you will not notice until the whole top is together and one section refuses to lie flat.
Get this right and you end up with patchwork that pulls evenly in all directions. Get it wrong and you have a top that warps, and a warped top cannot be hand tensioned. It will pucker somewhere no matter what your hands do.
Then, build a sound sandwich
Not every quilt needs three layers, and we wish more folx knew that.
We both grew up with summer quilts. Two layers, a top and a backing, no middle at all. They were made for exactly the kind of weather where the afternoon is too warm for anything heavy but the night turns cool enough that you want something over you. They drape in a way a three layer quilt never will, they are dramatically faster to stitch through, and they show off hand quilting beautifully because there is no loft competing with the stitch line. If you have been putting off a hand quilted piece because the thought of pushing a needle through batting sounds exhausting, start here.
When we do go with three layers, the middle is rarely what people expect. It might be a reclaimed cotton or blend sheet. It might be draping muslin off the studio roll. Sometimes it is actual batting, or wadding, if you are reading this from somewhere that calls it that.
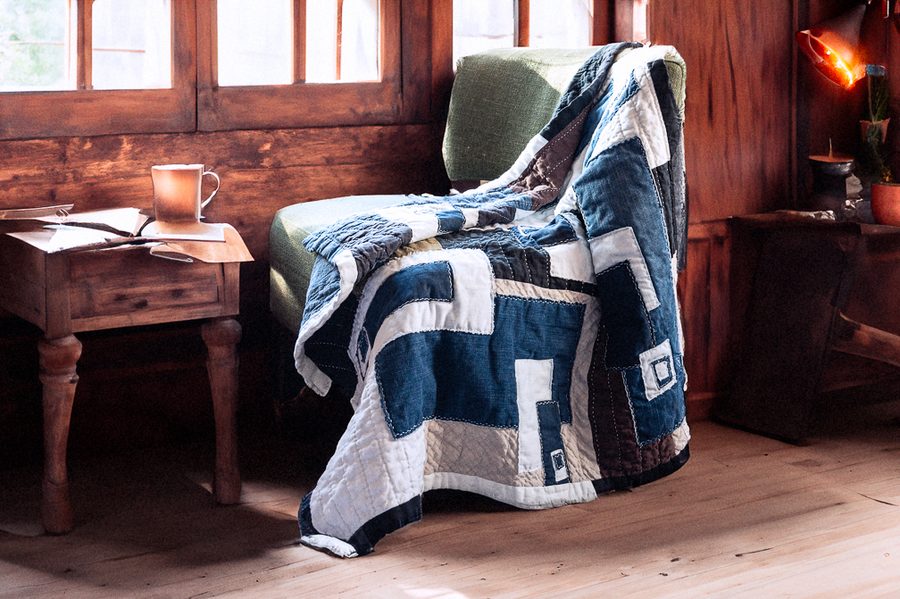
The backing has the same range. Reclaimed sheets are a favorite, and one of the coziest quilts we have ever made is backed with an old flannel sheet. Muslin works. Wide back quilting fabric works. And on our clothing quilts the backing is pieced too, which means the sandwich has patchwork on both faces and every stability rule above applies twice.
Whatever you choose, the layers need to be compatible with each other. A backing that moves a lot under a top that does not is going to make itself known the moment you start pulling on it.
Now baste it like you mean it
Before a single quilting stitch happens, those layers have to be locked together. This is not optional and it is not the place to rush.
Here is why it matters more for us than for most quilters. When you quilt on a frame or in a hoop, the tension comes from the equipment and the layers are held in a fixed relationship. When you hand tension, you are actively pulling on the quilt, over and over, hundreds of times. Every pull is an opportunity for the layers to shift against each other. Basting is the only thing standing between you and a backing that has quietly crept two inches out of alignment by the time you reach the far border.
We have used pins. We have used powdered glues. We have used most of the basting sprays on the market.
Our favorite we found while we were writing Scrappy Wonky Quilt Block Extravaganza, and we found it the hard way. We were using a traditional spray basting glue, the highly toxic kind, out in the garage with all the doors open and a fan running to move the air. It still caused nausea, dizziness, and headaches. Basting a quilt should not come with a recovery period.
That is when we switched to Roxanne basting spray. No noxious fumes, no headaches, and we can work as long as we need to without feeling like we are going to pass out. No specialized ventilation, no waiting for a dry day so we can drag a quilt sandwich outside. We baste indoors, on the studio floor, whenever we want to. For those of us in the Pacific Northwest, that alone is worth the price of admission.
The stitching: needle, thread, and stitch length
We borrow heavily here from our background in boro and sashiko, the ground we cover in Boro & Sashiko: Harmonious Imperfection and Stitching Sashiko, where we dig into the traditional Japanese methods for mending, reinforcing, and reclaiming fabric. Layer that over years of hand and machine quilting and you get the approach we use to finish these pieces.
Two tools do most of the work.
- John James Long Darners The length is the whole point. Sashiko is stitched by loading multiple stitches onto the needle before you pull through, and a short needle simply cannot hold enough fabric to make that work. Colonial Needle Company markets these as our sashiko needle of choice for exactly this reason, and it is not marketing on our end, it is what is in our hands every single day.
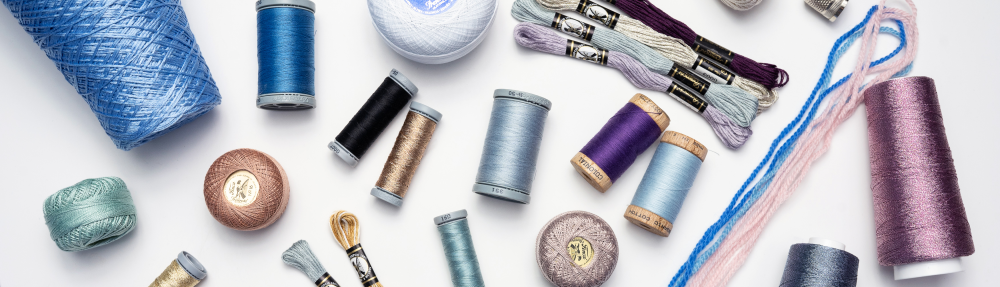
- Presencia 12 weight thread A 12wt sits up on the surface of the cloth instead of sinking into it, and that is what gives sashiko its raised, tactile line. It is also mercerized, which matters more than folx realize. Mercerizing makes cotton thread stronger and more dimensionally stable, so the thread holds its position in the stitch line instead of shifting and slipping around as the quilt is handled and washed.
Stitch length is doing quiet structural work here too. Sashiko stitches are longer than what most quilters are used to, and each long stitch spans more of the quilt sandwich, binding the layers across a wider distance with fewer anchor points. Fewer anchors, more distance between them, and the cloth between those anchors is free to lift. That is where the texture comes from.
Because the thread is strong and does not compress or creep, that tension stays where you put it. A weaker or softer thread would let the stitch line slacken over time and the whole surface would go flat. The stitch length gives you the texture and the thread is what makes the texture permanent.
And we will say the obvious thing out loud: running your hands over that raised stitching and the crinkle around it is one of the great tactile pleasures of this work. It is comfort you can feel through your fingertips.
The sock puppet method
Right. The actual technique.
The key to hand tensioning is pulling the fabric taut between your hands so the needle can pierce it cleanly instead of pushing a wobbling piece of cloth around. On a small or lightweight piece, you gather the fabric into your hands and manage the needle and thread at the same time. Easy enough.
On a large, thick quilt, when you are working the middle of the piece, there is no gathering anything. There is just acres of quilt in every direction. So:
- Bring both hands up underneath the quilt so the cloth is draped over the backs of your hands.
- Form a puppet mouth with each hand. Fingers on top, thumb below, exactly like the sock puppet you made as a kid. Face the two mouths toward each other. Hello! Hello!
- Your needle hand keeps the needle throughout, with the eye of the needle seated firmly in the dimples of your Palm Thimble. Do not skip the Palm Thimble. It is not a comfort accessory here, it is the thing that lets you drive the needle while your hands are busy holding tension.
- Close both puppet mouths onto the fabric.
- Draw the two puppets away from each other to tension the cloth. Enough force to make it taut, never enough to stretch it. Stretched fabric will relax later and take your stitch tension with it.
- With the fabric tensioned, bring the quilt up to meet the tip of the needle rather than driving the needle down into the quilt. Angle the needle up or down as you go using the sashiko unshin needle motion.
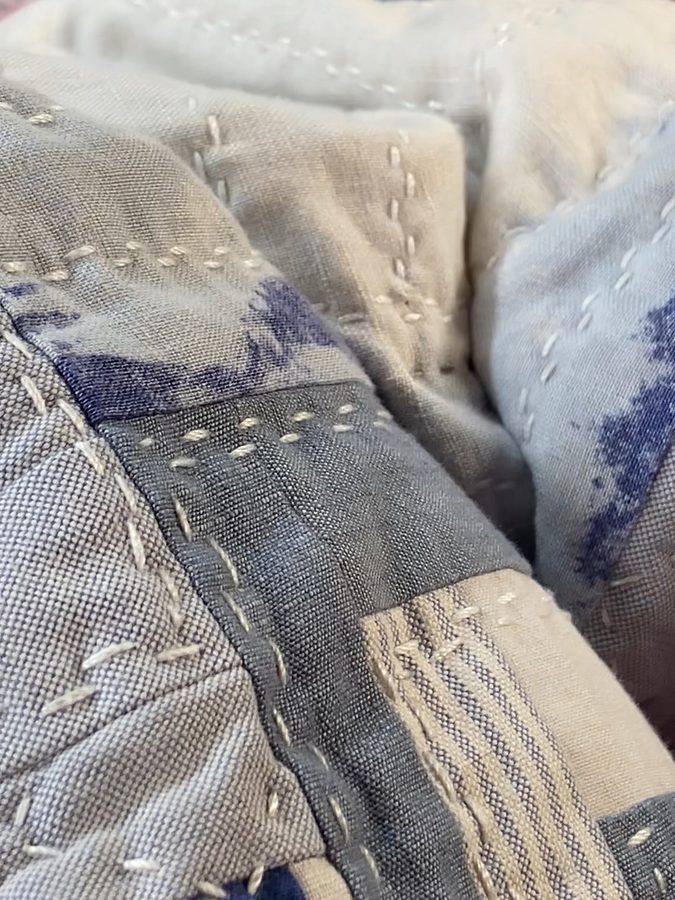
That last point is the one that trips people up, so it is worth repeating. The needle stays relatively still and the fabric comes to it. You are feeding cloth onto the needle, not stabbing at cloth with a needle.
Pinch, push, pull
On a thick quilt you will only get a few stitches loaded before the needle is full. That is when we switch to what we call Pinch, Push, Pull.
Pinch the fabric to secure it onto the end of the needle. Push the needle forward using the Palm Thimble. Then pull the fabric back over the length of the thread.
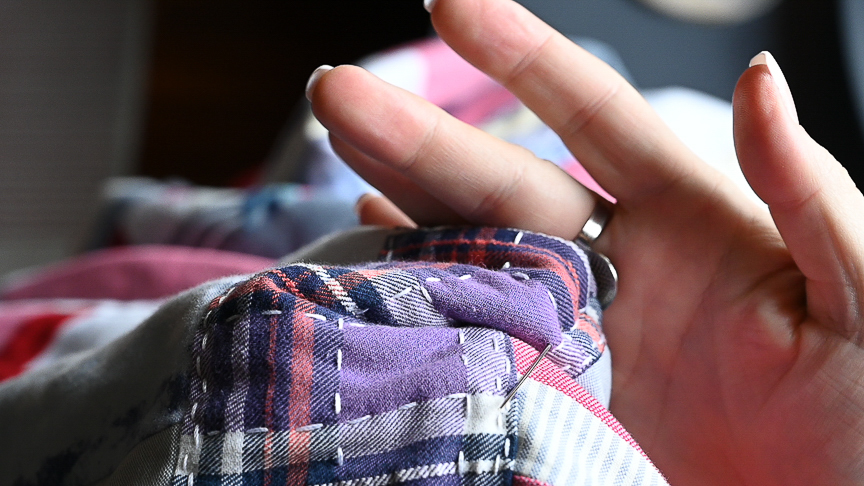
That final move, redistributing the fabric along the thread, is a vital part of the process and the step most likely to get skipped. Once the needle is free, pull it all the way through until the thread lies evenly across the surface.
Then lay the quilt flat and smooth it out. You are checking that the fabric and the thread are working at the same tension, with no puckers pulling the surface in and no loops of thread standing proud. Do this as you go rather than at the end, because a section that has gone off tension is a quick fix in the moment and a genuine problem three feet later.
Go build something
None of this is difficult. It is just a sequence, and every step in it supports the one after. Stable patchwork makes a stable sandwich. A well basted sandwich makes hand tensioning possible. Hand tensioning makes the long sashiko stitch possible. The long stitch and a strong thread make the texture, and the texture is why we do any of it.
So build your fabric on purpose, baste it without giving yourself a headache, get a Long Darner in your hand, and go make some puppets say hello.
Stitch On!
Shannon & Jason
▶️ Watch the full video on YouTube here.
📚 Boro & Sashiko: Harmonious Imperfection and Stitching Sashiko here.
🪡 Shop John James Long Darners here.
🧵 Shop Presencia 12wt thread here.
🖐️ Shop Palm Thimbles here.
✨ Shop Roxanne basting spray here.