Needle Know-How from Colonial Needle
Texture is one of the things that makes handwork interesting.
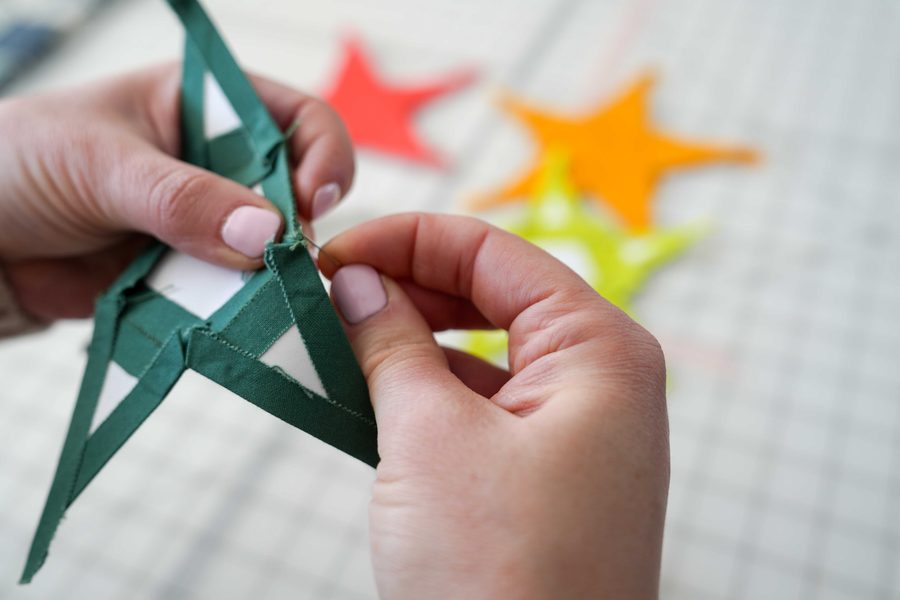
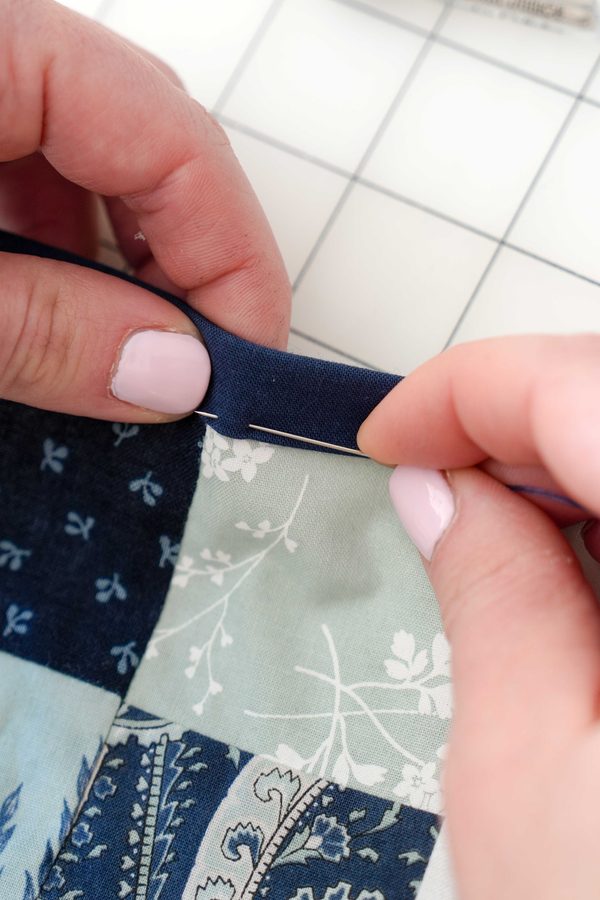
A smooth line of embroidery can sit beside a dimensional stitch. A quilt can combine cotton, linen, denim, batting, and decorative thread. Needlepoint can build texture through different fibers and stitches. Visible mending may ask a needle to travel through the original fabric, a patch, and several rows of previous stitching.
As our projects become more dimensional, however, something else changes: what we’re asking our needles to do.
The needle that glides beautifully through a single layer of cotton may not be the tool you want when you’re working through several layers or carrying a heavier decorative thread.
So this month, we’re looking at how to choose a needle when texture, thickness, and layers enter the picture.
The Stitching Scenario
“Texture & layers” can describe a surprising number of projects:
- Layered quilting
- Visible mending and patching
- Needlepoint
- Embroidery with dimensional stitches
- Wool appliqué
- Sashiko and layered textiles
- Mixed-fiber projects
- Decorative stitching with heavier threads
- Projects combining fabrics of different weights
These projects don’t necessarily call for the same needle.
Instead of starting with the technique, sometimes it helps to look at what is physically happening where you’re stitching.
How many layers does the needle need to travel through?
How dense is the material?
How heavy is the thread?
Should the needle pierce the material—or move through an existing opening?
Those questions can point you toward the right tool.
The Common Challenges
When needle, thread, and material aren’t well matched, you may notice:
- The needle is difficult to pull through
- Thread frays near the eye
- The needle bends or feels too flexible
- Fabric puckers
- Holes appear larger than you’d like
- Your hand becomes tired from forcing the needle
- Thick thread is difficult to thread
- Previous stitches make an area harder to penetrate
- The needle catches fibers you wanted it to pass around
Those little frustrations are useful clues.
Before blaming your technique, take another look at your needle.
Think About the Point
One of the first choices to make is whether you need a sharp or blunt point.
When You Need to Pierce
If the needle must create its own path through fabric or several layers, a sharp point is usually important.
Sharps, embroidery/crewel needles, chenille needles, and other pointed hand-sewing needles each offer different combinations of length, eye size, and shaft thickness.
For example, if you’re working with a thicker decorative thread but still need to pierce the fabric, a chenille needle’s sharp point and larger eye may be helpful.
When You Need to Pass Through
Needlepoint presents a different situation.
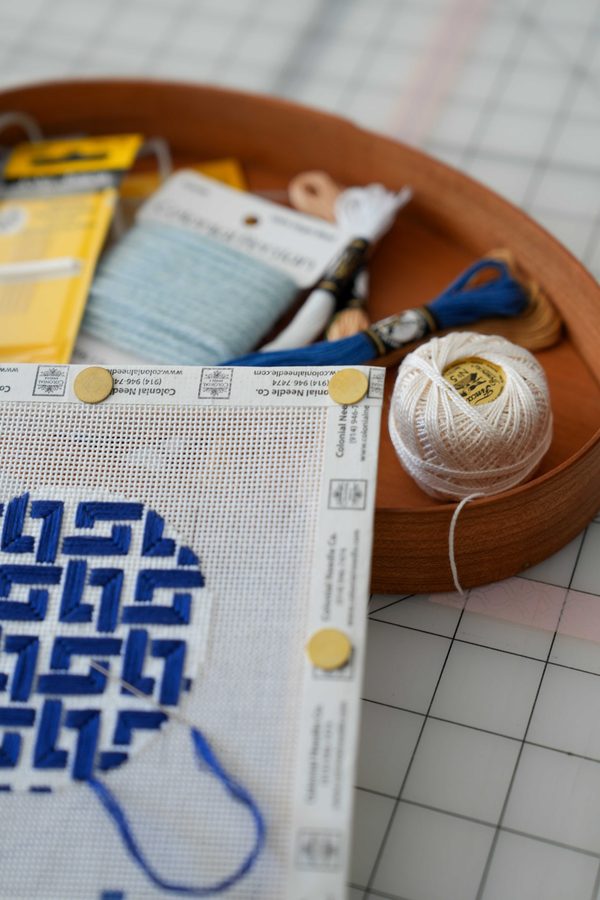
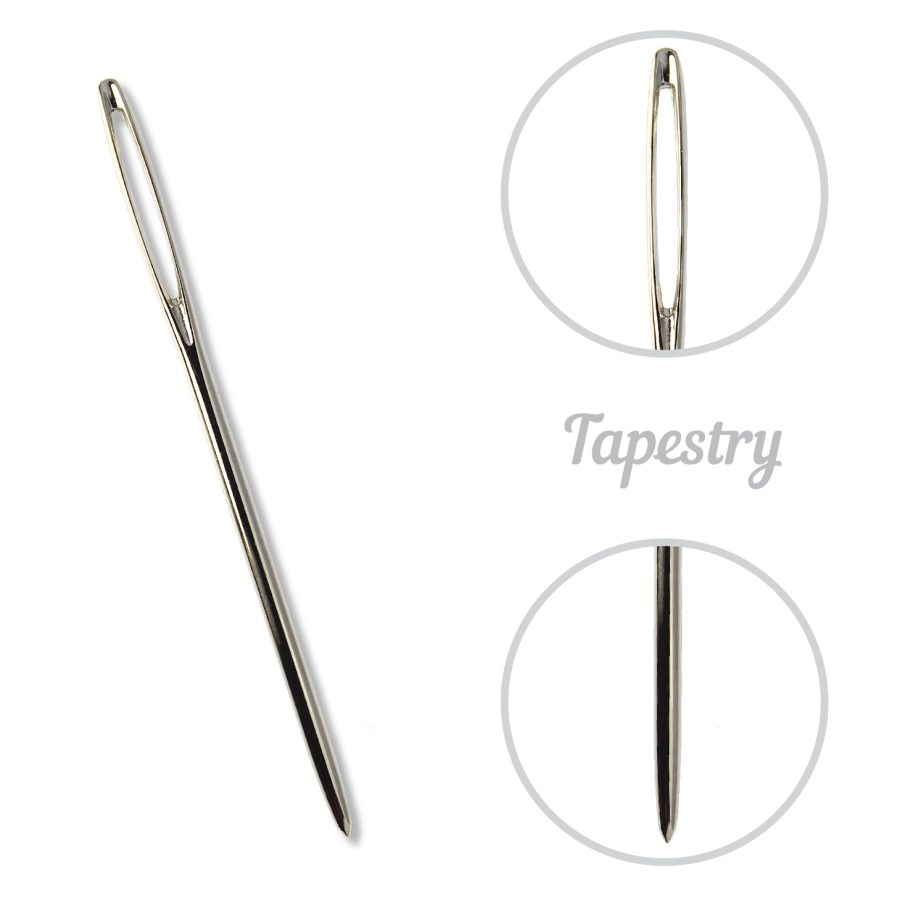
Rather than piercing tightly woven fabric, you’re generally passing the needle through openings in the canvas. A blunt tapestry needle helps move between the canvas threads rather than splitting or piercing them unnecessarily.
That’s why “heavier project” doesn’t automatically mean “sharper needle.”
The structure of the material matters.
Think About the Eye
Adding texture often means experimenting with thread.
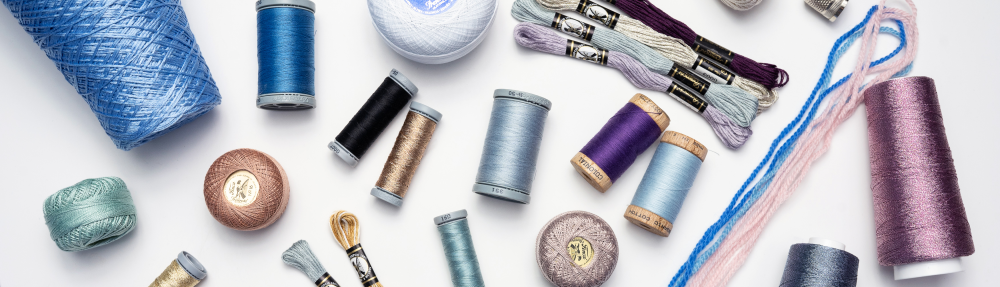
Perlé cotton, yarn, ribbon, multiple strands of floss, and other decorative fibers all take up more room than ordinary sewing thread.
Your needle eye needs to accommodate that thread comfortably.
If you’re struggling to pull the thread through the eye—or noticing that the thread repeatedly frays near the needle—try moving to a needle with a more accommodating eye.
The goal is enough room for the thread without choosing a needle so large that it creates an unnecessarily large hole in the fabric.
Think About the Shaft
The body of the needle matters, too.
A very fine needle may flex more than you’d like when moving through several layers. A needle that’s too heavy, on the other hand, can leave visible holes or distort the material.
You’re looking for balance:
Strong enough for the job. Fine enough for the material.
That balance may change even within the same project.
One Project Doesn’t Always Mean One Needle
This is one of our favorite lessons to teach.
You don’t have to finish an entire project with the needle you started with.
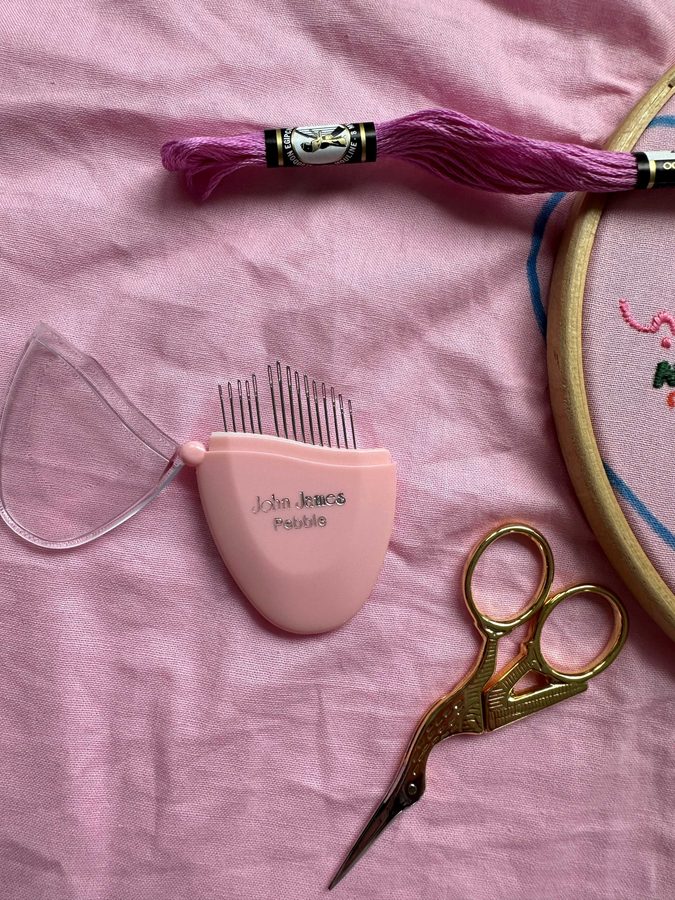
Imagine a layered textile project that combines:
- Piecing
- Patching
- Decorative embroidery
- Heavier perlé cotton
- Areas of dense stitching
The best needle for construction may not be the best needle for the decorative stitching.
Likewise, a needlepoint project might incorporate several thread weights or specialty fibers. Changing the thread may mean reconsidering your tapestry needle size as well.
Your needle is a tool—not a rule.
Change it when the job changes.
Our Recommendation: Build a Texture Toolkit
If you enjoy projects with lots of texture, consider keeping several needle types nearby rather than relying on one favorite.
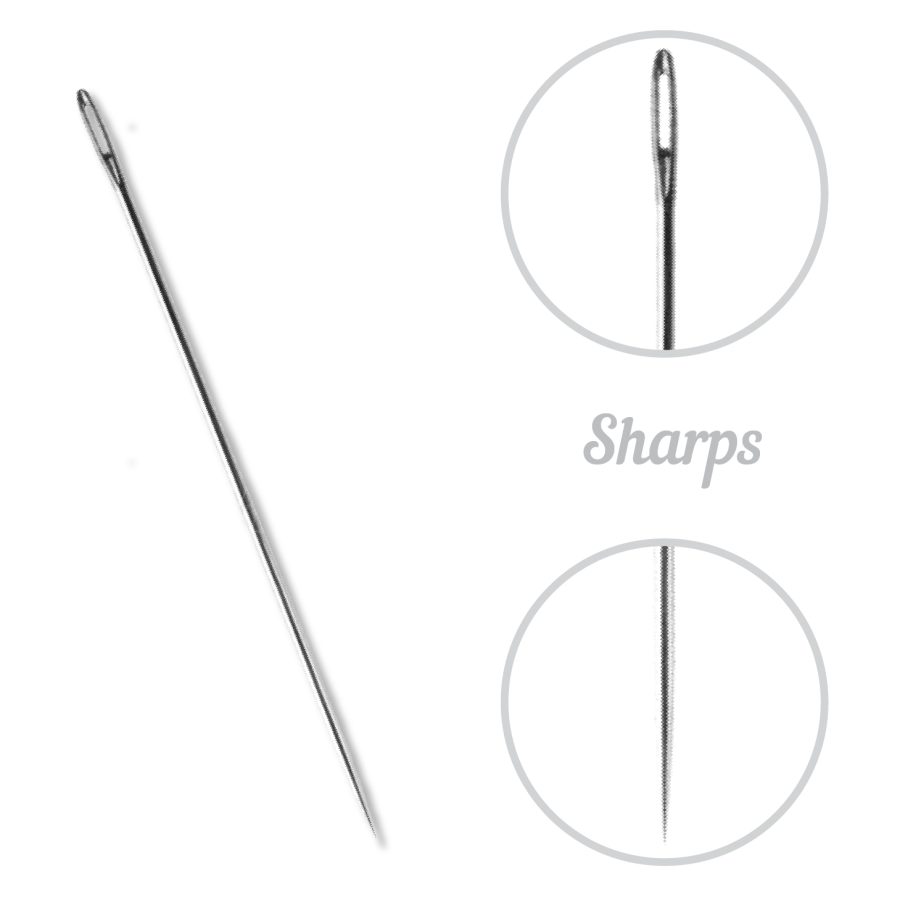
Sharps
These are a versatile choice for general hand sewing and for piercing woven fabrics.
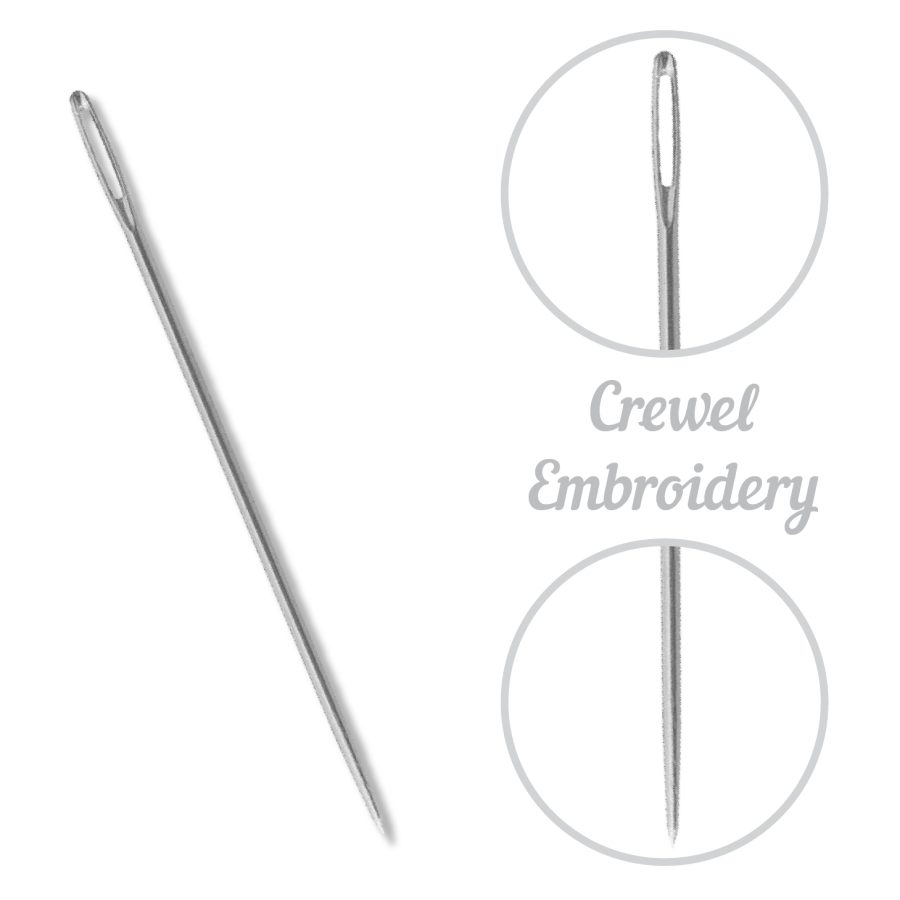
Embroidery/Crewel Needles
Sharp points paired with elongated eyes make these useful for many decorative stitches worked with embroidery threads.
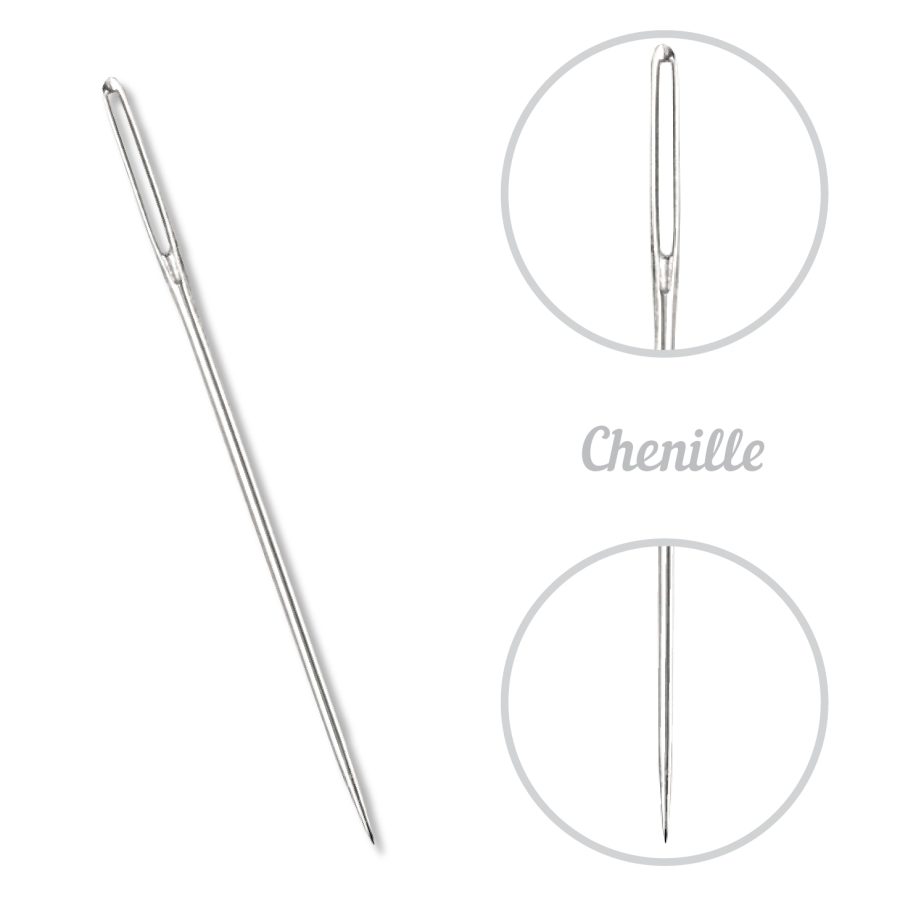
Chenille Needles
A sharp point combined with a large eye makes chenille needles especially useful when you need to pierce fabric while carrying a heavier thread.
Tapestry Needles
Blunt tips and generous eyes make tapestry needles well suited to needlepoint, counted work, and other situations where the needle should travel through existing spaces rather than pierce the material.
Having several options nearby allows you to respond to what the project is actually asking of you.
Pro Tip: Listen to the Resistance
Your hands can tell you quite a bit about whether you’ve chosen the right tool.
A little resistance is normal. Constant fighting isn’t.
If you repeatedly have to force the needle through, stop.
Ask yourself:
- Is my needle too fine for these layers?
- Does my thread need a larger eye?
- Would a different point style work better?
- Am I stitching through an especially dense area?
- Has the project changed enough that I should change needles?
Don’t assume that struggling harder is the solution.
Sometimes changing one small tool makes the entire stitching experience better.
Texture Without the Tangle
As projects become more dimensional, thread management matters as well.
Longer lengths of thread may seem convenient, but they have more opportunity to twist, abrade, and tangle—especially when repeatedly traveling through dense fabric or layered areas.
Try a manageable thread length and allow the needle to hang occasionally so accumulated twist can relax.
And when you’re working with specialty or unfamiliar fibers, test your combination of needle + thread + material on a scrap before committing to the project.
That small experiment can save a surprising amount of frustration.
Reader Takeaway: Let the Project Choose the Needle
When you’re stitching through texture and layers:
✔ Ask whether you need to pierce the material or pass through it
✔ Choose an eye that comfortably accommodates your thread
✔ Look for enough needle strength to handle the layers without unnecessarily enlarging the holes
✔ Expect your needle needs to change when your thread or technique changes
✔ Pay attention when the needle suddenly becomes difficult to pull through
✔ Test unfamiliar combinations before starting the finished piece
And most importantly:
Don’t be afraid to change needles mid-project.
The “right tool” isn’t necessarily one needle for the entire project. It’s the needle that makes sense for the stitch you’re making right now.
Looking Ahead
Next month in The Right Tool for the Stitch, we’ll continue exploring how materials influence our needle choices as we look at stitching through heavier fabrics.
Until then, experiment with texture, build those layers, and let your hands tell you when it’s time to reach for a different tool.