
February invites us to slow down.
Embroidery on linen is one of those techniques that rewards patience—smooth stitches, soft texture, and beautiful drape. But linen has a personality of its own. Its natural fibers, subtle slubs, and varying weave density mean that not every needle performs the same way.
If your thread is fraying, your fabric feels resistant, or your stitches look uneven, the solution may not be your technique—it may be your needle.
Let’s explore how to choose the right tool for embroidery on linen.
The Stitching Scenario
Surface embroidery on linen
This includes:
- Crewel embroidery
- Monogramming
- Floral surface designs
- Stitch samplers
- Slow stitching projects
Linen’s strength and structure make it ideal for embroidery, but its tightly woven fibers require a needle that can glide cleanly without damaging the fabric.
The Common Challenges
When stitching on linen, you may notice:
- Thread fraying or fuzzing
- Difficulty pulling the needle through
- Visible holes around stitches
- Distortion or puckering
- Hand fatigue during longer sessions
Linen fibers are strong but not forgiving—using the wrong needle can stretch or separate threads in the weave.
Why the Right Tool Matters
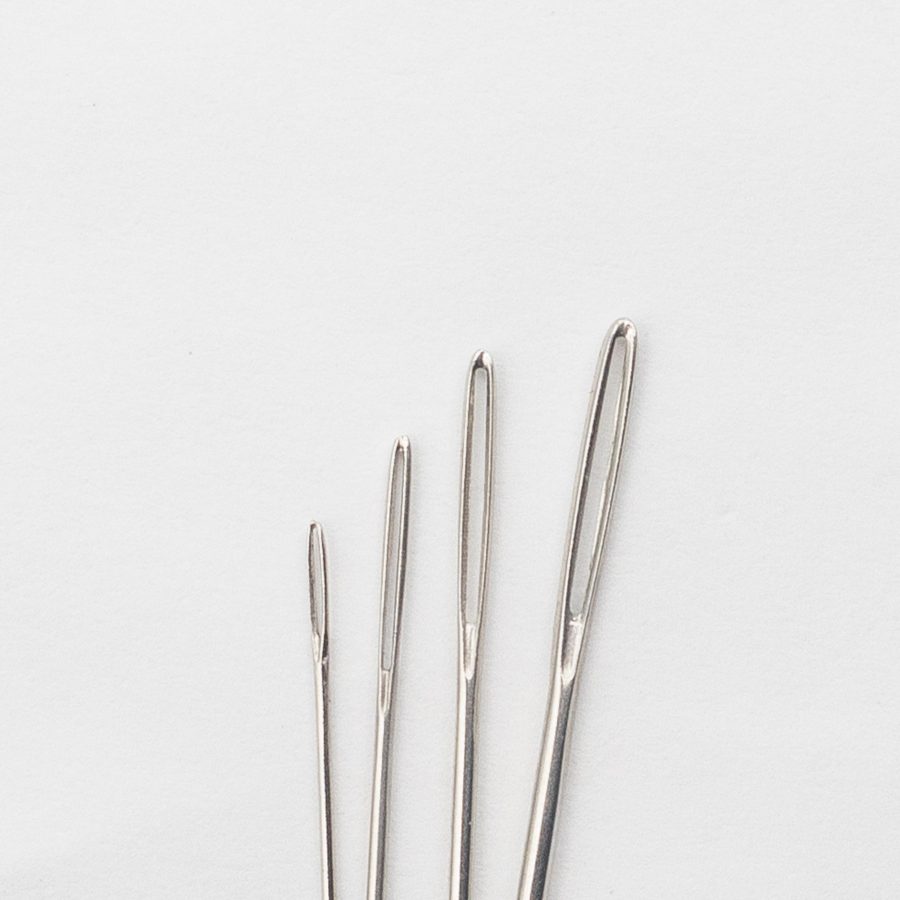
When working on linen, pay attention to:
- Eye Size
Your thread should pass smoothly through the eye without shredding. A polished, properly sized eye protects delicate embroidery floss or specialty threads. - Shaft Thickness
A needle that’s too thick creates unnecessary holes. Too thin, and it may bend or feel unstable. - Point Style
Linen benefits from a sharp but refined point—one that parts the fibers cleanly rather than forcing its way through. - Length
Longer needles create rhythm for flowing stitches, while shorter needles offer control for detailed work.
Small differences create noticeable results.
Our Recommendation: Needles for Embroidery on Linen
Embroidery (Crewel) Needles – Sizes 7–10
A sharp point with a slightly elongated eye makes these ideal for most surface embroidery on linen. They accommodate stranded floss without excessive friction.
Sharps – Sizes 8–10
Excellent for fine monogramming or delicate detail work where smaller stitches are desired.
Chenille Needles – Smaller Sizes (if using thicker threads)
If working with wool, ribbon, or heavier fibers, a larger eye with a sharp point allows thicker thread to pass without strain.
Choosing size depends on:
- Fabric weight
- Thread thickness
- Desired stitch scale
When in doubt, test on a scrap. Or use our handy Needle Wheel!
Pro Tip: Protect Your Thread
If your thread is twisting or fraying, try:
- Using a slightly larger needle eye
- Shortening your thread length
- Allowing the needle to hang periodically to untwist
Smooth stitching is often about reducing friction.
Special Considerations for Mindful Stitching
Because February invites slower, intentional making, linen is a beautiful choice. Its texture encourages steady stitching and thoughtful pacing.
Using the right needle:
- Reduces resistance
- Minimizes strain
- Creates cleaner, more defined stitches
The experience becomes calmer—and more enjoyable.
Reader Takeaway: Quick Checklist
When embroidering on linen:
✔ Choose a sharp needle with a polished eye
✔ Match eye size to thread thickness
✔ Avoid oversized needles that enlarge holes
✔ Test before beginning your final piece
A small adjustment can dramatically improve your results.
Looking Ahead
Next month in The Right Tool for the Stitch, we’ll explore needle choices for wool appliqué—another technique where precision and fabric awareness matter.
Until then, may your stitches be smooth, steady, and satisfying.